Syncing Lokalise translations with GitLab pipelines

In this guide, we’ll walk through building a fully automated translation pipeline using GitLab CI/CD and Lokalise. From upload to download, with tagging, version control, and merge requests.
Here’s the high-level flow:
- Upload your source language files (e.g. English JSON files) to Lokalise from GitLab using a CI pipeline.
- Tag each uploaded key with your Git branch name. This helps keep translations isolated per feature or pull request.
- Translate your content inside Lokalise using either AI, your team, or external translators. Same as usual.
- Download translated files back into your project via another CI job, filtered by those same tags.
- Rebuild the original file structure, commit the updated translations, and (optionally) open a merge request back to your main branch.
Why automate this?
Manually uploading and downloading translations is annoying, error-prone, and doesn’t scale. This setup solves that by giving you:
- A clean CI pipeline that handles translation syncing
- Versioned translation changes per branch
- Automated merge requests with updated localized content
- Room for custom post-processing, validation, or formatting
Whether you’re a solo dev or managing a whole frontend team, this workflow keeps your translations in sync and your repo clean.
Let’s build it step by step!
Prerequisites
Before integrating Lokalise with your GitLab CI/CD pipeline, make sure you have the following in place:
- A GitLab project — this is where you’ll set up your .gitlab-ci.yml file and manage your codebase.
- A Lokalise account — you can sign up for a free 14-day trial (no credit card required) with full access to all features.
Creating a new Lokalise project
To manage and translate your content, you’ll first need to create a Lokalise project. This project will serve as your central hub for storing translation keys and their corresponding values.
In this guide, we’ll be working with JSON files using a basic key-value structure. Lokalise supports a wide range of formats, but JSON is perfect for our example. The goal is to upload these files, then automatically translate them into one or more target languages using Lokalise’s AI-powered tasks.
To get started, log in to your Lokalise account and head to the Projects dashboard. Click New project to create one.
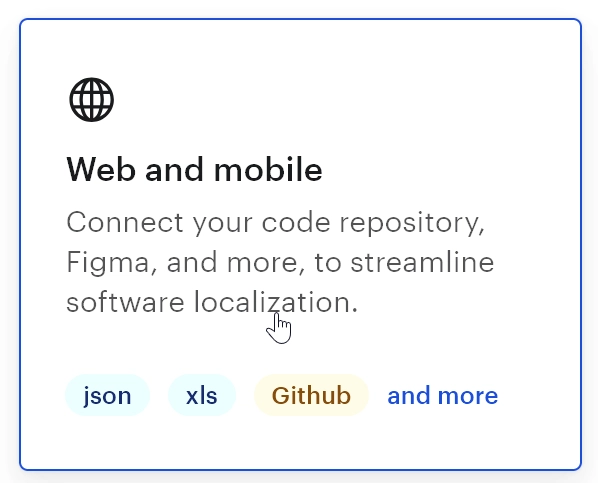
Make sure to select the Web and mobile project type. It supports JSON and most other common formats devs typically work with.
Next, give your project a name and choose a base language — the one you’ll be translating from (we’ll use English in this guide). Then, pick one or more target languages (let’s say French for now, you can add more later).
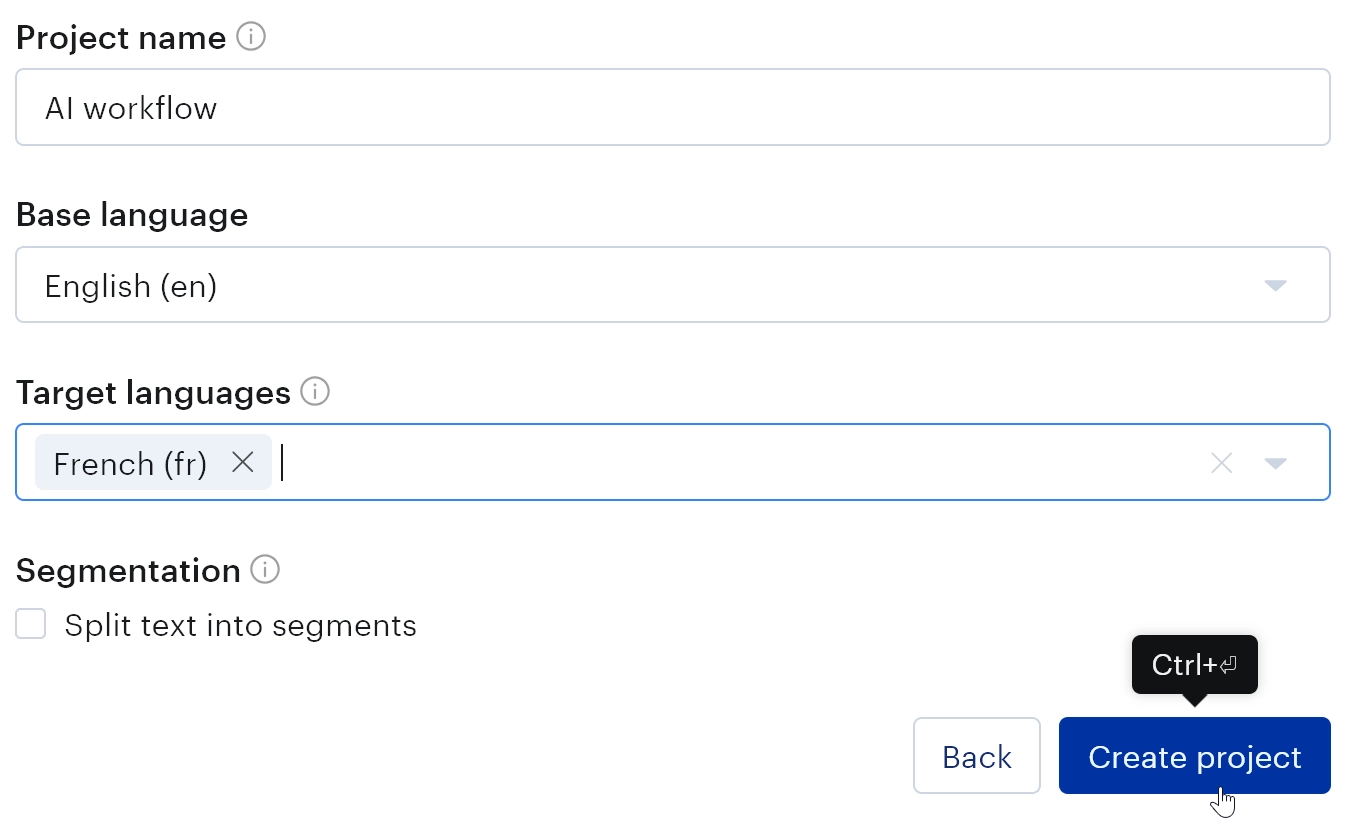
Once that’s set, click Create project. Lokalise will take you to the project editor. From there, go to More > Settings in the top menu.
On the Settings page, locate your Project ID and take a note of it. We’ll need it in a moment.
Obtaining Lokalise API token
Since we’ll be using Lokalise’s API to upload and download translations, you’ll need an API token with read/write permissions. To get it, click on your avatar in the left-hand menu and go to your Personal profile.
Switch to the API tokens tab and generate a new token. Be sure to give it read/write access.
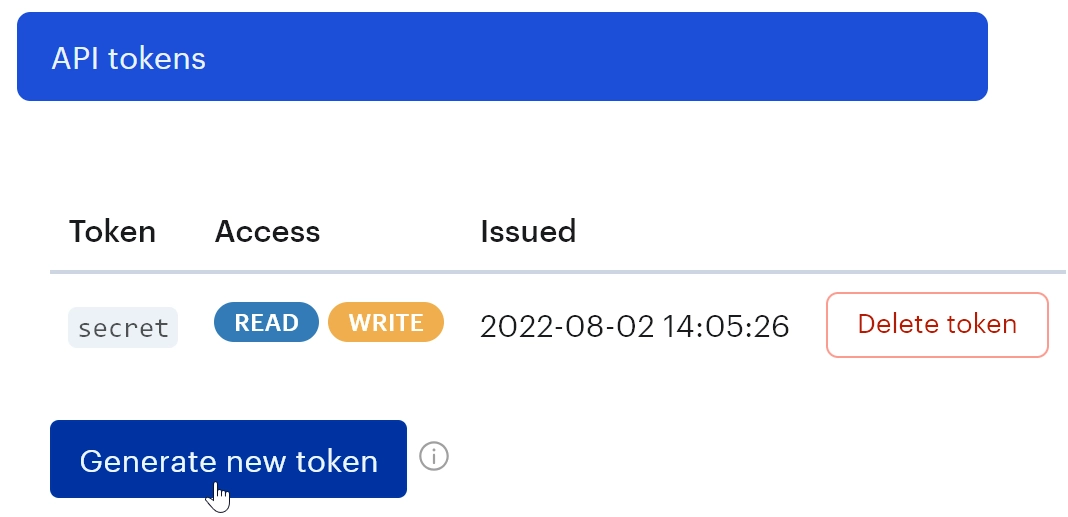
Keep this token secret. Never commit it to version control or share it publicly.
Creating GitLab CI/CD variables
Next, head over to your GitLab project and go to Settings > CI/CD. Scroll down to the Variables section and click Add variable.
You’ll need to add the following two variables:
- LOKALISE_API_TOKEN — paste the API token you generated earlier. Make sure to mark it as protected, masked, and hidden to keep it secure.
- LOKALISE_PROJECT_ID — paste the project ID you copied from Lokalise.
These variables will be injected into your pipeline jobs and used by the Lokalise CLI.
Creating translation files
As mentioned earlier, Lokalise supports a wide variety of file formats — including JSON, YAML, XML, and more — so you’re free to organize your translation files however it suits your project.
For the purposes of this guide, we’ll keep things simple and use a basic JSON-based setup. We’ll create two English translation files stored under /locales/en/.
This structure is just for demonstration — feel free to adapt it to your actual project later.
Create the following folder and files:
/locales/en/en.json
/locales/en/main.json
en.json
{
 "app_name": "Awesome App",
 "welcome": "Welcome to Awesome App!",
 "logout": "Log out",
 "error_generic": "Something went wrong. Please try again."
}
main.json
{
 "home_title": "Home",
 "home_subtitle": "Start your journey here",
 "cta_get_started": "Get started",
 "cta_learn_more": "Learn more",
 "footer_rights": "All rights reserved © 2025"
}
Later in this guide, we’ll upload these files to Lokalise and retrieve their translations through GitLab CI/CD.
Uploading translation files with GitLab CI/CD
Now that we have our Lokalise project, API token, and translation files ready, it’s time to automate the upload process using GitLab CI/CD.
To do that, we’ll configure a pipeline that installs the Lokalise CLI and runs a custom script to upload our translation files. This gives you a repeatable, one-click way to sync your latest translations with Lokalise — no manual uploads needed.
Step 1: Create the upload script
With the pipeline config in place, we need to define the logic for uploading your translation files to Lokalise. We’ll do that in a shell script.
Create a new file at: /scripts/upload_translations.sh.
Paste the following content into the file:
#!/bin/bash
set -euo pipefail

: "${LOKALISE_API_TOKEN:?Need to set LOKALISE_API_TOKEN}"
: "${LOKALISE_PROJECT_ID:?Need to set LOKALISE_PROJECT_ID}"
: "${CI_COMMIT_REF_NAME:=unknown-branch}"

BIN_DIR="./bin"
LOKALISE_CLI="$BIN_DIR/lokalise2"
BRANCH_TAG="${CI_COMMIT_REF_NAME}"

if [[ ! -x "$LOKALISE_CLI" ]]; then
  echo "❌ Lokalise CLI not found $LOKALISE_CLI"
  exit 1
fi

if [[ ! -d "locales/en" ]]; then
  echo "❌ Directory 'locales/en' not found!"
  exit 1
fi

echo "🚀 Uploading from locales/en/..."

echo "📛 Using tag: $BRANCH_TAG"

find locales/en -name '*.json' | xargs -P 6 -I{} env FILE="{}" BRANCH_TAG="$BRANCH_TAG" bash -c '
  echo "📤 Uploading $FILE..."
  '"$LOKALISE_CLI"' \
    --token='"$LOKALISE_API_TOKEN"' \
    --project-id='"$LOKALISE_PROJECT_ID"' \
    file upload \
    --file="$FILE" \
    --lang-iso="en" \
    --include-path \
    --poll \
    --tag-inserted-keys \
    --tags="gitlab,$BRANCH_TAG"
  echo "✅ Uploaded: $FILE"
'

echo "🎉 All files uploaded."
What this script does
Let’s break this down step by step:
- Strict mode enabled (set -euo pipefail) — fails fast on errors, unset vars, or pipe errors. Keeps things clean and safe.
- Checks for required environment variables — if LOKALISE_API_TOKEN or LOKALISE_PROJECT_ID aren’t set, the script dies early with a clear error.
- Reads the current Git branch name from the CI_COMMIT_REF_NAME env var. If it’s not available (e.g. running locally), falls back to unknown-branch.
- Checks that the Lokalise CLI exists where we installed it (./bin/lokalise2), and that the locales/en directory exists.
- Uploads all .json files in locales/en/ in parallel (using xargs -P 6 to speed it up across 6 threads).
Why do we tag with the branch name?
Every uploaded key gets tagged with two tags:
- gitlab — so you know it came from CI.
- The Git branch name ($CI_COMMIT_REF_NAME) — this is super useful. It lets you later download only the keys uploaded from a specific branch.
This is especially handy in PR/merge request workflows where you want to keep translations isolated per feature or fix.
Step 2: Add a .gitlab-ci.yml file
In the root of your project, create a file named .gitlab-ci.yml. This file defines the CI/CD pipeline GitLab will run when you trigger a job.
Here’s the base config to get started:
stages:
 - lokalise
upload_translations:
 stage: lokalise
 script:
   - curl -s https://raw.githubusercontent.com/lokalise/lokalise-cli-2-go/ccade804d8157994195498b6bc070180c2c87719/install.sh > install.sh
   - chmod +x install.sh
   - ./install.sh
   - ./bin/lokalise2 --version
   - chmod +x ./scripts/upload_translations.sh
   - ./scripts/upload_translations.sh
 when: manual
What this pipeline does
Let’s break it down:
- We define a lokalise stage and a single job called upload_translations.
- The job downloads the Lokalise CLI installer script using curl pinned to a specific commit (ccade804...). This is done for security: you don’t want the script changing underneath you unexpectedly.
- It makes the script executable and runs it, installing the Lokalise CLI to the ./bin directory.
Then it verifies the install with ./bin/lokalise2 --version. - It makes sure your custom upload_translations.sh script is executable.
- Finally, it runs that upload script.
The job is marked as manual, meaning it won’t run automatically on every commit. You’ll trigger it explicitly from the GitLab UI when you want to sync your latest translations.
The job uses environment variables (LOKALISE_PROJECT_ID and LOKALISE_API_TOKEN) which you’ve already set up in your .env file and GitLab settings.
Step 3: Running the pipeline
Once you’ve added your .gitlab-ci.yml and the upload_translations.sh script, you’re ready to run the pipeline and upload your translation files to Lokalise.
Here’s how to do it. First, commit and push your pipeline setup to your GitLab repo:
git add .
git commit -m "Add Lokalise upload pipeline"
git push origin your-branch-name
Make sure you push this to a branch that’s allowed to run pipelines.
Since we’ve marked the upload_translations job with when: manual, it won’t run automatically. This is intentional and you’ll run it when you’re ready to sync translations.
To trigger it:
- Go to your GitLab project.
- Navigate to Build > Pipelines.
- Find your commit.
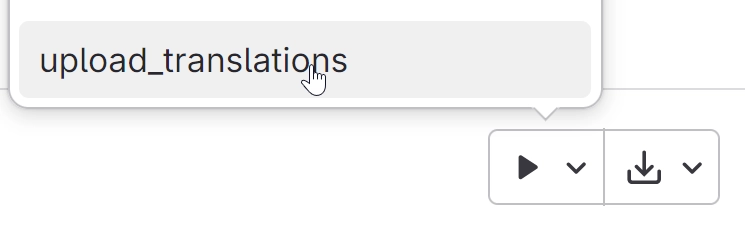
- Click Play and choose upload_translations.
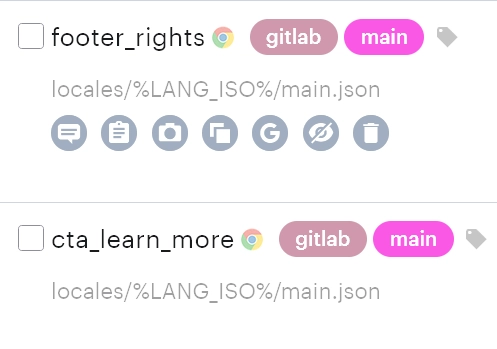
GitLab will spin up a runner, install the Lokalise CLI, and execute your upload script. Here’s the result on Lokalise:
Downloading translations from Lokalise
So you’ve uploaded your source translation files to Lokalise, the AI elves (or humans, no judgment) have done their thing, and now it’s time to pull those translations back into your codebase.
Just like with uploads, we’ll automate this using GitLab CI/CD and a simple shell script.
Step 1: Creating the download script
Now let’s write the script that pulls translated files from Lokalise and opens a merge request in GitLab with the updated translations.
Create a new file at:
/scripts/download_translations.shPaste in the following content:
#!/bin/bash
set -euo pipefail

: "${LOKALISE_API_TOKEN:?Need to set LOKALISE_API_TOKEN}"
: "${LOKALISE_PROJECT_ID:?Need to set LOKALISE_PROJECT_ID}"
: "${GITLAB_TOKEN:?Need to set GITLAB_TOKEN}"
: "${CI_PROJECT_ID:?}"
: "${CI_REPOSITORY_URL:?}"
: "${CI_DEFAULT_BRANCH:?}"

BIN_DIR="./bin"
LOKALISE_CLI="$BIN_DIR/lokalise2"
BRANCH_TAG="${CI_COMMIT_REF_NAME:-manual}"

echo "📛 Filtering with: $BRANCH_TAG"

echo "📥 Downloading translations..."
$LOKALISE_CLI \
  --token="$LOKALISE_API_TOKEN" \
  --project-id="$LOKALISE_PROJECT_ID" \
  file download \
  --format=json \
  --original-filenames=true \
  --directory-prefix="/" \
  --include-tags="gitlab,$BRANCH_TAG"

if git diff --quiet; then
  echo "✅ No changes detected."
  exit 0
fi

BRANCH="lokalise-sync-$(date +%Y%m%d%H%M%S)"
echo "🌿 Creating branch $BRANCH"

git config user.email "ci-bot@example.com"
git config user.name "Lokalise Bot"

git checkout -b "$BRANCH"
git add locales/
git commit -m "🔄 Update translations from Lokalise"
REPO_URL="https://oauth2:${GITLAB_TOKEN}@gitlab.com/${CI_PROJECT_PATH}.git"
git push "$REPO_URL" "$BRANCH"

echo "🚀 Creating Merge Request into $CI_DEFAULT_BRANCH"
curl --header "PRIVATE-TOKEN: $GITLAB_TOKEN" \
     --data "source_branch=$BRANCH" \
     --data "target_branch=$CI_DEFAULT_BRANCH" \
     --data "title=🔄 Update translations from Lokalise" \
     "https://gitlab.com/api/v4/projects/$CI_PROJECT_ID/merge_requests"

echo "✅ MR created."
What this script does
Let’s unpack it:
- Enforces strict mode (set -euo pipefail) to fail hard on any unexpected error.
- Requires all the critical environment variables — Lokalise credentials, GitLab repo info, and branch details.
- Uses the current Git branch name as a tag filter, same as we used during upload ($CI_COMMIT_REF_NAME). This ensures it pulls only the translations relevant to that branch.
The lokalise2 CLI is used to:
- Download all files in JSON format
- Automatically extract the archive and recreate your original file structure and filenames
- Only include keys tagged with both gitlab and the current branch tag — useful to avoid pulling stale or unrelated content.
If any files changed:
- The script creates a new branch (timestamped for uniqueness)
- Commits the updated locales/ files
- Pushes the branch using your personal access token
- Uses GitLab’s API to create a Merge Request into your default branch (usually main or master)
Step 2: Add the download job to .gitlab-ci.yml
Append this job to your existing .gitlab-ci.yml file:
download_translations:
  stage: lokalise
  script:
    - curl -s https://raw.githubusercontent.com/lokalise/lokalise-cli-2-go/ccade804d8157994195498b6bc070180c2c87719/install.sh > install.sh
    - chmod +x install.sh
    - ./install.sh
    - chmod +x ./scripts/download_translations.sh
    - ./scripts/download_translations.sh
  when: manual
What this job does
Pretty much the same flow as the upload job:
- Downloads the Lokalise CLI (pinned to a specific commit for security)
- Installs it
- Executes your download_translations.sh script
We’ve marked it manual again, because you might not want to pull translations every time you push code — especially if you’re still tweaking copy or testing.
A note on GITLAB_TOKEN
By default, GitLab provides a built-in CI_JOB_TOKEN that can be used to authenticate within the CI pipeline. However (and this is important) this token might not have sufficient permissions to create merge requests or push back to protected branches, especially if your project has strict permissions.
If you want to automatically commit downloaded translations or open merge requests from your pipeline (a common use case), you’ll likely need to create a personal access token with higher privileges.
So, you’ll need to:
- Go to your GitLab profile > Access tokens.
- Create a new token with the following scopes (
write_repositoryis mentioned for the sake of completeness; it might already be included in theapiscope):- api
- write_repository
- Copy the token and add it to your project’s CI/CD variables as: GITLAB_API_TOKEN = your_generated_token_here.
Make sure to mark it as masked and protected, just like the Lokalise token. To be extra safe, it might be a better idea to use project access tokens instead. Such tokens have access only to a single project.
Step 3: Adding post-processing
After pulling translated files from Lokalise, you might want to tweak them before committing. Maybe you want to:
- Clean up formatting
- Normalize key naming
- Fix translation quirks
- Apply custom rules (e.g., replacing certain terms or adjusting placeholders)
This is where post-processing comes in. You can add a post-processing block directly after the download step in your download_translations.sh script.
Here’s a simple example:
echo "🔧 Post-processing..."
find locales -name '*.json' | while read -r file; do
  echo "✏️ Processing $file"
  sed -i 's/App/Application/g' "$file"
done
What this does
- Loops through every .json file under the locales directory
- Replaces every occurrence of the word "App" with "Application" using sed
It’s basic, but it shows the idea: you can apply any transformation to the downloaded files right before they go into a commit.
Why you might need post-processing?
Real-world translations aren’t always perfect:
- Some tools may use inconsistent phrasing
- You may need to enforce brand guidelines (“App” → “Application”)
- Maybe your frontend expects placeholders like {username}, but translators typed %username%
- You might even want to validate JSON or strip empty keys
This step is your hook to make sure translations match your app’s expectations before they land in main. If things get more complex, feel free to replace this shell loop with a proper Node/TypeScript/Go script — whatever suits your stack.
Bonus: Other scenarios where GitLab pipelines shine with Lokalise
The setup we built focuses on uploading base language files and pulling back translated ones but GitLab pipelines can do a lot more when paired with Lokalise.
Here are some additional workflows where automating via GitLab CI/CD makes your life easier:
1. Instant AI or machine translation for testing
Want to quickly test how your app looks in different languages — even before real translations are done?
You can create a manual GitLab job that uploads source strings to Lokalise, triggers machine translation using Lokalise’s AI features, and then pulls the translated files right back. Great for early l10n testing or UX review.
2. Syncing shared translations across repos or platforms
If you’re working on multiple platforms (like Android + iOS) or sharing common translation files across multiple services, a GitLab pipeline can regularly upload or download shared resource files between your repos and Lokalise ensuring consistency everywhere.
3. Post-merge translation sync
Set up a job that runs only after merging to main — automatically uploading any new keys or downloading fully translated strings, so production always has the freshest content.
This is especially useful when your team translates after features are merged.
4. Scheduled translation pulls
Need to regularly sync translations without waiting for dev pushes? GitLab supports scheduled pipelines, so you can run translation downloads every day, week, or sprint-end.
You can even filter by translation status on Lokalise (e.g. only pull fully translated or reviewed keys).
5. Upload screenshots for better context
Good translations depend on context. Lokalise lets you upload and link screenshots to keys via CLI — so why not automate that?
Create a job that watches a screenshots/ folder and automatically uploads new images to Lokalise, linking them to relevant keys. Especially handy for UI-heavy apps.
6. Auto-Tagging Keys by Branch for Version Control
Already part of our core setup, but worth highlighting: using GitLab CI/CD to automatically tag uploaded keys by branch name gives you a powerful way to isolate content across features, hotfixes, or releases. Makes selective downloads a breeze.
These are just a few examples. With GitLab CI/CD and the Lokalise CLI, you’ve basically got a translation automation toolkit at your fingertips. Whether you’re syncing daily or controlling entire l10n workflows via scripts, it’s all doable.
Conclusion
Integrating Lokalise with GitLab CI/CD gives you full control over your localization workflow. You’ve now seen how to:
- Set up a Lokalise project and API token
- Create GitLab CI/CD jobs for upload and download
- Tag and filter translations by branch for better isolation
- Add post-processing and open merge requests automatically
No more manual copy-pasting translations. No more “did we sync this file?” drama. Just clean, repeatable CI jobs that do the boring stuff so you can ship features, in every language.
Thank you for staying with me, and until next time!
Author

Ilya is the lead for content, documentation, and onboarding at Lokalise, where he focuses on helping engineering teams build reliable internationalization workflows. With a background at Microsoft and Cisco, he combines practical development experience with a deep understanding of global product delivery, localization systems, and developer education.
He specializes in i18n architectures across modern frameworks — including Vue, Angular, Rails, and custom localization pipelines — and has hands-on experience with Ruby, JavaScript, Python, Elixir, Go, Rust, and Solidity. His work often centers on improving translation workflows, automation, and cross-team collaboration between engineering, product, and localization teams.
Beyond his role at Lokalise, Ilya is an IT educator and author who publishes technical guides, best-practice breakdowns, and hands-on tutorials. He regularly contributes to open-source projects and maintains a long-standing passion for teaching, making complex internationalization topics accessible to developers of all backgrounds.
Outside of work, he keeps learning new technologies, writes educational content, stays active through sports, and plays music. His goal is simple: help developers ship globally-ready software without unnecessary complexity.
Stop wasting time with manual localization tasks.
Launch global products days from now.
Case studies

Behind the scenes of localization with one of Europe’s leading digital health providers
Read more Case studies
Support
Company
Follow


Localization workflow for your web and mobile apps, games and digital content.
©2017-2026
All Rights Reserved.