Converting and working with different file formats is a pretty typical task these days. For instance, you might need to convert your JSON file into a CSV or XLSX, or turn an XML into a JSON while preserving all the content and making sure the output is valid. Effective file conversion is essential for successful software internationalization, allowing teams to manage and localize content efficiently across various formats.
On top of that, you might need to edit the content before converting, implement a translation management system for multiple languages, and perform quality assurance. Is there a solution that can help with all these tasks? The answer is yes!
Today I'm going to show you how to easily convert your files into many formats with the help of Lokalise, a translation management system for agile teams. With Lokalise, you can:
Customize conversion, filter content, and preview the results.
Edit the content easily with the graphical interface, and invite additional team members for collaboration.
Translate content into dozens of locales with ease. You can translate manually, use machine translation, employ artificial intelligence, or hire human professionals.
Use AI for quality assurance.
Automate conversion using the Lokalise API.
So, the sky's the limit. In this tutorial, we are going to learn how to get started with Lokalise, import and export content, edit texts, and write automation scripts. Let's dive in!
Special thanks to my colleague Alex Terehov for sharing the idea for this article.
After confirming your email, click Create your team (unless you're already a part of a Lokalise team, that is).
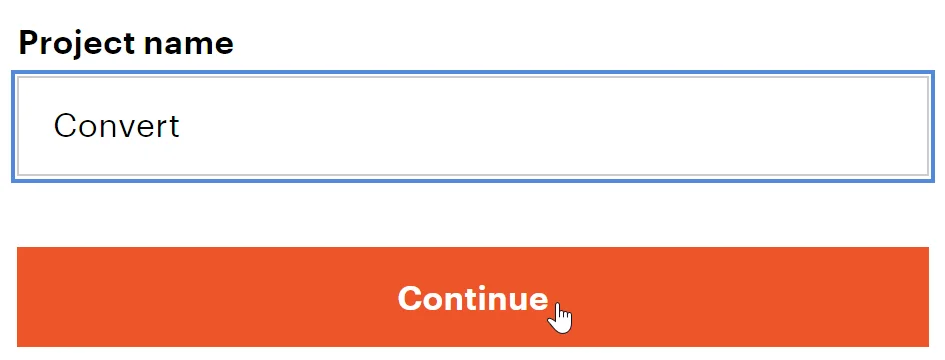
Next, follow the wizard's instructions and provide your project name:
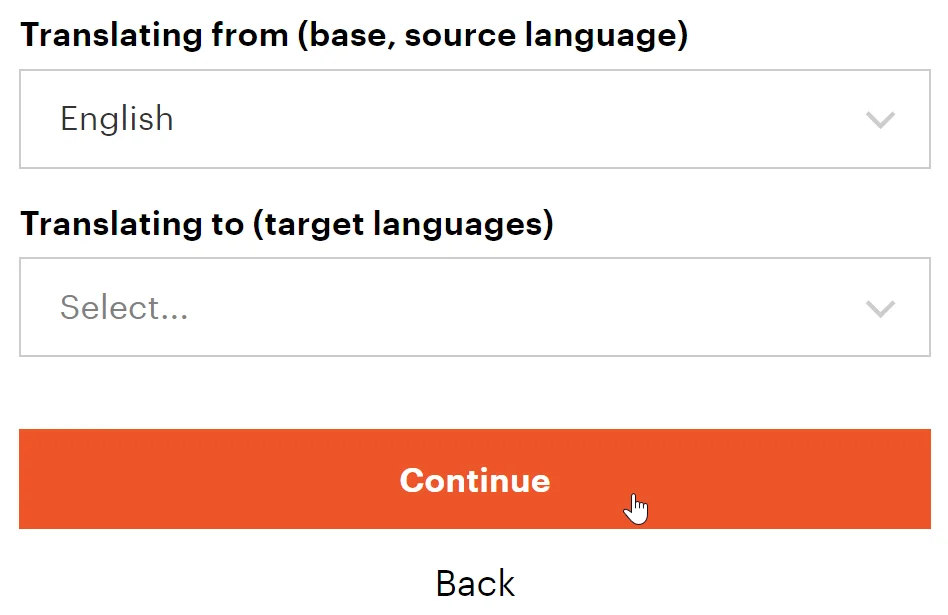
Choose your base (or source) language. This is the original language of your content:
If you are planning to translate your file contents into other locales, pick one or more target languages. If you plan to work only with the source language, you'll still need to select any target language but it does not really matter which one. For instance, I'm going to pick French.
On the next screen, you'll be asked to create a new translation key. You can simply click Continue as we'll upload a custom file instead.
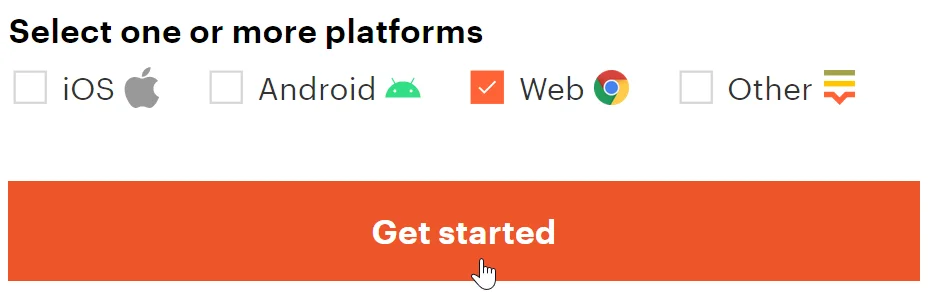
On the last screen, choose any platform and hit Get started:
We are not going to discuss platforms as this feature is not relevant to this tutorial.
Now you can close the wizard and click Editor in the top menu:
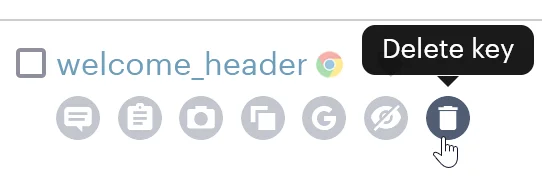
Let's then delete the sample key added by the wizard:
Uploading files for conversion
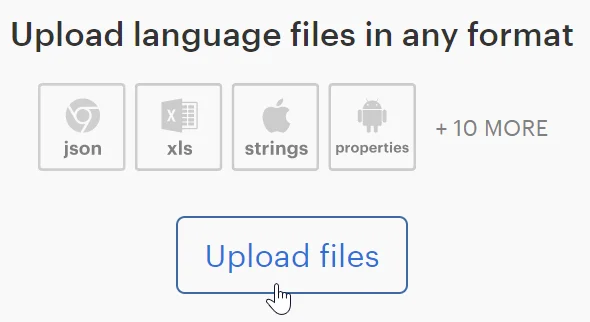
To upload one or multiple files, click on the corresponding button:
Then choose your files:
Let's suppose we'd like to convert JSON to XML or JSON to CSV. We'll therefore upload a JSON file with the following content:
{ "welcome": "Welcome to the app, {{username}}!", "sign_up": "Sign up", "apples": { "one": "I have one apple", "other": "I have {{count}} apples" }}
Once the file is chosen, it'll be added to the list:
You can add more files as needed, regardless of the content language (any missing project languages will be added automatically).
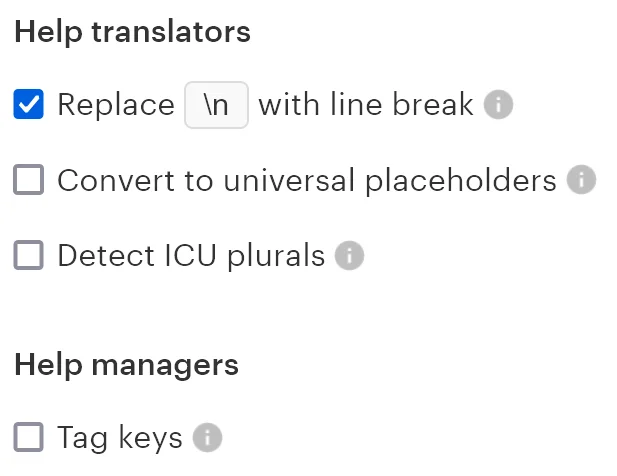
Now just press the Import files button or adjust some settings for more fine-grained control:
Replace \n with line break — it's usually safe to keep this option enabled. Any line breaks will be converted back to \n by default once you export content back.
Convert to universal placeholders — if your content contains any placeholders, you'll definitely want to enable this option. For example, in the JSON file I'm going to upload there are two placeholders: {{username}} and {{count}}. Thing is, other file formats might use different placeholders, and the universal placeholders feature will help you lessen those differences.
Detect ICU plurals — if you are using plurals in the ICU format, enable this option. Typically such plurals are used in XLIFF files. If you don't know what an ICU is, you most likely don't use it.
Tag keys — this option might be very useful if you are uploading multiple files and would like to somehow differentiate your texts. Actually, with Lokalise you can easily filter texts by the file name, but by using tags, even more fine-grained control is possible.
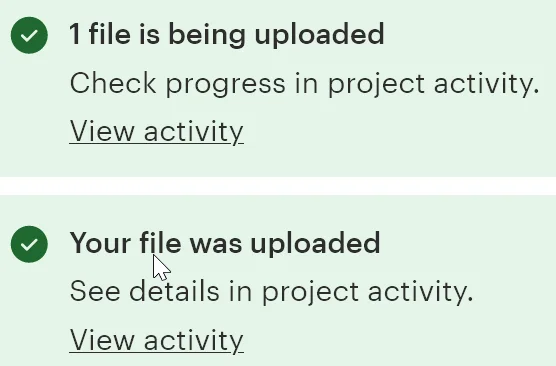
Importing will take place in the background, so you might need to wait a bit.
Editing the uploaded content
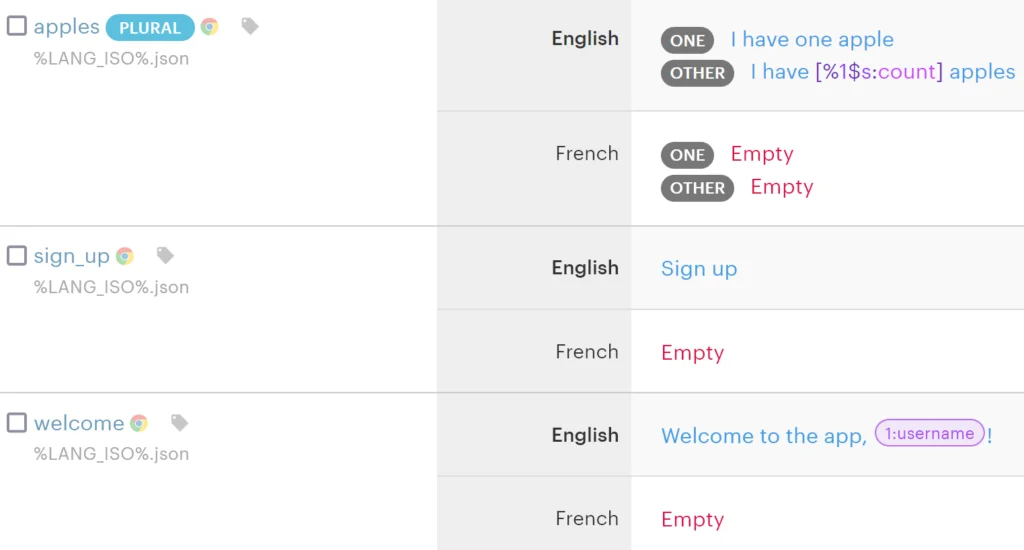
Once the upload process is complete, you can return to the editor and check out your content:
To the left you can see your keys, and to the right are the corresponding values. The [%1$s:count] is the universal placeholder that was inserted by Lokalise because I enabled the Universal placeholders option. Don't worry: these universal placeholders will be replaced with the platform-specific ones upon export. In fact, Lokalise even allows you to create custom placeholders as explained in the documentation.
Now what? Well, you have a bunch of options.
First, you can simply proceed to the Download page and export your content in a different format.
Second, you can upload more files or even add content manually by clicking Add key:
Third, you can translate your content into multiple locales with ease. For example, simply click Google-translate empty values under a key to add a French translation:
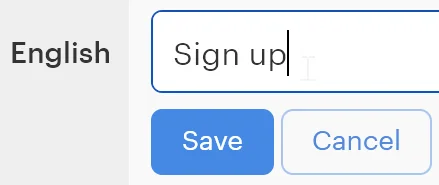
Fourth, you can edit existing texts by clicking on them:
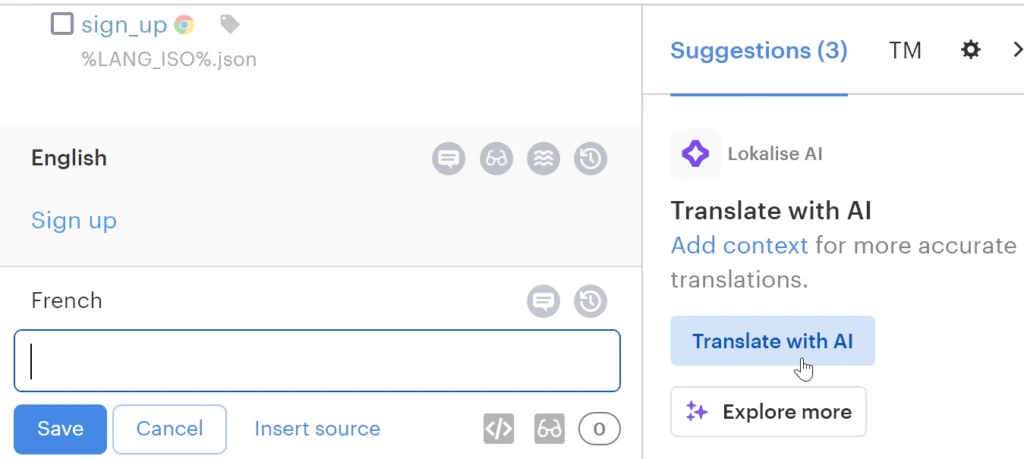
Fifth, you can take advantage of artificial intelligence to translate the content for you:
In fact, it's also possible to use artificial intelligence to translate the whole project in one go by employing AI translation tools.
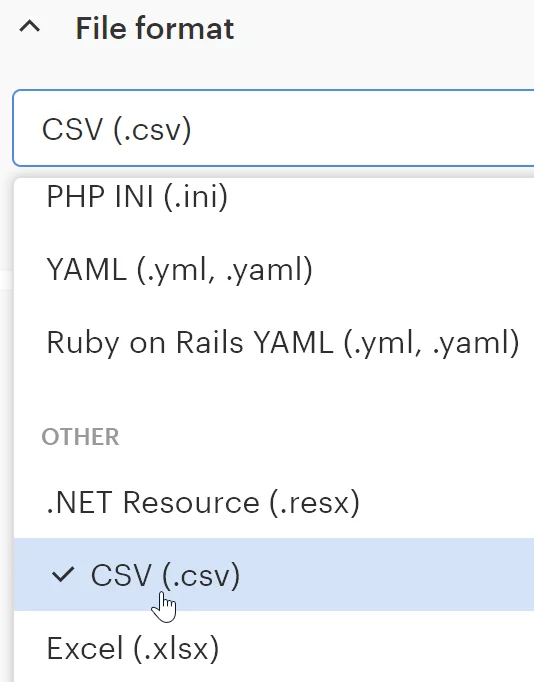
Choose the target file format from the dropdown. For example, let's convert from JSON to CSV:
You might notice that these formats are separated into four categories: Android, iOS, Web, and Other. While it's not too important for this tutorial, you should make a note of the category that the source and the target format belong to. If the categories are different, make sure to check the Include all platform keys option (otherwise no content will be exported):
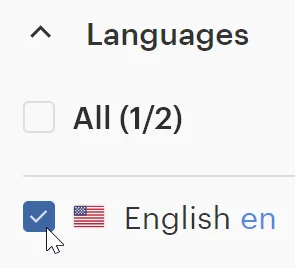
Now pick one or more languages to download:
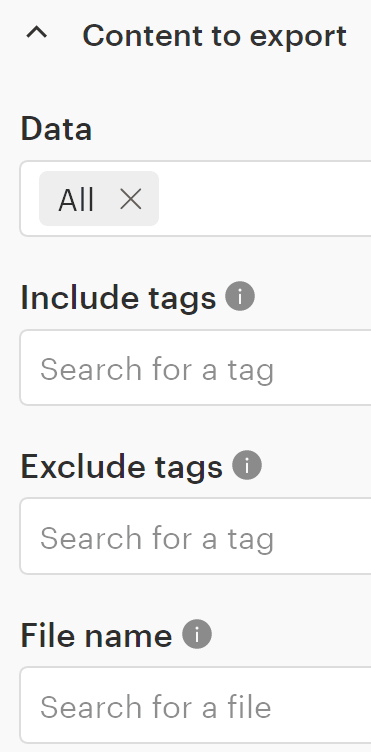
If needed, you can further adjust what content should be exported (for instance, you can filter your keys by tags or by file names):
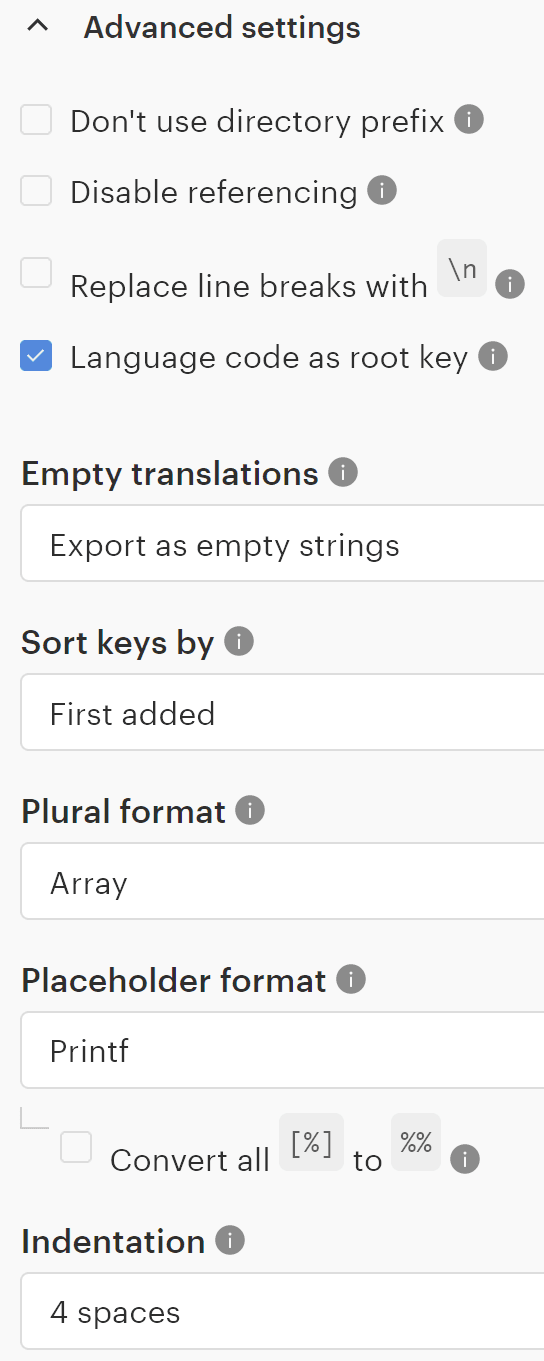
In the Advanced settings, you may further adjust how the keys should be sorted, how many spaces should be used for indentation, which placeholder format should be utilized, and much more. It's not mandatory to adjust or understand all these settings, but it's nice to know that you're in full control:
Finally, click Build and download or Preview to view the file contents in the browser:
Here's the preview of my JSON file converted to a CSV:
Note that the universal placeholders have been properly replaced with the platform-specific ones. If the placeholders do not suit you, simply adjust the Placeholder format under Advanced settings.
The downloaded archive will contain your content in the chosen format. If the file structure does not work for you, it's possible to adjust the File structure setting on the Download page. You can learn more about all the download options in the docs.
And so, this is basically it: we've just converted our JSON file to the CSV format—great job! Feel free to explore other formats that Lokalise supports along with its additional features as it can really make your life much simpler.
Using the Lokalise API
If you are a developer, you might be interested in learning how to write a script to convert files into different formats. To achieve this, you can take advantage of the Lokalise API. The detailed tutorial on the API can be found in my other blog post (it features examples in JS, Python, and Ruby), but let me quickly explain how to perform file uploads and downloads.
API token and Project ID
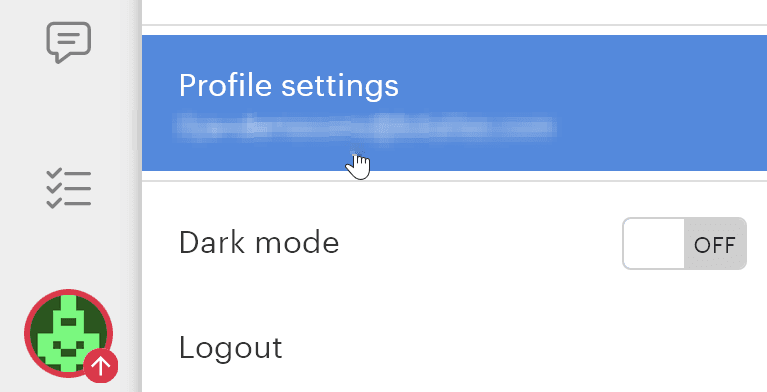
First, open Lokalise, click on the avatar in the bottom left corner, and choose Profile settings:
Switch to the API tokens section and click Generate a token:
Make sure to create a read/write token and copy-paste it into your script. Don't publicly expose this token!
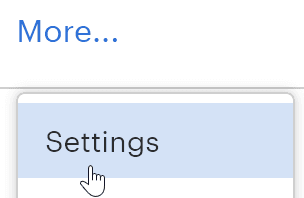
Now, return to the Lokalise project that we created at the beginning of this tutorial and proceed to More > Settings:
Make a note of the Project ID:
Now you can start using the API!
Writing a file uploading script
The simplest way to test its functionality is by using our API playground, which enables you to send real requests with the help of a graphical interface. But, of course, we provide SDKs for the major programming languages.
For instance, to send API requests with JS/TS, install the node-lokalise-api in your project:
npm install @lokalise/node-api
Then import it and initialize the client:
import { LokaliseApi } from "@lokalise/node-api";async function main() { const lokaliseApi = new LokaliseApi({ apiKey: "YOUR API KEY HERE" });}main() .then(() => process.exit(0)) .catch((error) => { console.error(error) process.exit(1) });
To upload your file, add the following code:
import { LokaliseApi } from "@lokalise/node-api";import path from "path";import fs from "fs/promises";import {fileURLToPath} from 'url';async function main() { const lokaliseApi = new LokaliseApi({ apiKey: "YOUR API KEY HERE" }); // These two lines are needed only if you're using ESM: const __filename = fileURLToPath(import.meta.url); const __dirname = path.dirname(__filename); const i18nFolder = path.resolve(__dirname, 'i18n'); const i18nFile = path.join(i18nFolder, 'en.json'); const data = await fs.readFile(i18nFile, 'utf8'); const buff = Buffer.from(data, 'utf8'); const base64I18n = buff.toString('base64'); const base64I18n = buff.toString('base64'); const bgProcess = await lokaliseApi.files().upload(projectId, { data: base64I18n, filename: "en.json", lang_iso: "en", }); await waitUntilUploadingDone(lokaliseApi, bgProcess.process_id, projectId);}main() .then(() => process.exit(0)) .catch((error) => { console.error(error) process.exit(1) });
Please note that the lang_iso option in the upload method should be replaced with your content's actual locale.
Now, in order to download your file back, you should install the adm-zip library (because the downloaded bundle is always an archive):
npm install adm-zip
Also, we'll need a solution to make HTTP requests (it can be Axios, Got, Fetch, and so on). I'll be using the Node Fetch API.
Here's the download script:
import AdmZip from "adm-zip";// ...const downloadResponse = await lokaliseApi.files().download("YOUR PROJECT ID", { format: "json", original_filenames: true, directory_prefix: '', filter_langs: ['en'], indentation: '2sp',});const translationsUrl = downloadResponse.bundle_url;const zip = new AdmZip(await zipBuffer(translationsUrl));zip.extractAllTo(i18nFolder, true); // we use the variable from the "upload" script
Use the format setting to adjust the output format and add the proper locale code for the filter_langs.
So, in this article we have seen how to easily convert files into many formats with the help of Lokalise. We've also discussed using the Lokalise API to automate this process.
That's it for today—I thank you for staying with me, and until the next time!
Ilya is the lead for content, documentation, and onboarding at Lokalise, where he focuses on helping engineering teams build reliable internationalization workflows. With a background at Microsoft and Cisco, he combines practical development experience with a deep understanding of global product delivery, localization systems, and developer education.
He specializes in i18n architectures across modern frameworks — including Vue, Angular, Rails, and custom localization pipelines — and has hands-on experience with Ruby, JavaScript, Python, Elixir, Go, Rust, and Solidity. His work often centers on improving translation workflows, automation, and cross-team collaboration between engineering, product, and localization teams.
Beyond his role at Lokalise, Ilya is an IT educator and author who publishes technical guides, best-practice breakdowns, and hands-on tutorials. He regularly contributes to open-source projects and maintains a long-standing passion for teaching, making complex internationalization topics accessible to developers of all backgrounds.
Outside of work, he keeps learning new technologies, writes educational content, stays active through sports, and plays music. His goal is simple: help developers ship globally-ready software without unnecessary complexity.
Libraries and frameworks to translate JavaScript apps
In our previous discussions, we explored localization strategies for backend frameworks like Rails and Phoenix. Today, we shift our focus to the front-end and talk about JavaScript translation and localization. The landscape here is packed with options, which makes many developers a
Syncing Lokalise translations with GitLab pipelines
In this guide, we’ll walk through building a fully automated translation pipeline using GitLab CI/CD and Lokalise. From upload to download, with tagging, version control, and merge requests. Here’s the high-level flow: Upload your source language files (e.g. English JSON files) to Lokalise from GitLab using a CI pipeline.Tag each uploaded key with your Git branch name. This helps keep translations isolated per feature or pull request
Build a smooth translation pipeline with Lokalise and Vercel
Internationalization can sometimes feel like a massive headache. Juggling multiple JSON files, keeping translations in sync, and redeploying every time you tweak a string… What if you could offload most of that grunt work to a modern toolchain and let your CI/CD do the heavy lifting? In this guide, we’ll wire up a Next.js 15 project hosted on Vercel. It will load translation files on demand f