Internationalizing is an important feature that is used to overcome the language barrier among people who use a particular software application. The target users of your application may use different languages and different conventions for numbers, dates, or strings. Internationalizing simplify the process of translating an application according to rules and conventions of different locales. There are several frameworks that support internationalization as a built-in feature. Likewise, the Aurelia framework supports internationalization through the aurelia i18n plugin. In this tutorial, we are going to discuss how to create an application with the Aurelia framework that supports Aurelia i18n.
You can find the application the sample application on Github.
Aurelia i18n module is built on top of i18next, which is an open-source library with an extensive set of features.
One of the major benefits of using the i18next module for Aurelia i18n is that you can easily reuse your work across multiple translation management system and frameworks. Not only that, but you can also use an extensive ecosystem full of various packages. No matter whether you use JavaScript or TypeScript, Aurelia i18n can be used for localizing your application. Aurelia i18n is tested and optimized in the following loaders and bundlers:
Aurelia CLI
JSPM
Webpack
Creating a minimalist Aurelia application
In the previous section, we went through a detailed description of the Aurelia i18n plugin. Now let’s move to the implementation of our application. Let's install aurelia cli with the following command:
npm install aurelia-cli -g
Please note that you need to have Node installed on your machine before executing this command. We are using node v12.22.1 and npm 6.14.12 for this implementation.
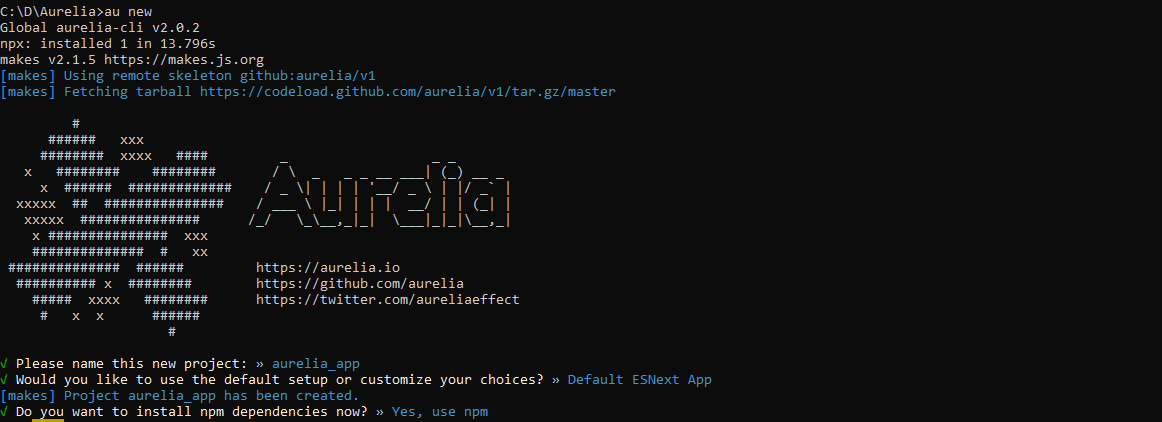
Next, we need to create an Aurelia application with the following command:
au new
Now you have a new Aurelia application. During the process, the terminal will ask you for a name for the application. I named my application aurelia_app. When creating this Aurelia application I have used the Web platform and Babel transpiler:
Creating classes
It's time to start coding. First, we will create a class with the name Profile in a newly created src/profile.js file. This class contains some basic personal details such as name, age, profession, and contact number:
Now let’s create a new profile by giving the required information. This code should go into the src/app.js file:
import {Profile} from './profile';export class App { constructor() { this.profile = new Profile('Shanika',29,'SSE','0771234567') }}
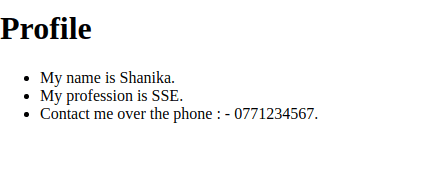
The next step is to render this information in the user interface. To achieve that, update your src/app.html file with the following template:
<template> <h1>Profile</h1> <ul> <li> <span> My name is ${profile.name}. </span> </li> <li> <span> I am ${profile.age} years old. </span> </li> <li> <span> My university is ${profile.profession}. </span> </li> <li> <span> Contact me over the phone : - ${profile.contact_number}. </span> </li> </ul></template>
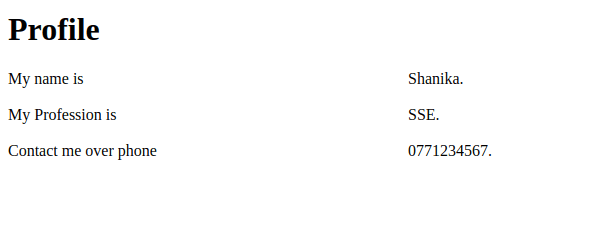
Go to your project folder and execute the npm start command. You will see the output as shown below:
Okay, now we have a very simple Aurelia application that we can use to integrate the Aurelia i18n package!
Aurelia-I18N configuration
Installing packages
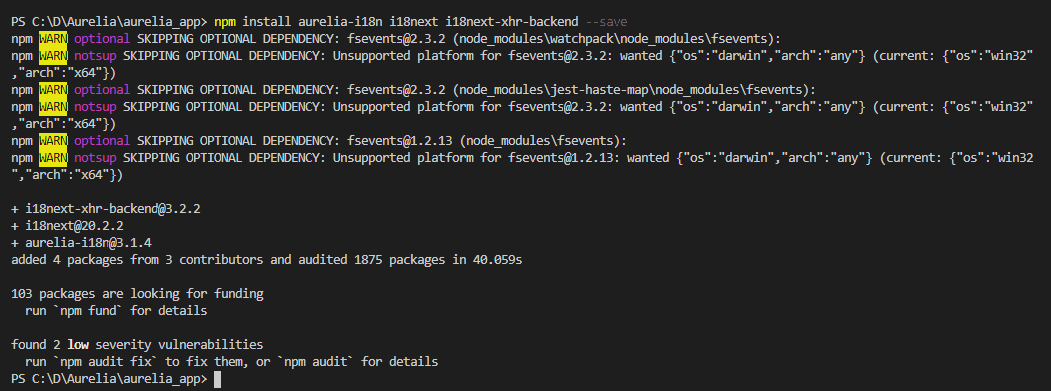
There are three npm packages that we need to build our application:
Let’s discuss their usage before installing them. The Aurelia i18n library is included in the Aurelia platform and contains a plugin that provides i18n support. i18next is a famous internationalization framework for browsers or any other JavaScript environment.
i18next-xhr-backend is a simple i18next backend that can be used in the browser. It loads resources from a backend server using the XHR API. More importantly, it allows loading translation files in an asynchronous manner from the server.
We can install all these npm packages with the following command:
Here we have imported all the necessary modules for our program.
PLATFORM is the abstraction layer of the Aurelia platform.
You can see that I have imported I18N and TCustomAttribute from Aurelia i18n module. Aurelia i18n makes use of a non-standard attributes option, which is used to define custom aliases other than the default attributes.
TCustomAttribute.configureAliases is helpful when defining the aliases before the view templates are fully processed.
The backend component that is imported with the i18next-xhr-backend is used to load translations asynchronously.
plugin(PLATFORM.moduleName('aurelia-i18n'), (instance) is used to hook up the plugin. For some setups, the plugin’s name has to be written as PLATFORM.moduleName('aurelia-i18n') instead of the aurelia-i18n as mentioned in the docs.
In the code above, I've also created an array called aliases. It is a list of aliases to be utilized when performing translations.t and i18n are the default and custom attributes respectively.
The line instance.i18next.use(Backend) specifies which backend will be used in our application.
You can see there are multiple parameters in the function instance.setup(). Let’s briefly discuss these:
The loadpath parameter provides the path from which the application should find and load translation files.
{{lng}} is a language that we are currently using.
{{ns}} is a namespace.
Finally, the translation files must be in .json format.
The lng parameter gives the default language of the application.
fallbackLng is also an important parameter as it instructs the app to use Spanish as thefallback language if the English locale is not available.
whitelist gives a list of all the locales that our application supports.
preload lists the locales that require preloaded translations.
And finally you can enable or disable the debug information with the debug parameter.
As you can see in the whitelist parameter, we are using four languages in this tutorial. These are English (en), Spanish (es), Arabic (arab) and Chinese (zh). Now we are done with our configuration changes in the main.js file!
Translating plain text
Translation files
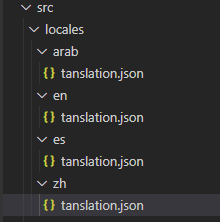
This section explains how to translate simple texts into different languages. To achieve that, we need to create a locales folder to bear all the translation files. This locales folder should be placed inside the src folder; also it should contain one folder for each locale that we are using in the application. These nested folders should be named after the corresponding locale.
So, we have four folders inside src/locales:
Inside each folder, we have translation.json files which are going to contain translation messages.
Next let’s add translations themselves. First, let’s take a look at the src/locales/en/translation.json file:
{ "profile": { "my_name_is": "My name is ", "my_profession_is": "My profession is ", "contact_me_over_phone":"Contact me over phone " }, "profile_heading": "Profile"}
There are four entries in this file. Three of them are nested entries that can be accessed as profile.my_name_is , profile.my_profession_is and profile.contact_me_over_phone. The other entry can be accessed directly by the key profile_heading.
Now let’s do the same for other translation files:
src/locales/es/translation.json
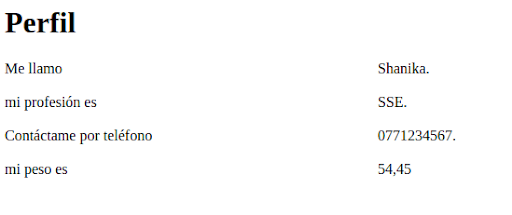
{
    "profile": {
      "my_name_is": "Me llamo ",
      "my_profession_is": "Mi profesión es ",
      "contact_me_over_phone":"Contáctame por teléfono "
    },
    "profile_heading": "Perfil"
  }
src/locales/arab/translation.json
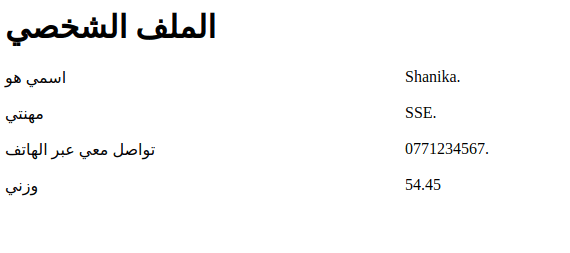
{
    "profile": {
      "my_name_is": "اسمي هو ",
      "my_profession_is": "مهنتي ",
      "contact_me_over_phone":"تواصل معي عبر الهاتف "
    },
    "profile_heading": "الملف الشخصي"
  }
Next, we need to take care of the template to render our output. We've already created a template in the app.html file earlier in this tutorial. I am going to change it slightly in order to display some profile details in the user interface. First, have a look at the code and then I will explain the changes I made:
Here, t="profile.my_name_is" is the translated message. Its value comes from the translation.json file for the currently set locale.
${profile.name} is the name attribute of the profile created in the app.js file.
Next, you'll need to add the following code into the plugins array in the webpack.config.js file:
new CopyWebpackPlugin({
     patterns: [
       { from: 'src/locales/', to: 'locales/' }
     ]
   }),
Here we are helping the application to find the locales folder that includes all the translation files. We don’t need to do any changes in the profile.js file or, app.js files.
Cool, we are done with our simple text translation part!
Testing it
You can change the current locale by tweaking the lng parameter in the instance.setup() function located inside the src/main.js file.
First, let’s change that value to en and run the application with the au run command. Open your app in the browser and check the result:
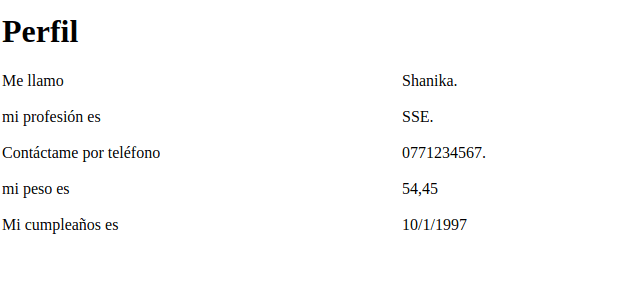
When the locale is es, the output is the following:
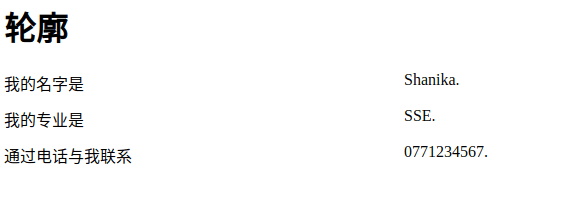
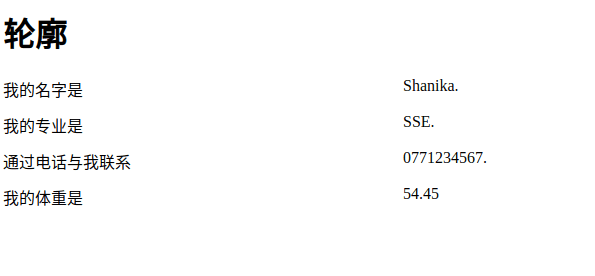
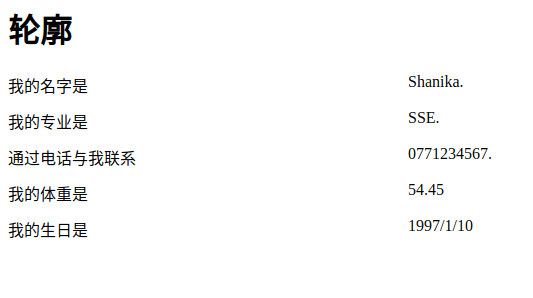
Let’s see the output when the locale is changed to zh:
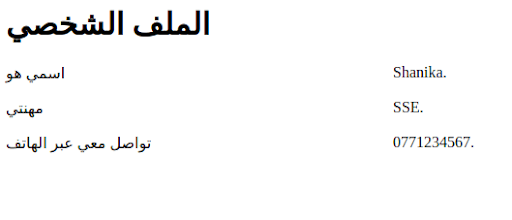
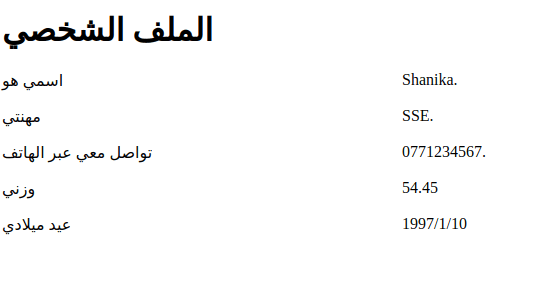
Our final locale is arab:
We are done with the plain text translation with Aurelia i18n. Now it’s time to see some of the other localization features of Aurelia such as number and date formatting.
Number formatting in Aurelia
Suppose we need to add an extra attribute to the Profile class: for example, weight. As you know weight can have decimal digits. In this situation, it is quite easy to use the Aurelia number formatting feature in order to format numeric values. So now let’s see how to do it.
First, you need to update the Profile class which is found in the src/profile.js file:
Now in the src/app.js file, update the profile object created earlier with the value weight. Also, don’t forget to create an attribute to hold the selected locale value as follows:
import {Profile} from './profile';export class App {constructor() { this.selectedLocale = 'en' this.profile = new Profile('Shanika','SSE','0771234567',54.450) }}
Now we need to add the translation messages for weight in the translation files. Let’s start with the en locale:
en/translation.json
"my_weight_is" : "My weight is "
es/translation.json
"my_weight_is" : "mi peso es "
zh/translation.json
"my_weight_is" : "我的体重是"
arab/translation.json
"my_weight_is" : " وزني "
Now we are done with our translation files. Next, we have to update the src/app.html file in order to view the weight detail in the interface. Let's do it by adding the following line to the src/app.html file:
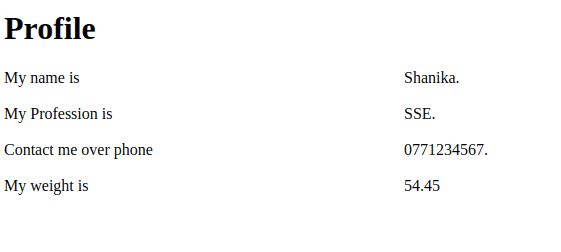
Here we have used the nf value converter — this is the easiest way to use the number formatting. Now we are done with the updates for number formatting. Let’s see the output for each locale:
English:
Spanish:
Chinese:
Arabic:
In Aurelia i18n, currency formatting is very similar to number formatting. To achieve that, you need to add the following line to the src/app.html file. Imagine that you need to add the monthly income details in the profile. For example, if you need to provide the income in euro, use the nf function like this:
Now let’s see how we can format dates with Aurelia. Imagine that you need to add your birthdate to the profile. Let’s demonstrate the date formatting feature of Aurelia with an example.
First, you need to update the Profile class in the src/profile.js file and add the birthdate attribute:
this.birthday = birthday
Then you need to update the profile object that we've created in the src/app.js file:
import {Profile} from './profile';export class App {constructor() { this.selectedLocale = 'ar' this.profile = new Profile('Shanika','SSE','0771234567',54.450,new Date(1992, 03, 27,0,0,1)) }}
Please note that we have created a new date object with the new Date() function.
Now you need to add the date information to the src/app.html file. For that, we can make use of the df function in the same way we utilized nf when performing number formatting:
In the interface, we need to add the line ‘My birthday is 1992/03/27’. Therefore, update the translation files:
arab/translation.json
"my_birthday_is" : " عيد ميلادي "
en/translation.json
"my_birthday_is" : " Mi cumpleaños es "
en/translation.json
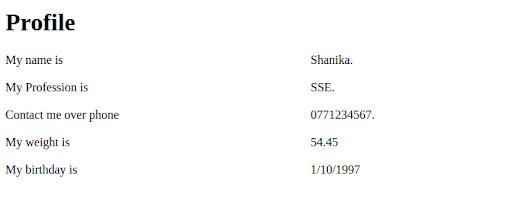
"my_birthday_is" : "My birthday is "
zh/translation.json
"my_birthday_is" : " 我的生日是 "
Now we are done with the translation files. Let's check different output starting with the en locale:
When locale is es:
When the locale is arab:
When the locale is zh:
Bundle translation files
With this feature, you can bundle your translation files into the Aurelia bundle. To achieve that, simply add the json extension to the list of extensions inside the aurelia.json file:
Developing an application with internationalization is not that difficult as it seems to be. The use of the right tools and libraries will make this process much easier when applying internationalization to your project. You will no longer need to waste your time and energy to translate each text and element right inside the codebase. And Lokalise is the perfect tool for internationalizing an app with the least amount of effort.
The process of integrating Lokalise with your application is quite easy. Follow the below steps to start using Lokalise:
Then, install the Lokalise CLI to your PC. You can create projects, upload, and download translation files with this command line interface.
Then open your Lokalise profile and navigate to the “API tokens” section. Create a new read/write token (remember to keep it private) and copy it.
Now, you can create a new translation project on Lokalise and set the base language to English.
Open your project, click the “More” button, and navigate to the Settings section.
There, you have to copy the project ID. Then you can execute the following command: lokalise2 file upload --token <token> --project-id <project_id> --lang_iso en --file PATH/TO/PROJECT/src/locales/translations/en/translations.json.
The above command will upload English translations from your Aurelia app to Lokalise. To upload more languages, you have to execute the above command with the path to the relevant JSON files.
Now, you can proceed to the project page and perform translations there or invite a new collaborator to help you out.
Finally, you can download the modified translations with the following command: lokalise2 file download --token <token> --project-id <project_id> --format json --dest PATH/TO/PROJECT/src/locales/.
Lokalise provides other features including project branching, integrations with popular services like GitHub or Bitbucket, quality assurance checks, and many more!
Summary
In this tutorial, we've discussed how we can use the Aurelia framework for developing an application that supports localization. So we learned how to translate a simple text with the Aurelia i18n and several other important localization features such as currency formatting, number formatting, and date formatting. Finally, we discussed how we can integrate Lokalise translation management system into our application in order to automate the translation process. So that’s pretty much about it. You can use the concepts we used for developing our simple application and use them for any other scenarios as well. To know more about internationalizing JavaScript applications, check out our React and Vue i18n guides.
Shanika is a software engineer by profession and a Graduate in Information Technology. Her fortes are Web and Mobile Development. Shanika considers writing as the best medium to learn and share her knowledge at the same time. She is passionate about everything she does and loves to travel and enjoy nature whenever she takes a break from her busy work schedule. You can connect with her at https://www.linkedin.com/in/shanikawickramasinghe/
Shanika is a software engineer by profession and a Graduate in Information Technology. Her fortes are Web and Mobile Development. Shanika considers writing as the best medium to learn and share her knowledge at the same time. She is passionate about everything she does and loves to travel and enjoy nature whenever she takes a break from her busy work schedule. You can connect with her at https://www.linkedin.com/in/shanikawickramasinghe/
Libraries and frameworks to translate JavaScript apps
In our previous discussions, we explored localization strategies for backend frameworks like Rails and Phoenix. Today, we shift our focus to the front-end and talk about JavaScript translation and localization. The landscape here is packed with options, which makes many developers a
Build a smooth translation pipeline with Lokalise and Vercel
Internationalization can sometimes feel like a massive headache. Juggling multiple JSON files, keeping translations in sync, and redeploying every time you tweak a string… What if you could offload most of that grunt work to a modern toolchain and let your CI/CD do the heavy lifting? In this guide, we’ll wire up a Next.js 15 project hosted on Vercel. It will load translation files on demand f
Hands‑on guide to GitHub Actions for Lokalise translation sync: A deep dive
In this tutorial, we’ll set up GitHub Actions to manage translation files using Lokalise: no manual uploads or downloads, no reinventing a bicycle. Instead of relying on the Lokalise GitHub app, we’ll use open-source GitHub Actions. These let you push and pull translation files directly via the API in an automated way. You’ll learn how to: Push translation files from your repo to LokalisePull translated content back and open pull requests automaticallyWork w