Launching your app globally sounds exciting—until you realize it’s not just about translating text.
App localization can feel like a maze of adapting languages and graphics, all while keeping in mind cultural differences. If you’re here, you probably want to make sure your app feels right to users in new markets, without getting lost in the technicalities.
In this guide, we break it all down for you, step by step, so you can avoid the usual headaches.
Ready to make your app truly international? Let’s get started.
This guide has been written in collaboration with app localization engineers. It includes a list of actionable tips for localizing app text and images, managing app localization development, and organizing the entire process. There’s also a downloadable checklist to keep things simple and organized along the way.
Understanding the value of mobile app localization
Mobile app localization adapts an app’s content, design, and functionality to fit the language, culture, and technical standards for each target market. It’s more than translating text—it’s about creating an experience that feels native to your global audience, to each individual user–wherever they are.
So, why would you invest in creating a localized version of your mobile application? Here’s a short list of benefits:
Increase app engagement and build brand trust creating familiar user experiences across different target markets
Your app downloads in international markets will increase, and this will lead to higher revenue over time
A well-localized mobile application gives you competitive advantage (competitors may only offer basic or untranslated versions)
When you take care of mobile app localization the right way, your user base feels seen and valued. They are likely to appreciate the commitment you showed.
Now let’s take a closer look at the app localization best practices for text, image, workflows, and development-related ones.
Best practices for text localization in your app
1. Design with flexible text space
Different languages expand or contract text significantly, which can impact your layout.
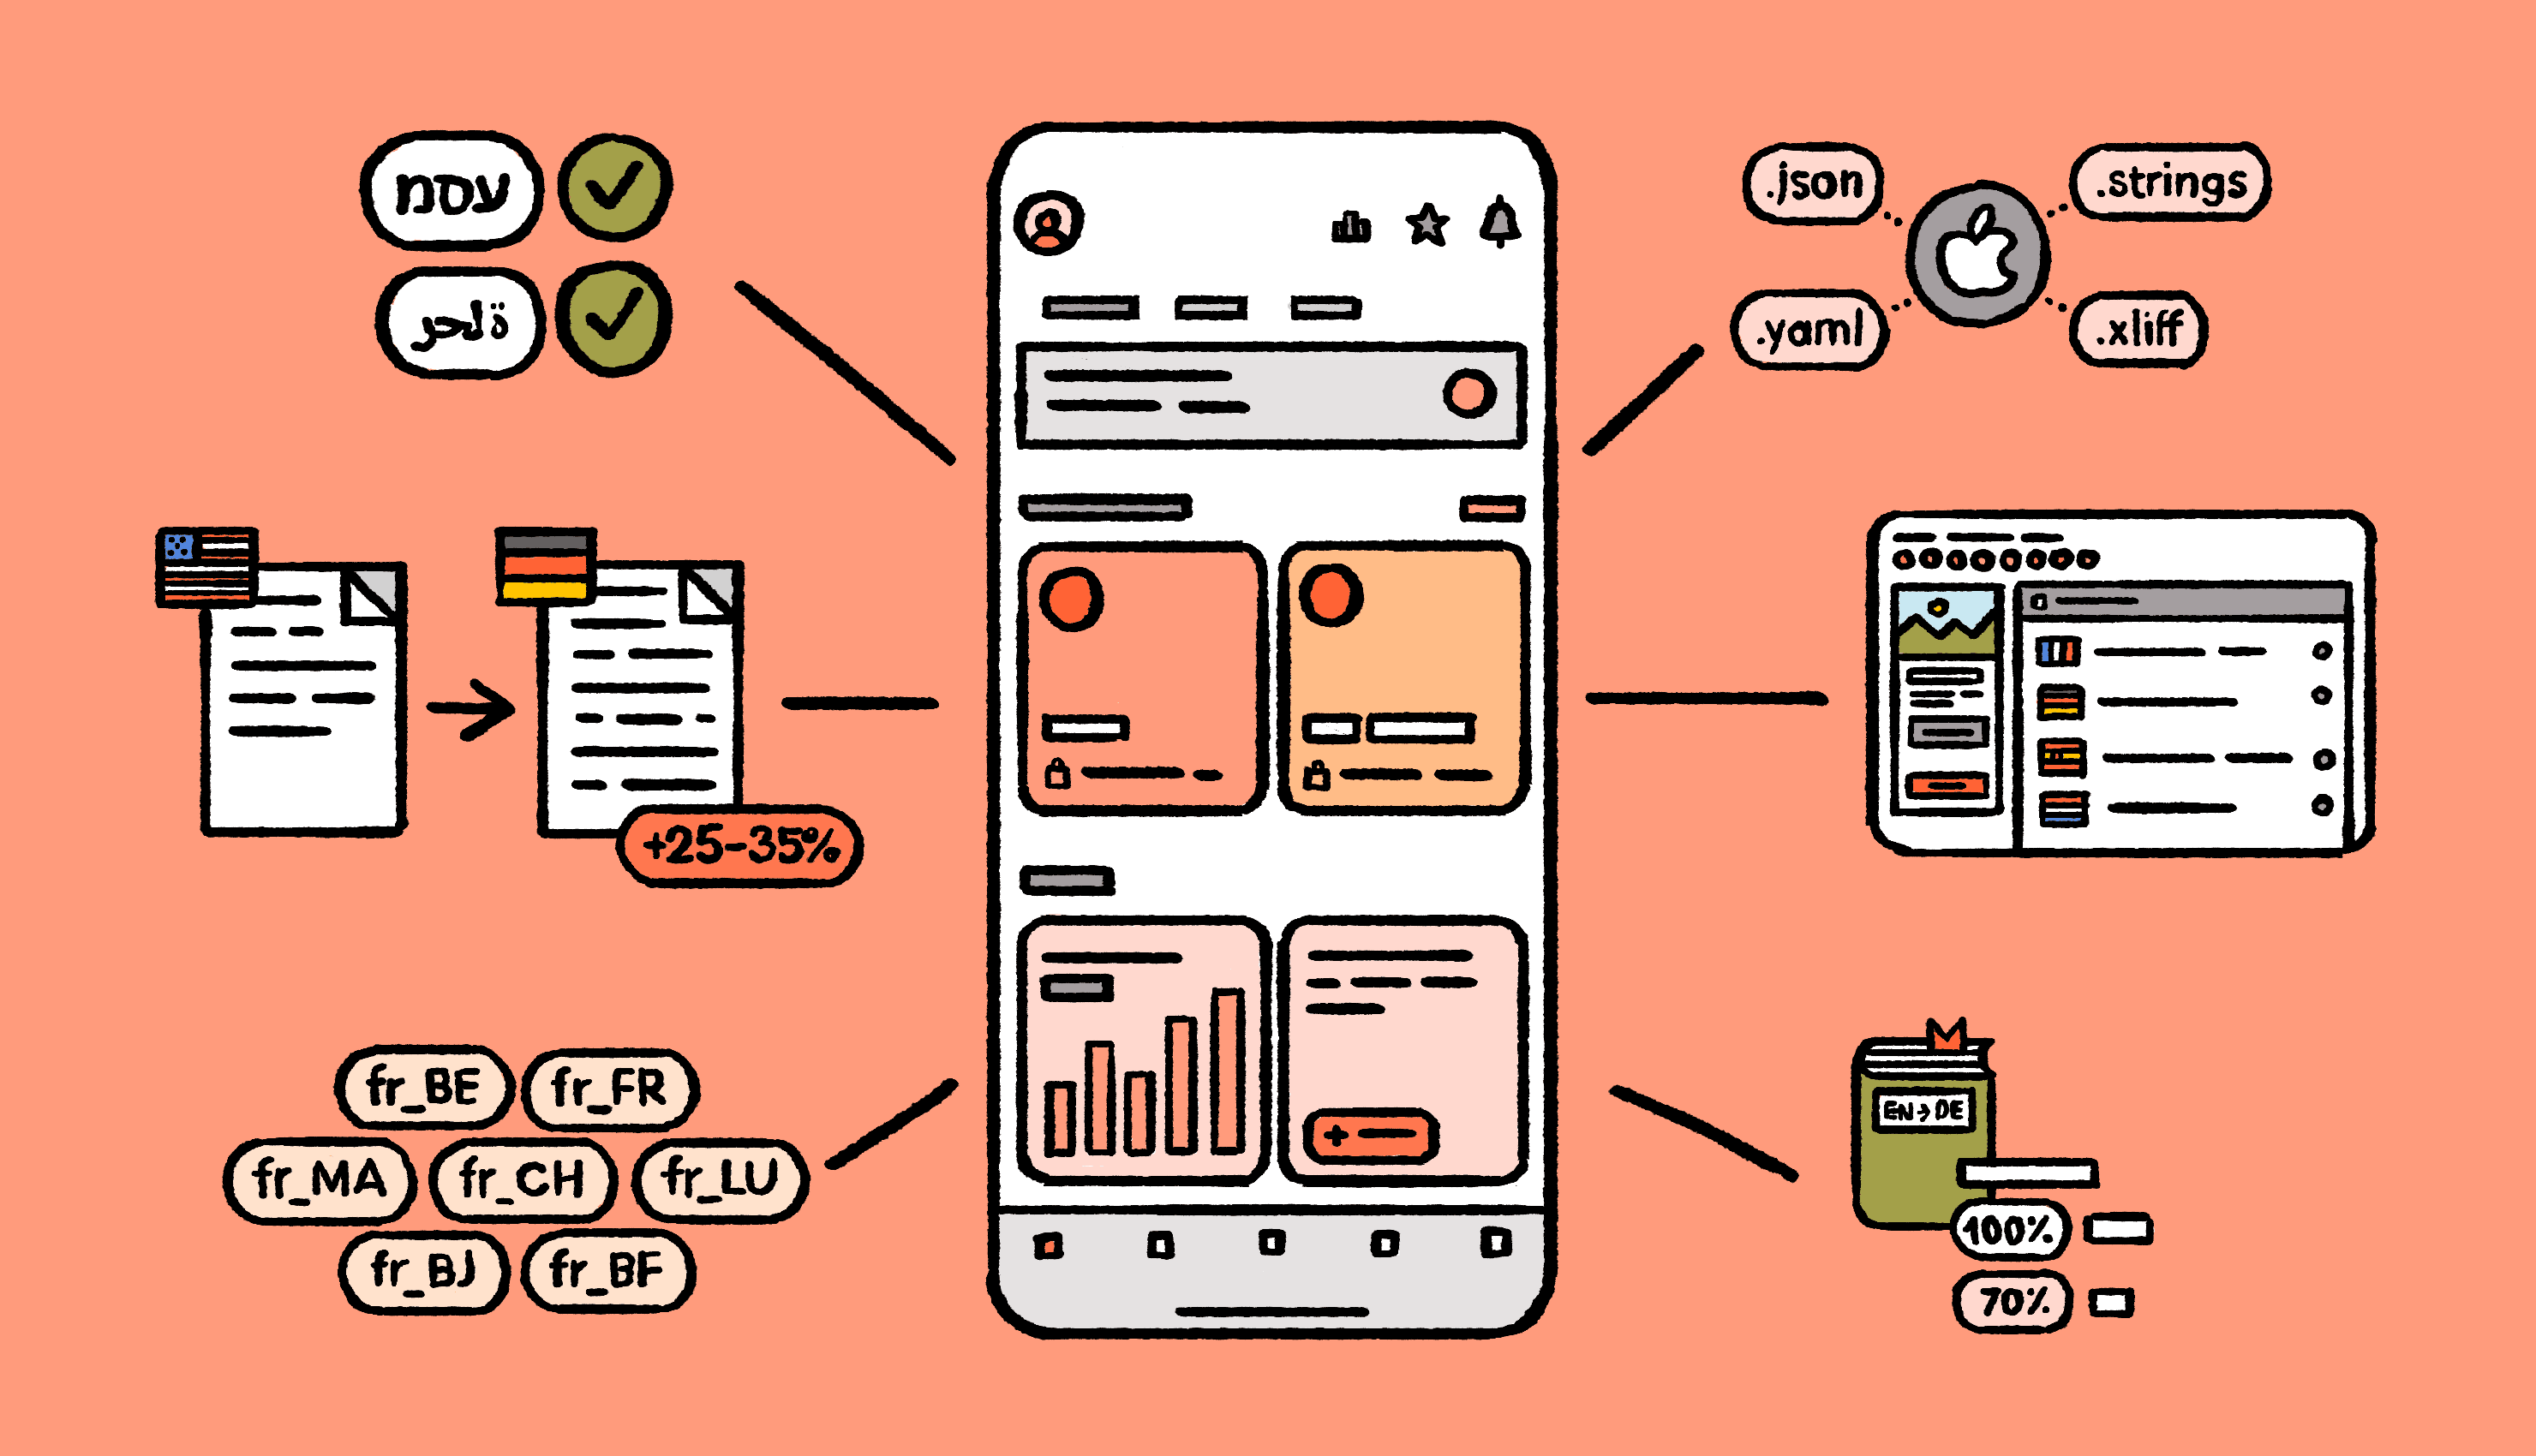
Make sure you build adaptable designs that can handle variations, especially for languages like German (expansion) or Swedish (contraction), and vertical scripts like Korean or Arabic. The same applies to right-to-left languages, such as Arabic or Hebrew.
Here’s an example from Slack, which used Lokalise to quickly localize into 10+ languages:
As you can see, Slack took into account text expansion of German translations, and made sure their app supports it with additional space.
Pseudolocalization is a testing method that simulates how text will look in different languages by altering the original language. You can use it to simulate how your app handles different languages without requiring real translations.
If you assume that your translated text will grow or shrink, having a function which allows you to increase or decrease the length of text allows you to ensure that translations won’t break your layout in the app.
For example, in the case of German, you can account for the text length increasing in knowing that it will be roughly 30% longer than English. Here’s what a pseudo-localized string for German looks like in practice:
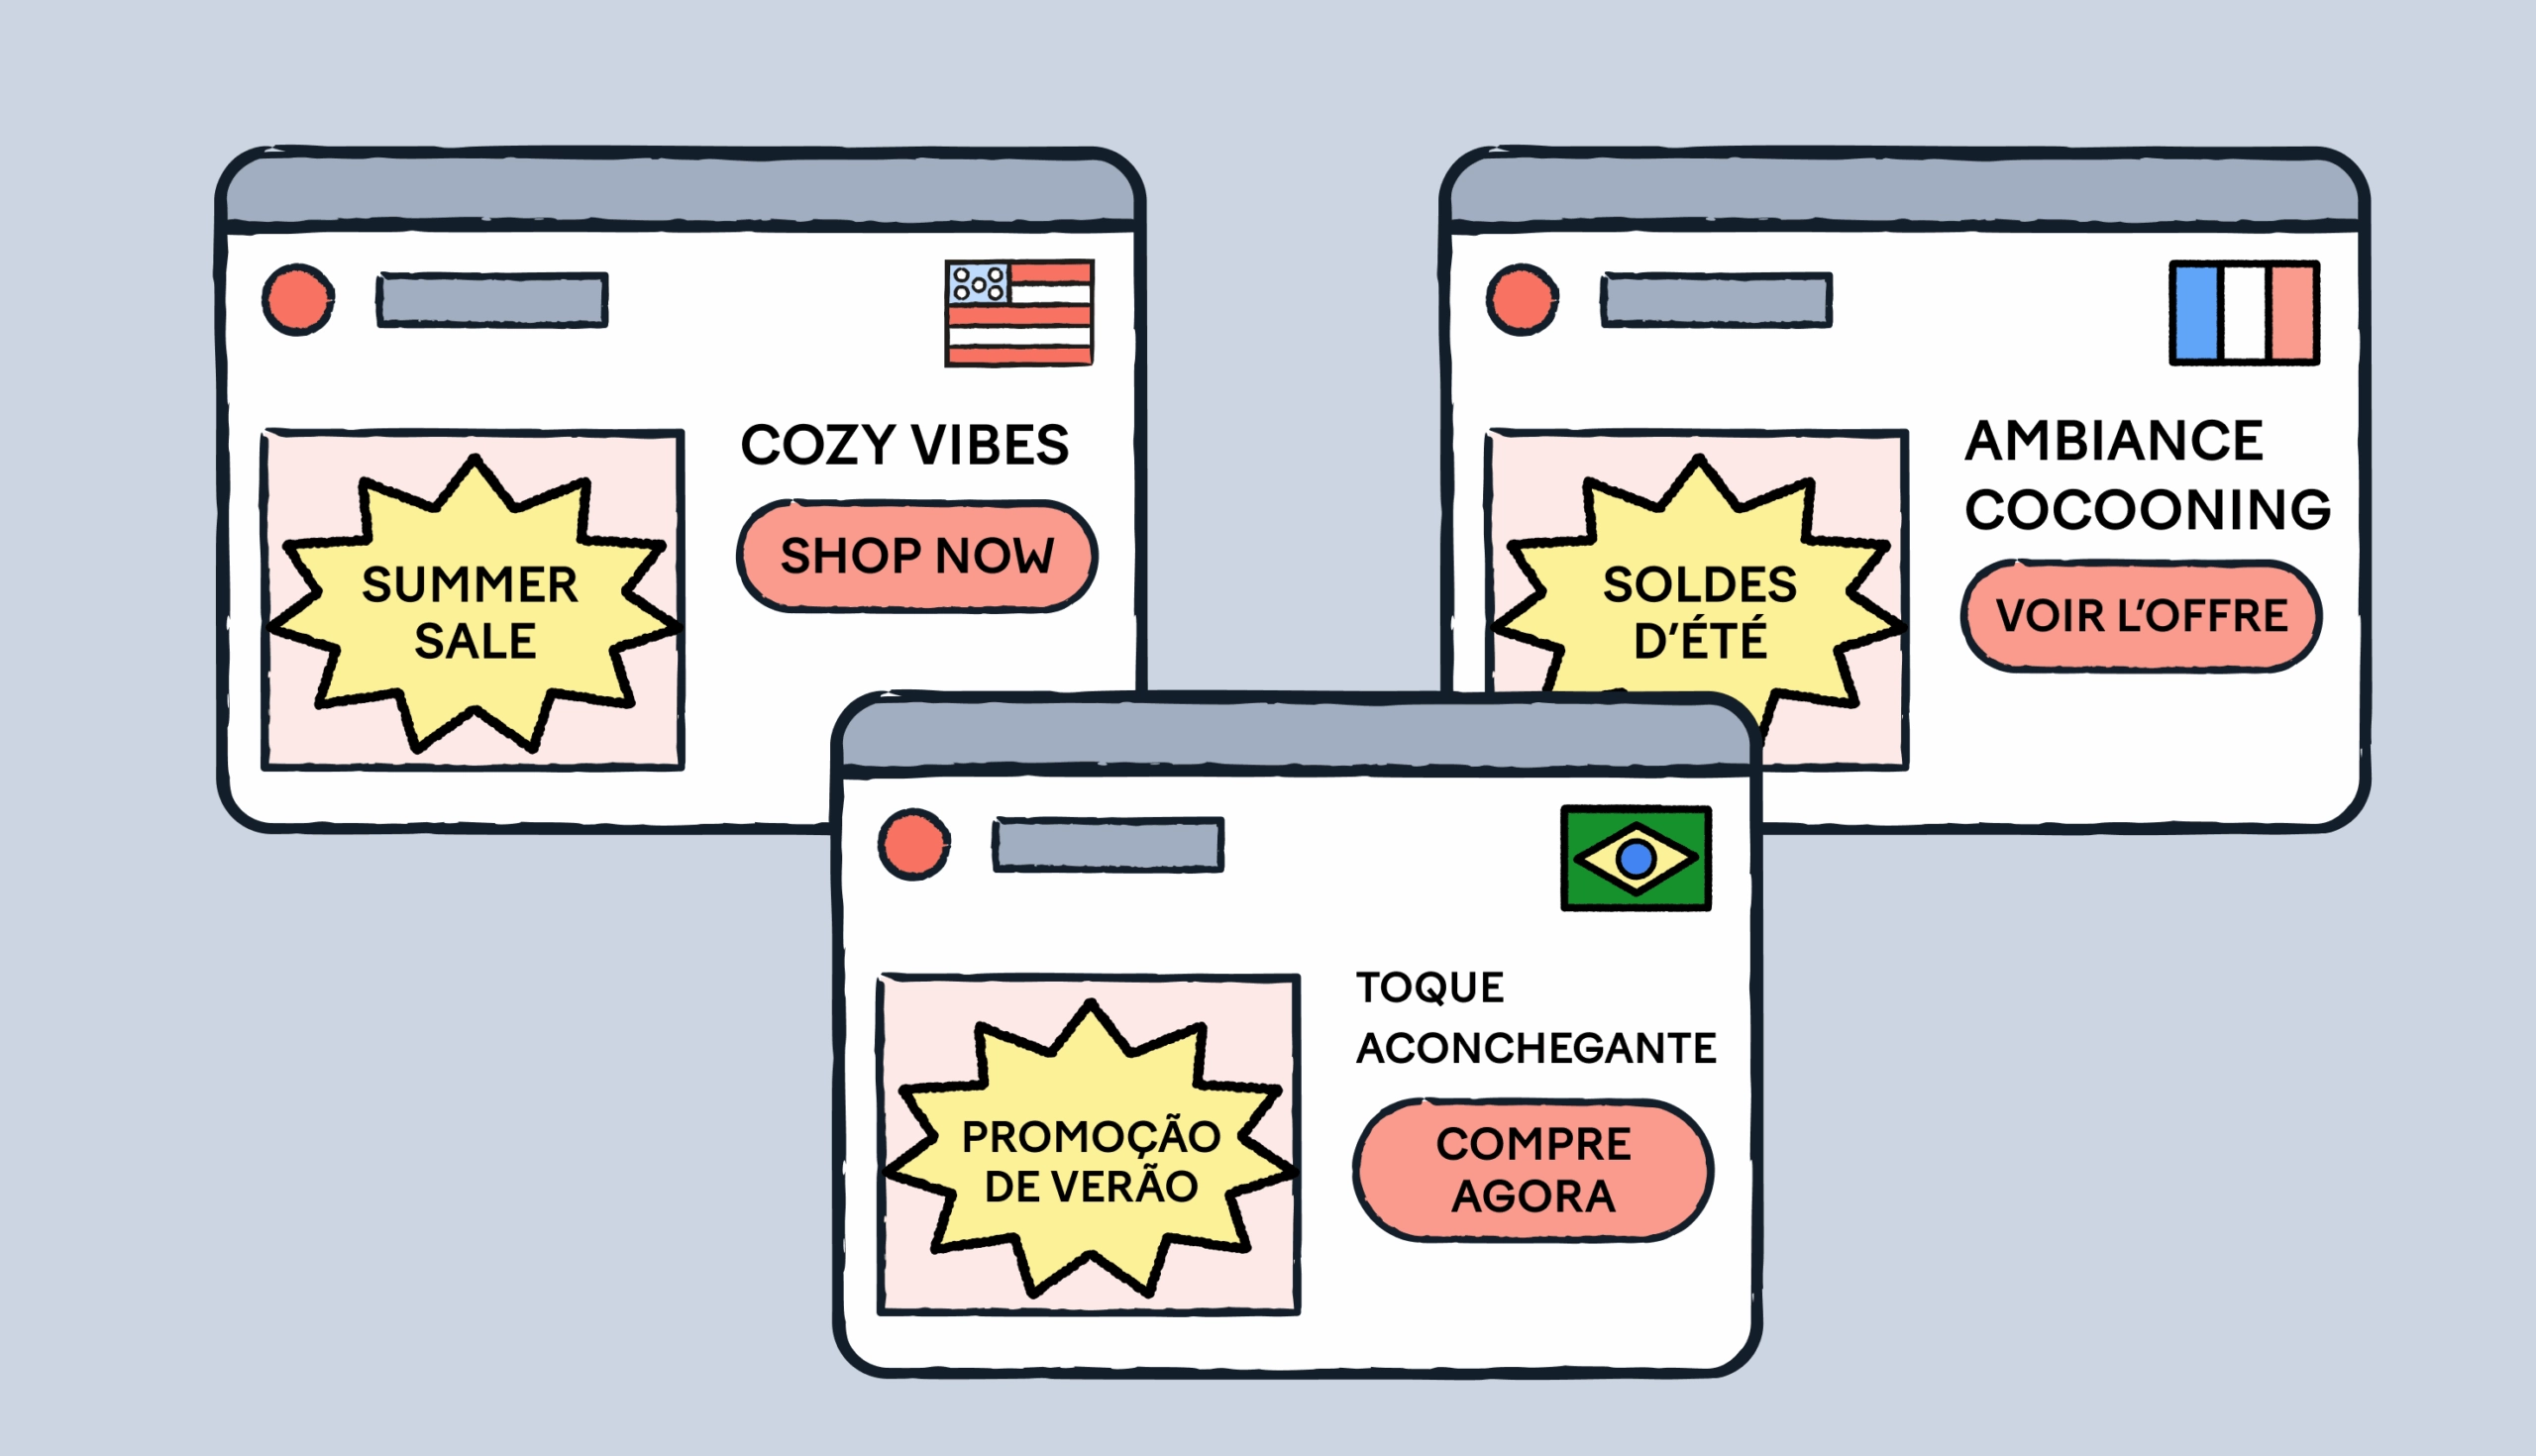
3. Focus on locale, not just language
When localizing, consider both language and locale, as they impact user experience in significant ways. A single language code (e.g., “fr” for French) may not account for regional differences that matter to users, like currency format or date formats, or common expressions.
Use specific locale codes (e.g., “fr_FR” for France, and “fr_BE” for Belgium) to tailor content to regional preferences, and ensure accuracy for elements like currency (EUR vs. CAD), time, and date formats.
Also, make sure you account for plural forms. Languages handle plurals differently. Some have more than two forms (singular and plural), depending on number ranges.
4. Provide context to linguists
In the past, linguists might have been handed a spreadsheet with all the content to be translated. They would translate hundreds of keys in a vacuum, with zero context of where the text fits in app UI or elsewhere.
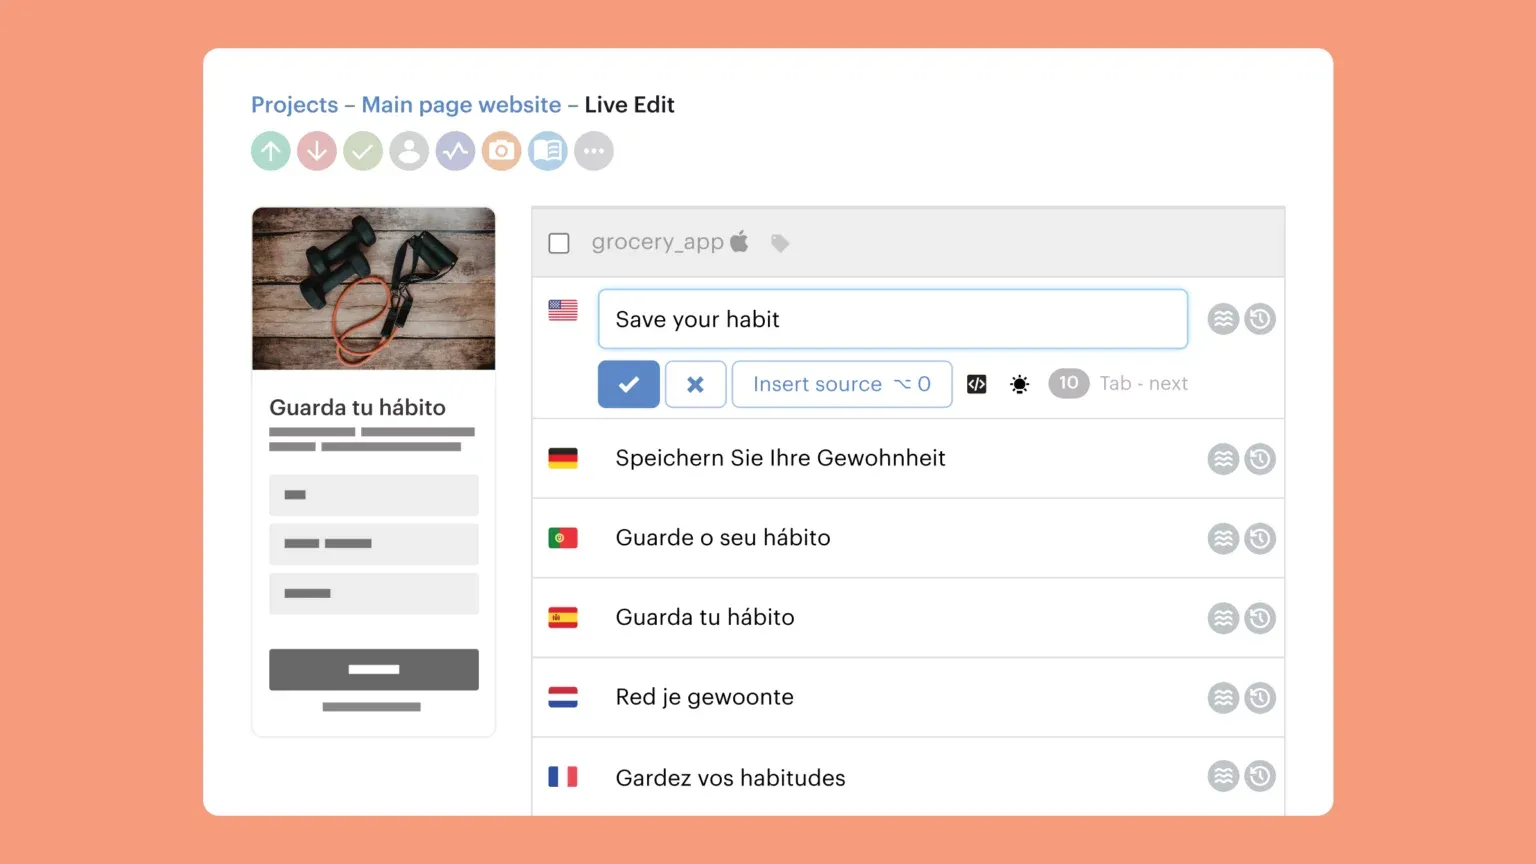
With tools like Lokalise, linguists can translate one page at a time with screenshots that provide context. Since it’s far easier to show than to describe, this allows linguists to move faster and produce higher quality translations.
You can easily preview what the translated text will look like in the user interface, and solicit feedback before it goes into production (see example below):
5. Use a glossary to keep brand terms consistent
Like software localization, a glossary and style guide are key components of the language assets you will need for localizing mobile apps whether working with a language partner or performing translations in-house. Using a glossary will help keep your translations and terminology consistent.
With Lokalise, you can set up a glossary for your projects to define and describe each. You can also set whether a term is translatable or case sensitive. Here’s an example showing a non-translatable, case sensitive term:
When a term is used in the source language translation, it will automatically show up in the editor’s line box to ensure that the linguist doesn’t miss it. This is especially important for highly regulated industries (e.g., medical software localization).
Tips for mobile app image localization
6. Separate text from images
Avoid embedding text directly into images. Instead, use translatable text layers to simplify localization, allowing you to swap text while keeping visuals consistent across languages.
If you can, create a translatable text layer using a translation management system (TMS) that has optical character recognition or connects with dedicated design tools like Figma.
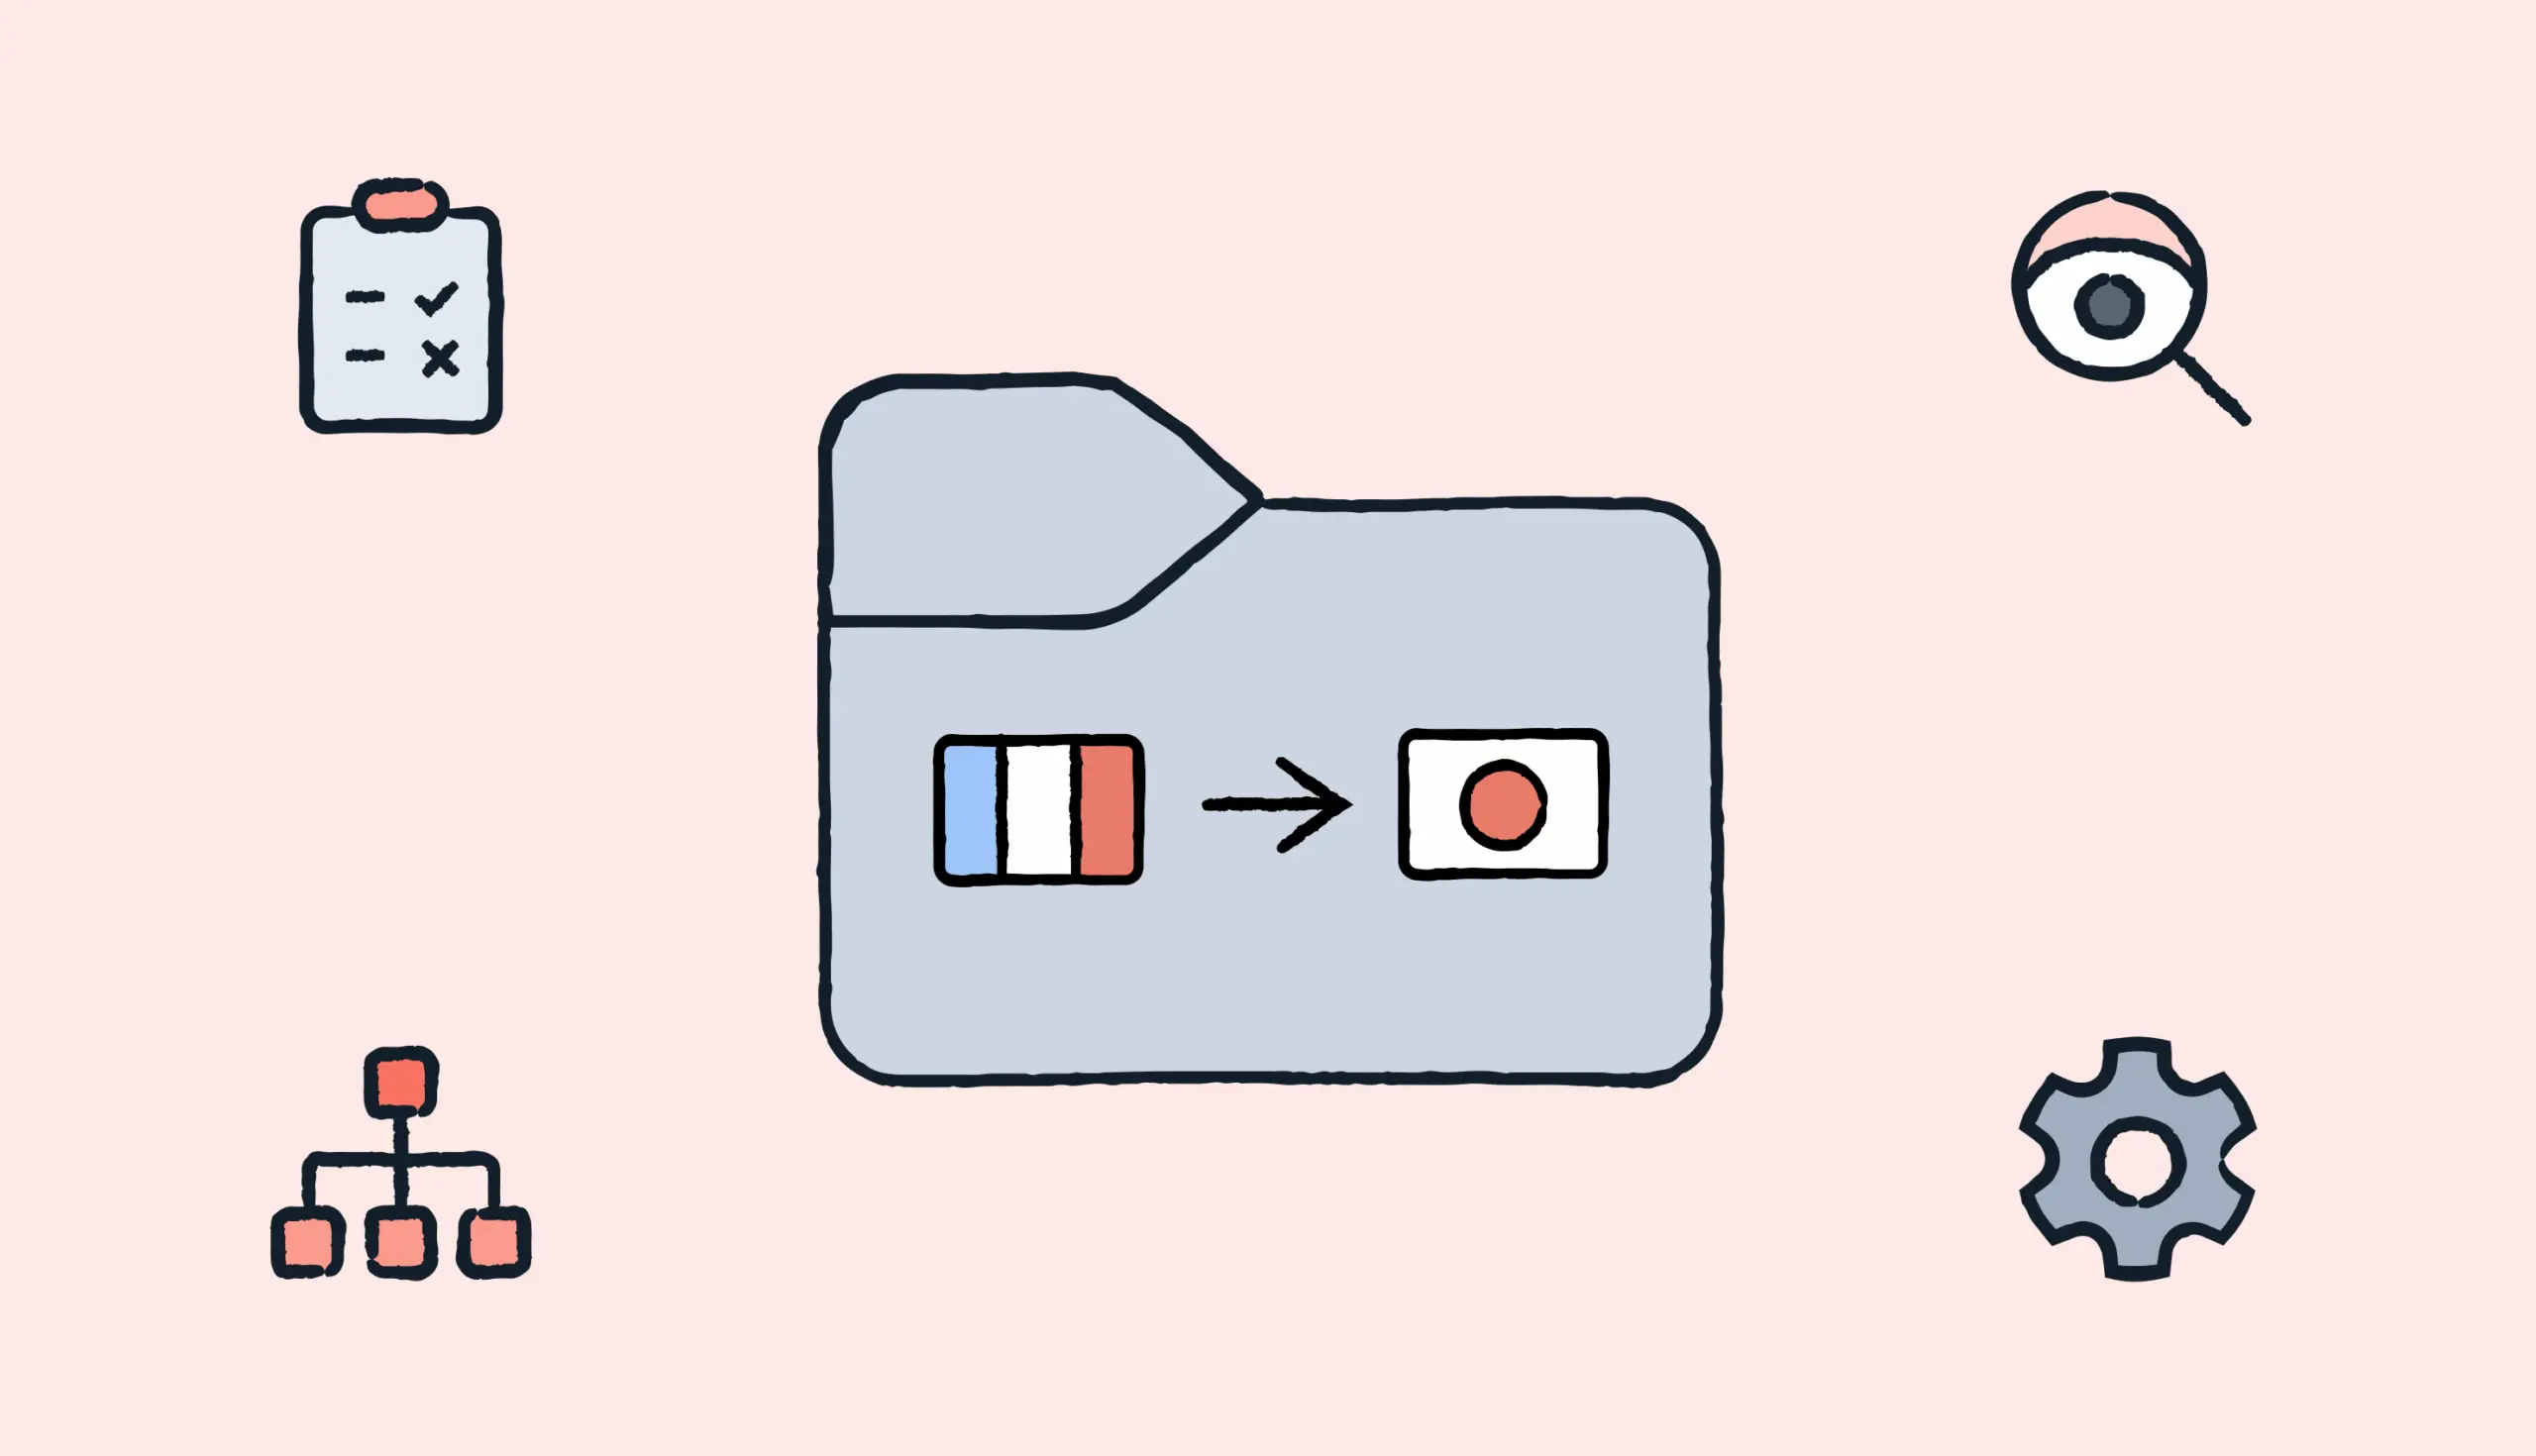
7. Make image source files easy to access
Make sure you not only give your localization team or partners access to the final file in the image format, but the source files too.
In some instances, you may want to keep the layout of your mobile app consistent but swap or hide visuals depending on the locale. You’ll also need to test for cultural imagery.
You’ll just want to keep in mind that if you’re putting in images where the text can’t be extracted, that you might later need to swap or hide, and create designs accordingly to enable that level of flexibility.
Tips for mobile application localization development
8. Use proper file formats
Keep strings external and use standardized formats (e.g., JSON, XLIFF) for easier updates and localization scaling. This approach streamlines translation and avoids code changes with each language update.
When you store your strings in the proper file format, your content can be localized without the need to write additional code.
💡Pro tip
Use a tool that supports import and export of various files formats. For example, Lokalise integrates with all the major code repositories, meaning you can push and pull language files, and continuously update your localized content.
9. Avoid hard coding currency, time, and date formats
The world is a wildly inconsistent place when it comes to time, date, and currency format.
Some countries put the month first and others put the day first. Others use a 24-hour format while some use 12-hour splits. While some use AM and PM, others do not.
Currency varies too. Believe it or not, but there are more than 20 different types of dollars around the world.
Make sure you:
Avoid hard coding currency, time, and date formats to accommodate for the global market
Use standard formats–ISO time, epoch time, or UTC
Create proper libraries–Date.js or Moment.js will format them for you for each locale and convert to the right time formats
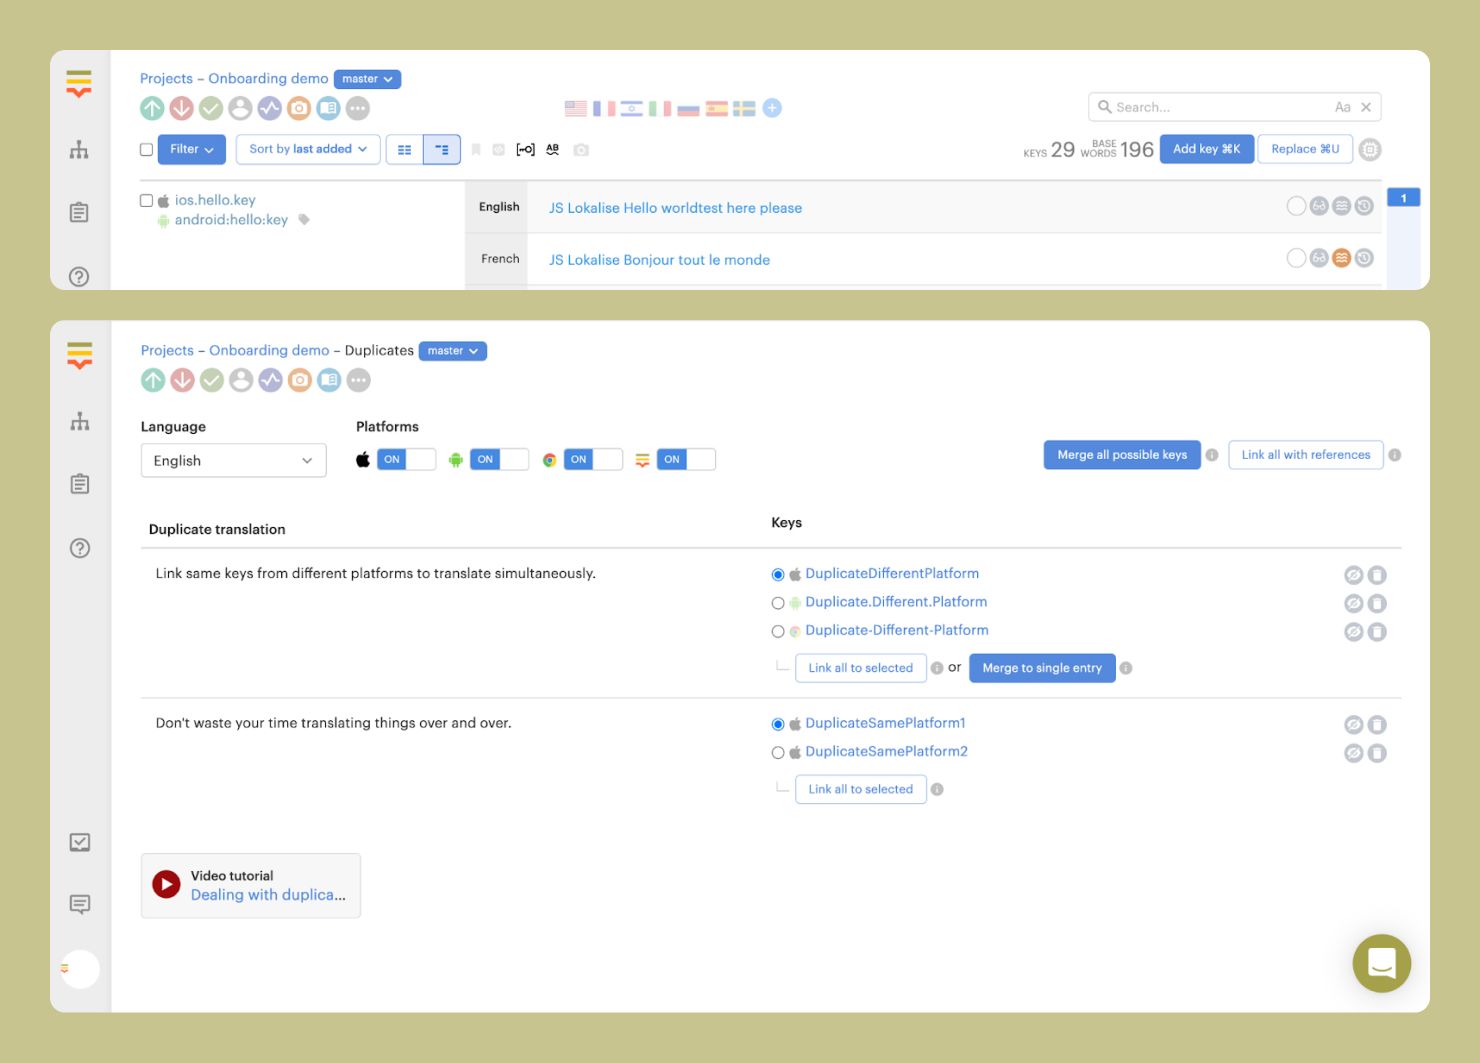
A common situation when you are developing an app for two or more platforms: some key names and values are the same, while some are different.
Different platforms have different naming schemas. For example, iOS developers would prefer LoginButton while Android coders are keen on using login_button. By merging similar keys into a single key entry, you can avoid repetitive translation tasks and keep your project clean.
If you work with multiple platforms, it’s best to include all platform keys on export.
“It probably takes longer for Apple to review the app than for us to roll out a language with Lokalise.”
The irony is that there’s a lot of truth to his comment. Revolut releases new language updates quickly, using the mobile software development kit (SDK) for over-the-air (OTA) updates.
So, what exactly are OTA updates? Lokalise’s mobile SDK allows you to publish and update text strings in your iOS and Android apps over the air instantly. Here’s how it works:
No need to wait days for the next deployment and re-submit a new version for approval to the App Store or Google Play.
Tips for mobile app localization workflows & QA
12. Automate your localization process
You should centralize and automate localization with tools that sync with your codebase. Automation helps maintain translation quality and speeds up the process by triggering updates, notifications, and even machine translations where appropriate.
Here’s a short tutorial of how you can set up automations in Lokalise:
13. Use a design-led workflow to get localized apps to market faster
Design-led localization is a powerful way to continuously release fully localized products like mobile apps.
With Lokalise’s two-way integrations that sync content with code repositories with different types of tools, you can streamline your localization process and embed them into the product development phase.
For instance, by pushing and pulling keys from GitHub and your design tool, designers and developers can dovetail their efforts for a localization flow that follows the continuous deployment of features for your mobile app.
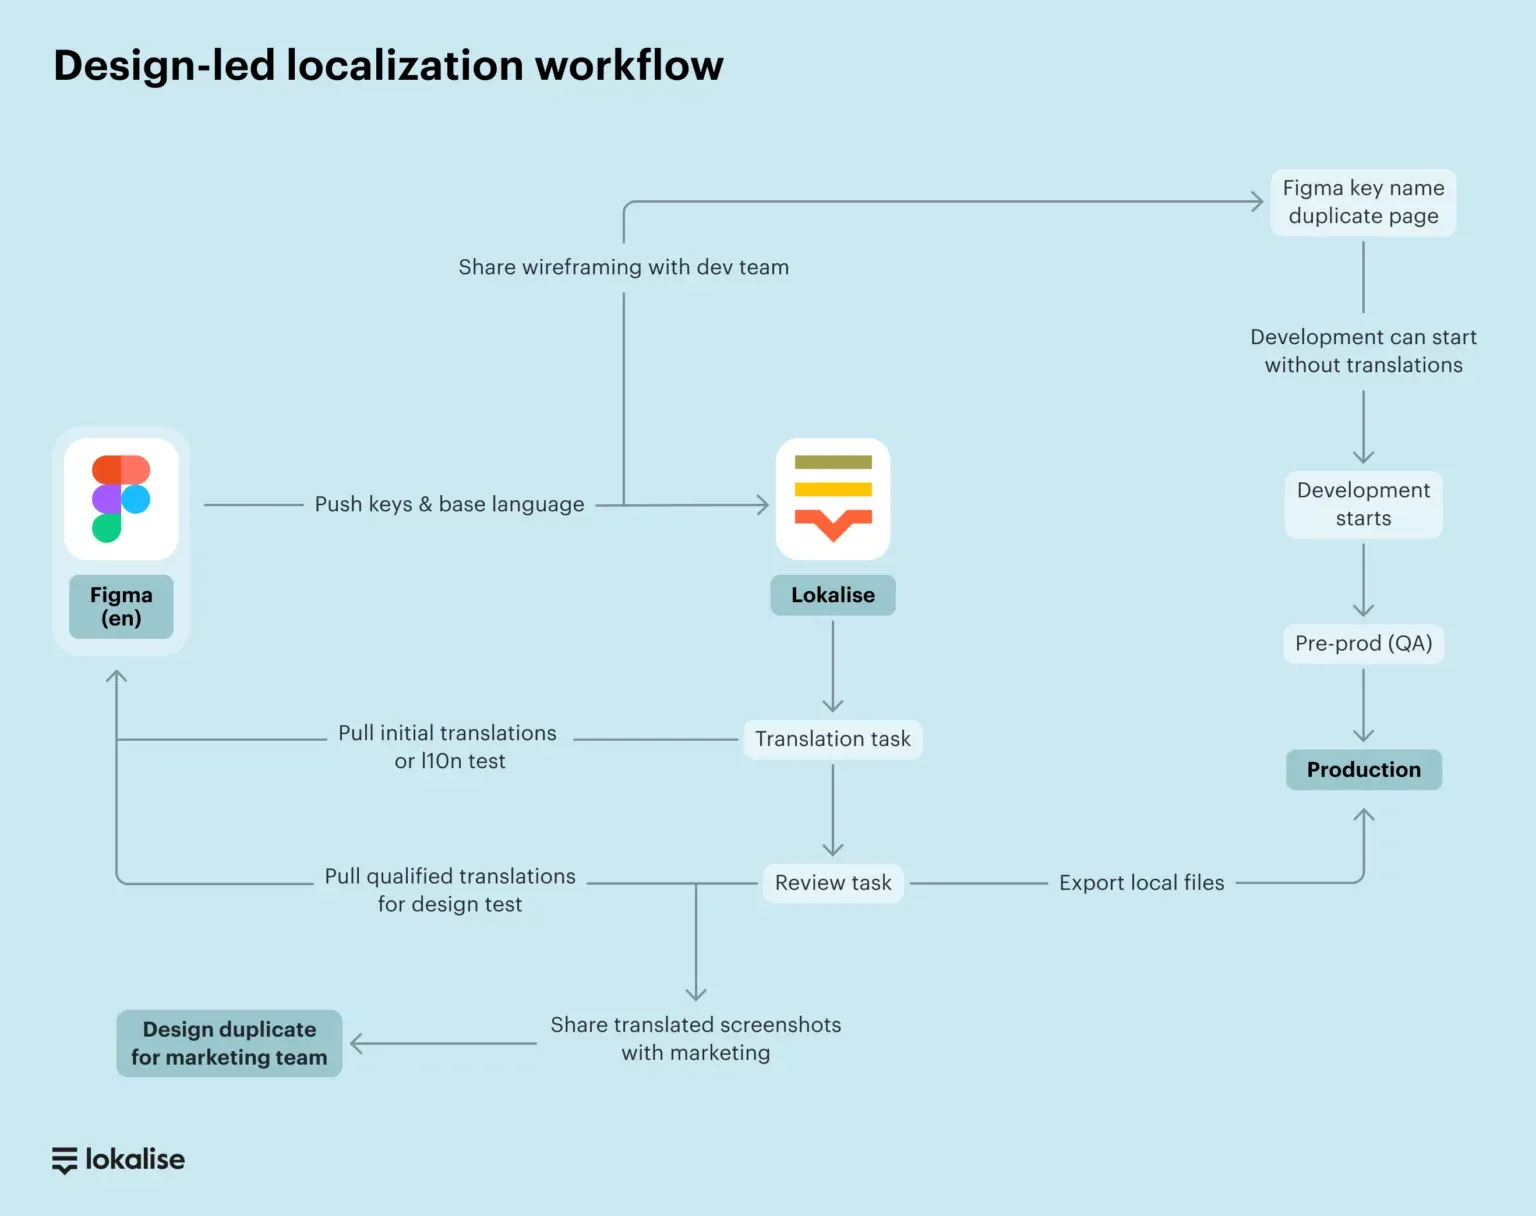
Here’s an overview of what that looks like in practice:
The main steps of this process are:
The designers/content team create the design with key names on Figma (or other tool)
The keys and base language are pushed to Lokalise
Developers get the keys from a duplicate page on Figma
Linguists are in Lokalise throughout the entire flow
💫 Get inspired
Read this case study to learn how Withings increased their localized feature rollout by 90% with this type of workflow.
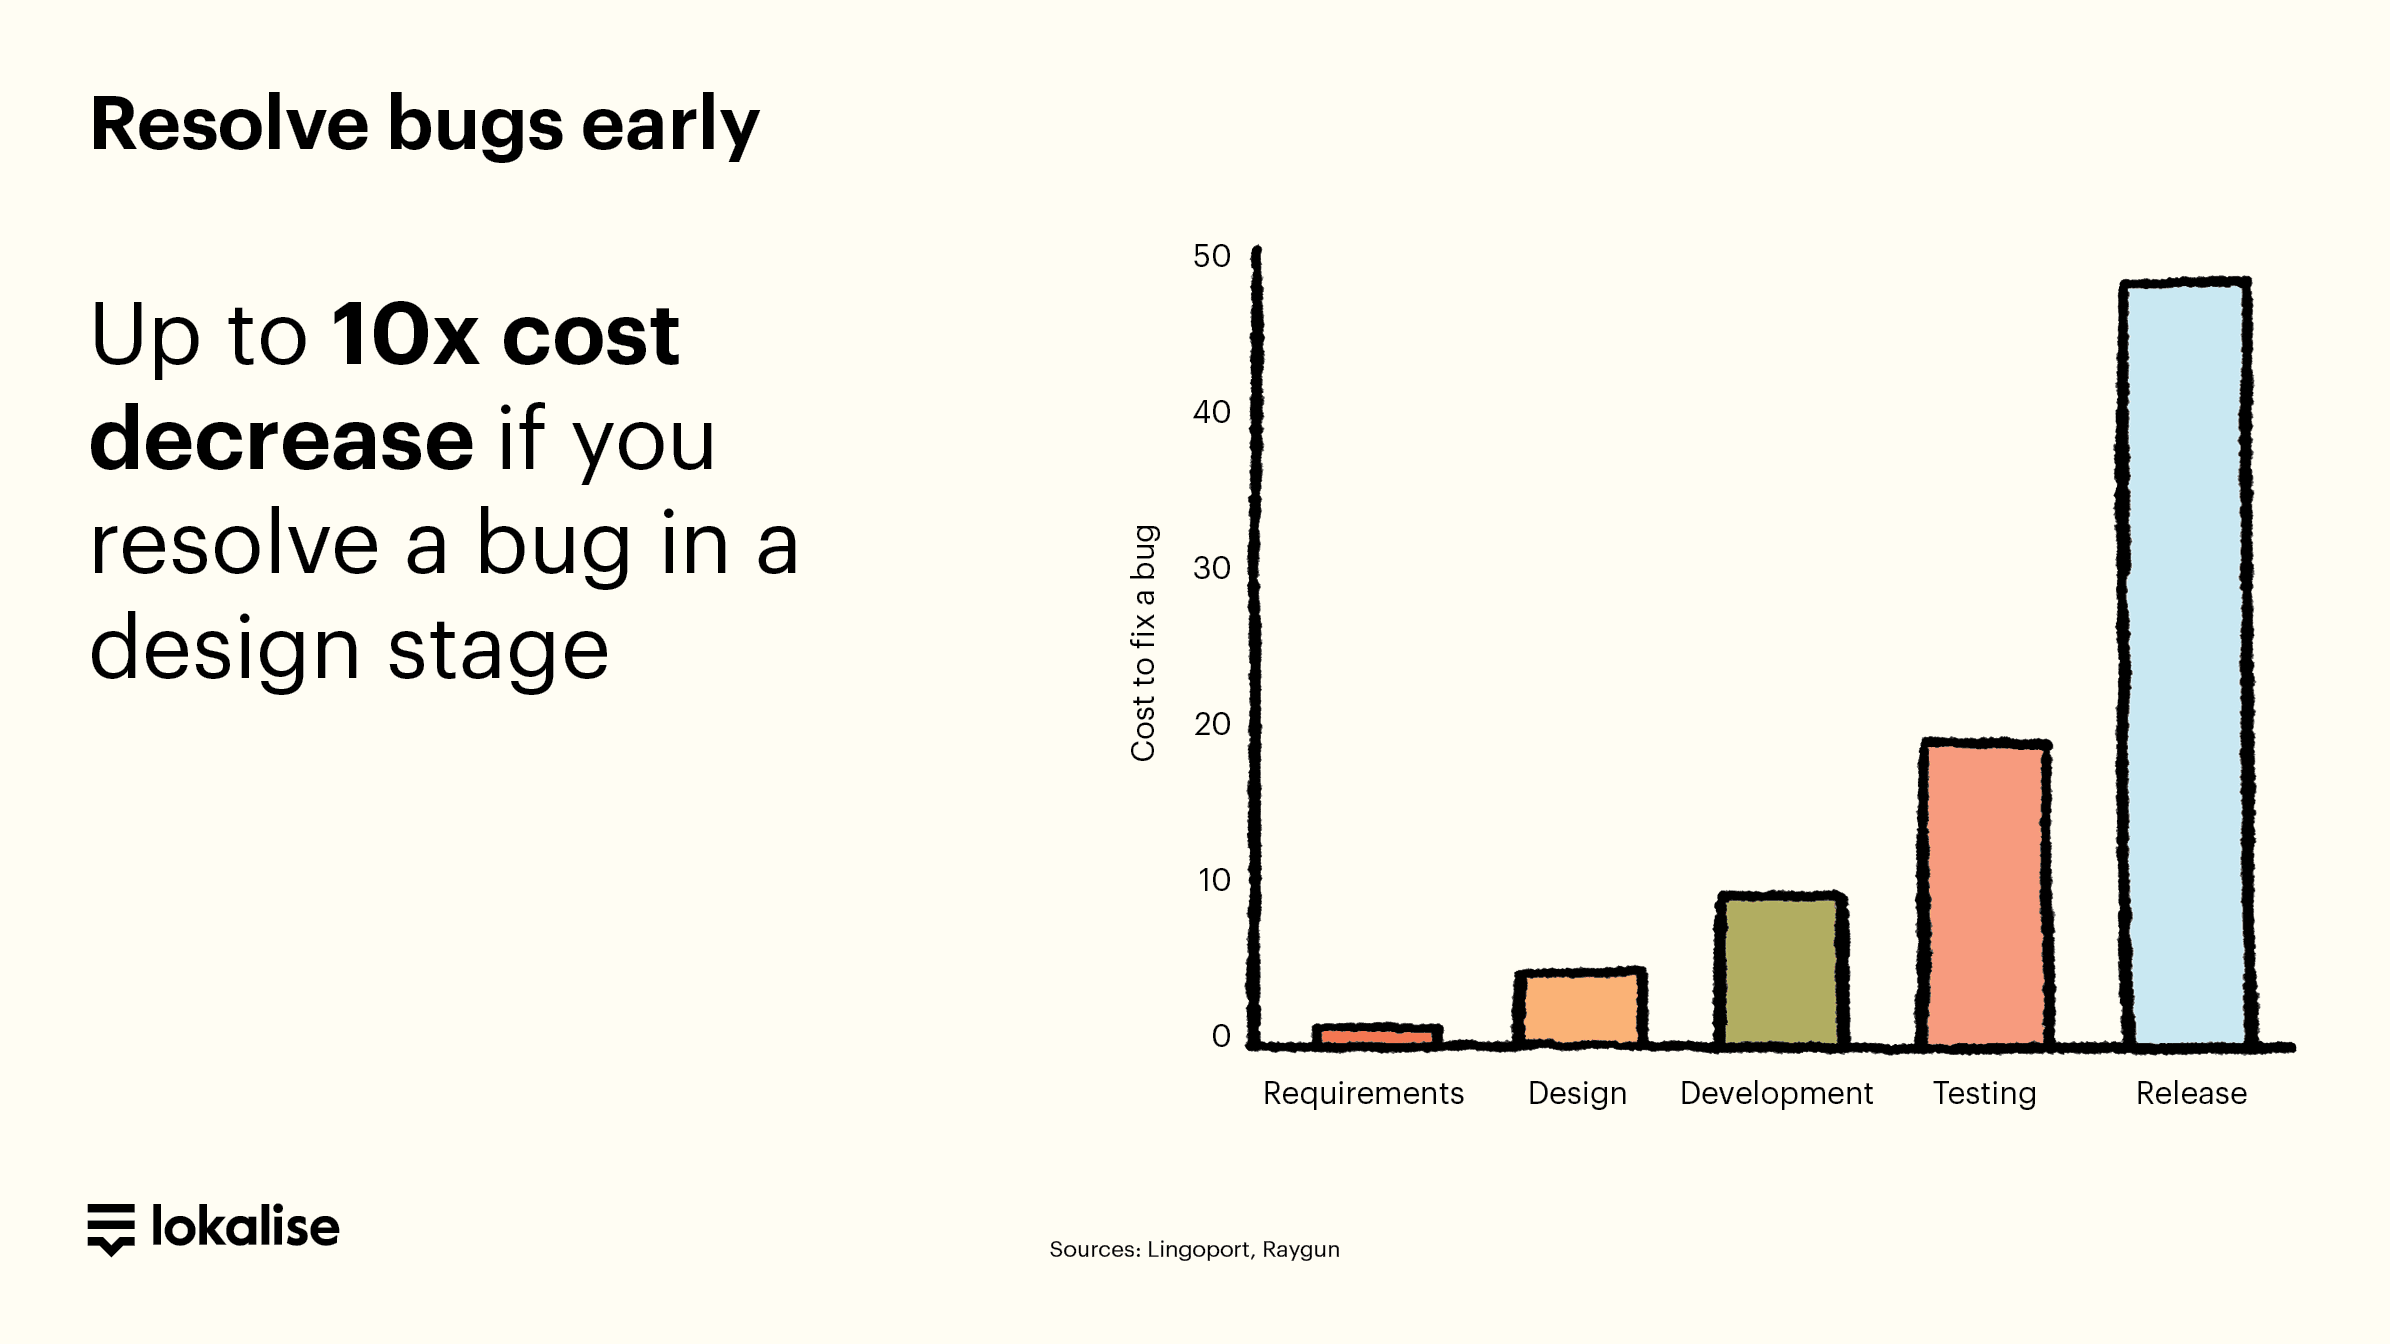
14. Incorporate localization test early on
It’s smart to run localization tests early on to catch layout or text expansion issues before they reach production. Testing early prevents costly changes later and ensures a smoother user experience across languages.
When you include designers into the localization flow earlier, it pays off big time. As a matter of fact, based on research, resolving bugs early can result in up to 10x cost decrease.
15. Perform pre-production QA
You should also perform pre-production quality assurance (QA) for builds.
This means your internal stakeholders or QA team can test the app with translations pushed from your translation management system.
For example, using the Lokalise Mobile SDK, you can push the latest translations to your pre-production environment. This allows your team members to:
Test the app for final feedback
Update the strings (if any)
Instantly push to production
How to add mobile app localization to the App Store
When localizing your app, don’t overlook your App Store listing. Localizing metadata and keywords is key to making your app discoverable and appealing in each market.
Start by translating keywords, app name, description, and screenshots for as many locales as possible—even before localizing in-app content. This will increase your app’s discoverability for new regions.
💡Pro tip
Using the Fastlane plugin, you can automate App Store and Google play metadata updates. Use the data on the locales that are downloading your app to determine which markets to expand in. No need to wait days for the next deployment and re-submit a new version for approval to the App Store or Google Play.
Mobile app localization best practices checklist
Finally, while this list includes the most actionable tips for localizing mobile apps, it’s by no means comprehensive. However, it covers the items we think are the most important, yet often overlooked. It will make your life easier, for sure.
Lokalise streamlines mobile app localization by integrating seamlessly into your development workflow, enabling faster, high-quality translations with enhanced visibility and control. Give it a try today, no credit card requires.
Alex is Product lead at Lokalise, a tech enthusiast, and co-founder of an amateur football league. He has helped many customers to make improvements to their localization workflows and has become Lokalise’s product guru. In his free time, he enjoys travelling, playing football, and basketball.
Alex is Product lead at Lokalise, a tech enthusiast, and co-founder of an amateur football league. He has helped many customers to make improvements to their localization workflows and has become Lokalise’s product guru. In his free time, he enjoys travelling, playing football, and basketball.
The international SEO checklist: Go global without growth pains
International SEO is just SEO set on difficulty level: hard. Pick the wrong URL structure? Rebuild everything from scratch. Misunderstand local search behavior? Watch your content strategy crumble. Skip proper hreflang implementation? Google shows Hindi content to German users. The brands winning at international SEO don’t simply wing it. They follow a systematic approach to handle market research, technical setup, localization, and more. That’s why we created th
5 best translation management systems to make projects easy
The traditional translation management system (TMS) is dead. It doesn’t support the many moving parts of the multilingual content lifecycle, such as managing linguistic assets and syncing with design systems to integrating with codebases, automating QA, and coordinating stakeholders across functions. Modern TMS solutions go far beyond translation. They bring together translators,