The value of impeccable UX writing
After dozens of successful products designed for multiple sectors and markets, we have come to fully appreciate the importance of spot-on UX writing at Supercharge.
We are an international digital agency delivering transformative and innovative solutions for our clients.
As with most agencies, our workflow varies depending on the nature of each project, but sometime after the product discovery and the nailing down of brand goals and voice, we always squeeze in a dedicated copy phase to make sure everything is worded as it should be.
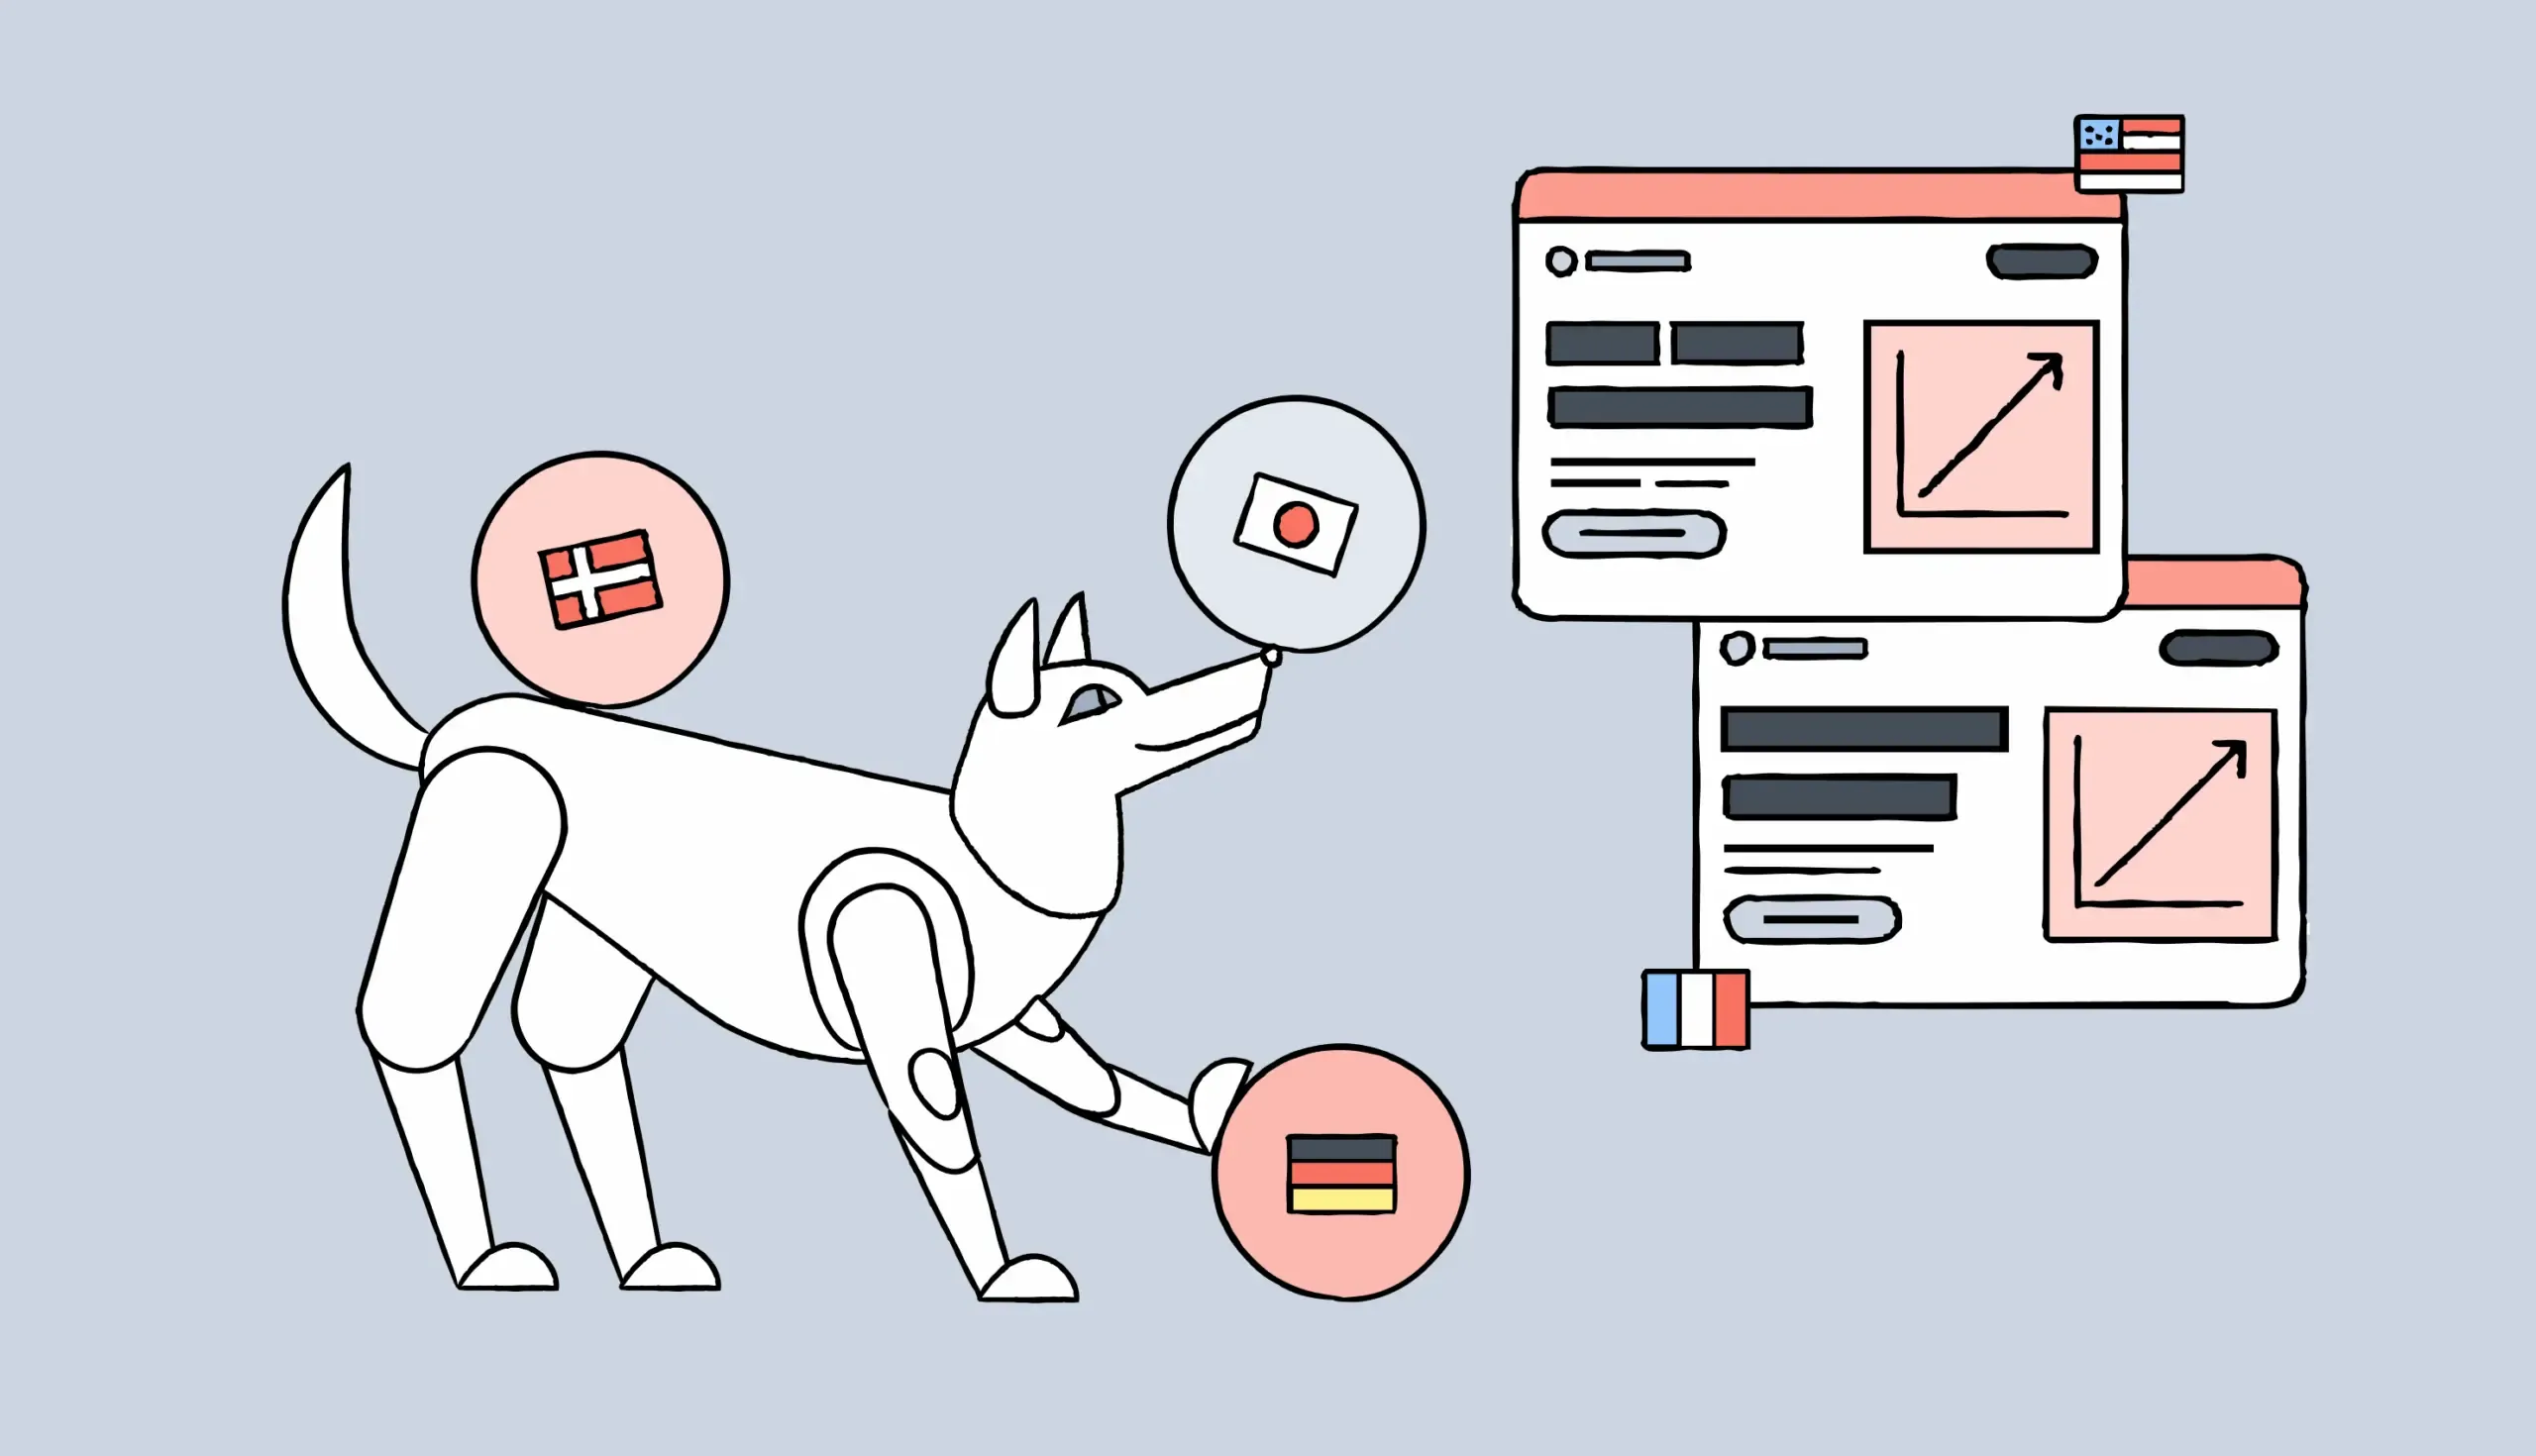
Then, since many of the products we are working with are targeting an international market, the same happens with localisation.
Because – no matter how short, concise, scannable and understandable your copy is, and no matter how it falls perfectly in line with the product’s tone of voice – it can all go to ruin if localisation is not carried out with careful precision.
Localisation for a seamless cross-border experience
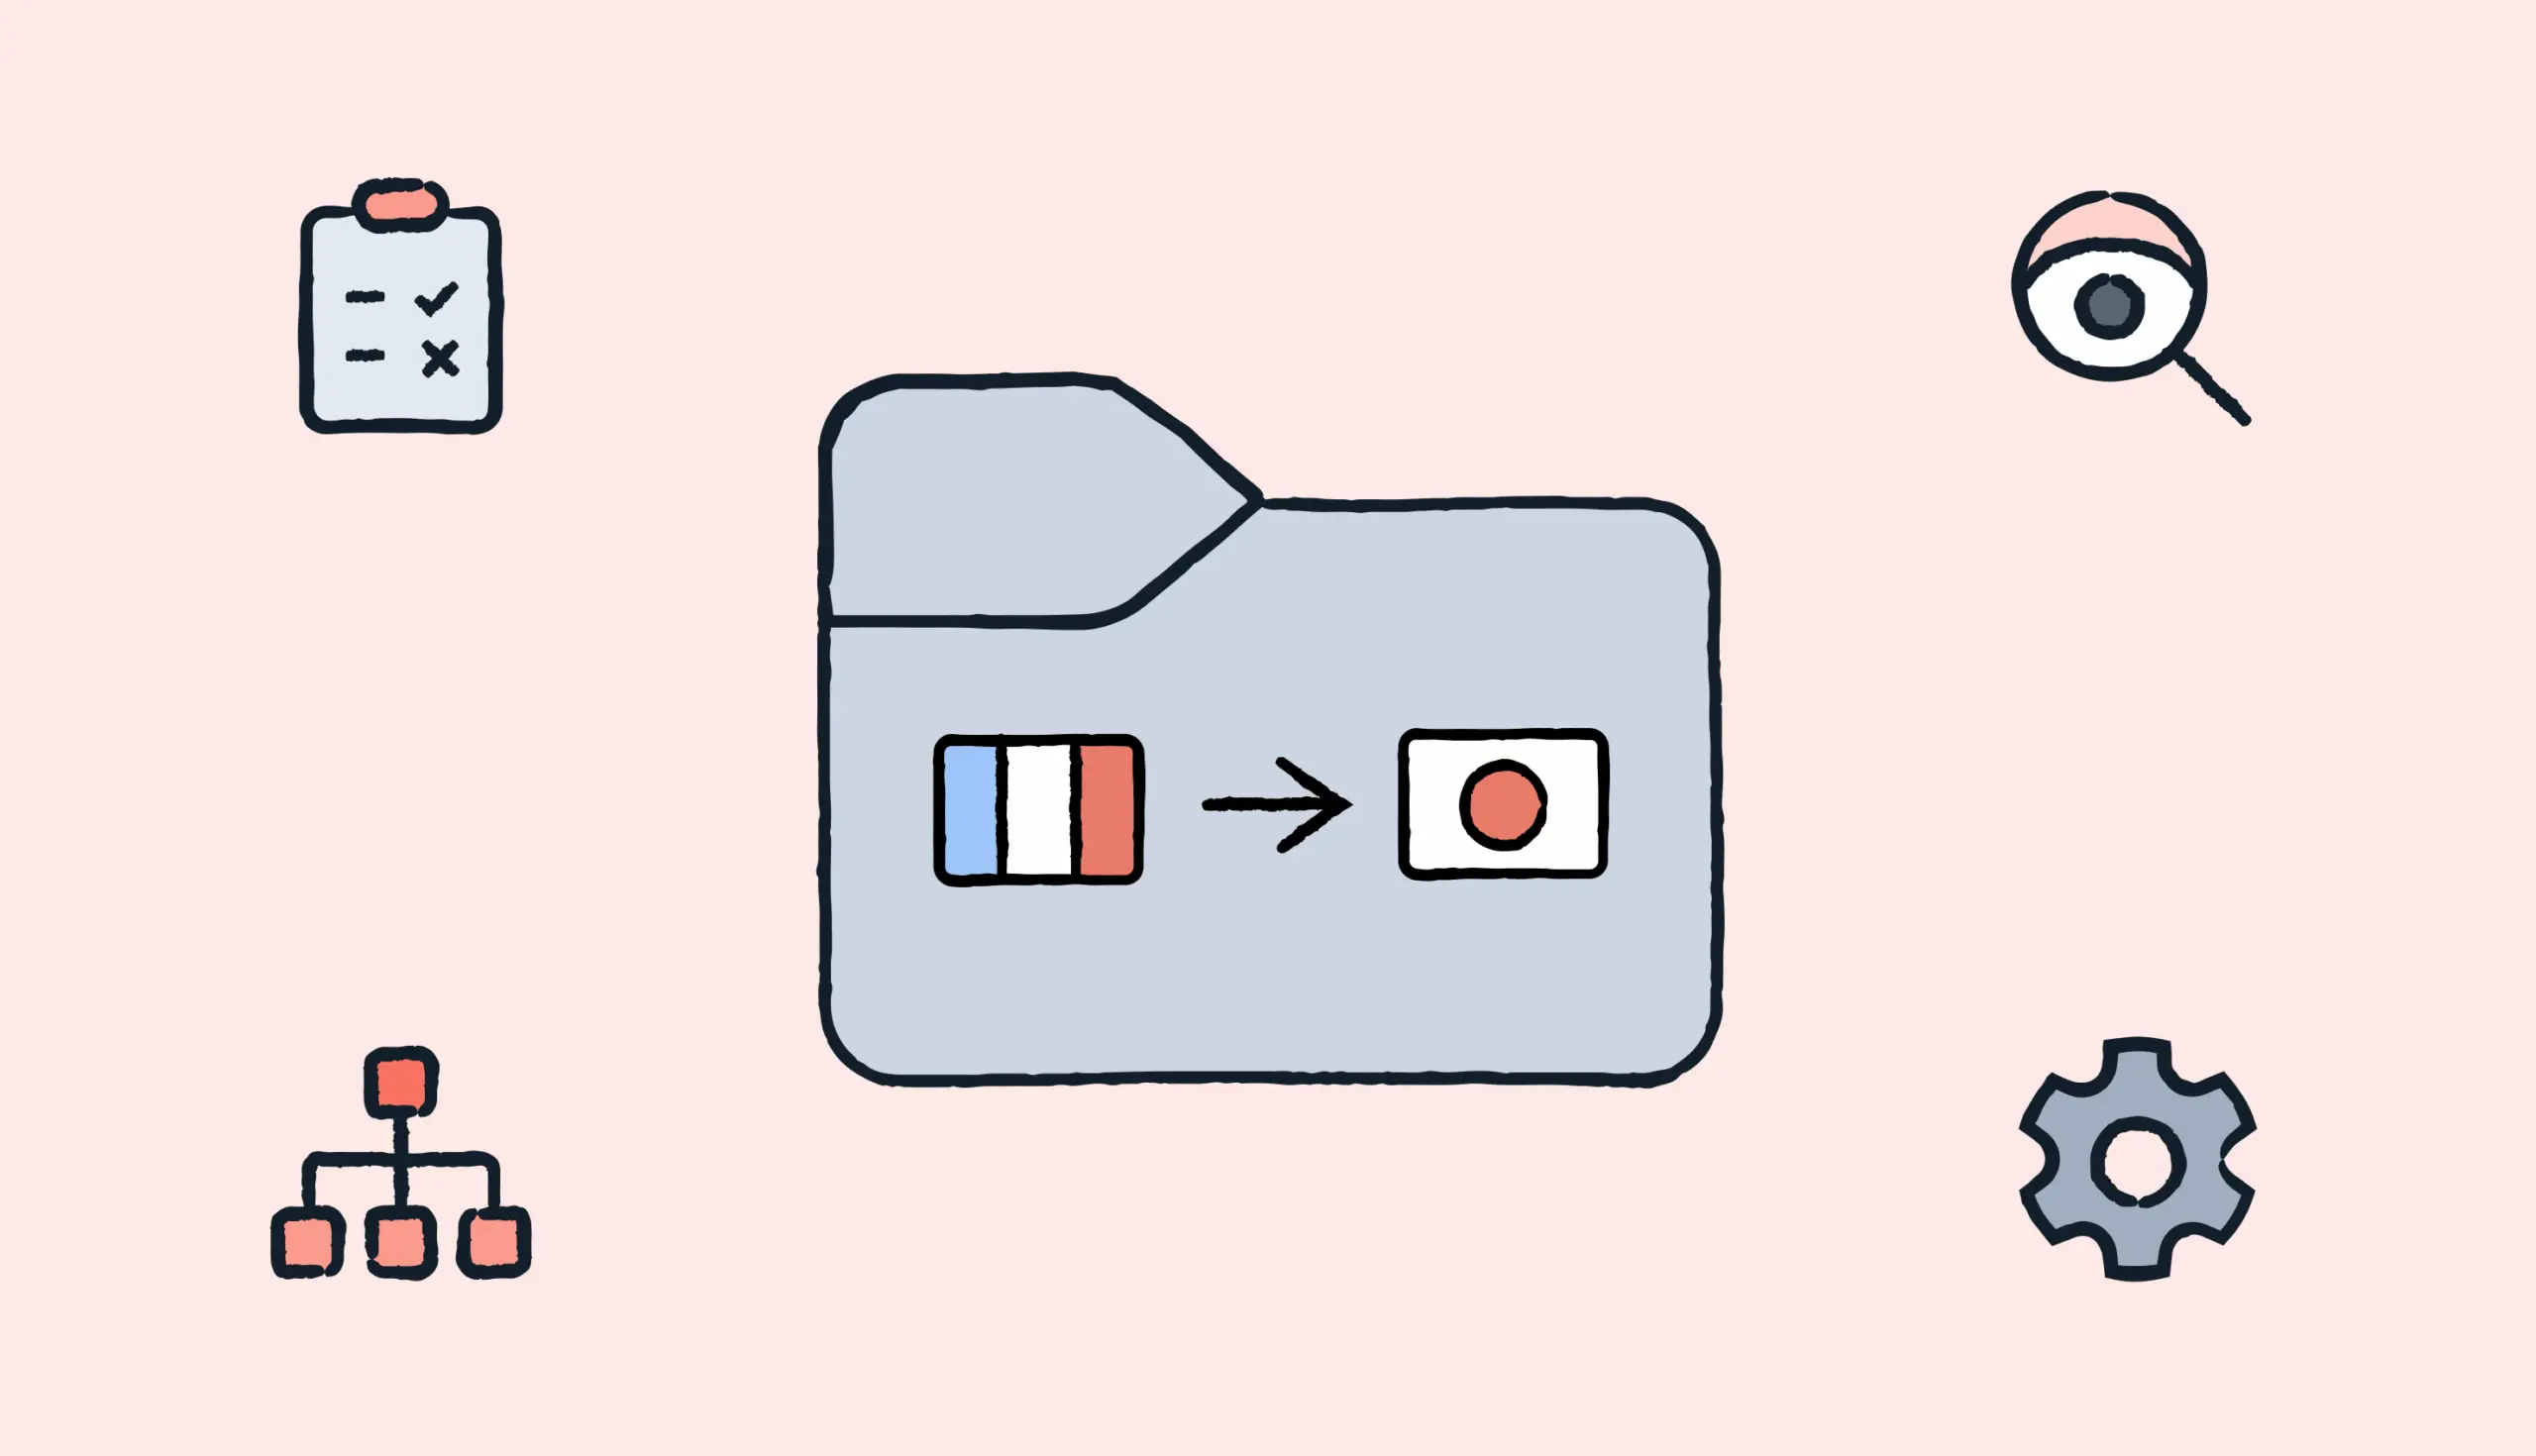
Localisation is the process of adapting a certain product from one market to another. It’s important to underline that localisation does not equal translating all your text into another language, albeit obviously translation is a major part of the work.
In order to make sure an application or a website would feel natural in a given country, you often have to change even basic traits (core messaging, tone of voice, design, etc.) of your product.
Providing the same product feel in other languages/markets you had envisioned in your app’s original language can be unexpectedly difficult, and a hastily managed localisation process might have a negative effect on your product’s fundamental character – ultimately impacting how well your app is received in other countries.
We have compiled a simple workflow we usually like to follow when localising digital products. This process will help you identify and avoid typical “localisation traps” that could be harder to watch out for otherwise.
Even though these steps are built on each other, keep in mind that the process can be (and needs to be) tweaked to fully fit your product.
A step-by-step localisation checklist
1. Define what you want to see
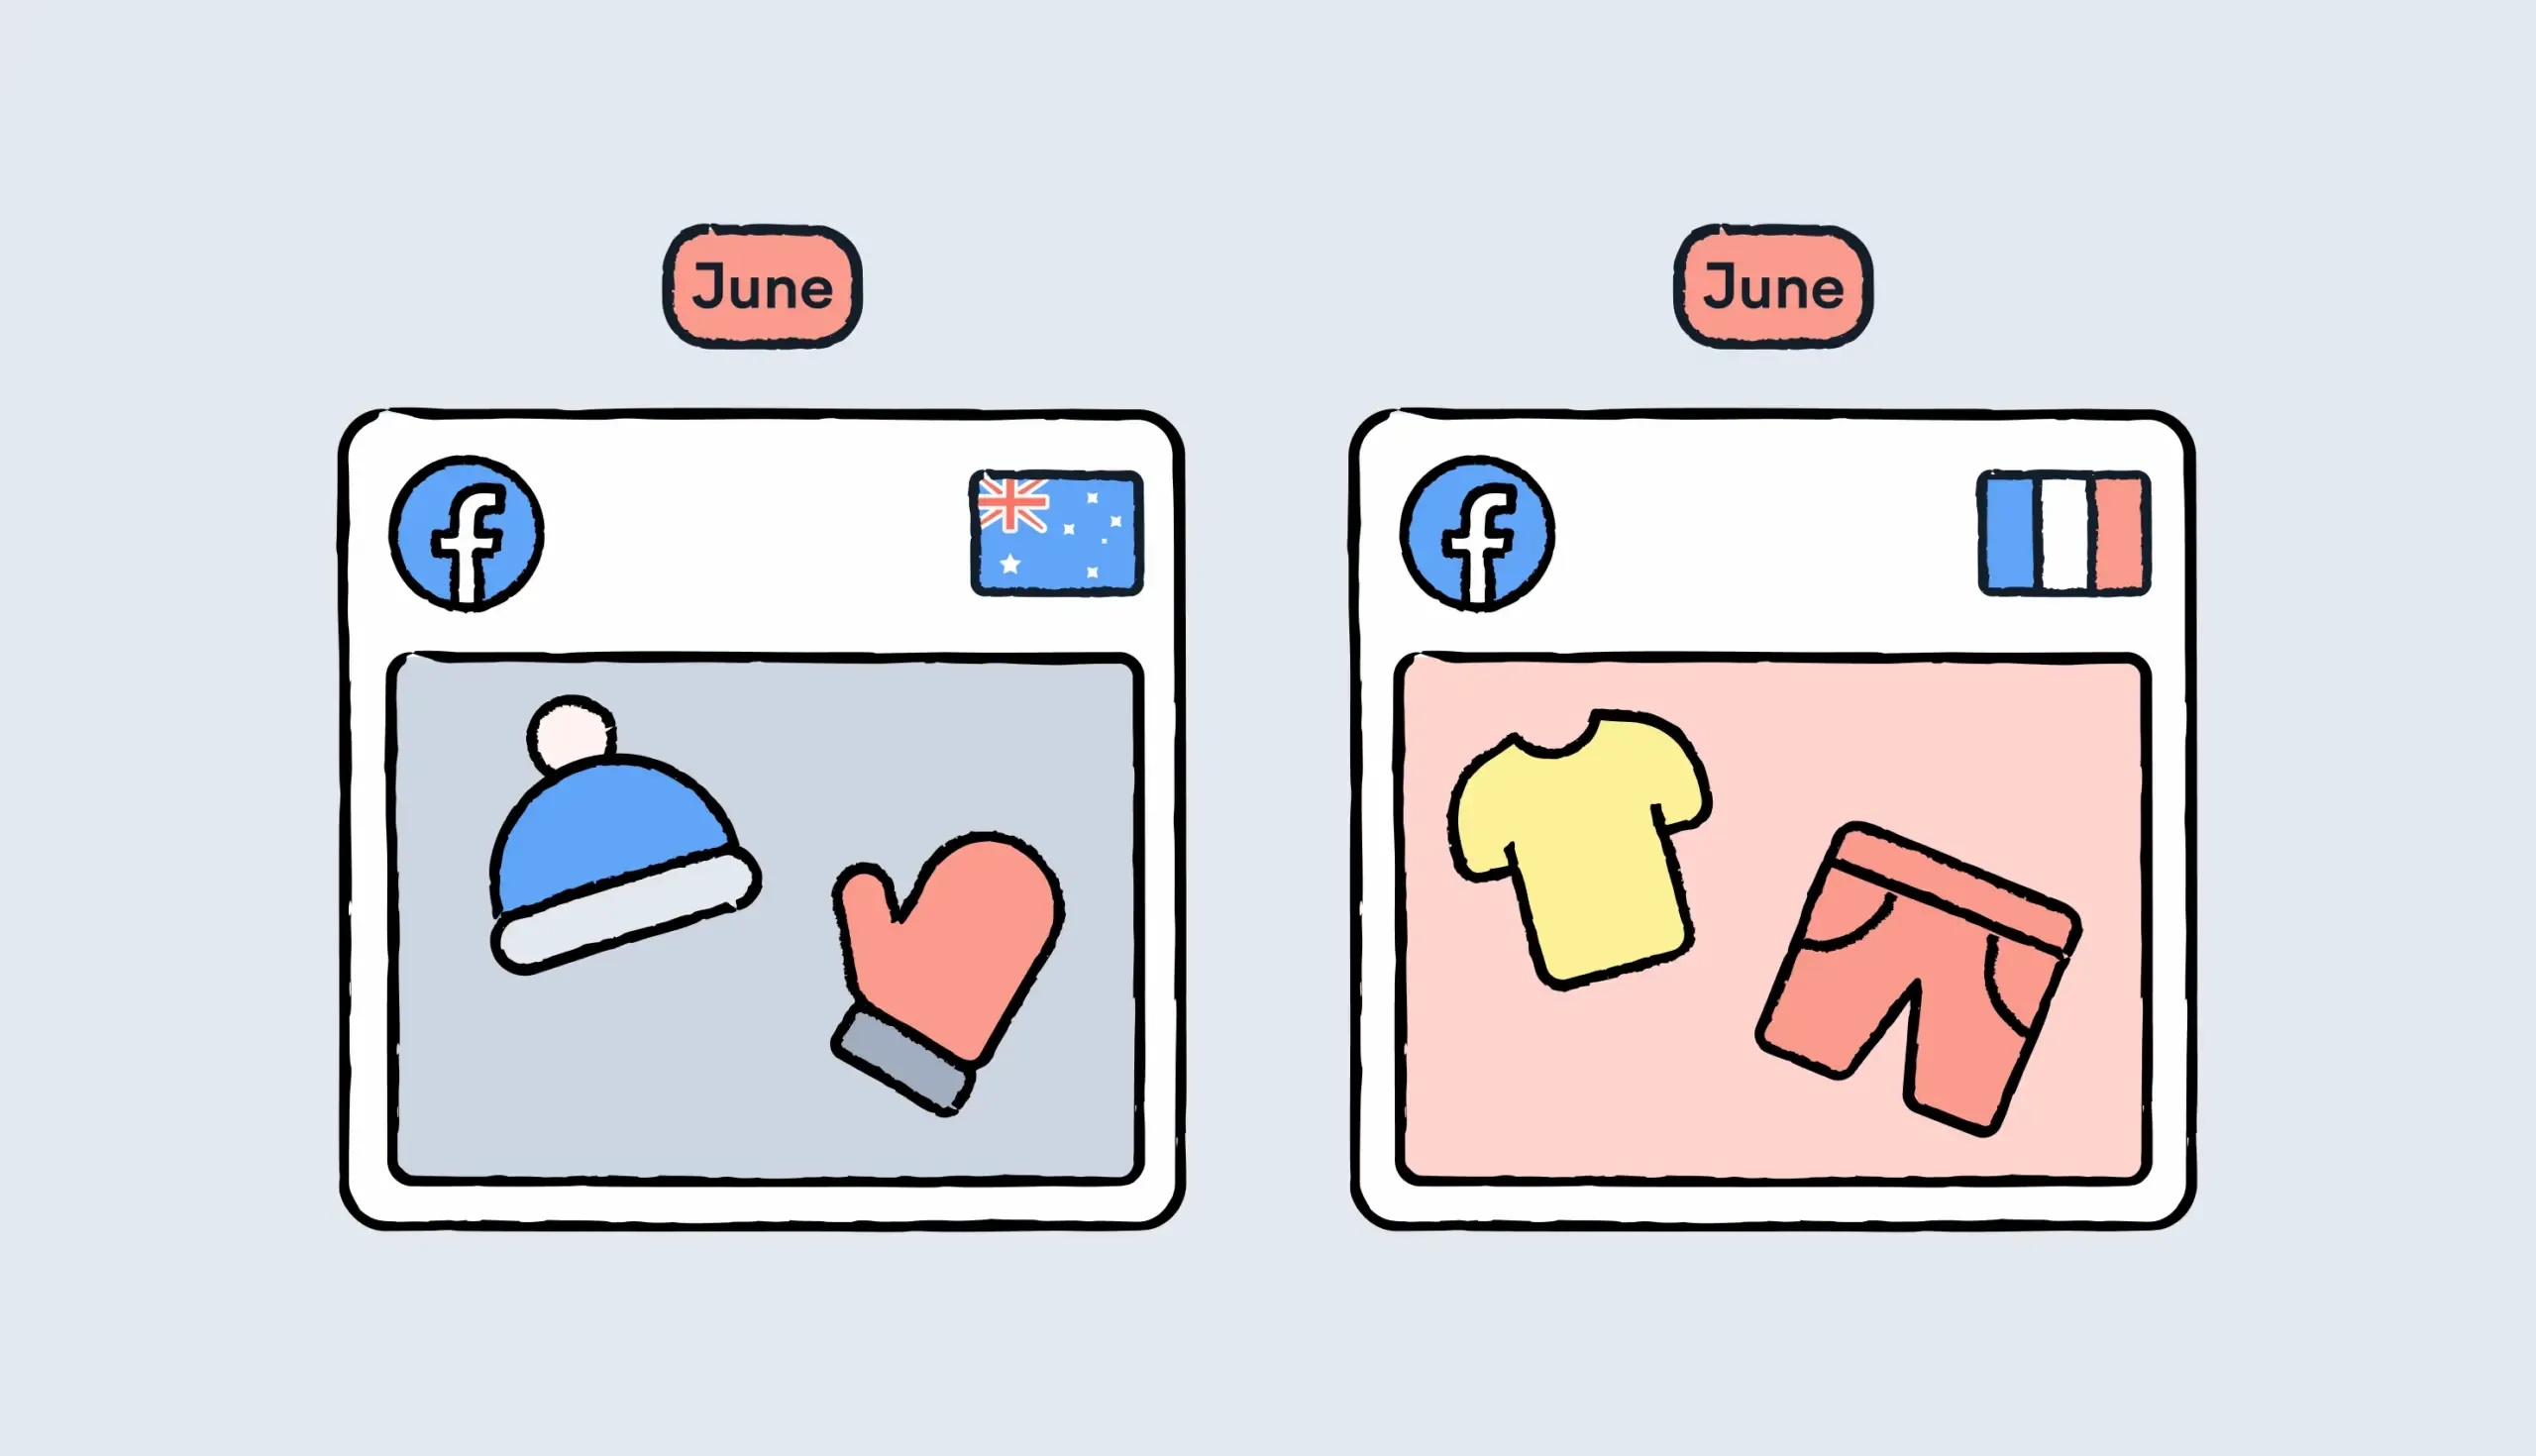
Before we begin, let’s quickly clear up one of the biggest myths about localisation: the localised copy doesn’t need to be a perfect, word-for-word translation of your original product copy. In fact, it purposefully needs to be altered each time an application is introduced to a new market.
Taking into account all types of linguistic, cultural and social differences is kind of like a Step 0 for any localisation process - not just when it comes to microcopy. No matter whether you are working with a single localisation expert or a whole team of professionals, you need to clearly define how you want your final localised copy to look like.
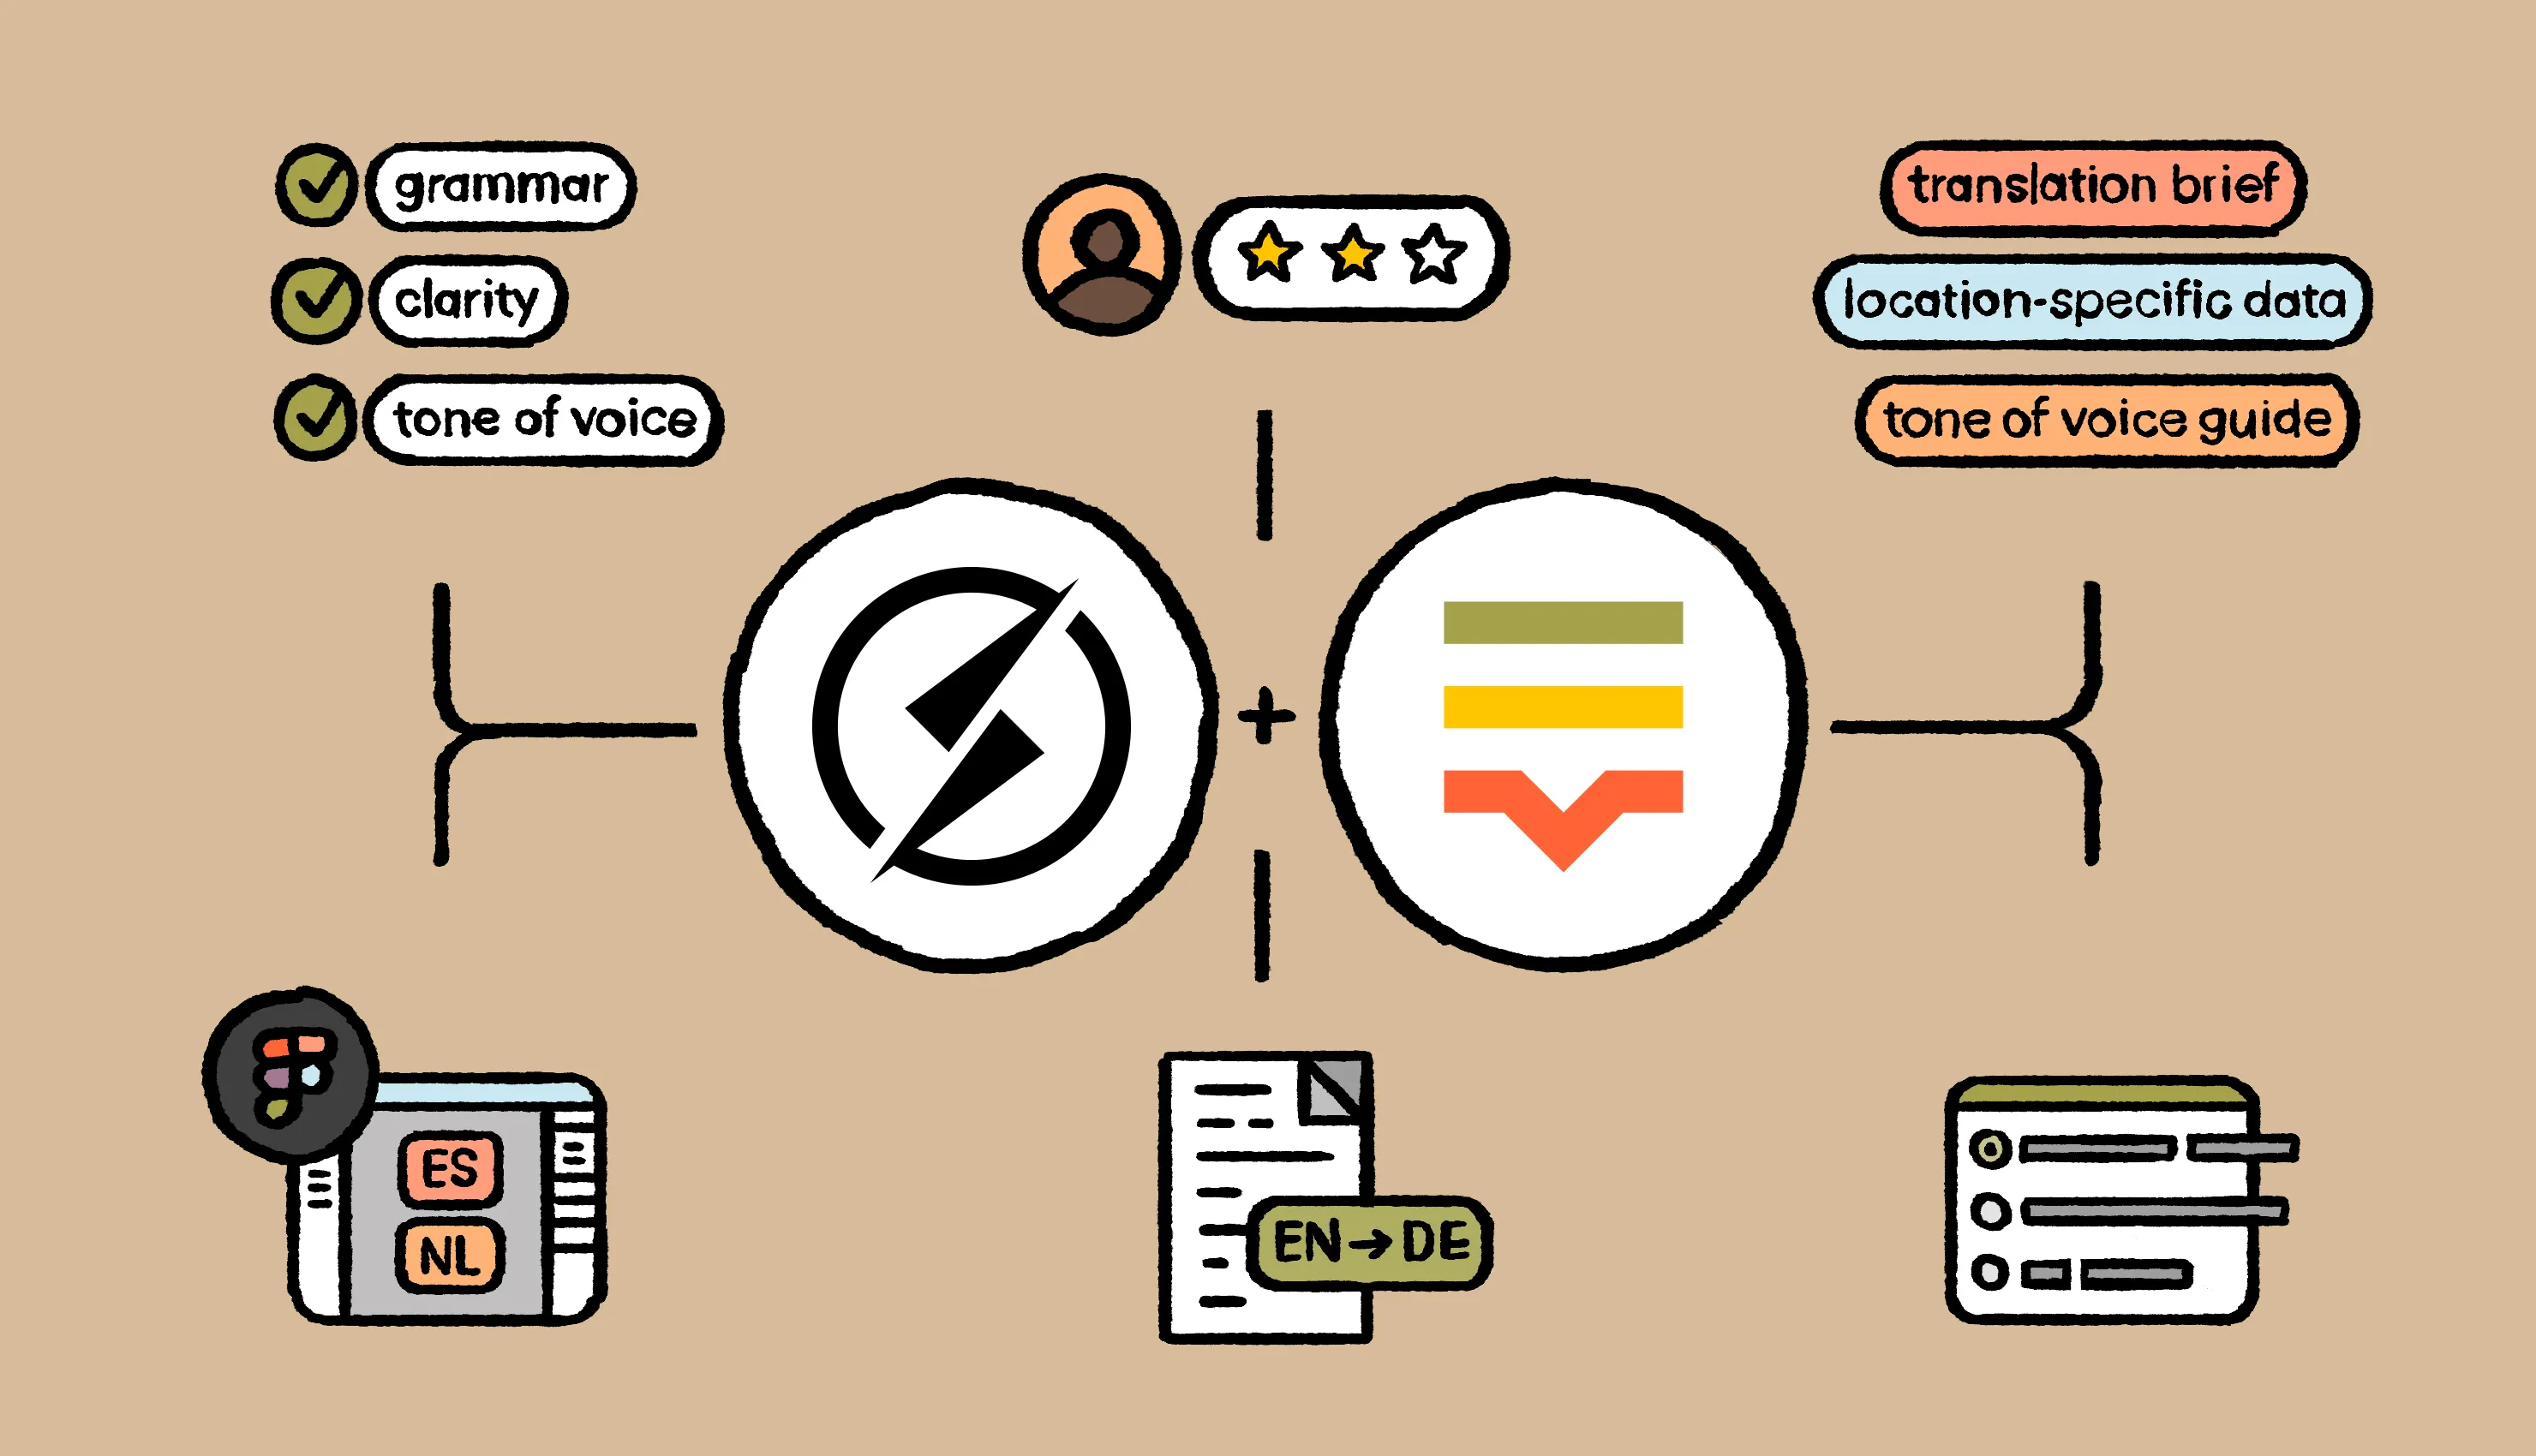
First of all put together an understandable, unambiguous summary of the goals, personality, and look and feel of your product or brand. Provide a translation brief, assemble a tone of voice guide – let them know anything that might help the translation process.
On top of that, it’s always useful to compile a list of possible issues to think about, based on the language the product is being localised to. Go through your entire copy and highlight any overly location-specific or cultural data that needs special treatment.
For example, when translating into Japanese or Hungarian, you will encounter the problem of having to put a person’s first name after their last name, which can cause confusion when it comes to labelling the input fields on a sign-up form.
If you are localising a product into English, take a beat to define and clearly describe your target group. Are they mostly native speakers in an English-speaking market? Or would they be using the product in English because it’s a commonly known language (and because the app is not available in smaller languages)? Does it help or does it hamper the overall user experience if your product communicates using simple English?
The best option of course is writing your original copy already with localisation in mind – so later on the translation will happen more seamlessly – but it’s not always possible to see that far ahead. More often than not these questions surface and have to be dealt with only before the product is hitting another country.
2. Provide context
Besides giving fundamental pointers about the target market and its language, it’s just as important to give some context for the copy itself.
- Where does it appear?
- Which flow are we looking at, what is the desired outcome, how do we want the user to feel?
- Does the text in question want to empower them (“Join our community and change your life for the better!”)? Does it offer help to solve a problem (“Try saving your document from another device”), or is it aiming to reassure the user (“Don’t worry, your money is safe with us!”)?
The best option is writing/localising everything directly within the design, using a collaborative design tool such as Figma. But even when this is not feasible, it’s still indispensable to link each copy to the screen it would appear on (and to ask your localisers to check it!).
Include a character count for both the original text and the translated copy, as there are considerable differences between languages when it comes to average word length. (Hint: English is pretty tight-fisted with its letters!)
3. Translate (or rewrite) your copy
Translation itself might seem like the meatiest part of the entire localisation process, yet it will take a lot less time and effort to complete if the field is duly prepared. As referenced before, don’t expect to see a word-perfect translation of your original text, as local grammar, customs and context might warrant some substantial changes in your copy.
Naturally, the core meaning should remain the same, and localisation should never hinder the usability or the understanding of your product. Just as with copywriting, the sweet spot lies somewhere in the middle: a localised translation is best when you effectively don’t take notice of it.
4. Proofread translations
All translators know that no job is complete without a thorough proofreading. Even though it’s kind of obvious, it never hurts to stress: this phase should always be done by someone other than the translator.
This has little to do with trust. The human mind is not wired to both look out for the tiny details and take a sweeping overview of the big picture – at least not at the same time. It helps if someone reads through everything with a fresh eye and marks any suspicious entries.
Assembling a reviewer’s checklist and ticking off important things to watch out for (grammar, clarity, tone of voice… etc.) is always a great way to start, and just as in any shared workflow, tracking changes is crucial.
5. Validate translations
Proofreading comments and proposals are usually validated by the original translator(s), since they are the ones who have spent the most time exploring and understanding the product. Contrary to how it may appear, this phase is not merely about correcting a few typos.
You can think about the entire proofreading process as a mini usability test: if your intention as a translator remains unclear, then something quite evidently needs to be rethought. Validation is basically looping the reviewer’s feedback into the product.
6. Cross-check your design and embrace design-led localisation
If you were able to carry out the entire translation flow in the design and embrace design-led localisation, then obviously this step is superfluous. In other cases, writing and translating happens separately from UI screens, and trying out how your new texts look like on the design can bring unwelcome surprises.
Things might be too long (or too short), words might jam together, special characters might look wonky. This step especially matters when writing/localising for a mobile app, since small screens are a lot more sensitive to text length.
Having to redraw some design elements (and trying to placate grumbling UI designers) or readjusting font size is always in the cards, but needing to include extra hours for development should be avoided at all costs. All in all: the best option is just working some “copy magic” and keeping close to the original character count as much as possible.
Final thoughts
Localisation can be a daunting task, but following the above steps and relying on a handy localisation tool (such as Lokalise) can take a good part of the burden off your shoulders.
Of course, this short step-by-step guide is just one way to go; you can shorten it or broaden it as your product progresses.
As you can see, describing Step 1 took up about three times as much space as any of the subsequent steps. This is simply due to the fact that preparing every detail and working out any tangles in advance is possibly the most impactful – yet very much underrated – part of any localisation process.
The rest is comparatively easy if you are ready with the right tools, guides and feedback processes. Ultimately, you will be able to deliver a quality product experience to multiple markets while keeping it fundamentally intact in the way you envisioned it when designing and writing your application in its original language.