In this article you will learn what is an API and how to use Lokalise API to define custom workflows and create automation scripts with ease. First we will cover some theory and then proceed to practice and discuss typical examples. To follow this article you don’t need to be a professional developer but having at least a basic programming knowledge is very much recommended. All examples and processes will consider localized time where applicable to ensure accuracy across different regions.
You might also be interested in checking the second part of this article where we're discussing APIv2 use cases and see it in action.
I'm glad you asked! API is an acronym that means "application programming interface". Generally speaking, API allows third-party services to access company data and manage them as needed. This feature can be used by company's partners or customers, and it allows to establish communication between services. What's more, third-party developers do not need to know how the API was actually implemented on the company's side: they just send a properly formed request according to the documentation to achieve the desired result.
If this explanation sounds too broad and technical, let's approach it from a different perspective. Suppose you are working with a todo web application that allows to create cards, change their statuses, add assignee, delete these cards, and so on. This application provides a graphical user interface and you can perform all these actions with your mouse by clicking and moving things around — that's what most of the users would do. But what if we wanted to automate the card creation process? For example, you might want to implement the following scenario: when someone has written a new blog post on your own website, a new todo card has to be created. This card should be named "Review blog post X" and it should contain a link to the newly added post. That's where the API steps in.
If your todo service provides an API then you can write a small script on your website. Whenever a post is created, this script should send a simple request to the todo service:
curl --request POST \
  --url https://todoservice.com/api/cards \
  --data '{"name":"Review blog post X","body":"Link to the post: your.blog.com/posts/blog-post-x"}'
The service will then process this request and create a new card for you!
So, effectively an API is a tool to perform various actions by writing code, not by clicking your mouse around.
How does the API work?
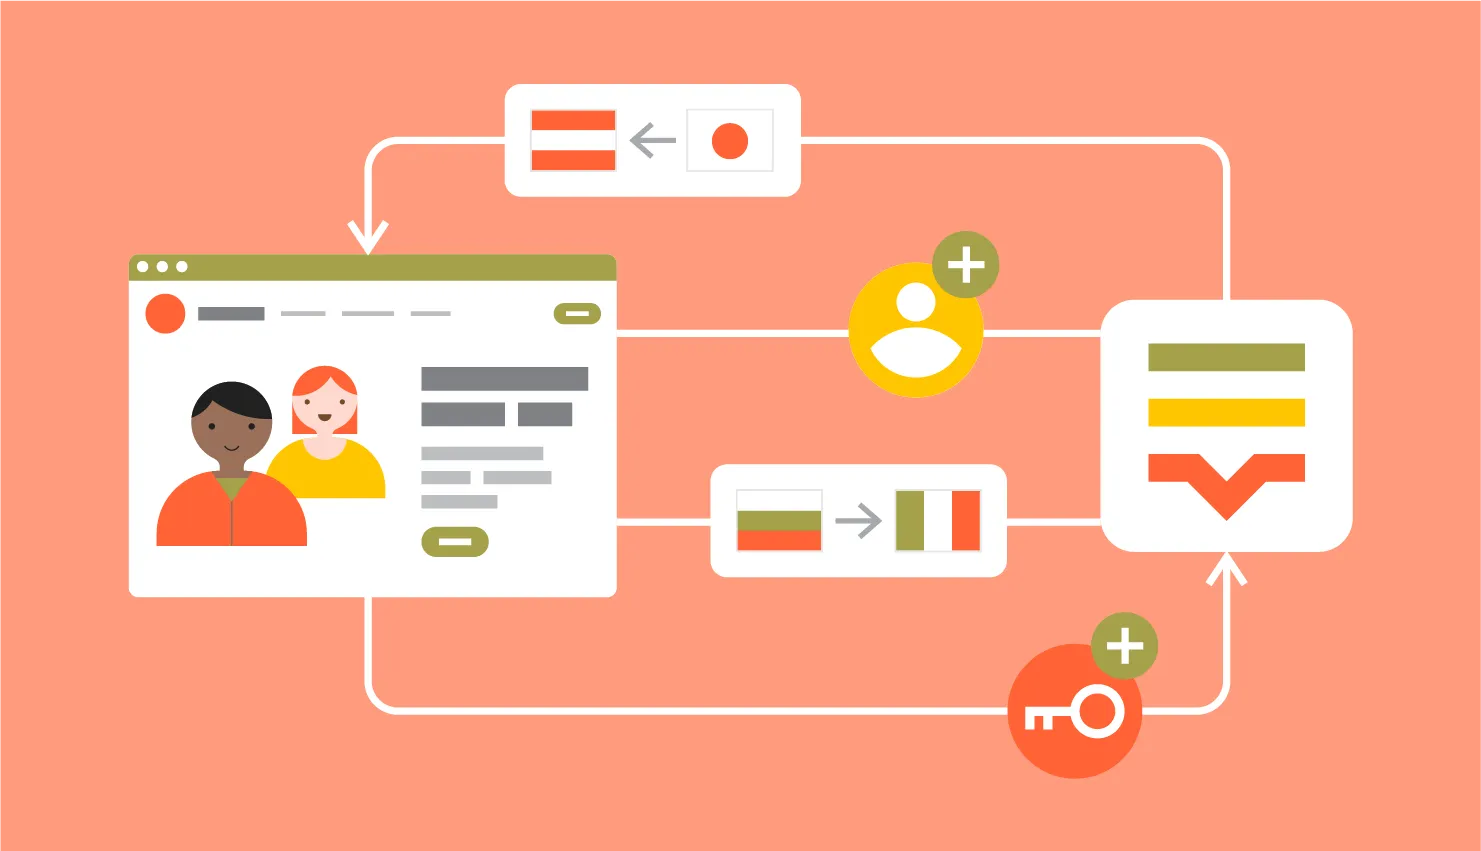
A typical API flow is quite simple:
A third-party application sends an API request. This request usually contains some data: for example, a card name and a description. Also, in most cases the request should contain a special API token that identifies the user on whose behalf the request is made. If the corresponding user does not have enough permissions or the token is invalid, the request is rejected. A token acts as a user password therefore it must be kept secure.
The service receives a request and checks its validity. If the data is properly formed and the API token is correct then the requested operation is executed.
Then the service sends a response back to the third-party application. Usually the response contains the status code (indicating whether the requested operation has succeeded or not) and the affected data.
The third-party application receives a response and does something about it: for example, adds a new entry to the event log.
That's basically it. Note that with the help of API you can not only create but also read, update, and delete resources as needed (of course, if the service actually supports these actions).
Meet Lokalise API!
Now that you know the API basics, let's proceed to the meat of this post. Lokalise API version 2 provides a rich interface allowing customers to view and manage the following resources:
Branches
Comments
Contributors
Translation files
Keys
Languages
Orders
Payment cards
Projects
Queued processes
Screenshots
Snapshots
Tasks
Teams
Team users
Team user groups
Translations
Translation providers
Custom translation statuses
Webhooks
Not bad, eh? You can find the API docs at developers.lokalise.com/reference/lokalise-rest-api. To access the Lokalise API you can send a simple HTTP request by using tools like cURL. However, we've also crafted a few API interfaces for different programming languages to make your life easier:
An API token must be sent on every API request. Provide it inside the X-Api-Token request header (see below for examples).
Some resources are paginated: specifically, the ones returned by the "list" methods (list all projects, all contributors, all translation keys etc). Paginated resources support two common GET parameters: page and limit. The default page value is 1. The default limit value is 100, and the maximum is 5000.
Access to all endpoints is limited to 6 requests per second. This limit is applied per API token and per IP address. If you exceed the limit, a 429 HTTP status code will be returned.
Only one concurrent request per token is allowed. To ensure data consistency, it is not recommended to access the same key within the same project simultaneously using multiple tokens.
If you are using a project branching feature in Lokalise, simply add branch name separated by semicolon to the project ID in any endpoint to access the branch, i.e. 3002780358964f9bab5a92.87762498:feature/new-release.
If the request is malformed or cannot be processed, the API will return one of the errors listed in the docs.
Getting started with Lokalise API
To get started with our API, you'll need a Lokalise account. Obvious, isn't it? If you don't have one, grab your free 14-days trial by visiting app.lokalise.com/signup — no credit card is required!
Next, you'll need to generate an API token. As you already know, a token acts as a password and it will allow to Lokalise to identify who has sent a request. It means that the token must be kept secure at all times: never publicly expose it, do not add it to your version control, and do not share it with anyone else. If the token was exposed, immediately revoke it because otherwise anyone will be able to perform any actions on your behalf!
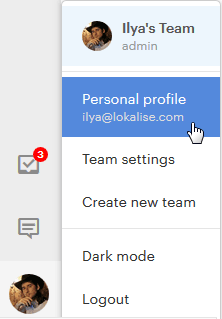
To generate a new token, proceed to Lokalise, login to the system and click on the avatar in the bottom left corner. Choose Personal profile from the menu:
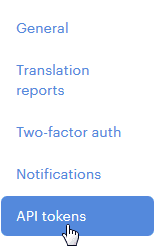
Next, choose API tokens from the left menu:
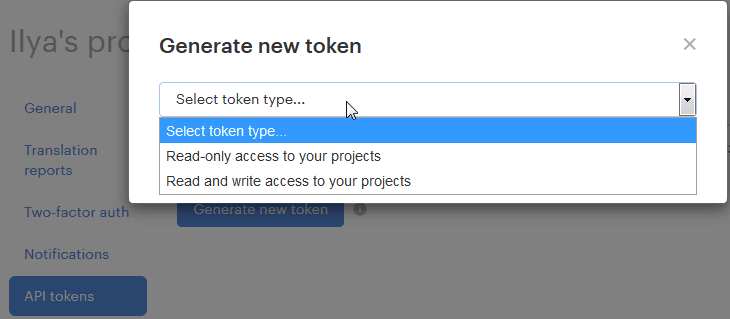
On the next page click Generate new token. You'll see the following dialog:
Choose what type of token would you like to generate: read-only (you'll be able to view data but not manage them) or read/write (you'll be able to view and manage data).
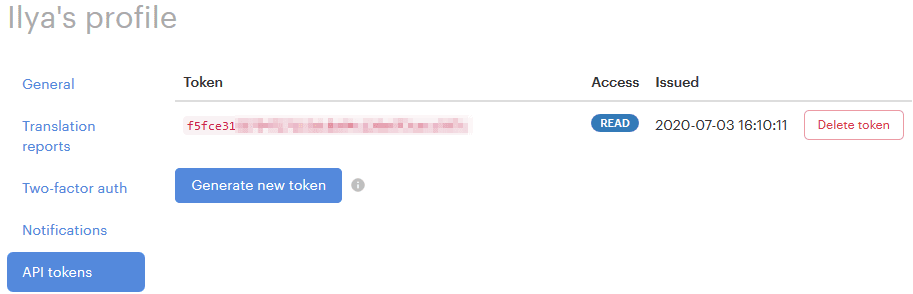
After generating a token you'll be able to copy it:
To revoke a token, simply click Delete token.
Now that you have a token, it's possible to communicate with the Lokalise API and perform any operations you'd like! Don't forget, however, that some operations require certain access rights. For example, only team admins, billers, and owners are able to create new projects and translation orders.
For instance, to create a new project you could send the following cURL request:
Now let's take a look at some usage examples of the Lokalise API. These examples will be written in two languages: TypeScript and Ruby. I'll utilize the corresponding API clients as well.
To get started with the NodeJS client which can be used for TS and JS projects, you'll need to install NodeJS itself along with npm. Next, run the following command in your terminal:
npm install @lokalise/node-api
Then inside your script add the following lines of code:
Provide your API token and use the @client object to send requests.
Creating translation projects
To create a new translation project you must provide at least one attribute: project name. Also, it's possible to specify the team id to create the project at (by default the current team of the user will be utilized), project base language, and other parameters.
Language code of the translations in the file you are importing
It's important to mention that the file uploading process is always queued and performed in the background. Therefore, the API will return the background process id and it may take some time for this process to complete. You can check the process status by sending its ID to the API.
project_id = "123.abc"@client.upload_file project_id, data: 'ZnI6DQogIHRlc3Q6IHRyYW5zbGF0aW9u', filename: 'ruby.yml', lang_iso: 'ru'process.status # => 'queued'# ...reloaded_process = process.reload_data # => reload information about the process to check whether it has finishedreloaded_process.status # => 'finished'
Downloading translation files
To download your translations in a bundle, you'll need to specify at least the project ID and the file format but many other parameters are available as well.
order = @client.create_order "1469", # => this is your team id project_id: "123.abc", card_id: 12345, briefing: 'Friendly tone', source_language_iso: 'en', target_language_isos: [ 'ru', 'fr' ], keys: [ 1234, 5678, 4531 ], provider_slug: 'gengo', translation_tier: '1'order.status # => 'in progress'
Listing project tasks
To list all project tasks, you'll need to specify the project ID you're interested in. As long as this resources is paginated, you can also provide the page and limit parameters.
To list all translation keys for the given project, provide at least the project ID. If you would like to list the keys along with their translations, you must set the include_translations parameter to 1 (the default value is 0). Please note that we do not provide a content delivery network for your language files. Therefore, please do not engage a request to this endpoint with every website/app visitor. Instead, access the "keys" endpoint from time to time, store the result locally, and serve your visitors with static files or database content.
TS code sample:
const keys = await lokaliseApi.keys().list({ project_id: "123.abc", include_translations: 1,});keys.items[0].translations // => translations object for the first key in the collection
A Ruby sample:
keys = @client.keys '123.abc', include_translations: 1keys.collection.first.translations # => All translations for the first key
Merging project branches
To merge project branches, you'll need to provide at least the source branch ID. If the target_branch_id is not specified, it'll default to the master branch.
So, in this article we have discussed what an API is, how it works, and how to take advantage of the Lokalise API. Now you can employ our API to build custom workflows and automate routine operations! If you have any additional questions on the topic, please don't hesitate to reach us out.
I thank you for staying with me today, and see you next time!
Ilya is the lead for content, documentation, and onboarding at Lokalise, where he focuses on helping engineering teams build reliable internationalization workflows. With a background at Microsoft and Cisco, he combines practical development experience with a deep understanding of global product delivery, localization systems, and developer education.
He specializes in i18n architectures across modern frameworks — including Vue, Angular, Rails, and custom localization pipelines — and has hands-on experience with Ruby, JavaScript, Python, Elixir, Go, Rust, and Solidity. His work often centers on improving translation workflows, automation, and cross-team collaboration between engineering, product, and localization teams.
Beyond his role at Lokalise, Ilya is an IT educator and author who publishes technical guides, best-practice breakdowns, and hands-on tutorials. He regularly contributes to open-source projects and maintains a long-standing passion for teaching, making complex internationalization topics accessible to developers of all backgrounds.
Outside of work, he keeps learning new technologies, writes educational content, stays active through sports, and plays music. His goal is simple: help developers ship globally-ready software without unnecessary complexity.
Libraries and frameworks to translate JavaScript apps
In our previous discussions, we explored localization strategies for backend frameworks like Rails and Phoenix. Today, we shift our focus to the front-end and talk about JavaScript translation and localization. The landscape here is packed with options, which makes many developers a
Syncing Lokalise translations with GitLab pipelines
In this guide, we’ll walk through building a fully automated translation pipeline using GitLab CI/CD and Lokalise. From upload to download, with tagging, version control, and merge requests. Here’s the high-level flow: Upload your source language files (e.g. English JSON files) to Lokalise from GitLab using a CI pipeline.Tag each uploaded key with your Git branch name. This helps keep translations isolated per feature or pull request
Build a smooth translation pipeline with Lokalise and Vercel
Internationalization can sometimes feel like a massive headache. Juggling multiple JSON files, keeping translations in sync, and redeploying every time you tweak a string… What if you could offload most of that grunt work to a modern toolchain and let your CI/CD do the heavy lifting? In this guide, we’ll wire up a Next.js 15 project hosted on Vercel. It will load translation files on demand f