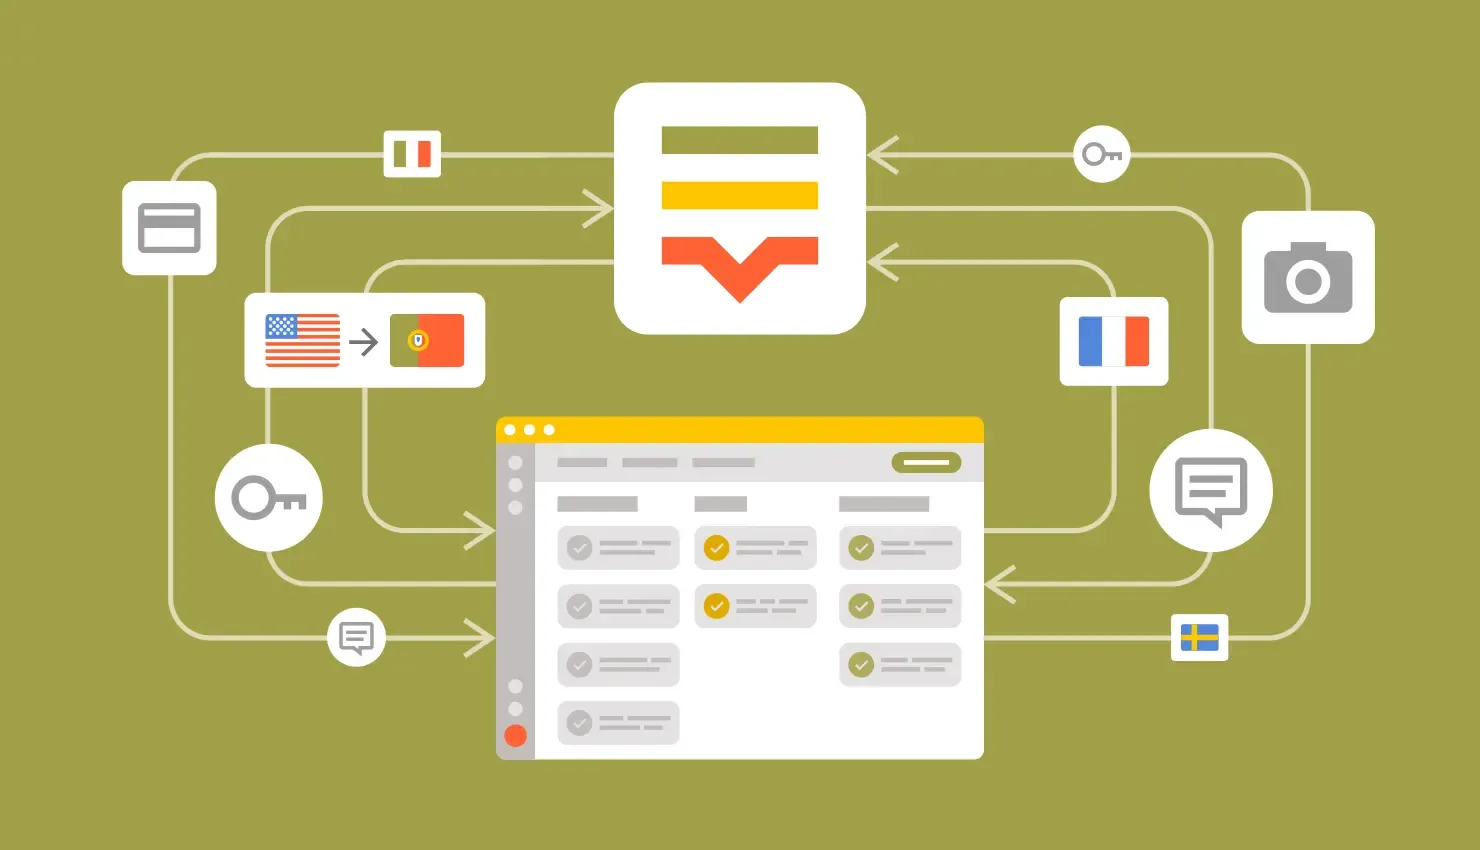
In one of my previous articles I was covering Lokalise APIv2 basics, explaining its key features, and how to get started with it. Today we are going to work a bit more with the API using Node, Ruby, and Python SDKs. We are going to cover some real-world scenarios and discuss different code samples. By the end of this article you’ll be able to put your knowledge to work in real projects.
Proceed to your profile by clicking on the avatar in the bottom left corner and choosing Profile settings.
Open the API tokens section and generate a new read/write token. Alternatively, you can obtain an access token via our OAuth 2 flow and act on other user’s behalf.
You might be wondering why we’re also installing the lokalise_manager gem. Well, that's because this solution simplifies the file uploading and downloading process, as you’ll see next. Dotenv will be utilized to load environment variables.
Run bundle install to install all the necessary dependencies.
Next, open the .env file and place your API token inside:
So, Lokalise.client creates a new API client to send API requests. Please note that if you are using a token obtained via OAuth 2 flow, you’ll have to instantiate the client in a different way:
create_project is the method you’ll need to call. It accepts a hash with project parameters: please note that these parameters have names identical to the ones listed in the API docs. In the code sample above we are specifying a project name, description, provide an array of languages (English and French), and set the base project language to English.
The project variable will contain a Ruby object representing this newly created project (we call such objects as “models”). project responds to methods named after the project attributes, for example project_id, name, team_id, settings, and others. In the example above we store project ID in a separate variable as we will need it later.
In TypeScript
Let’s see how to create a new project in TypeScript. Modify your your api_demo.ts file in the following way:
new LokaliseApi instantiates a new client object. If you are using a token obtained via OAuth 2 flow, the client has to be created in a different way: new LokaliseApiOAuth({ apiKey: 'YOUR_OAUTH_TOKEN' }).
process.env.API_KEY fetches an environment variable containing your API token.
The projects().create() method adds a new Lokalise project. It accepts an object with project attributes, and these attributes are named exactly the same as the ones listed in the API docs. Our project will host two languages: English (set as the base language) and French.
The project constant will contain an object representing the newly created project. You can find a full list of project attributes in the API docs.
In Python
Now let’s try creating a new translation project in Python. To achieve that, paste the following code to the api_demo.py file:
client = lokalise.Client(os.getenv('API_KEY'))print("Creating a new project...")project = client.create_project({ "name": "Python Sample Project", "description": "Here's my Python project", "languages": [ {"lang_iso": "en"}, {"lang_iso": "fr"} ], "base_lang_iso": "en"})project_id = project.project_id
lokalise.Client instantiates a new API client with an API token. If you are using an access token obtained via OAuth 2 flow, the client has to be created in a different way: lokalise.OAuthClient('YOUR_ACCESS_TOKEN').
os.getenv() fetches an environment variables with your API token.
The create_project() method creates a new Lokalise project with the given params. It accepts an object with project attributes, and these attributes are named exactly the same as the ones listed in the API docs. Our project will host two languages: English (set as the base language) and French.
The project variable will contain an object representing the newly created project. You can find a full list of project attributes in the API docs.
To run this script in a virtual environment created by pipenv, use the following command:
pipenv run python src\api_demo.py
Invite contributors
Okay, so we have just created a new project, and it’s time to invite some contributors!
In Ruby
To add project contributors, use the create_contributors method. It accepts a project ID and a hash or array of hashes (if you are creating multiple contributors in one go). The hash should contain contributor attributes:
We are adding one contributor, therefore the second argument is a hash, not an array of hashes (though you could provide an array with a single hash inside).
This contributor will have read-only access to English translations and will be able to read and modify French translations.
create_contributors method always returns a collection of objects representing newly added contributors. Collections are usually paginated and respond to methods like total_pages, next_page? (is there a next page available), prev_page (fetch items on the previous page), and some others. To get access to the actual data (that is, our new contributor), you’ll have to use the collection method. It returns an array of models, and to fetch the first contributor we simply say first.
Next let’s achieve the same goal in TypeScript. Use the contributors().create() method inside the main() function and pass an array of objects with contributor attributes:
We are adding a new contributor “Mr. Translator” who is going to have full access to French language and read-only access to English. Don’t forget to provide your project ID as the last argument to the create method.
contributors constant will contain an array of newly created contributors (even if you are inviting only one person). Therefore, to grab the first contributor we’re saying [0]. You can find contributor attributes in the API docs.
In Python
Finally, let’s invite contributors with Python SDK. Use the create_contributors() method and pass an array of objects with contributor attributes:
We are adding a new contributor “Mr. Translator” who is going to have full access to French language and read-only access to English.
contributors variable will contain a collection of newly created contributors (even if you are inviting only one person). Therefore, to grab the first contributor we’re saying contributors.items[0]. You can find contributor attributes in the API docs. The contributors collection responds to other methods as explained in the docs.
Uploading translation files
Translation files uploading via API is a slightly more complex task:
You have to encode translation files content in base64.
The actual uploading process happens in the background, so you’ll have to poll the API to update the process status.
Lokalise API has rate limits: you cannot send more than six requests per second.
But, fear not, we’ll overcome these issues in no time!
In Ruby
If you are using Ruby then you’re in luck because all the heavy lifting will be done by the lokalise_manager gem. This solution allows us to exchange translation files between your project and Lokalise TMS easily. On top of that, there’s a dedicated Rails integration. Cool, eh?
All you need to do is configure lokalise_manager:
LokaliseManager::GlobalConfig.config do |c| c.api_token = ENV.fetch('API_KEY', nil) c.locales_path = "#{Dir.getwd}/src/i18n"end
This gem enables you to set many other options that you can find in the docs (for example, you can choose i18n directory, use other file formats, provide timeouts, and more). Options can also be set on a per-client basis, not globally.
processes will contain an array of objects. These object respond to the following methods:
success — returns true or false. If true, the uploading was successfully scheduled on Lokalise.
path — full path to the file being uploaded (instance of the Pathname class). Please note that each process will take care of uploading a single translation file.
process — an object representing the actual queued process.
LokaliseManager will automatically encode your files in base64 format, upload them in parallel (up to 6 concurrent threads), and even take care of the rate limiting: if the limit is hit, an exponential backoff mechanism will be applied.
Now we need to update the process status:
exporter = LokaliseManager.exporter(project_id:)processes = exporter.export!def uploaded?(process) 5.times do # try to check the status 5 times process = process.reload_data # load new data return(true) if process.status == 'finished' # return true is the upload has finished sleep 1 # wait for 1 second, adjust this number with regards to the upload size end false # if all 5 checks failed, return false (probably something is wrong)enduploaded? processes.first.process
We are doing five checks with a 1 second delay (if your translation files are large, you’ll probably need to increase this delay).
reload_data will update the process status.
As long as the processes variable contains a collection, we fetch the first process by saying .first.
Once process.status returns finished, we exit from the loop.
Please note that by default if something goes wrong during the exporting process, the script will raise an exception and exit. However, you can set the raise_on_export_fail option to false, and in this case even if one or more files cannot be uploaded, LokaliseManager will still try to process other files. In this case you’ll have to make sure that success is true:
if processes.first.success puts "Checking status for the #{processes.first.path} file..." uploaded? processes.first.processend
Of course, you can manually check each process:
processes = exporter.export!processes.each do |proc_data| if proc_data.success # Everything is good, the uploading is queued puts "#{proc_data.path} is sent to Lokalise!" process = proc_data.process puts "Current process status is #{process.status}" else # Something bad has happened puts "Could not send #{proc_data.path} to Lokalise" puts "Error #{proc_data.error.class}: #{proc_data.error.message}" # Or you could re-raise this exception: # raise proc_data.error.class endend
You can make this example even more complex. For example, you can collect all the files that were successfully queued, then re-create the exporter object and adjust the skip_file_export option (please check the docs to learn more about it). This option allows you to provide exclusion criteria, and you can instruct the exporter to skip all the files that were already uploaded. Then, just run the exporter! method again to restart the whole process.
In TypeScript
To upload translation files in TypeScript, we have to encode them in base64 format first:
Great, now the base64I18n constant contains properly encoded translations. Note that the __dirname is not available in the ESM projects so we have to add it manually. It's not the case with CommonJS though.
data, filename, and lang_iso are required attributes but the upload() method accepts some other options like convert_placeholders, tags, apply_tm, and so on.
console.log("Updating process status...");await waitUntilUploadingDone(lokaliseApi, bgProcess.process_id, projectId);console.log("Uploading is done!");
Here we are using a waitUntilUploadingDone function so let’s create it:
Here we take advantage of the queuedProcesses().get() method to load information about the background process. Once it changes to finished, we resolve the promise and clear the internal. Of course, you can enhance this code further and, for example, introduce an exponential backoff.
In Python
First of all, let’s encode our translation file in base64 format:
Next, perform the actual upload and wait for the background process to finish:
filename = os.path.join(os.path.dirname(__file__), 'i18n/en.json')with open(filename) as f: content = f.read() file_data = base64.b64encode(content.encode()).decode() bg_process = client.upload_file(project_id, { "data": file_data, "filename": 'en.json', "lang_iso": 'en' }) print(f"Checking status for process {bg_process.process_id}...") result = is_uploaded(client, project_id, bg_process) print(result)
data, filename, and lang_iso are required attributes but the upload method accepts some other options like convert_placeholders, tags, apply_tm, and so on.
Finally, code the is_uploaded method which is going to read background process status five times with 1 second delay. If all five checks failed, we return False:
def is_uploaded(api_client, project, process):
    for _i in range(5):
        process = api_client.queued_process(project, process.process_id)
        if process.status == 'finished':
            return True
        time.sleep(1)
    return False
Listing translation keys
The next thing I would like to do is assign a new translation key tasks to our contributors: specifically, I would like them to translate English texts into French. However, in order to do that, we firstly have to fetch translation key ids to add to the task. Therefore, let’s perform this step now.
In Ruby
To list translation keys with Ruby SDK, use the following approach:
The keys method returns a collection of keys (it can also accept a hash with options as a second argument), therefore we have to say collection to gain access to the actual data. As long as we are interested only in key ids (please note that each key responds to other methods named after the key attributes), we are calling key_id on each object.
The keys constant will contain an array of translation keys, and each key has attributes listed in the API docs. In our case we are interested only in the key ids, so we call key_id on each object.
The keys() method returns a collection of keys (please note that it also accepts a second argument with a dict of options). To gain access to the actual keys data, we have to say .items. Then we simply fetch all key ids from every key object.
Assigning translation tasks
Once you have translation key ids, it’s time to assign tasks to our contributors.
The create_task method accepts a project ID and a hash with task attributes. We provide the task title, the key ids that should be added to this task (please note that the keys attribute must contain an array of integers or strings representing ids), and the language to translate into. Each language is represented as a hash, and you must provide an array of user ids to assign to this language. The contributor variable was already defined when we were inviting new contributors to the project, so here we simply fetch the id of this person.
In TypeScript
console.log("Assinging a translation task...");const task = await lokaliseApi.tasks().create( { title: "Translate French", keys: keyIds, // use ids obtained on the previous step languages: [ { language_iso: "fr", users: [contributors[0].user_id], // an array of task assignee, we add the previously invited user }, ], }, { project_id: projectId });console.log(task.title);console.log(task.languages[0].language_iso);
The create method accepts an object with task attributes (title, an array of key ids to add to the task, and an array of languages). Please note that for each language you have to specify its ISO code and an array of user ids. The contributors constant is already defined so we simply get the first user id. Also don’t forget to specify the project id.
The create_task method accepts a project ID and a dictionary with task parameters (title, an array of key ids to add to the task, and an array of languages). Please note that for each language you have to specify its ISO code and an array of user ids.
Lokalise_manager will automatically unpack the downloaded ZIP archive with your translations and paste files into the i18n folder as dictated by the global configuration. Please note that in the example above I’m adding a custom option import_opts to download only the French translations. Please find other available options in the API docs.
In TypeScript
Downloading translations in TypeScript is a more involved task but all in all there’s nothing too complex. First, we are going to send a download request:
The downloadResponse constant will contain an object with two properties: project_id and bundle_url. bundle_url contains a URL pointing to the archive with your translation files, so it’s our job to properly download and unpack this archive:
// import adm-zip outside of the main() function:import AdmZip from "adm-zip";// ...then inside the main() function:const translationsUrl = downloadResponse.bundle_url;const zip = new AdmZip(await zipBuffer(translationsUrl));zip.extractAllTo(i18nFolder, true);
Please note that the actual implementation might vary depending on what solutions you utilize to send HTTP requests and work with the archives. Here I'm using the native Fetch API but you can, for example, utilize axios, got, or any other library of your choice.
In Python
Downloading translation files in Python is quite simple. First, we should request a download request:
The response variable will contain an object with two properties: project_id and bundle_url. bundle_url contains a URL to the archive with your translation files, so it’s our job to properly download and unpack this archive.
Let’s read the archive data using requests library:
data = io.BytesIO(requests.get(response['bundle_url']).content)
Finally, use zipfile to unpack the archive to the i18n folder:
with zipfile.ZipFile(data) as archive:
    archive.extract("fr.json", path="src/i18n/")
This is it, now your i18n folder should contain a new fr.json file!
Conclusion
In this article we have learned how to work with Lokalise APIv2 using Ruby, Python, and Node SDKs. We have discussed how to create projects, invite contributors, assign tasks, and exchange translation files. Please note that Lokalise API allows you to perform many other actions like adding comments, uploading screenshots, creating snapshots, and so on. Therefore, make sure to check the API docs.
I thank you for staying with me today and until next time!
Ilya is the lead for content, documentation, and onboarding at Lokalise, where he focuses on helping engineering teams build reliable internationalization workflows. With a background at Microsoft and Cisco, he combines practical development experience with a deep understanding of global product delivery, localization systems, and developer education.
He specializes in i18n architectures across modern frameworks — including Vue, Angular, Rails, and custom localization pipelines — and has hands-on experience with Ruby, JavaScript, Python, Elixir, Go, Rust, and Solidity. His work often centers on improving translation workflows, automation, and cross-team collaboration between engineering, product, and localization teams.
Beyond his role at Lokalise, Ilya is an IT educator and author who publishes technical guides, best-practice breakdowns, and hands-on tutorials. He regularly contributes to open-source projects and maintains a long-standing passion for teaching, making complex internationalization topics accessible to developers of all backgrounds.
Outside of work, he keeps learning new technologies, writes educational content, stays active through sports, and plays music. His goal is simple: help developers ship globally-ready software without unnecessary complexity.
Libraries and frameworks to translate JavaScript apps
In our previous discussions, we explored localization strategies for backend frameworks like Rails and Phoenix. Today, we shift our focus to the front-end and talk about JavaScript translation and localization. The landscape here is packed with options, which makes many developers a
Syncing Lokalise translations with GitLab pipelines
In this guide, we’ll walk through building a fully automated translation pipeline using GitLab CI/CD and Lokalise. From upload to download, with tagging, version control, and merge requests. Here’s the high-level flow: Upload your source language files (e.g. English JSON files) to Lokalise from GitLab using a CI pipeline.Tag each uploaded key with your Git branch name. This helps keep translations isolated per feature or pull request
Build a smooth translation pipeline with Lokalise and Vercel
Internationalization can sometimes feel like a massive headache. Juggling multiple JSON files, keeping translations in sync, and redeploying every time you tweak a string… What if you could offload most of that grunt work to a modern toolchain and let your CI/CD do the heavy lifting? In this guide, we’ll wire up a Next.js 15 project hosted on Vercel. It will load translation files on demand f