In this article, we will discuss a new Lokalise feature called Custom processor. The Custom processor app enables you to intercept translation keys uploaded and downloaded on Lokalise, then analyze or transform those as needed.
Here we’ll show you how to create a Custom processor using Node and Fastify, set it up on Lokalise, and test it.
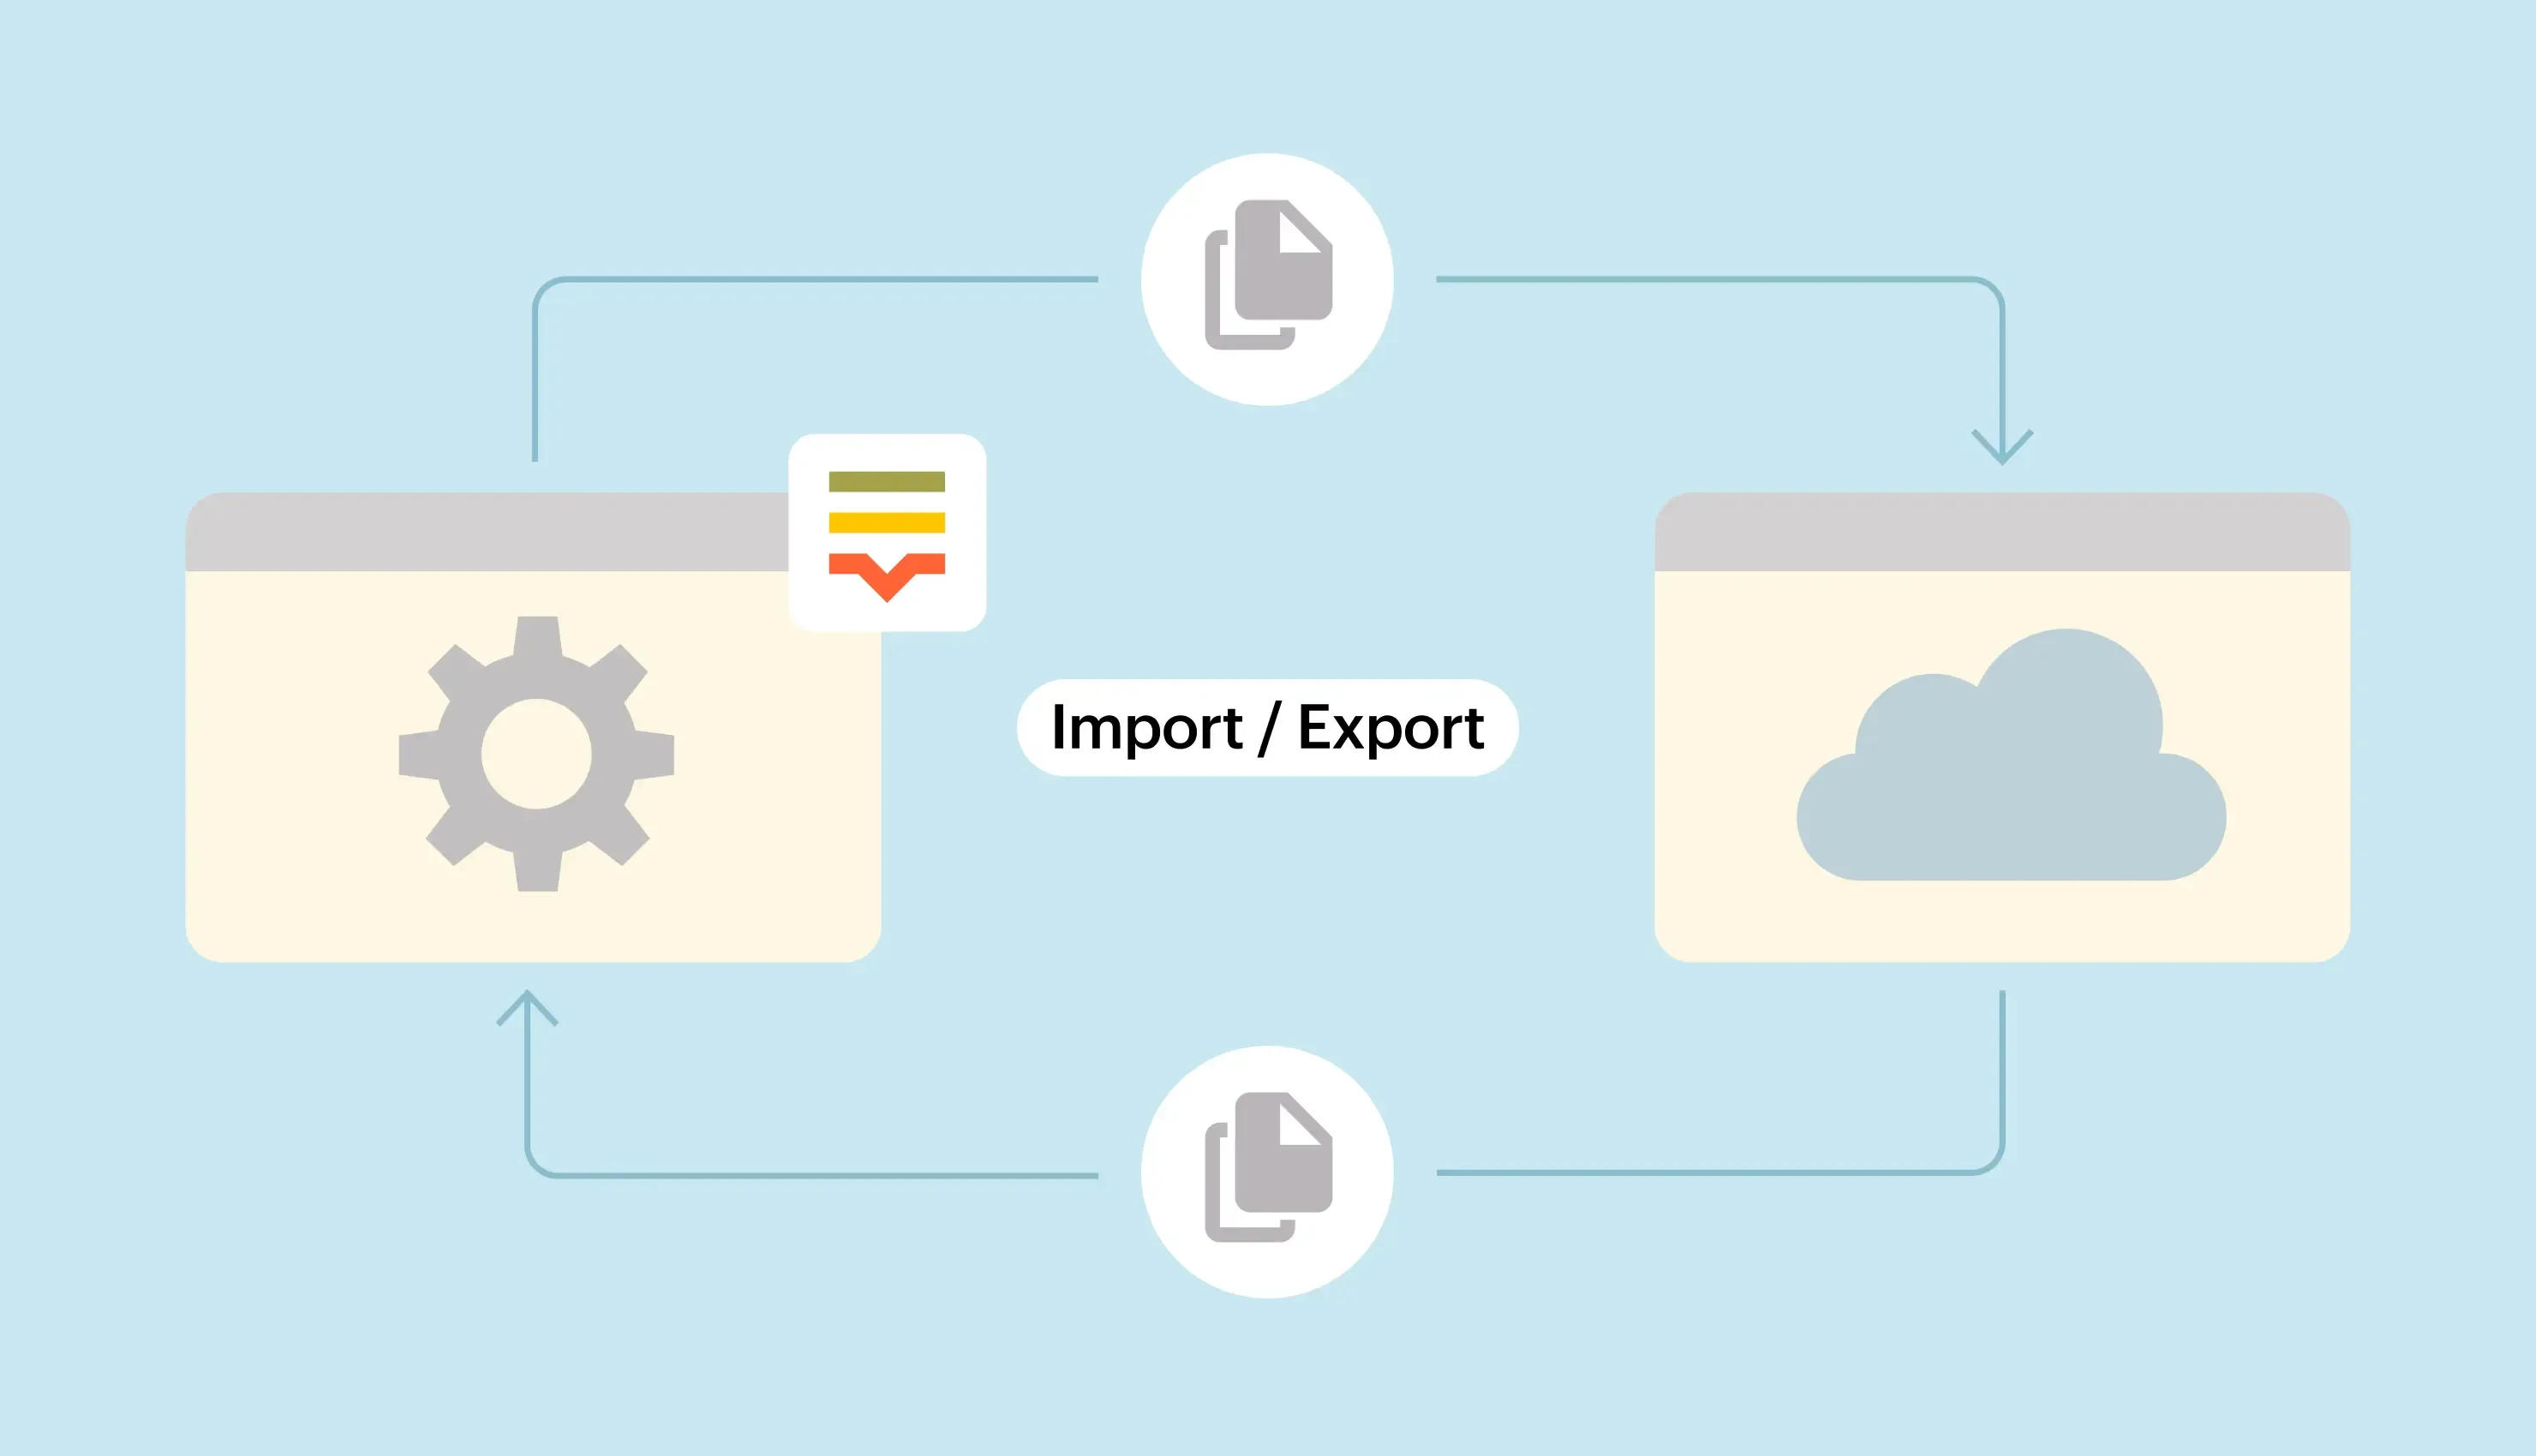
The Custom processor app enables you to utilize your own server or a third-party service to fetch translation keys imported to and exported from Lokalise, analyze, format, transform, or even remove those as needed.
To better understand the idea, let's see how a regular upload is performed on Lokalise:
You choose one or more translation files to upload.
Lokalise detects the translation file languages automatically, but you can adjust those as needed.
You adjust any additional uploading options and click Upload.
Lokalise parses the uploaded data, and extracts keys and translation values.
Extracted data is displayed in the Lokalise TMS translation editor.
However, if you have a Custom processor set up, after performing step 4 Lokalise will automatically send the parsed data to your processor. There you can perform any additional actions, such as analyzing the uploaded data, transforming your translations, adding special formatting, removing unnecessary special characters or certain banned words, restructuring translation keys, and so on. The only requirement is that the data returned by your processor must preserve the initial structure.
Now let's briefly cover the download process:
You choose file formats to download.
You adjust any additional options as needed and click Build and download.
Lokalise collects the chosen keys and translations.
Lokalise generates translation files based on the download options and zips those into an archive.
So, a Custom processor will intercept the data collected in step 3 and once again it can perform any additional modifications before these data are zipped into an archive.
As you can see, the idea is quite simple, however with this feature you can automate repetitive manual work.
Why would you need a Custom processor?
There are various use cases:
Translate the uploaded content using your own or third-party service.
Perform text analysis for your localization workflow needs.
Apply special formatting to the imported or exported translations.
Clean up the imported translations by removing unnecessary special characters.
Remove or replace banned or undesired words.
Perform placeholder replacement.
Restructure or rename the exported translation keys.
So, as you can see, there are numerous potential use cases and you can think of very complex scenarios! Therefore, let's see how to code a custom processor.
Creating a Custom processor
In this section, you'll learn how to create a script performing pre-processing and post-processing of your translation data.
Pre-processing happens when you are uploading translation files. We are going to use a third-party API called funtranslations.com to translate regular English texts into pirate speech.
Post-processing is performed when you are downloading your translation files back. We'll create a script to remove a banned phrase from all our translations.
Preparing the app
So, let's get started by creating a new project directory (for example, custom_processor) with a package.json file inside:
Now let's see how to perform preprocessing. I'd like to find all English translations and turn them into pirate speech using funtranslations.com. To achieve that, create a new file called routes/preprocess.js. Inside it we'll iterate over translation keys:
'use strict'module.exports = async function (fastify, opts) { fastify.register(require('fastify-http-client')) fastify.post('/preprocess', async function (request, reply) { if (!request.body) { return { "error" : "Invalid request: Missing body"}; } const payload = request.body; for (const [keyId, keyValue] of Object.entries(payload.collection.keys)) { } return payload; })}
Then we have to check the language ID; it should be equal to 640 which is English. If the language ID is the proper one, we'll send an API request to translate our texts:
'use strict'module.exports = async function (fastify, opts) { fastify.register(require('fastify-http-client')) fastify.post('/preprocess', async function (request, reply) { if (!request.body) { return { "error" : "Invalid request: Missing body"}; } const payload = request.body; for (const [keyId, keyValue] of Object.entries(payload.collection.keys)) { for (const [lang, v] of Object.entries(keyValue.translations)) { if(v.languageId === 640) { const res = await fastify.curl('https://api.funtranslations.com/translate/pirate.json&text=' + v.translation).then((result) => { const translated = JSON.parse(result.data.toString()) payload.collection.keys[keyId].translations[lang].translation = translated.contents.translated }).catch((err) => { payload.collection.keys[keyId].translations[lang].translation = v.translation }) } } } return payload; })}
Basically, this is it.
Performing post-processing
Post-processing is performed in a very similar way. Let's create a new route that is going to remove a banned phrase, "Flying Dutchman", from all the translations (after all, pirates are usually afraid of this mystical ship). Populate the routes/postprocess.js file with the following code:
'use strict'module.exports = async function (fastify) { fastify.post('/postprocess', async function (request, reply) { if (!request.body) { return { error: 'Invalid request: Missing body' } } const payload = request.body for (const [keyId, keyValue] of Object.entries(payload.collection.keys)) { for (const [lang, v] of Object.entries(keyValue.translations)) { payload.collection.keys[keyId].translations[lang].translation = v.translation.replace( /flying\sdutchman/gi, '', ) } } await reply.send(payload) })}
Here we are simply removing the banned phrase from all translations.
Great job!
Setting up a Custom processor
Once you have created a custom processor, it's time to enable it! Therefore, perform the following steps:
Proceed to lokalise.com, log in to the system, and open your translation project.
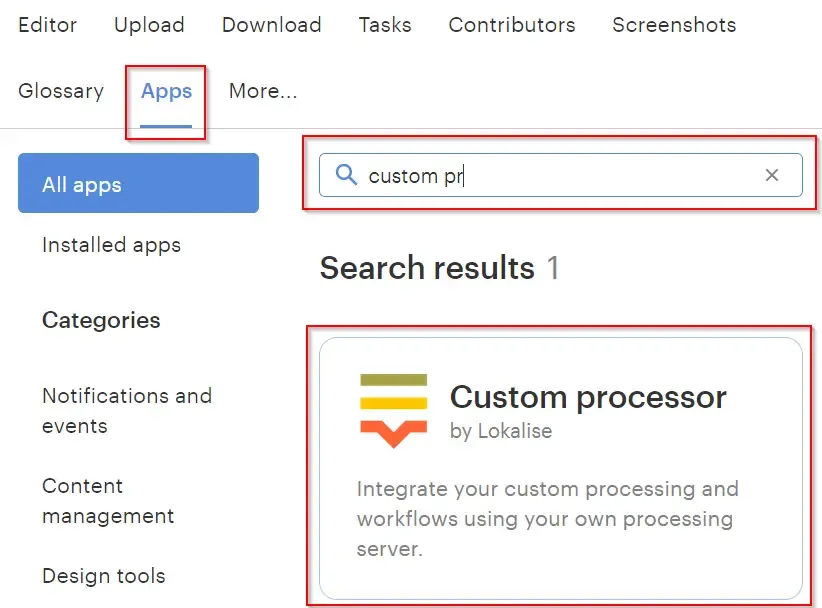
Proceed to Apps, find Custom processor in the list, and click on it.
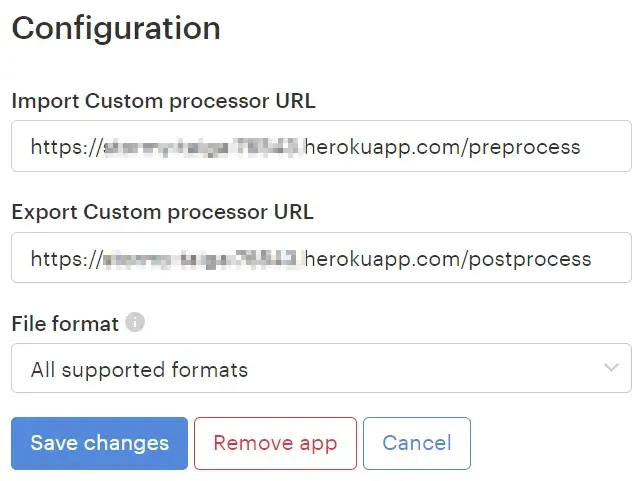
Then click Install and configure the app by entering a pre-process and a post-process URL.
If needed, choose a file format to run this processor for.
When you are ready, click Save changes.
That's it, great job!
Testing it out
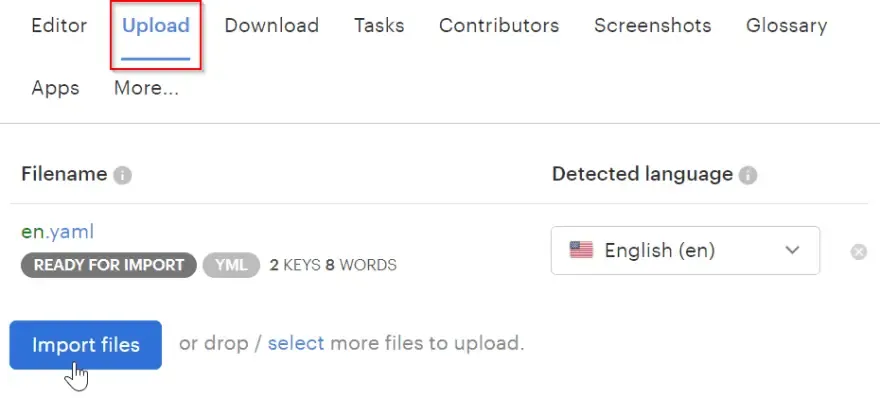
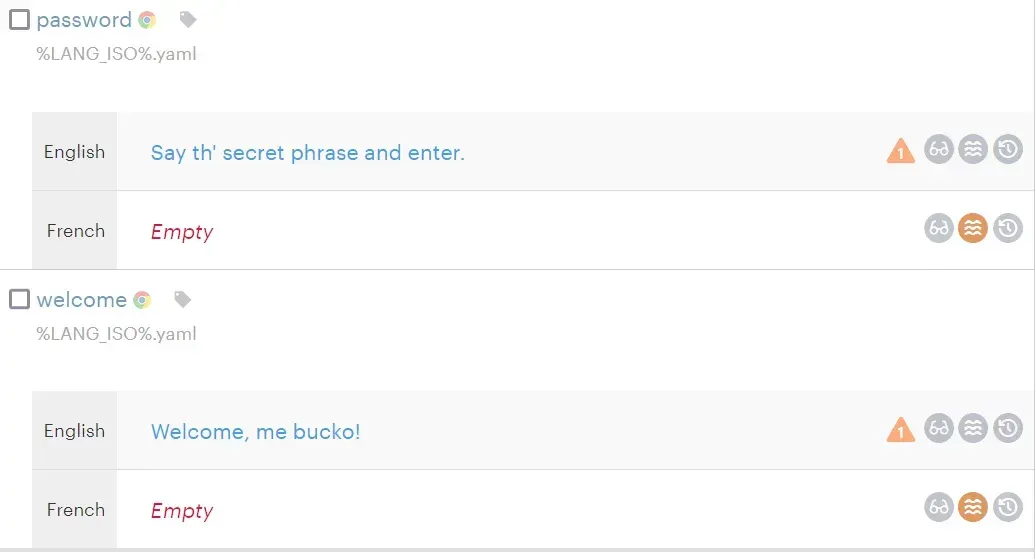
Now that everything is ready, you can test your new processor. To do that, proceed to the Upload page, choose an English translation file, and click Upload.
Return to the project editor and observe the results:
To test the post-processing feature, simply add the "Flying Dutchman" phrase to any translation, proceed to the Download page, and click Build and download. You should not see the banned phrase in the resulting translations.
{ "password": "Say th' secret phrase and enter. It's over there", "welcome": "Welcome, me bucko!"}
Congratulations!
Conclusion
And this concludes our tutorial. As you can see, the Custom processor is a very powerful feature that can be used to build custom workflows, so be sure to check it out. You can find even more code samples in our DevHub. However, if you have any additional questions, please don't hesitate to drop us a line.
Thank you for sticking with me today, and happy coding!
Ilya is the lead for content, documentation, and onboarding at Lokalise, where he focuses on helping engineering teams build reliable internationalization workflows. With a background at Microsoft and Cisco, he combines practical development experience with a deep understanding of global product delivery, localization systems, and developer education.
He specializes in i18n architectures across modern frameworks — including Vue, Angular, Rails, and custom localization pipelines — and has hands-on experience with Ruby, JavaScript, Python, Elixir, Go, Rust, and Solidity. His work often centers on improving translation workflows, automation, and cross-team collaboration between engineering, product, and localization teams.
Beyond his role at Lokalise, Ilya is an IT educator and author who publishes technical guides, best-practice breakdowns, and hands-on tutorials. He regularly contributes to open-source projects and maintains a long-standing passion for teaching, making complex internationalization topics accessible to developers of all backgrounds.
Outside of work, he keeps learning new technologies, writes educational content, stays active through sports, and plays music. His goal is simple: help developers ship globally-ready software without unnecessary complexity.
Libraries and frameworks to translate JavaScript apps
In our previous discussions, we explored localization strategies for backend frameworks like Rails and Phoenix. Today, we shift our focus to the front-end and talk about JavaScript translation and localization. The landscape here is packed with options, which makes many developers a
Character encoding: Types, UTF-8, Unicode, and more explained
In this article, we’ll explore various types of character encoding used in the world of information technology. We’ll break down why encoding matters, explain how they function, and highlight the key differences between ASCII, UTF-8, UTF-16, and the Unicode Standard. Understanding these differences is essential for correctly handling text in any software application, especially when working with localized time and date formats that rely on proper ch
Syncing Lokalise translations with GitLab pipelines
In this guide, we’ll walk through building a fully automated translation pipeline using GitLab CI/CD and Lokalise. From upload to download, with tagging, version control, and merge requests. Here’s the high-level flow: Upload your source language files (e.g. English JSON files) to Lokalise from GitLab using a CI pipeline.Tag each uploaded key with your Git branch name. This helps keep translations isolated per feature or pull request