Sometimes it’s a good idea to let your brain cool off from the day-to-day work (which in my case is building the best translation management software in the world). What could be better than building and playing an arcade machine?
With software internationalization, you can enhance this project by creating a multilingual interface for the arcade machine, allowing players from different regions to enjoy a tailored gaming experience.
I’ve been enjoying arcades in 90s that’s why I’ve decided to put one together at home. There is quite a number of tutorials on the Internet on how to do that. However, the common problem is building the wooden cabinet – well, not a problem if you have a circular saw and some other professional tools available.
Unfortunately (or luckily?), I don’t have a circular saw at home. So, here is my take on how to do it just using a pencil, a ruler, and a knife.
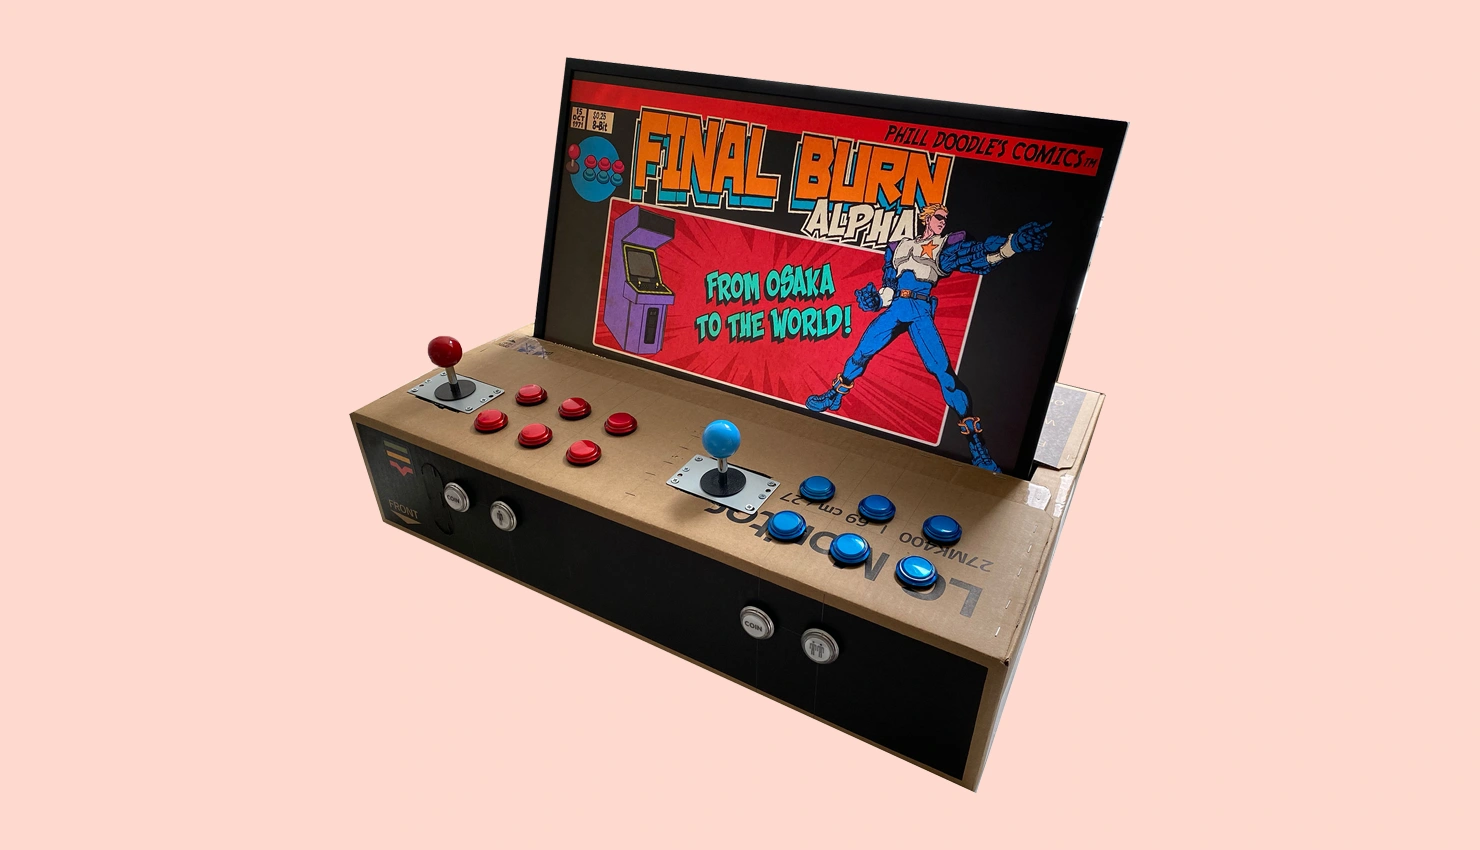
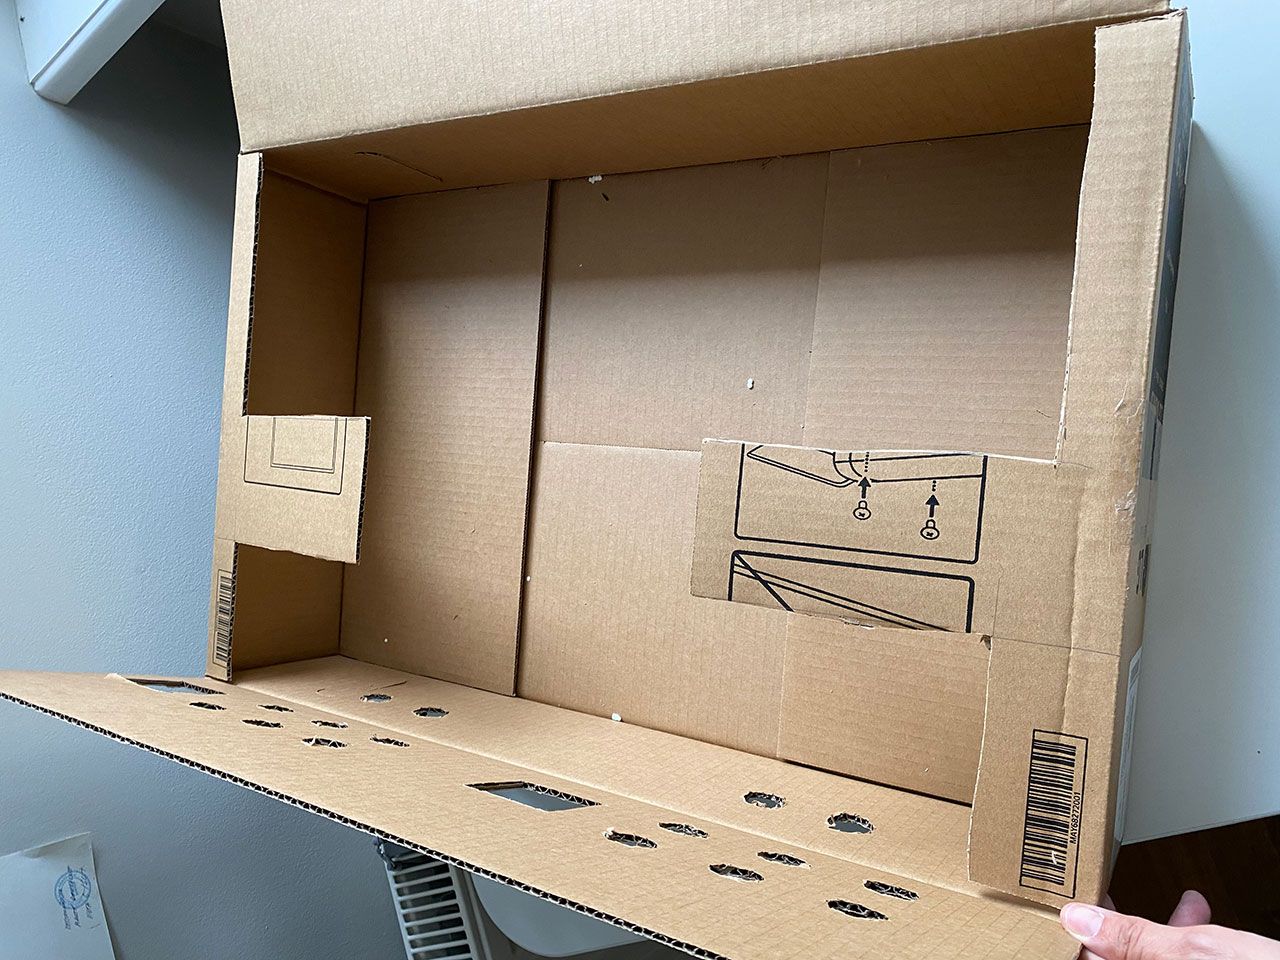
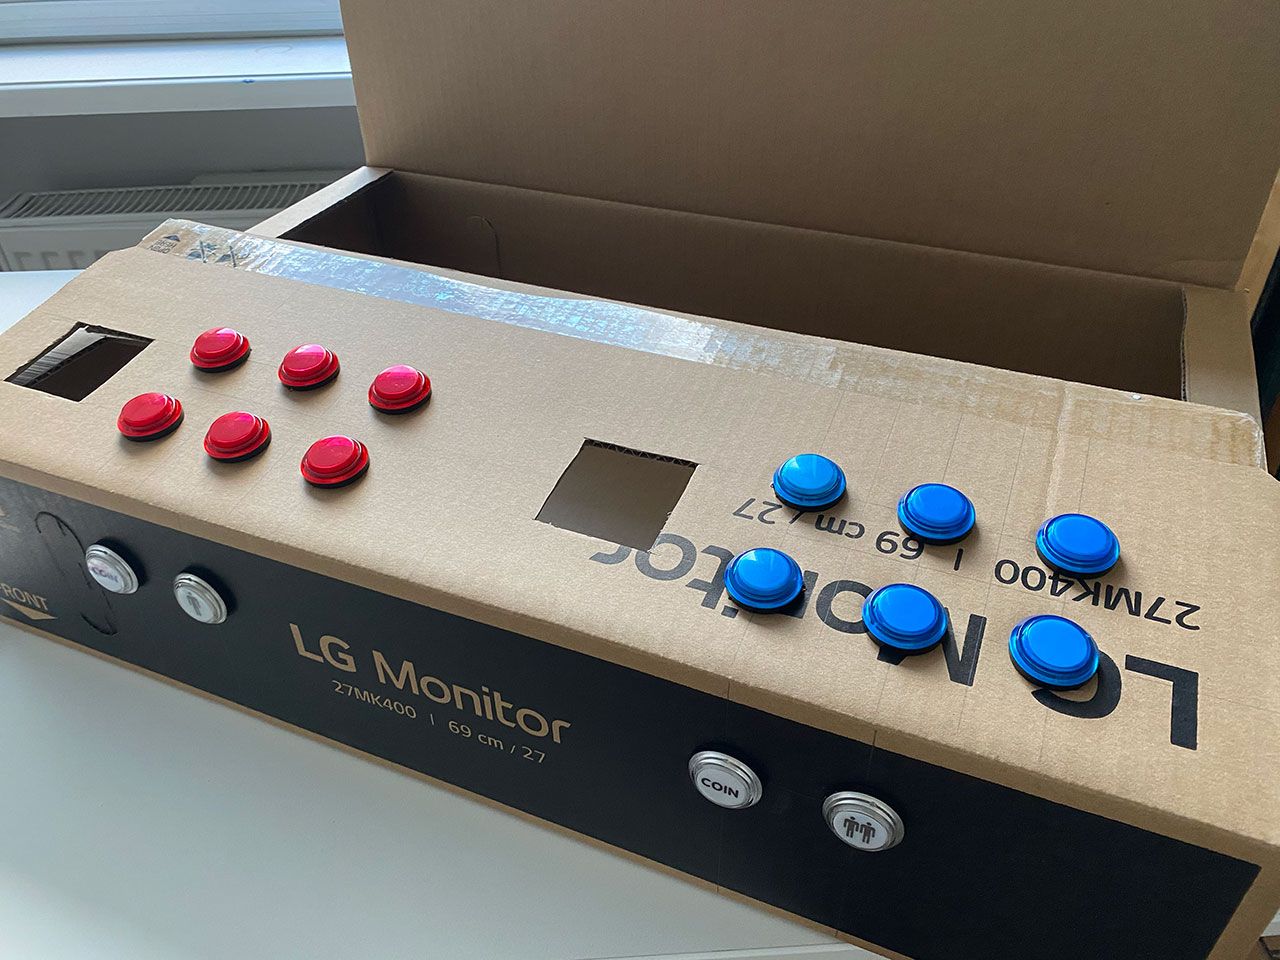
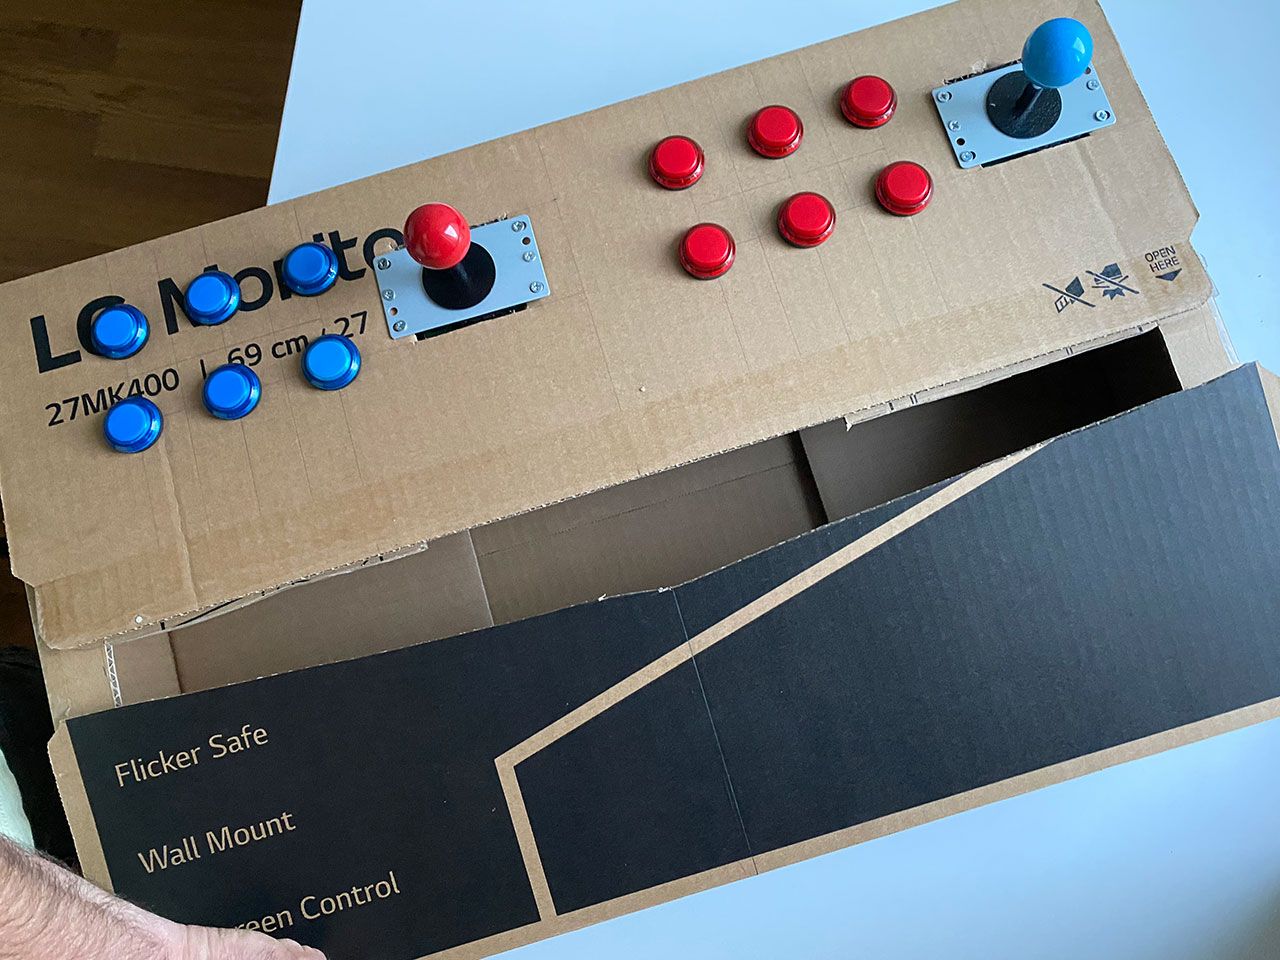
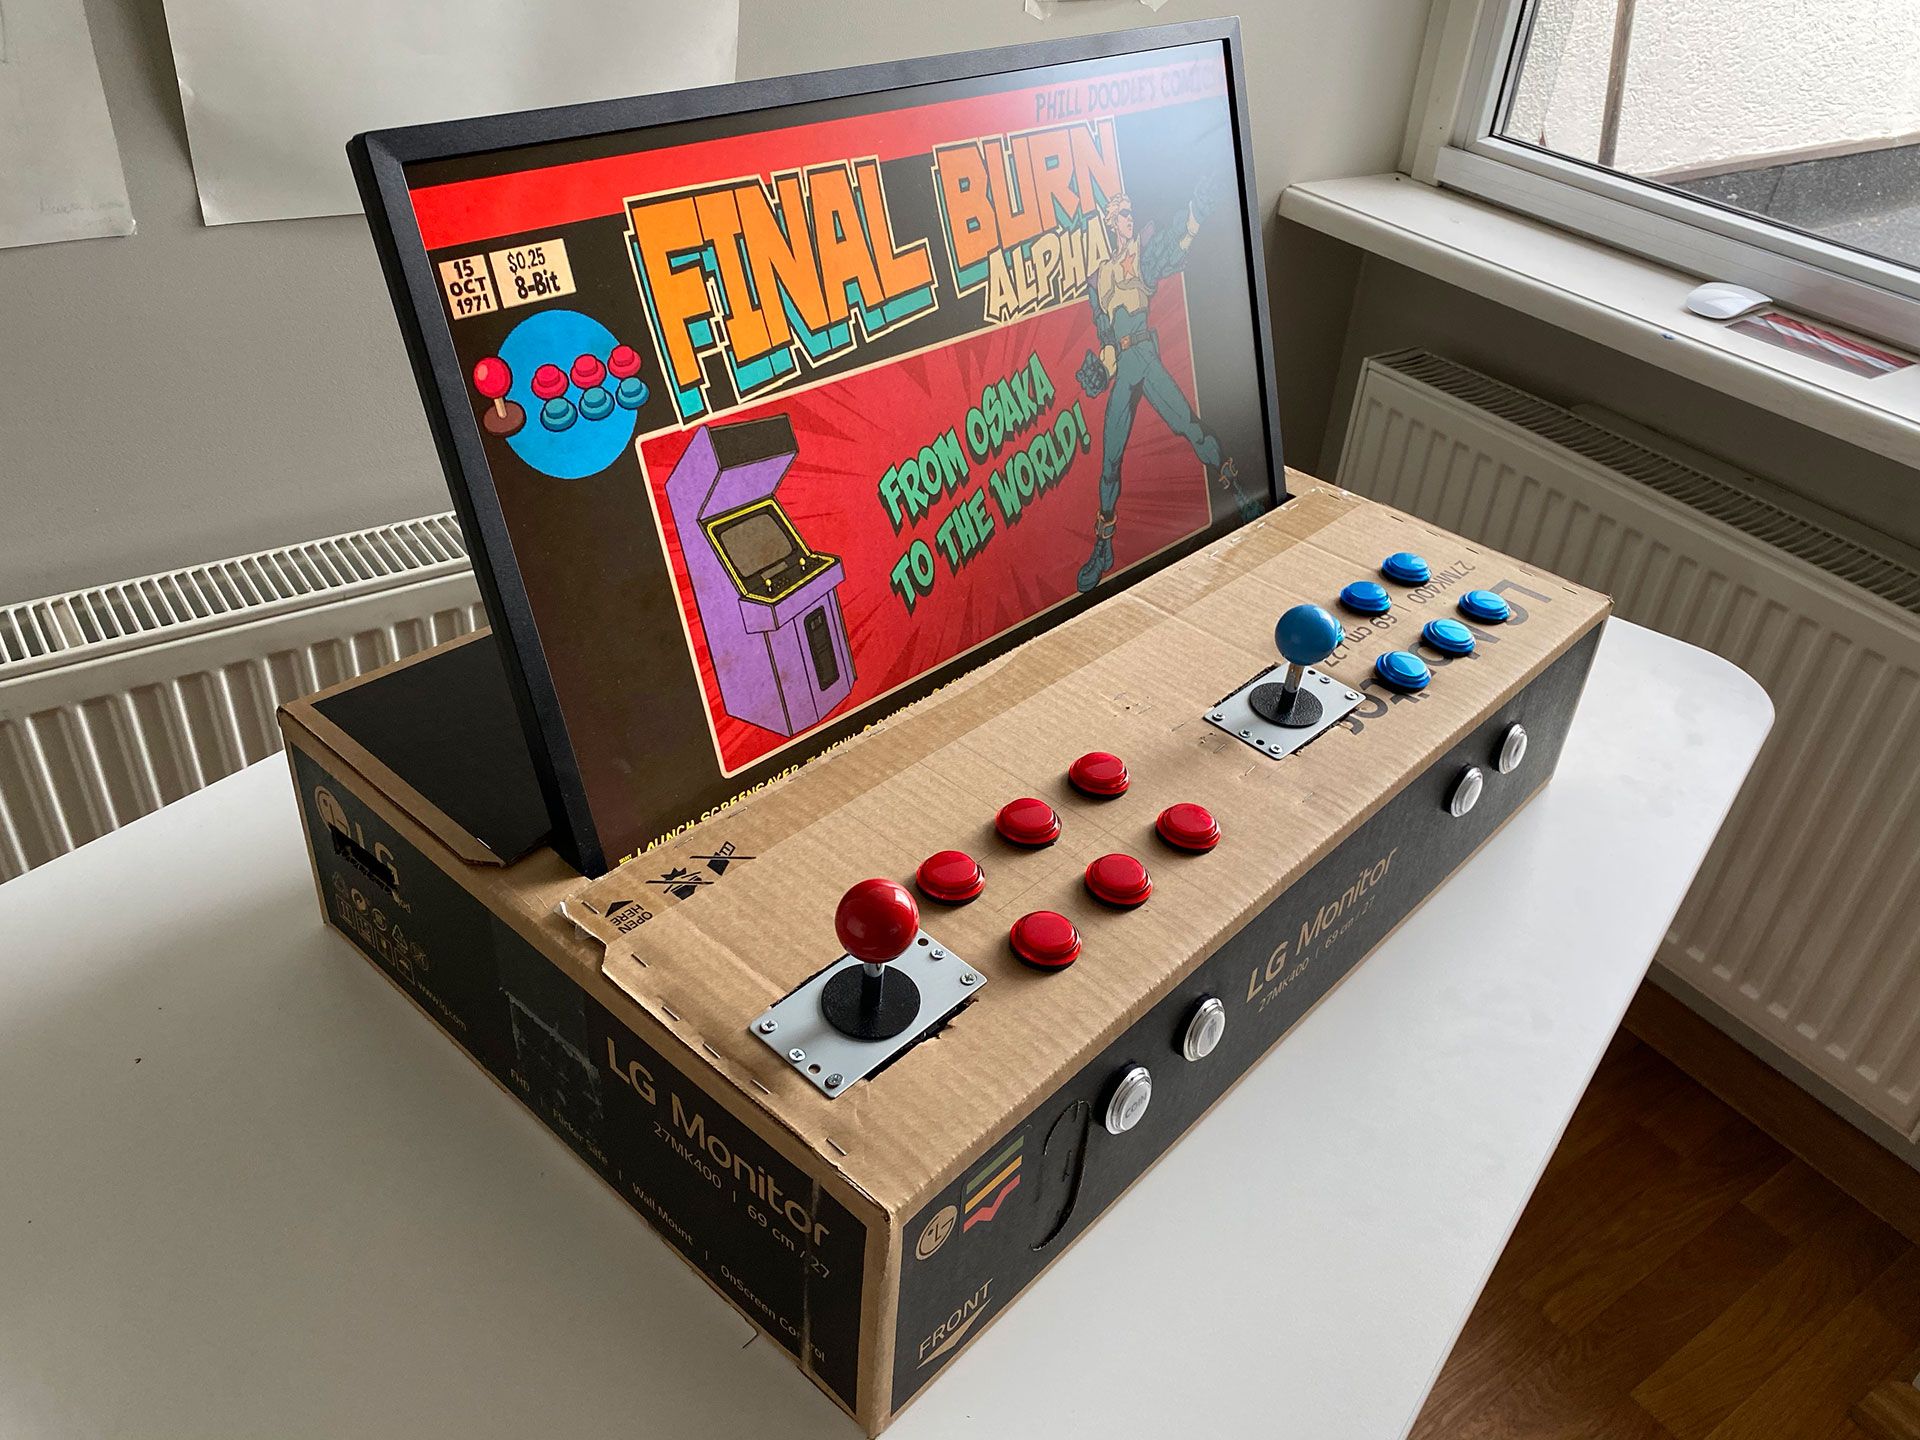
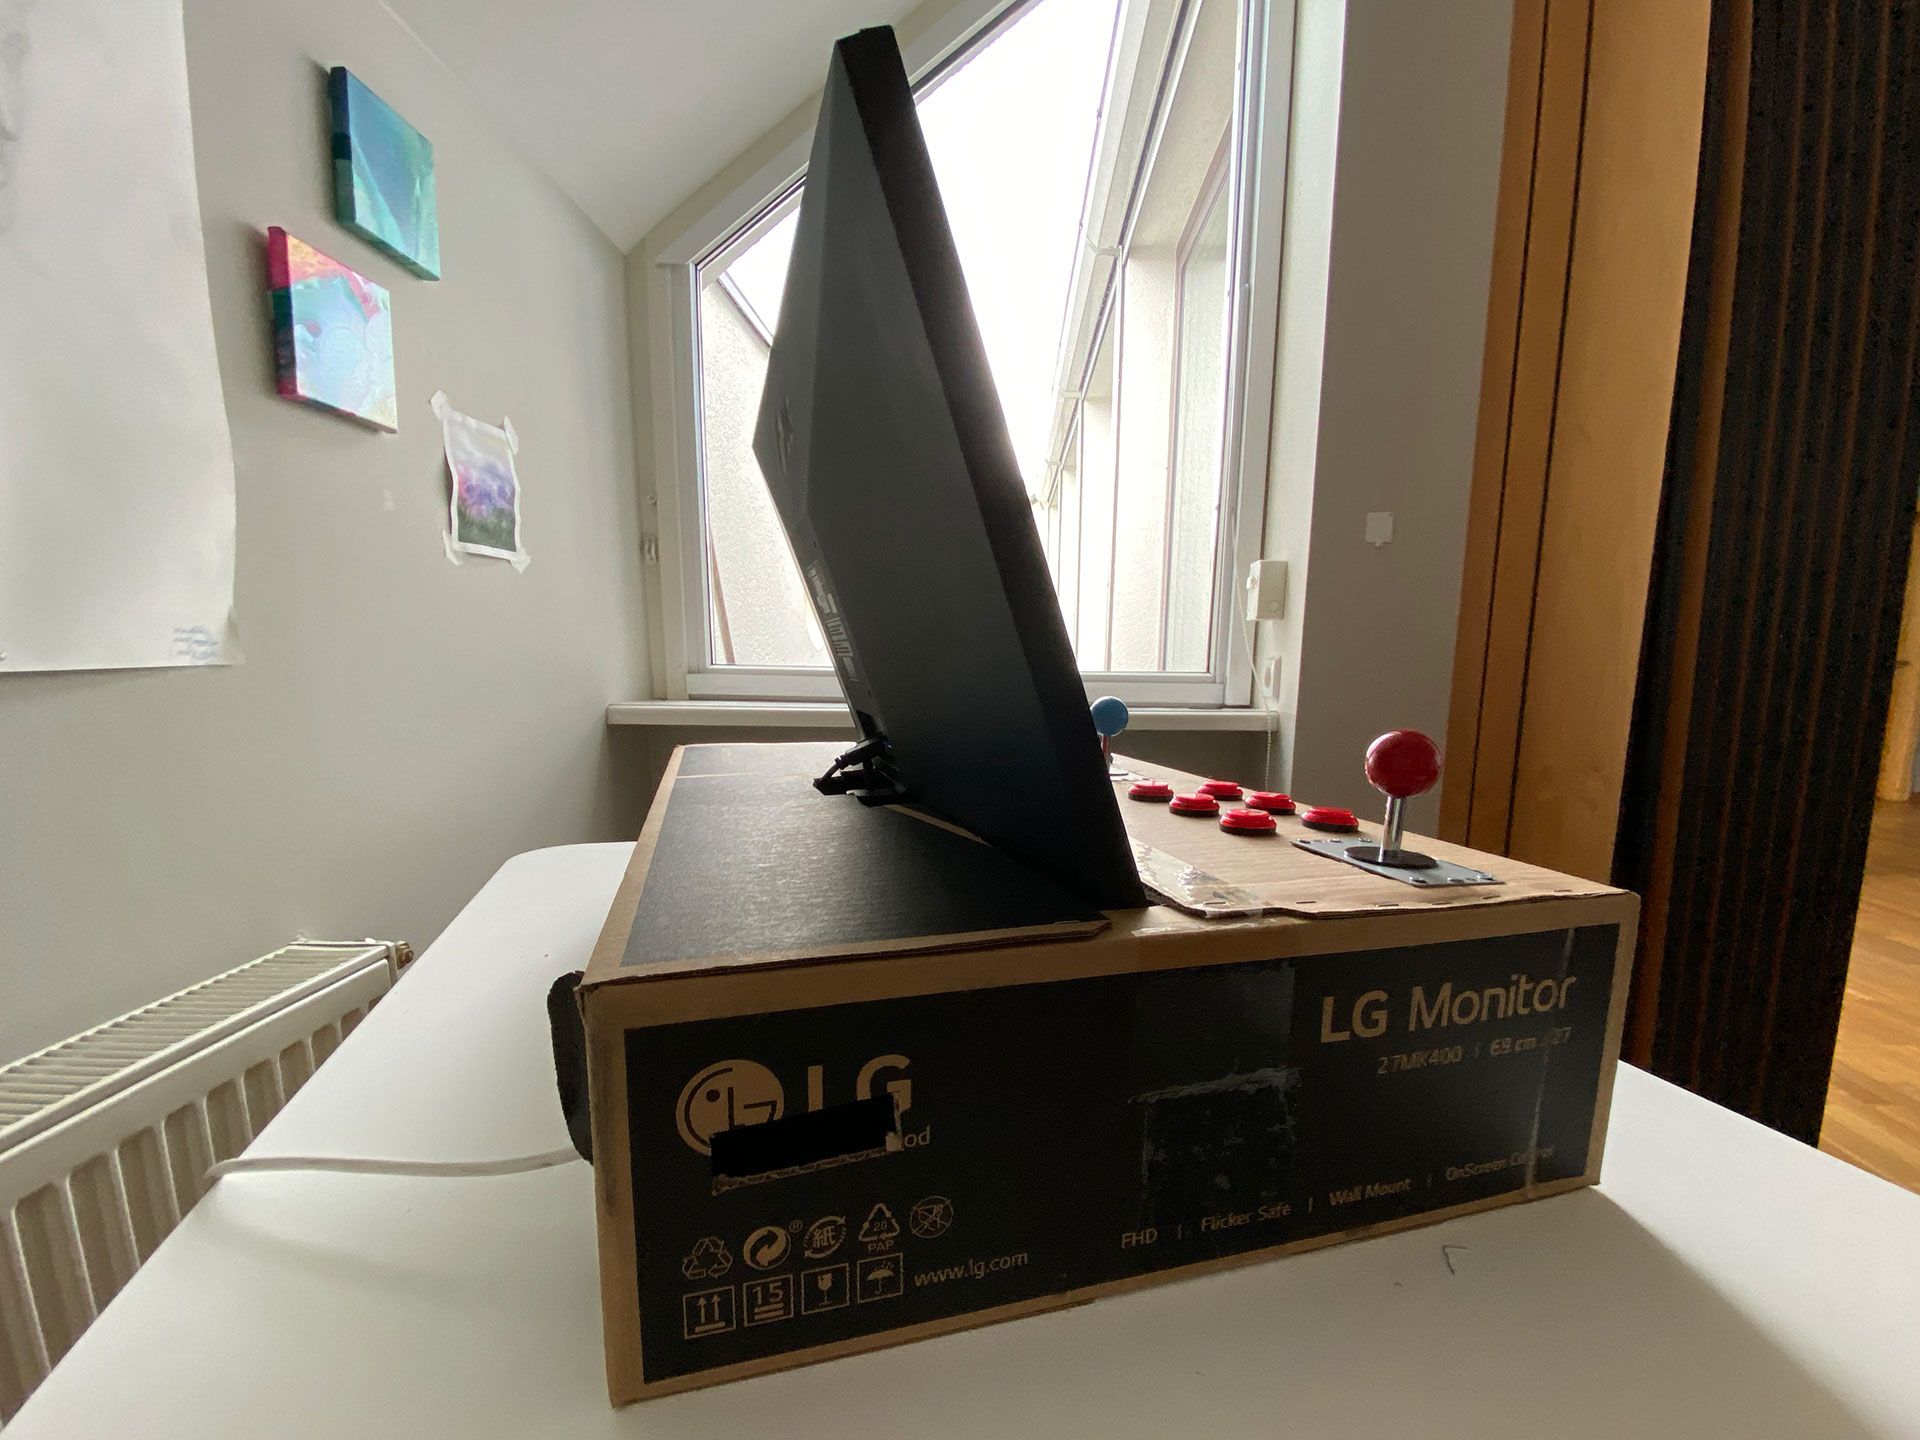
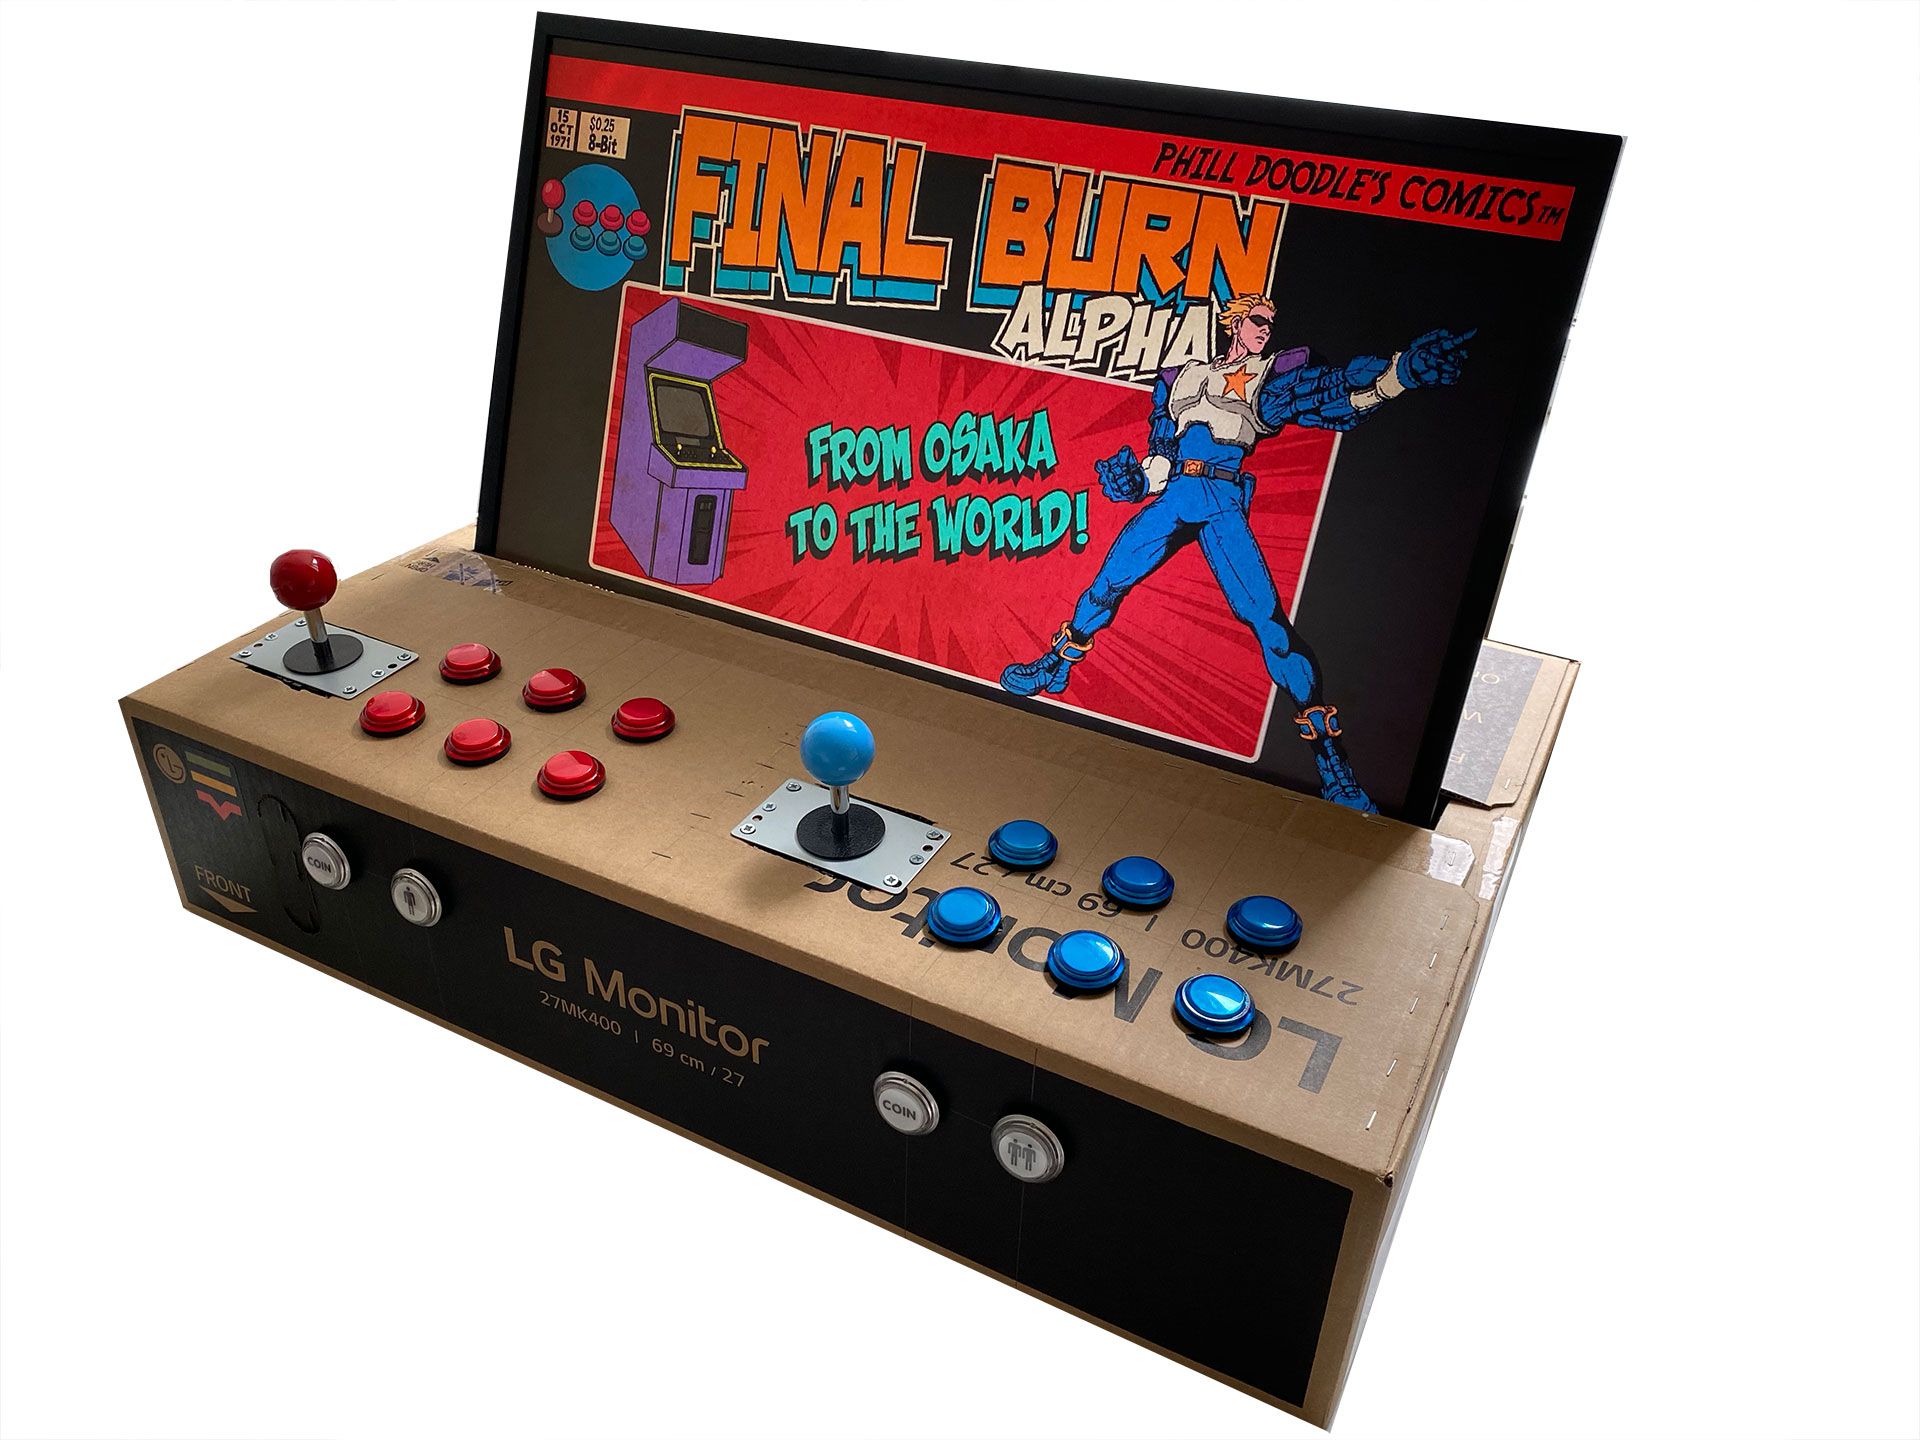
I'm going to use the box that came with the monitor as a cabinet, which means the final arcade machine will be a portable bar top version. No soldering required.
The software part will run on RetroPie, an excellent image for Raspberry Pi micro computer. I will also explain how to add a nice cardboard-compatible theme, and fetch game video previews and info.
While RetroPie can emulate 50 different gaming platforms (including PlayStation, PSP, Dreamcast, Nintendo, MSX, and others), I will focus on setting up controllers and games for an emulator called Final Burn Alpha (FBA) – basically a multiple retro arcade machine emulator. The FBA games typically use 2 to 4 controller buttons, sometimes 6 (works for us!). Otherwise, you can easily drop any other platform ROMs to the according folders, and they will just work (probably ;) ).
The total budget in my case was about €270, but it could be about €140 if you find a used monitor with a box (I just bought a brand new one).
Tools required
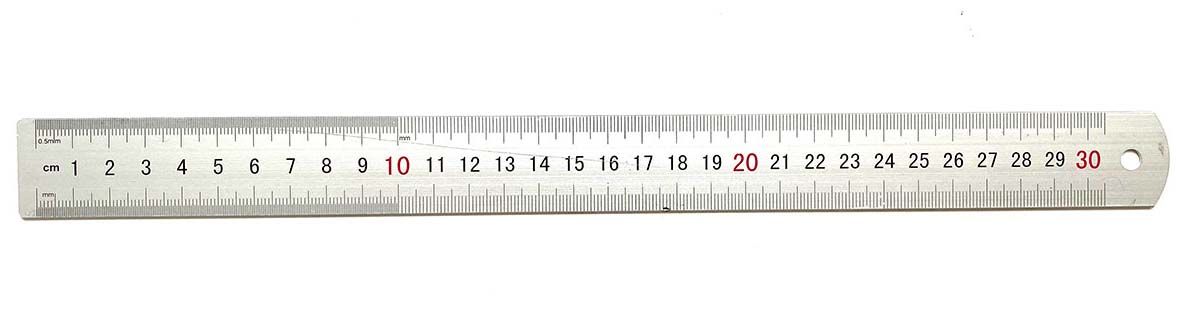
Ruler Standard 30 cm (12”) ruler will work just fine.
Pencil
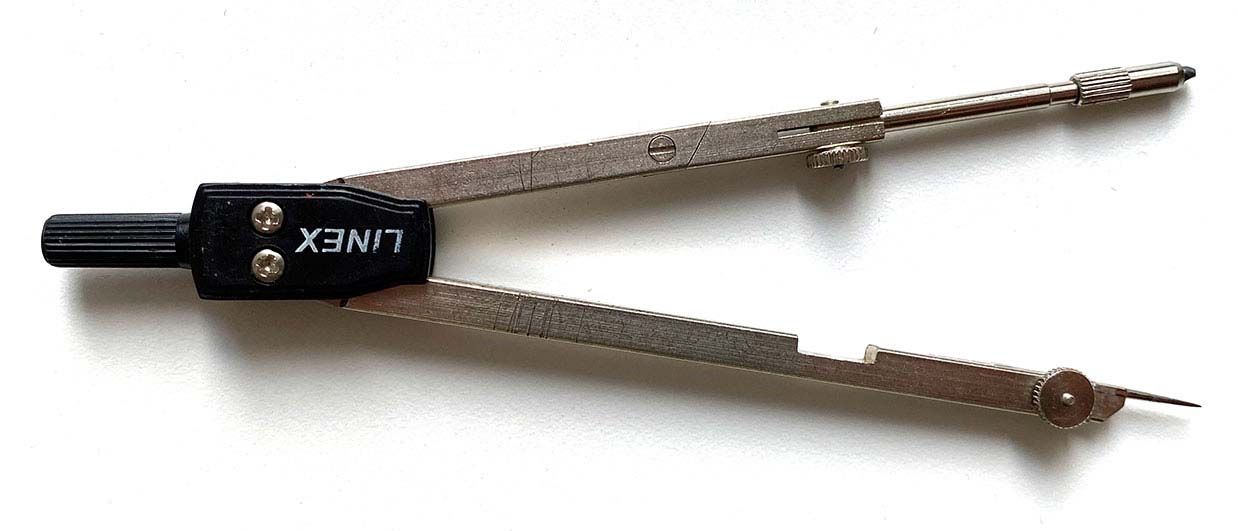
Compasses
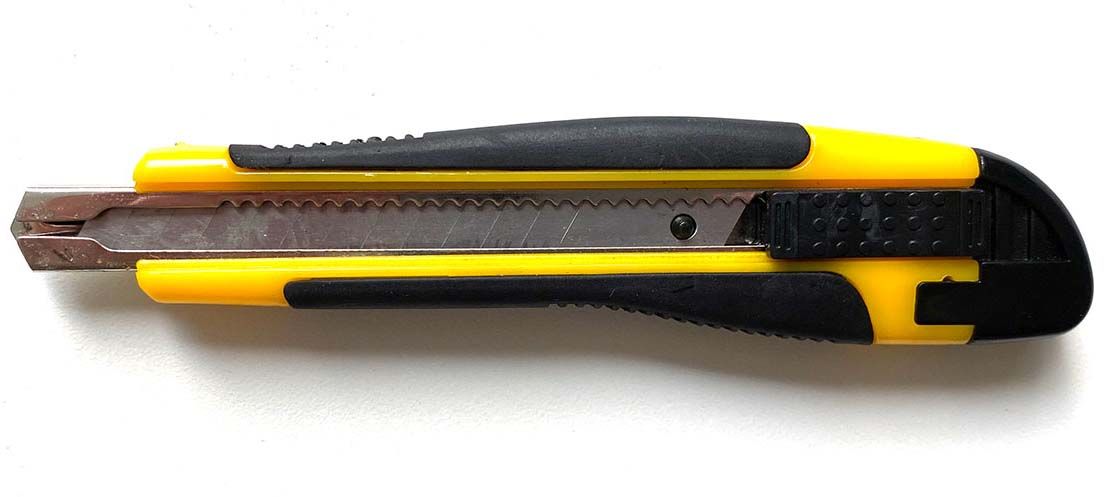
Paper knife
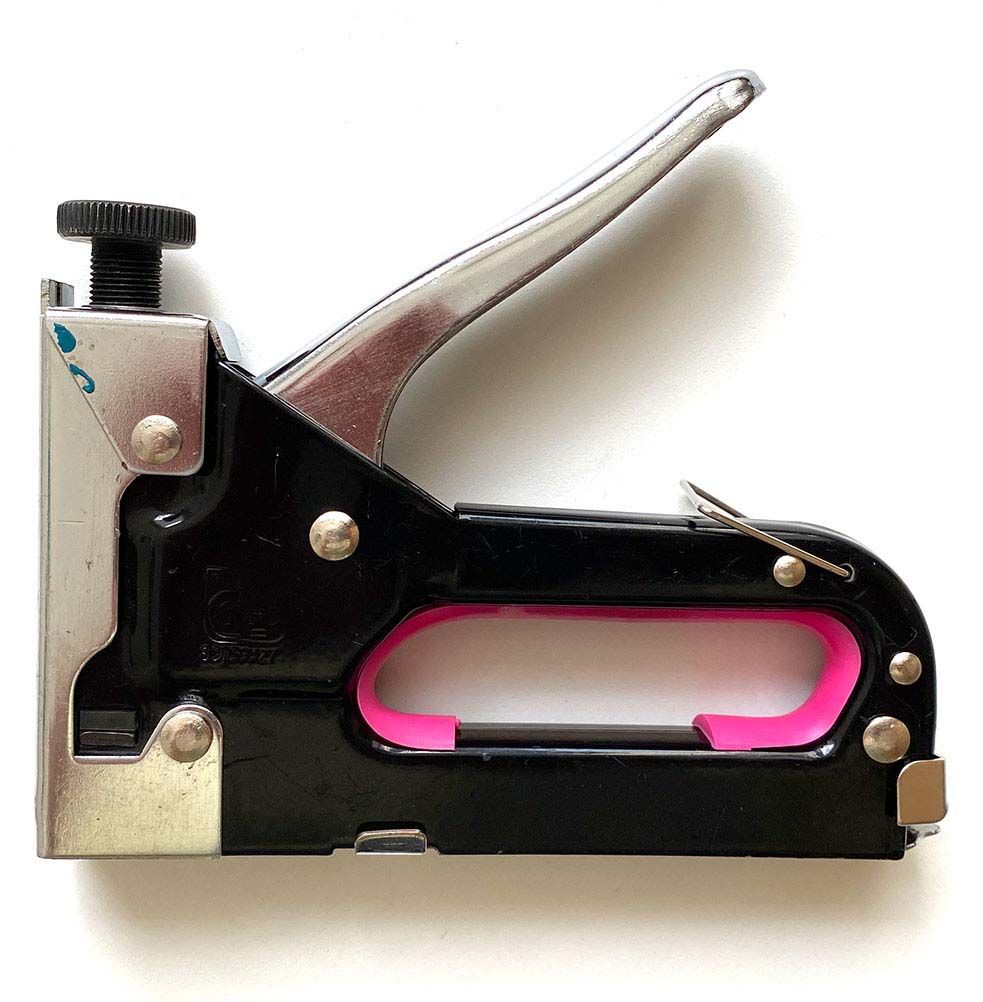
Stapler Regular office stapler will work as well, I had a bigger one at home.
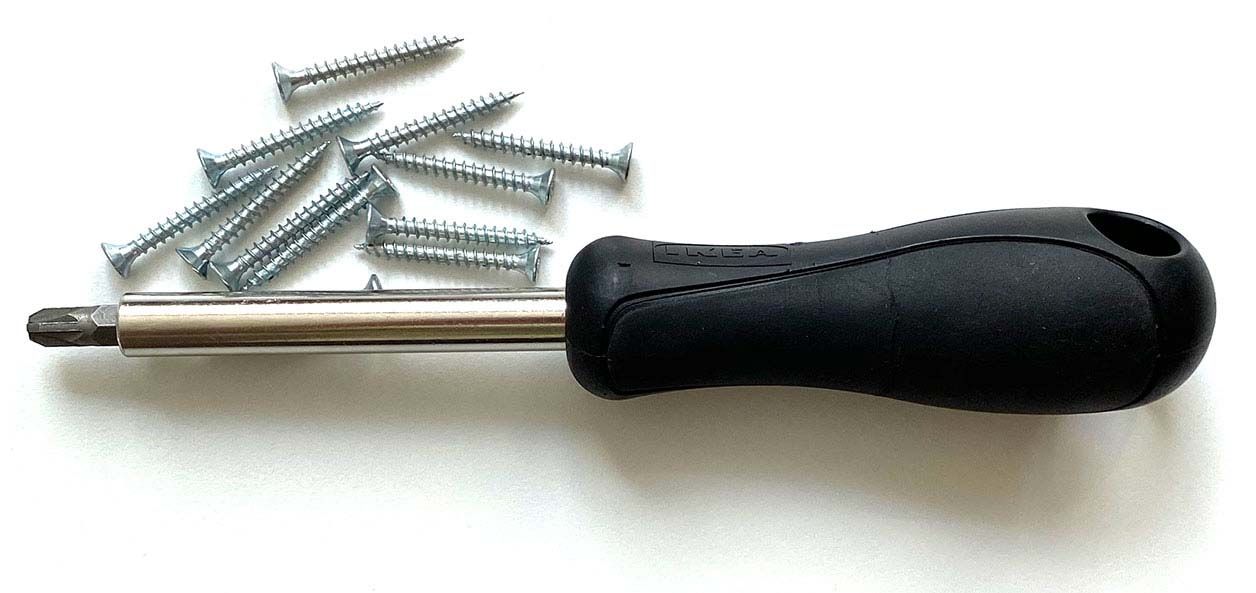
12 screws and a screwdriver Any decent size screws are suitable, but the shorter the better.
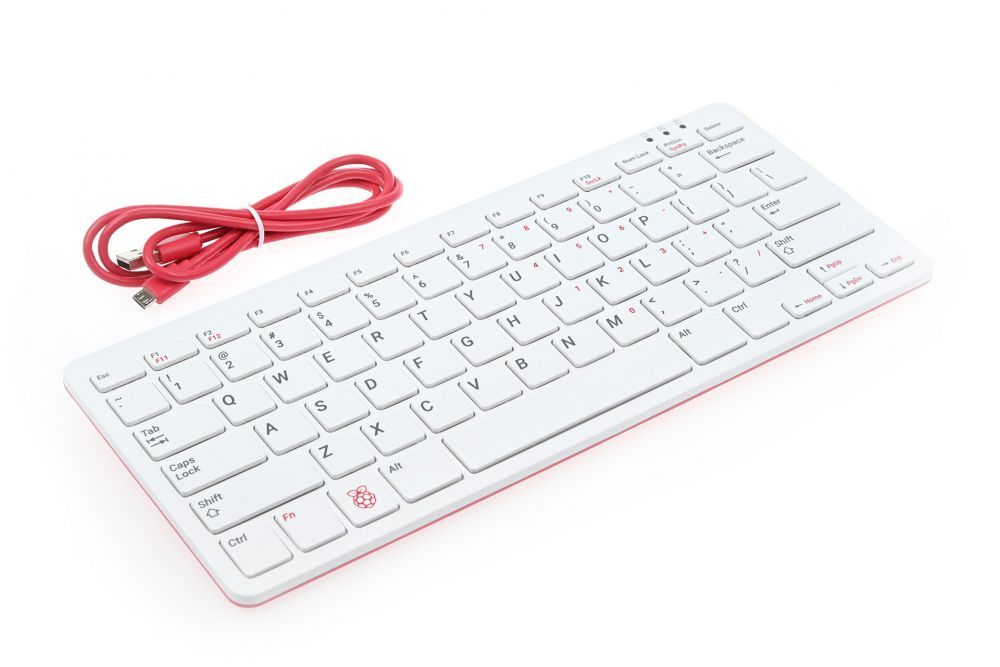
USB keyboard We will use a USB keyboard at the initial set up stage. Any will do.
SD card reader/writer Make sure to pick a good one – some people are struggling at the flashing step due to low-quality SD card writers.
Double-sided adhesive tape
Components
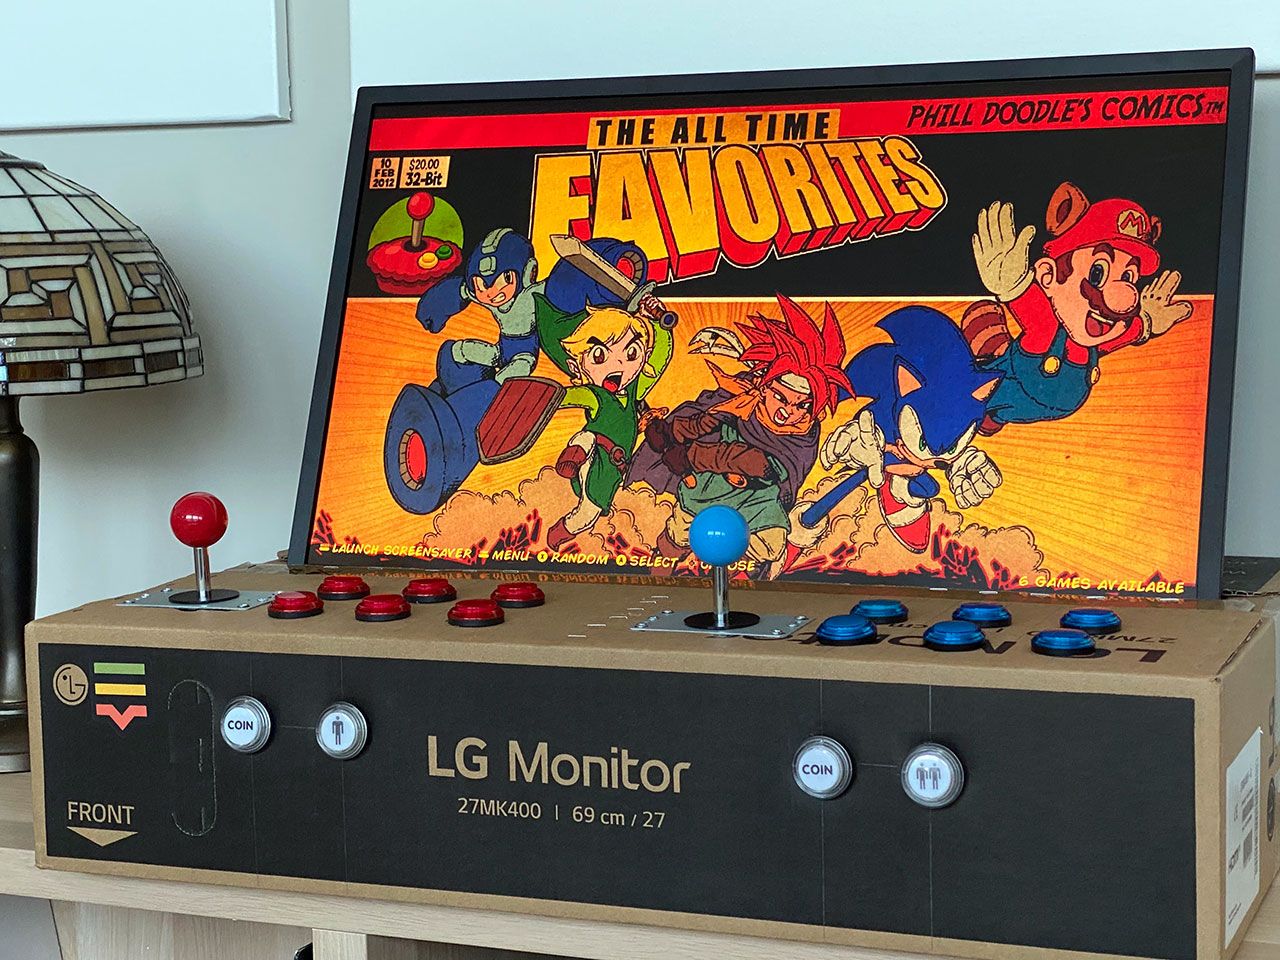
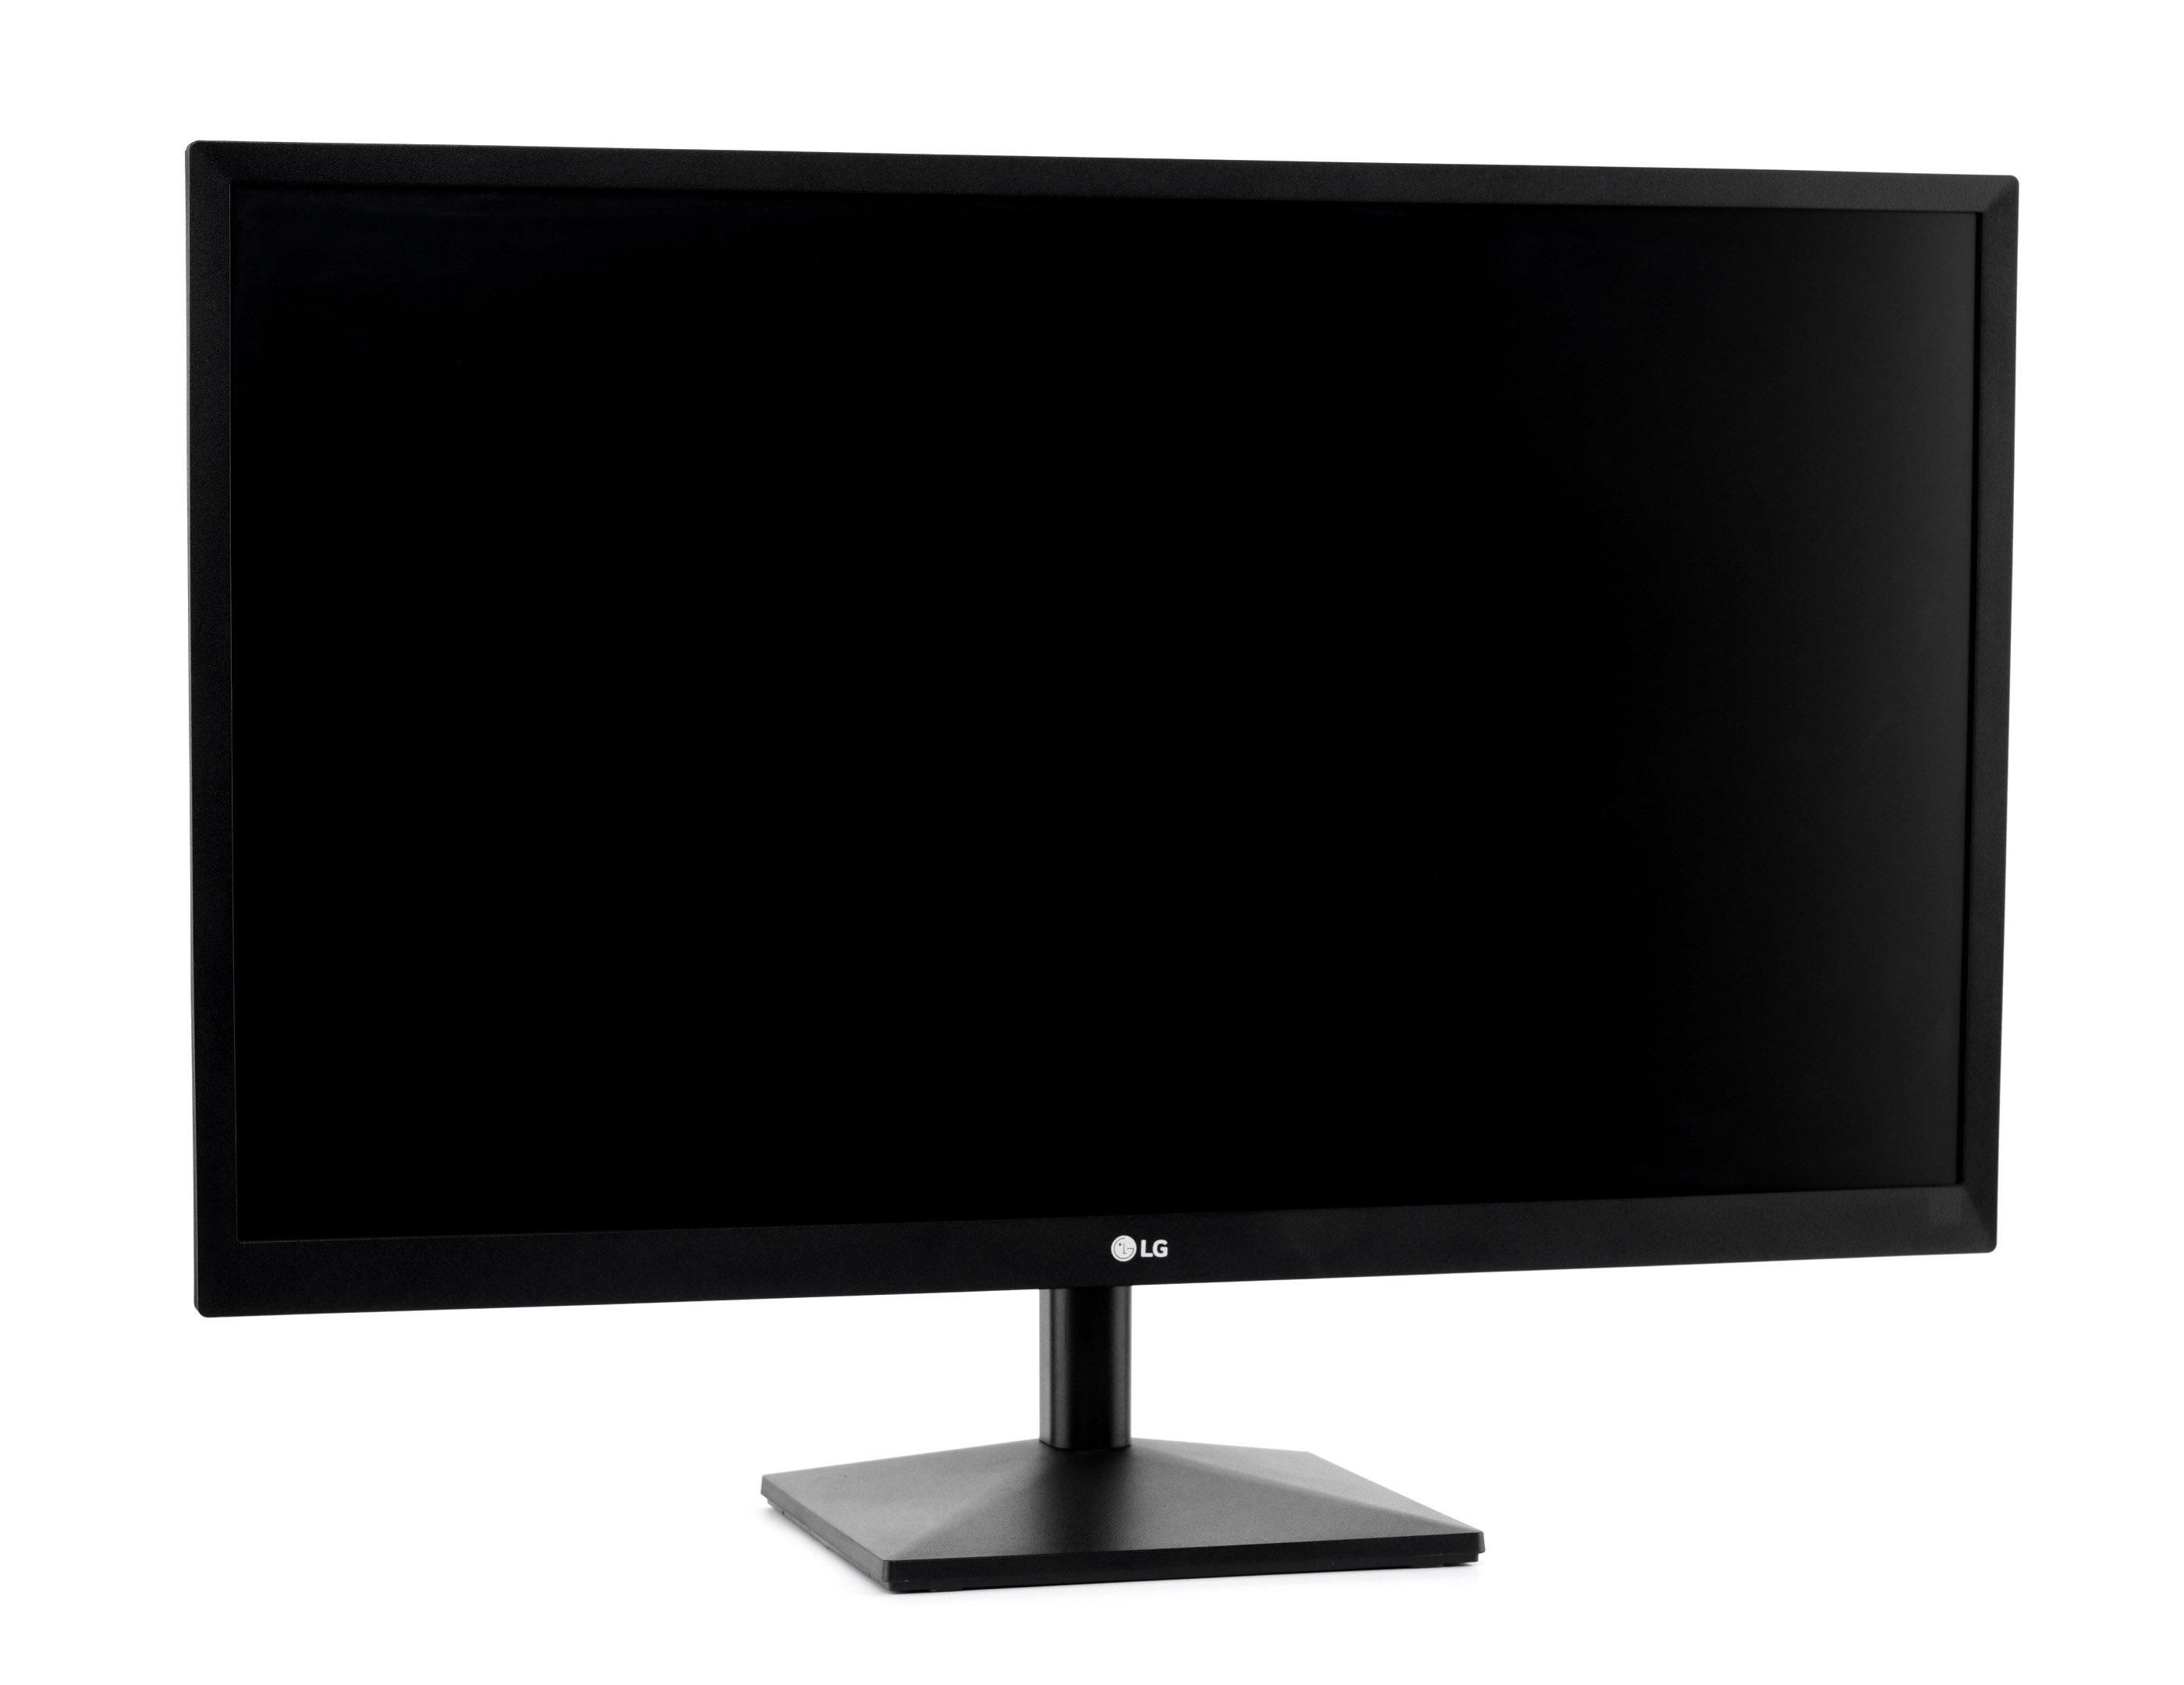
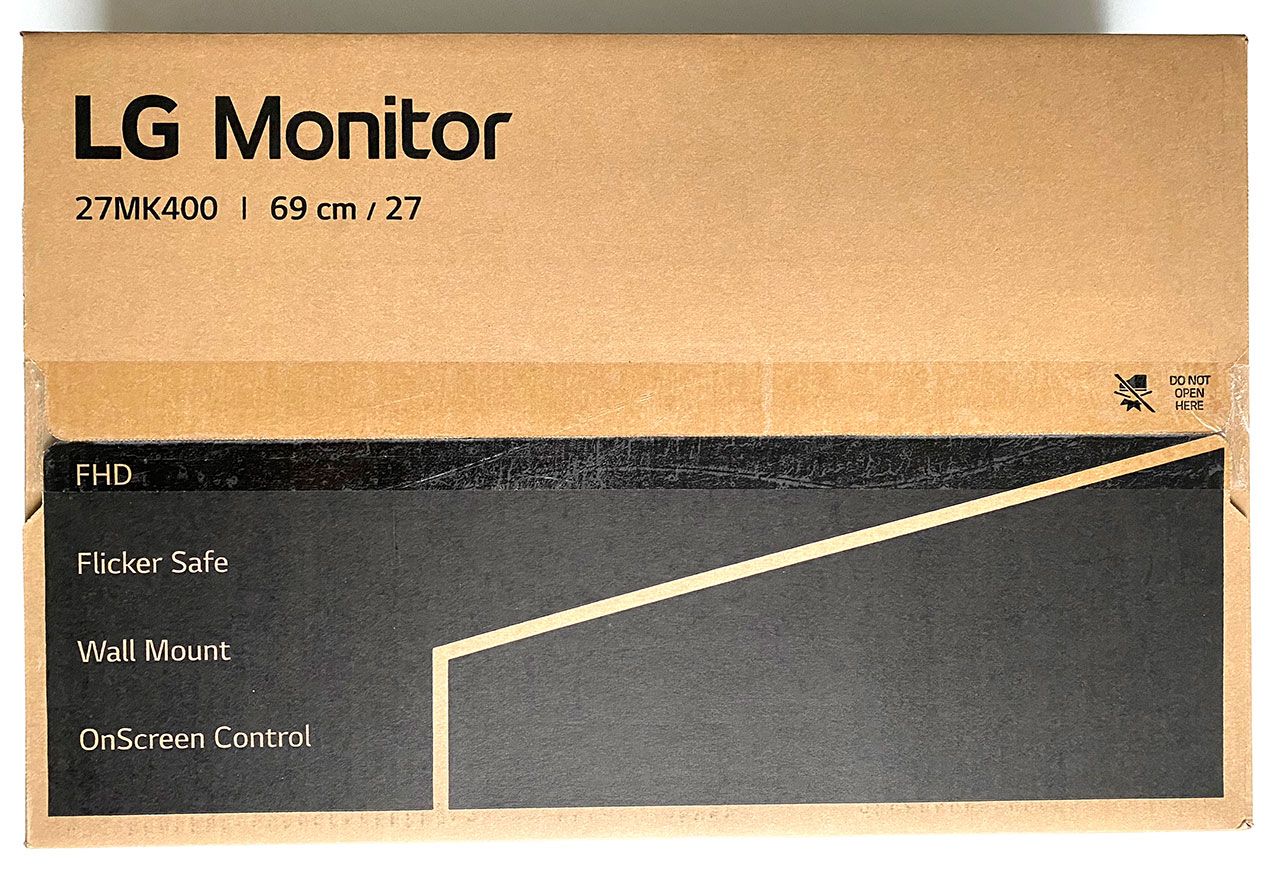
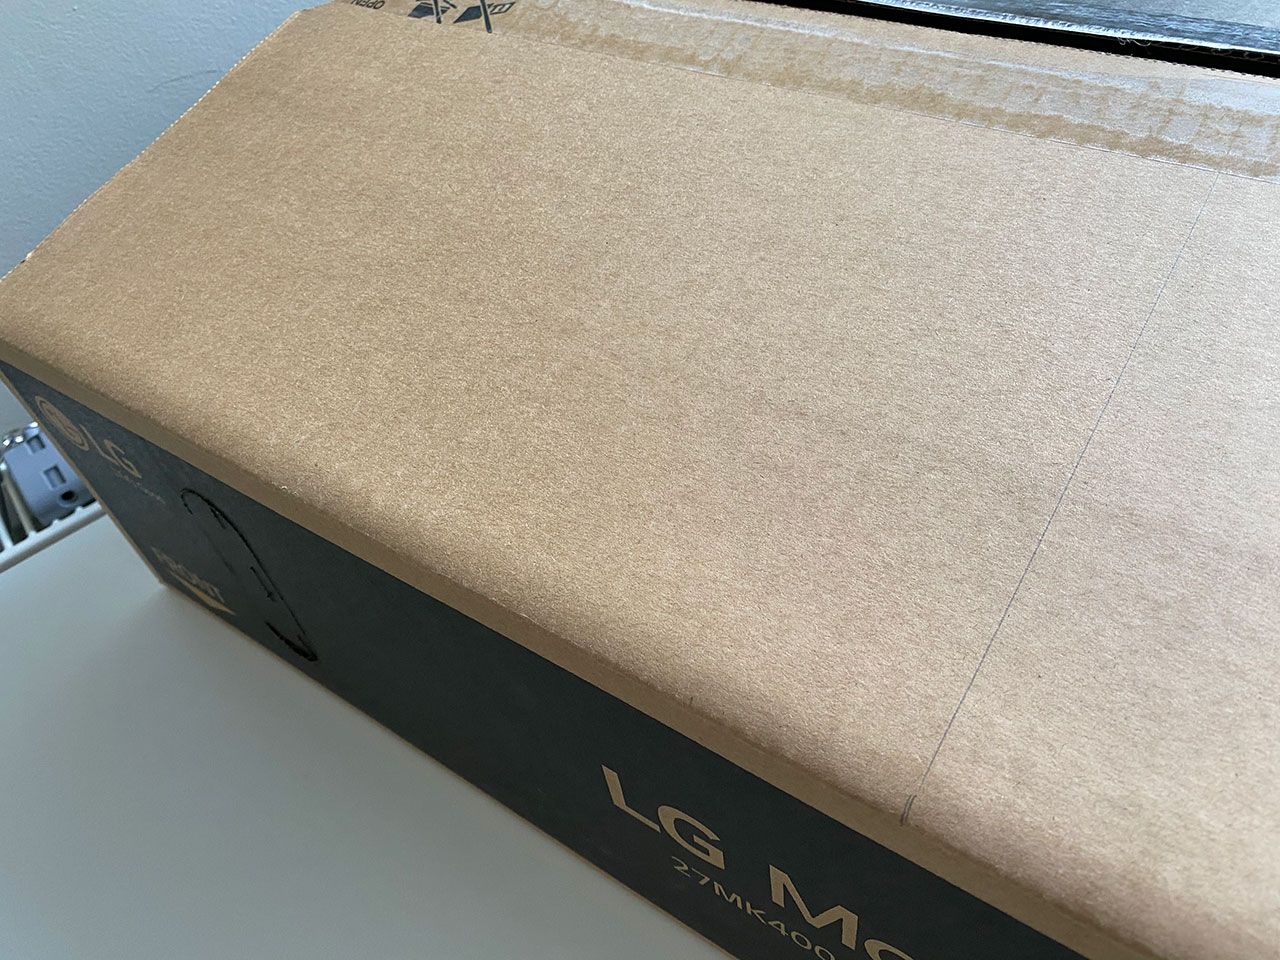
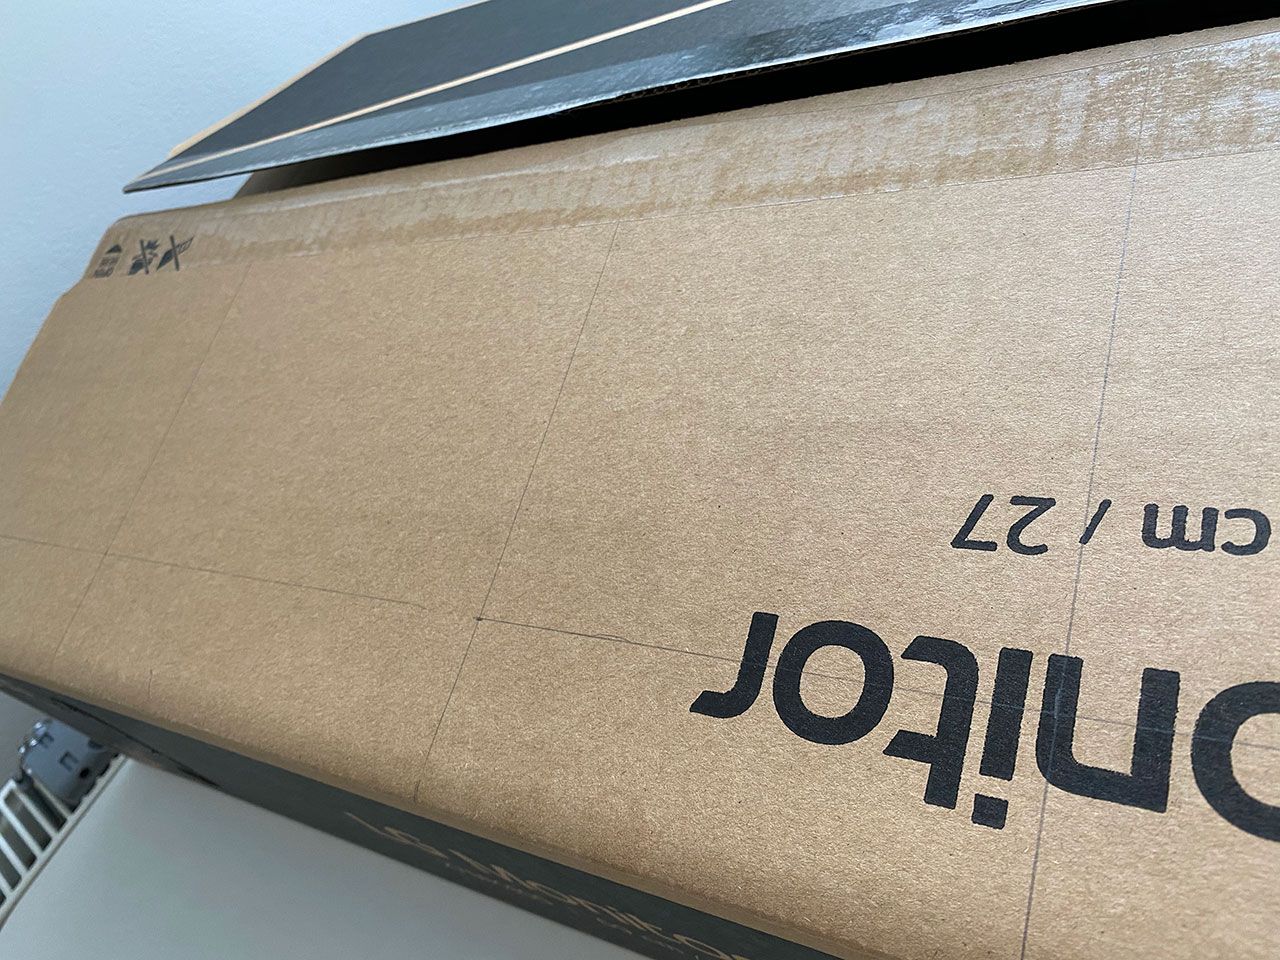
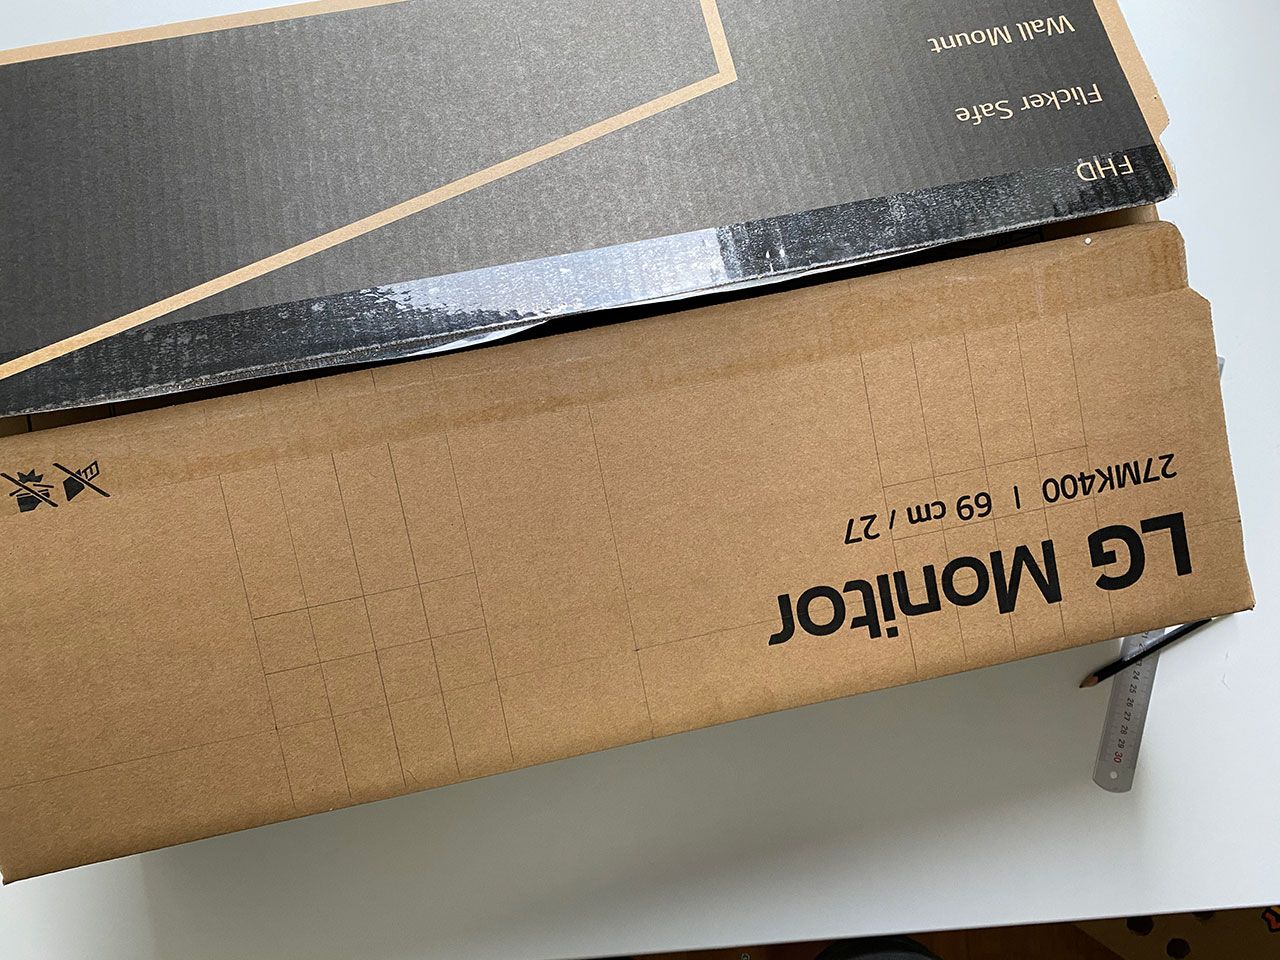
27” monitor (Full HD) Actually you can use any monitor – even those with 4:3 ratio, which can even be flipped vertically, as many of the Final Burn Alpha games are actually meant to be played on a vertical monitor (just like on those old arcade machines). The reason I’ve picked this 27” (LG 27MK400H-B) is because they are extremely cheap nowadays. Most people are buying 4K monitors but those Full HD ones are still in stock and come at a good price. And they’re brand new! Cost: €135.
Monitor box This will be the cabinet of the arcade. Included with the monitor.
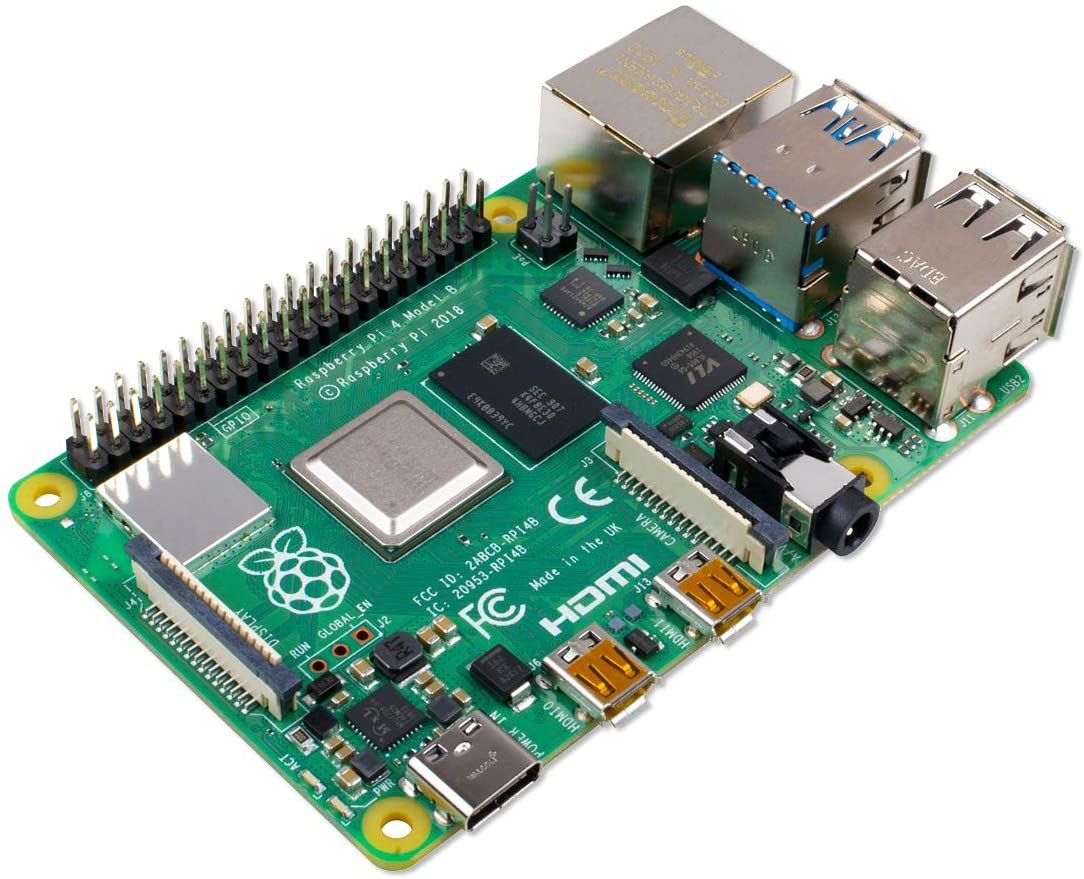
Raspberry Pi 4 I’ve used Raspberry Pi 4 Model B with 4 GB of RAM, but probably PI 2/3 will also work just fine for FBA emulation. I’d still recommend going with the 4th gen just in case you decide to install some additional console emulators and they may require extra CPU power to render smoothly. Cost: €76.
Raspberry Pi 4 power supply Don’t forget to get a decent power supply for Raspberry. Cost: €10.
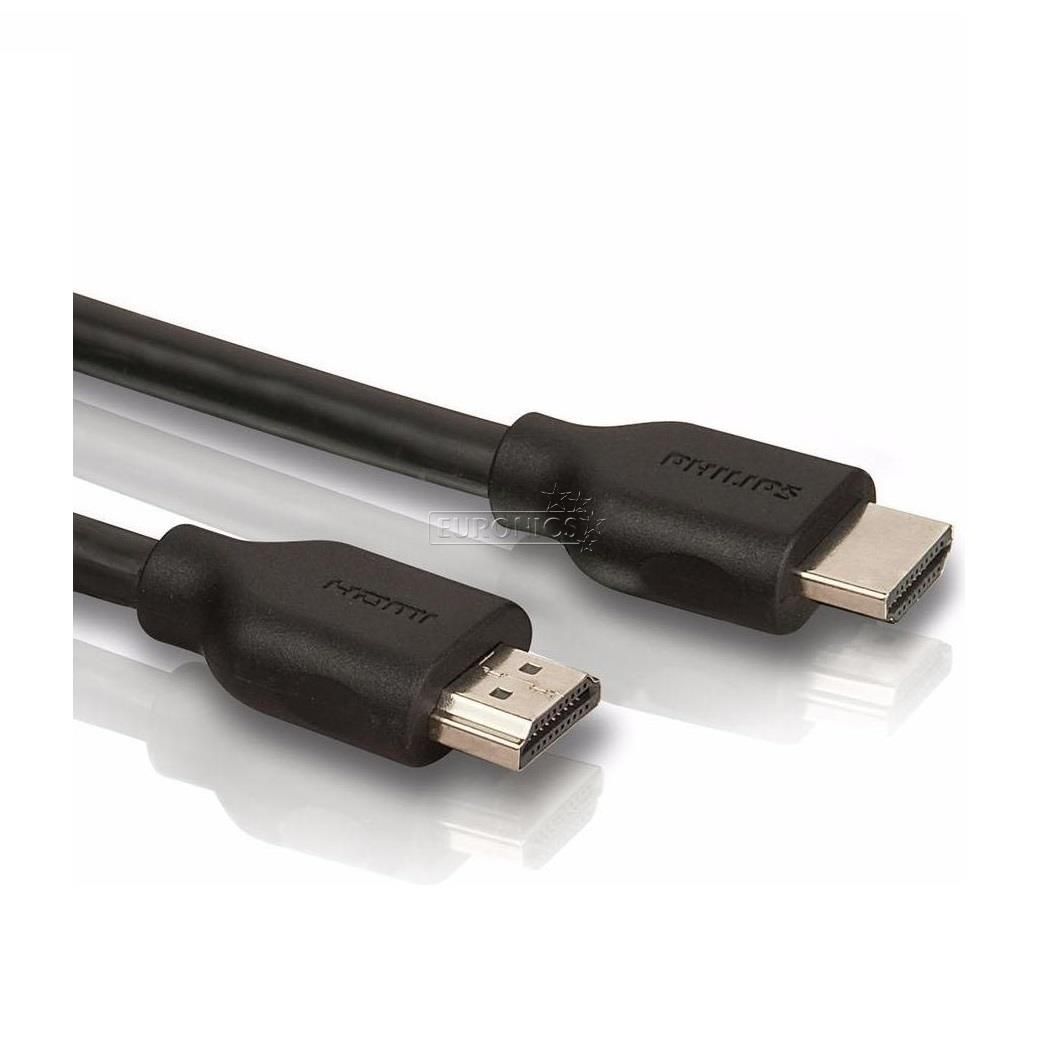
HDMI cable Included with the monitor.
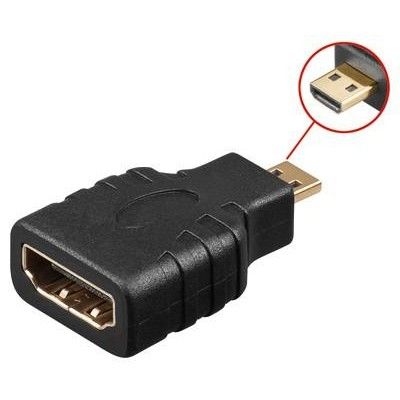
MicroHDMI adapter In case you are using PI 4 you will also need to get a MicroHDMI to HDMI adapter. Cost: €3.
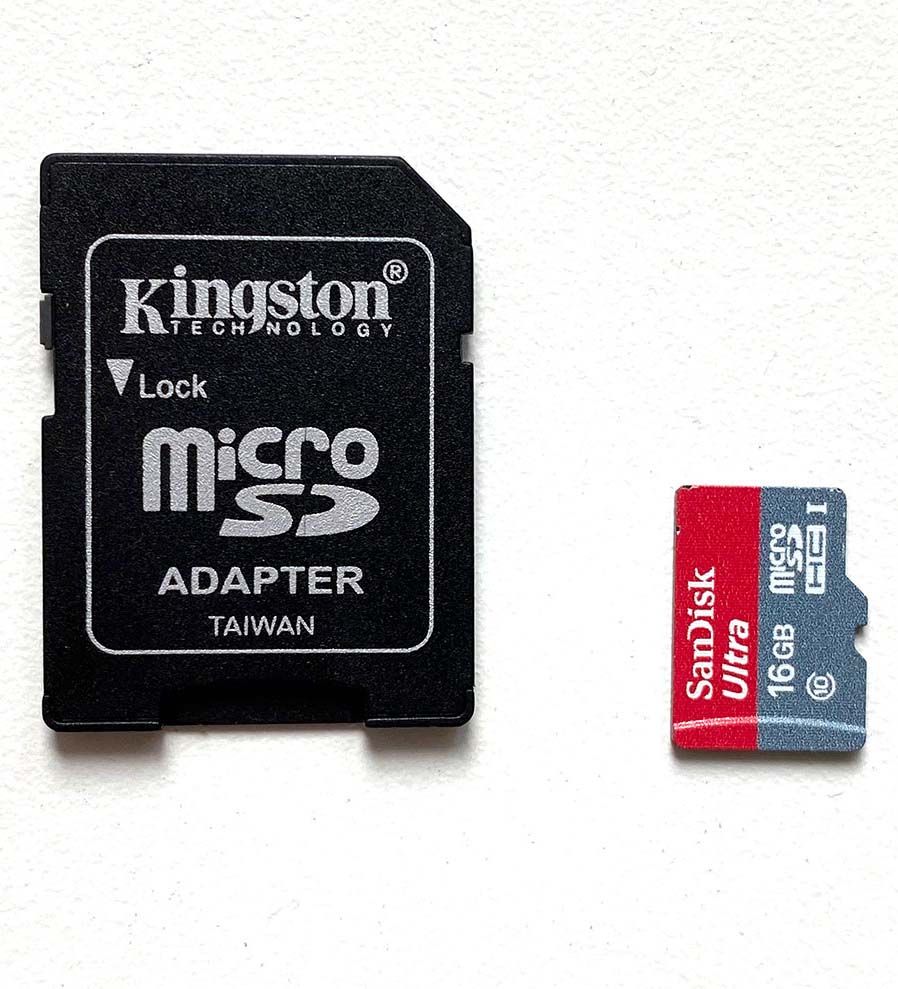
SD card Depending on the number of ROMs you have, decide on the size of the SD card. I’ve used 16 Gb Kingston SSD. Cost: €9.
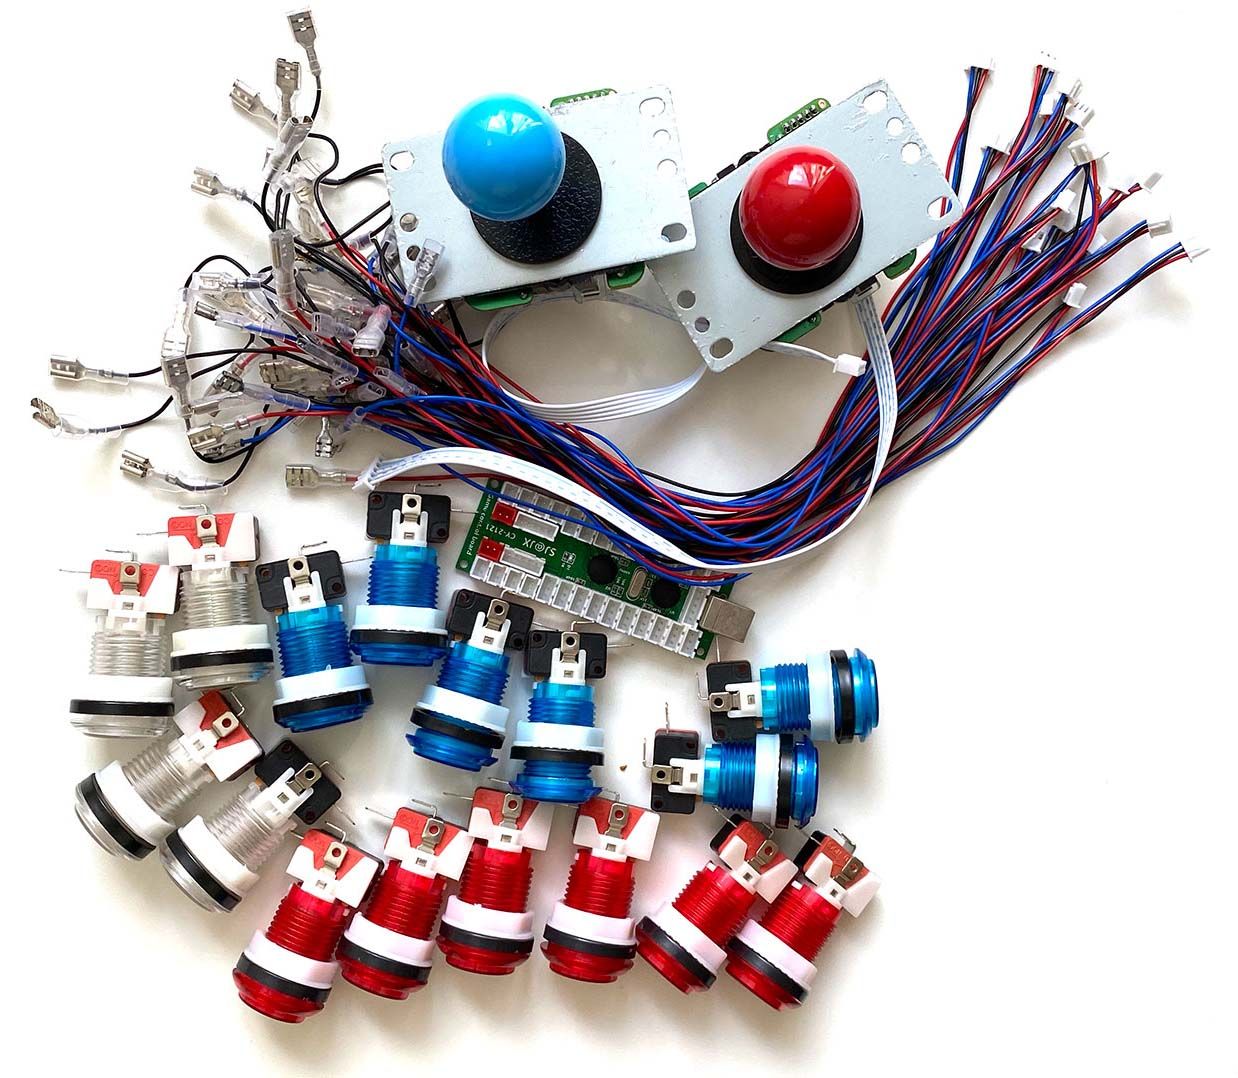
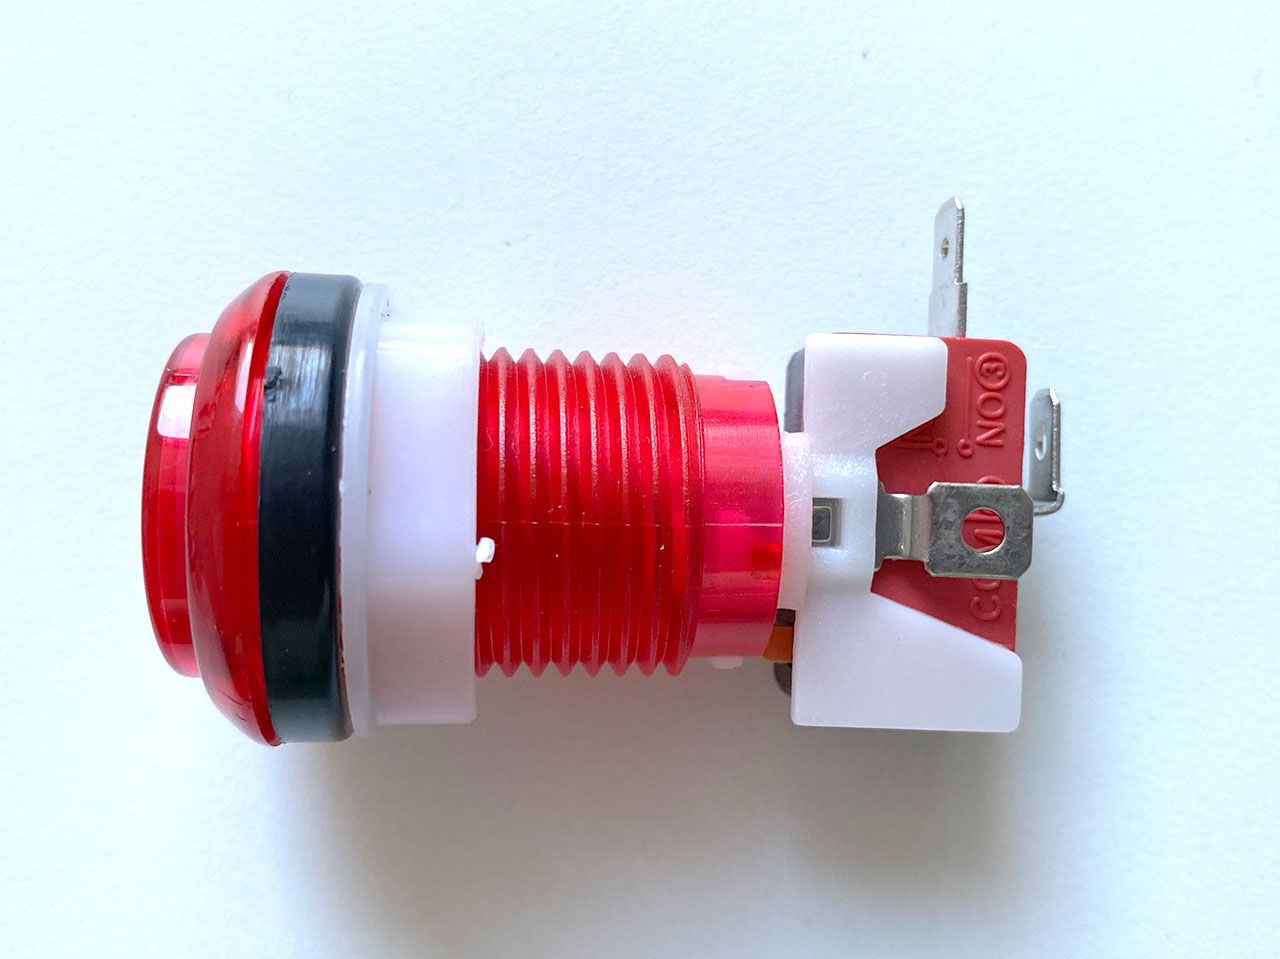
Joystick set There are dozens of different joystick sets available on AliExpress. I’ve picked this one as it has fancy buttons that light up when you press them. Also it has dedicated Coin and Player buttons that just go good with a retro arcade machine. Cost: €21.
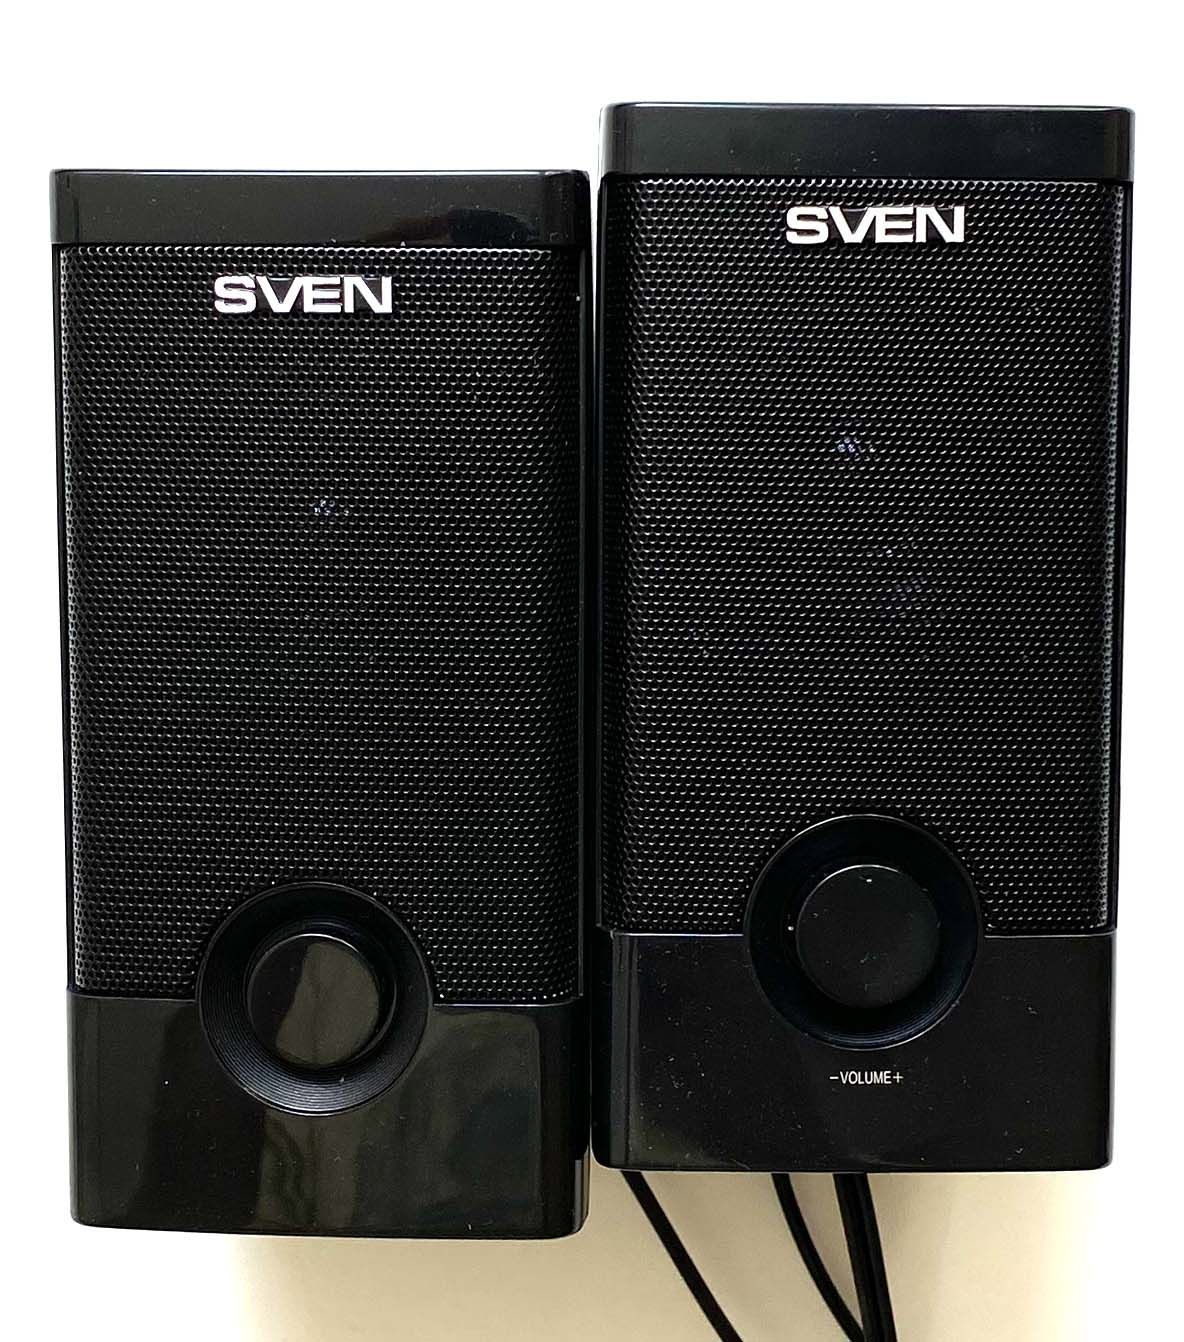
Speakers Pair of cheap speakers from a local computer store. Make sure these can be powered from an external power supply, not from USB. Cost €8.
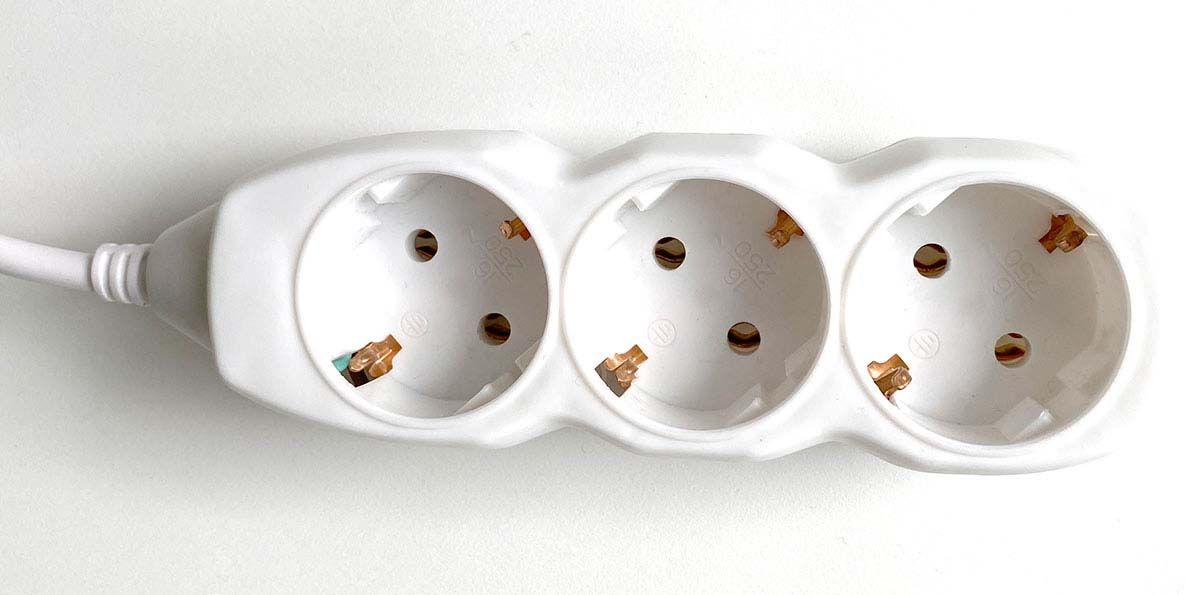
Power strip A simple one, to connect it all inside the cabinet. Cost: €2.
Hardware
Step 1 – Draw and cut
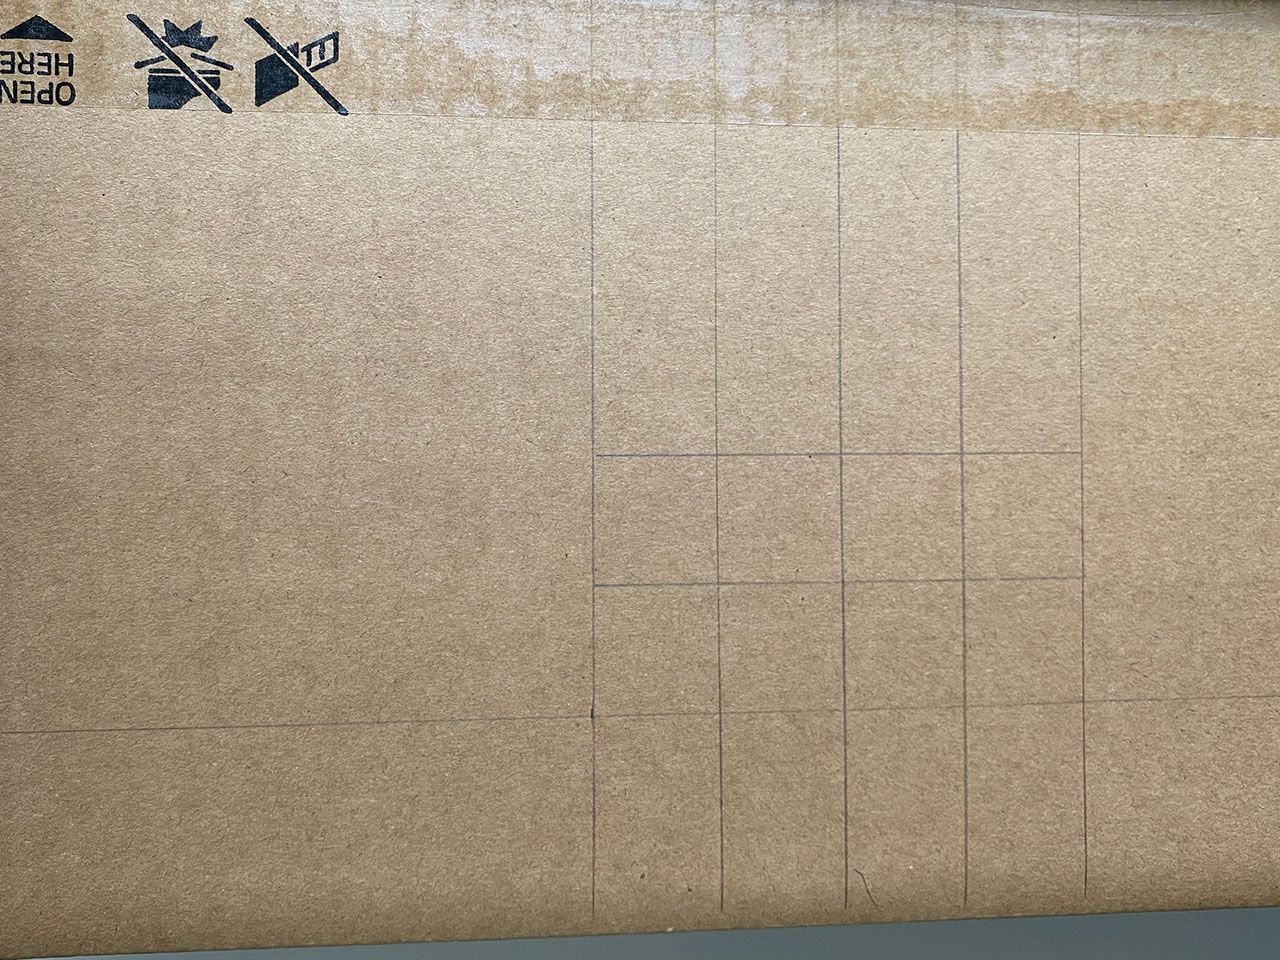
1.1. First of all, lets find the center of the box and draw a vertical line on the side where the buttons are going to be installed.
1.2. I’ve left 5cm from the bottom and drew a horizontal line. This will be the baseline for the bottom set of player one buttons.
1.3. Leaving space for joystick from the left side (I left about 15cm), let's draw a grid to place buttons at. The trick is to use the ruler as a spacer – just draw the lines on both sides of the ruler.
1.4. Repeat the same for the right side of the box so you have two symmetrical grids.
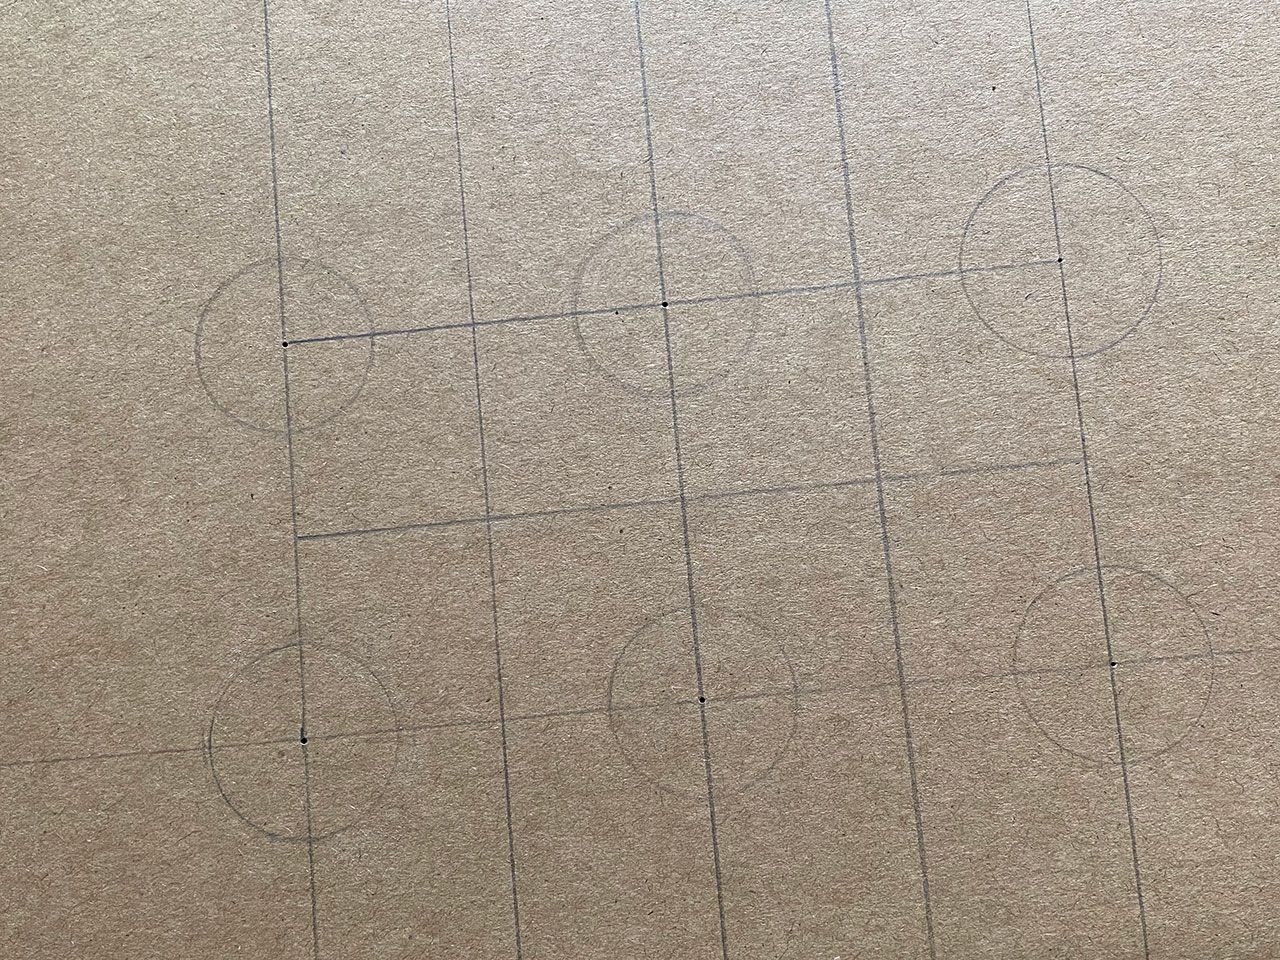
1.5. Assuming your buttons have the same diameter as the ones I used, set compasses to 14mm and draw six circles for button placement. Repeat for both slides.
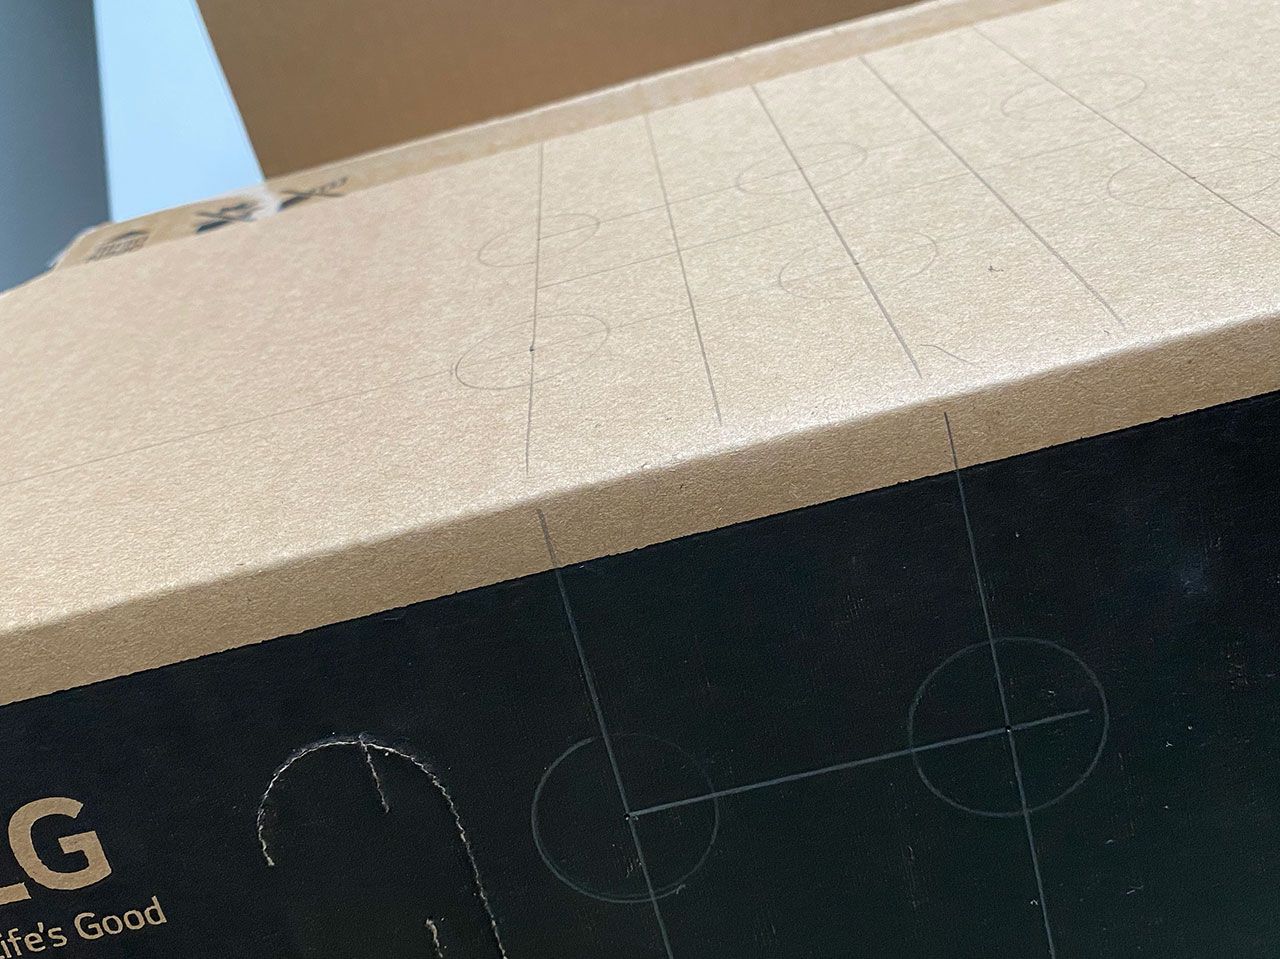
1.6. Just like on a real arcade machine, we will put Coin and Player buttons on the front panel. Therefore, continue the grid down and add 4 more circles on the front panel baseline. I'd recommend lowering that baseline comparing to what's shown on the picture as I had some difficulties with buttons overlapping once the cover is closed.
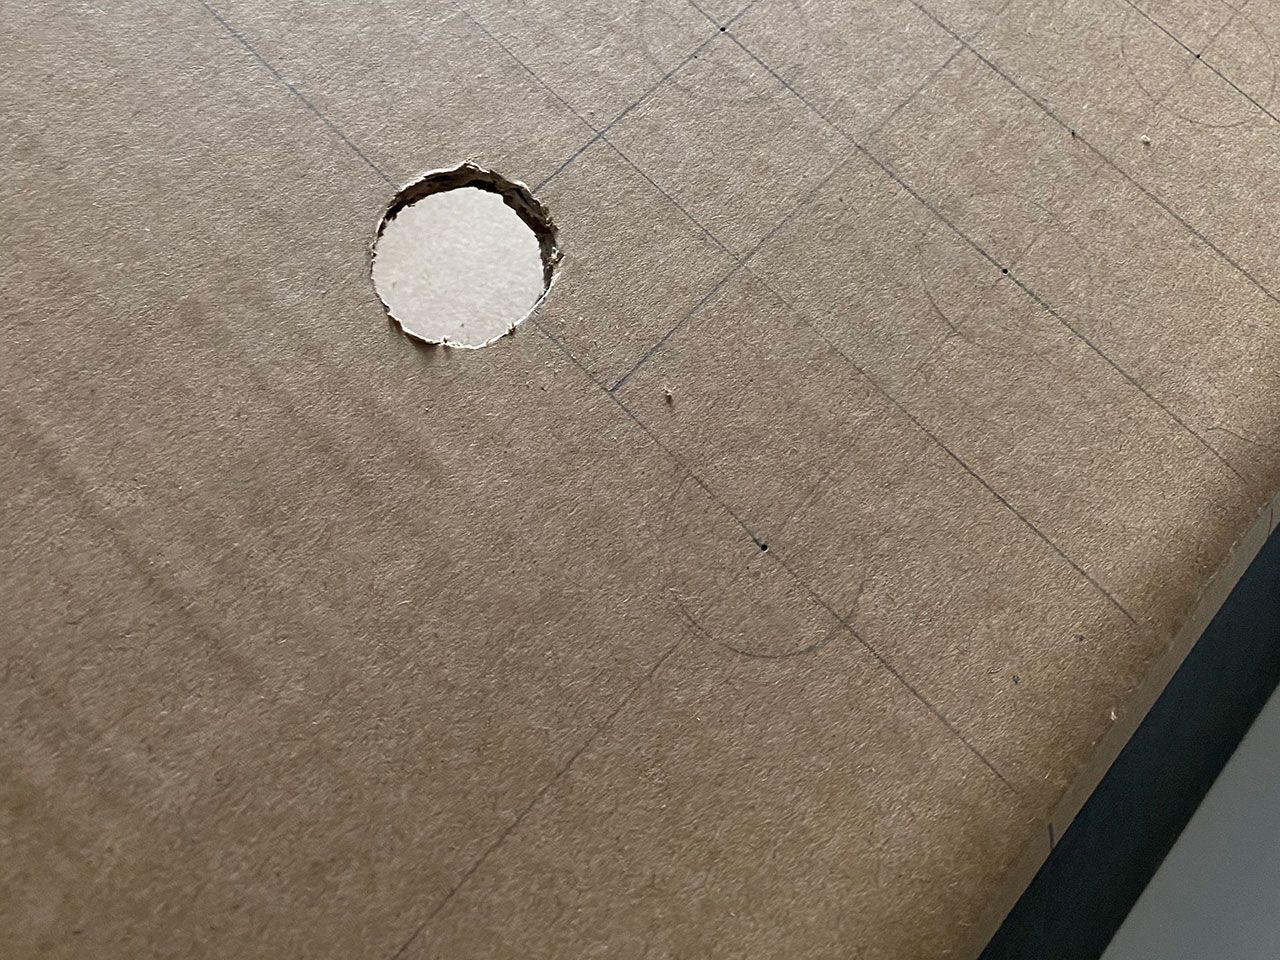
1.7. Cut! I found it easier to start by cutting it in half and then going around the circle.
1.8. Once cut, slightly push and tear out.
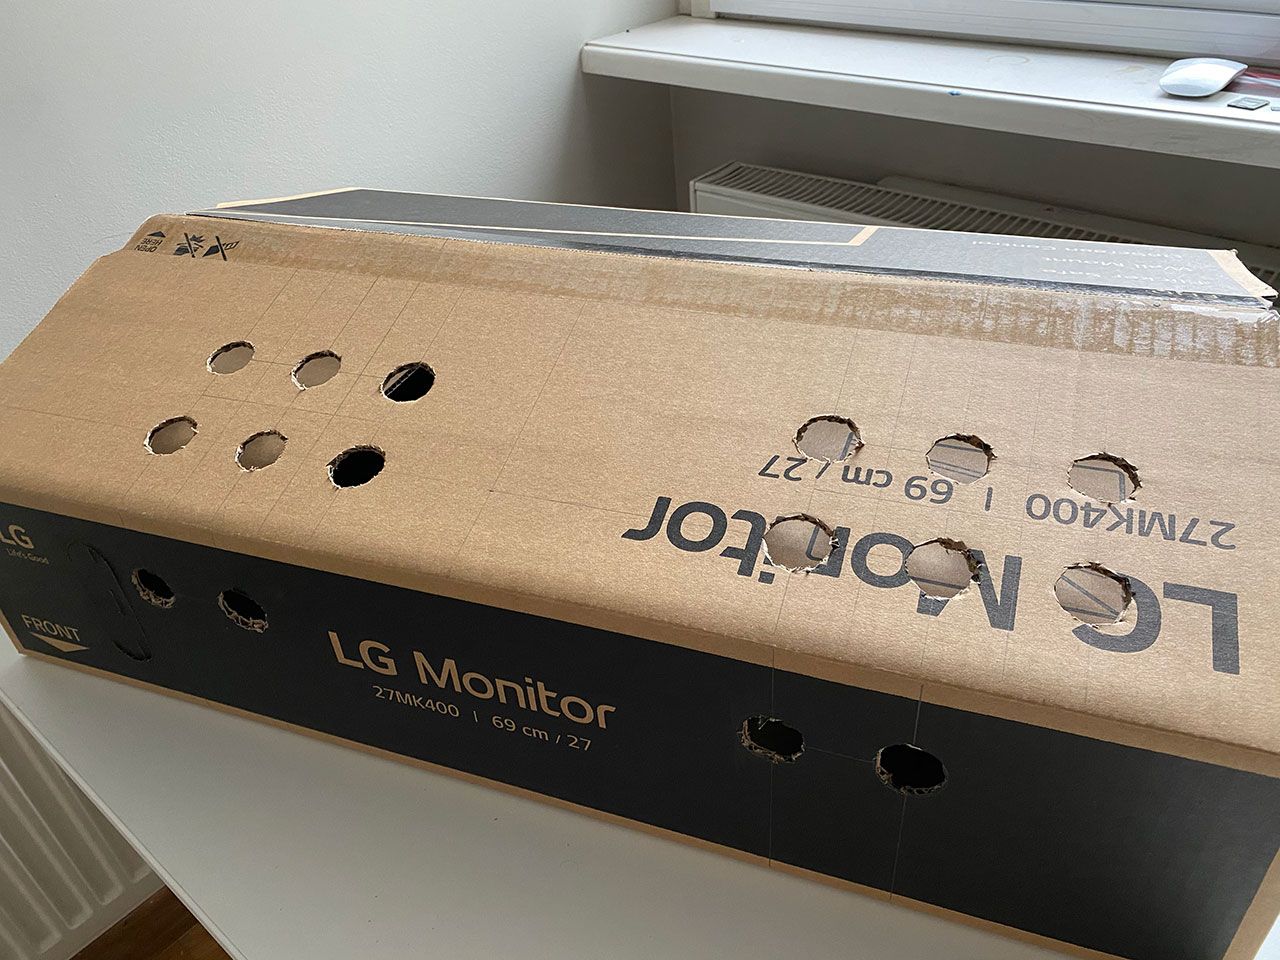
1.9. Repeat for all 16 buttons.
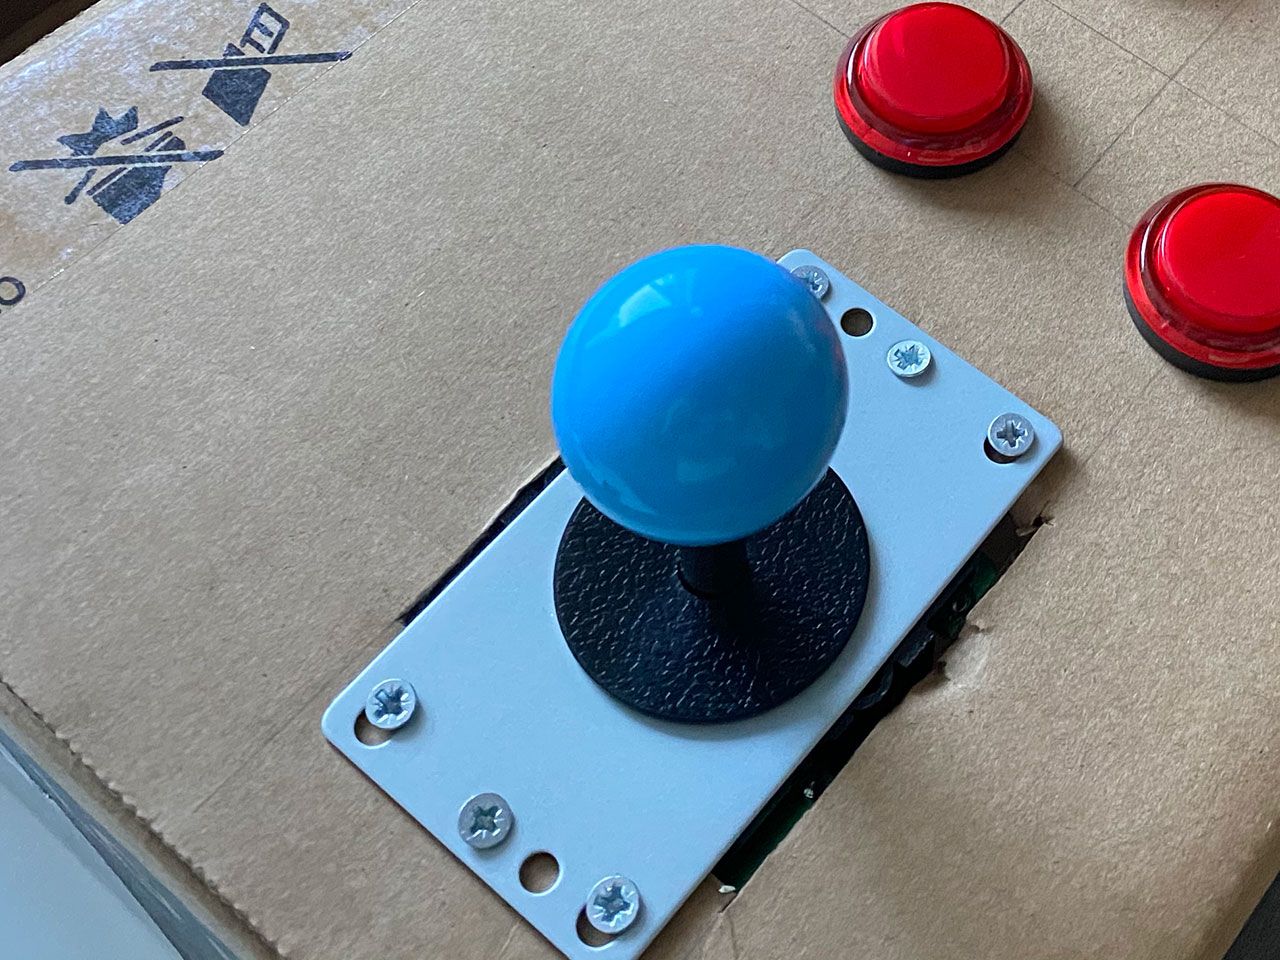
1.10. Leaving 3cm from the left, draw a 7cm wide rectangle for joystick placement. If you have different joysticks, measure the width of the bottom part of it. Originally, the joysticks are meant to be inserted from the bottom, but as our cabinet is made from cardboard it’s better to mount them from the top.
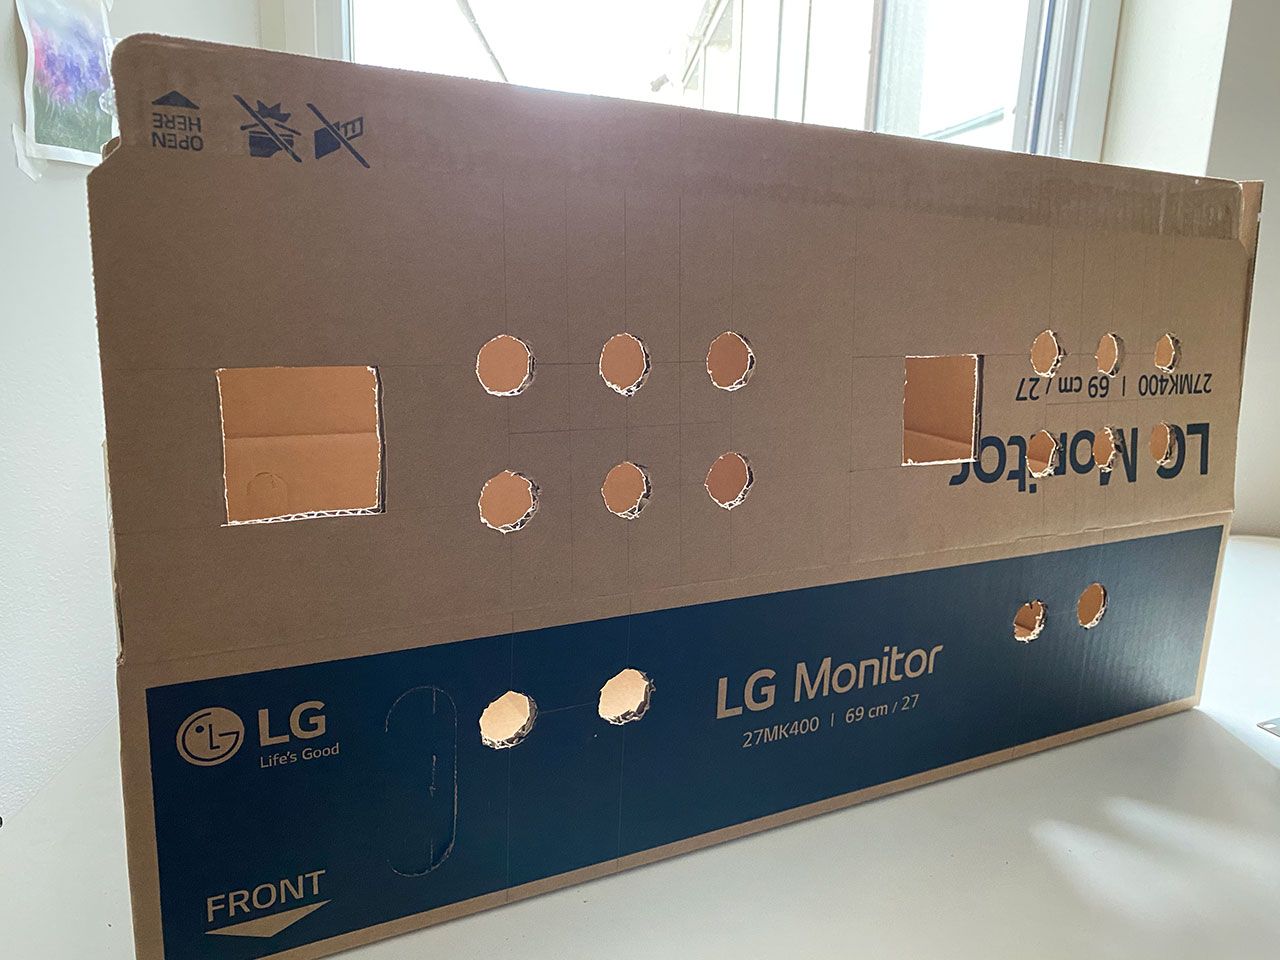
1.11. Cut the rectangles. Your box should look like this once done.
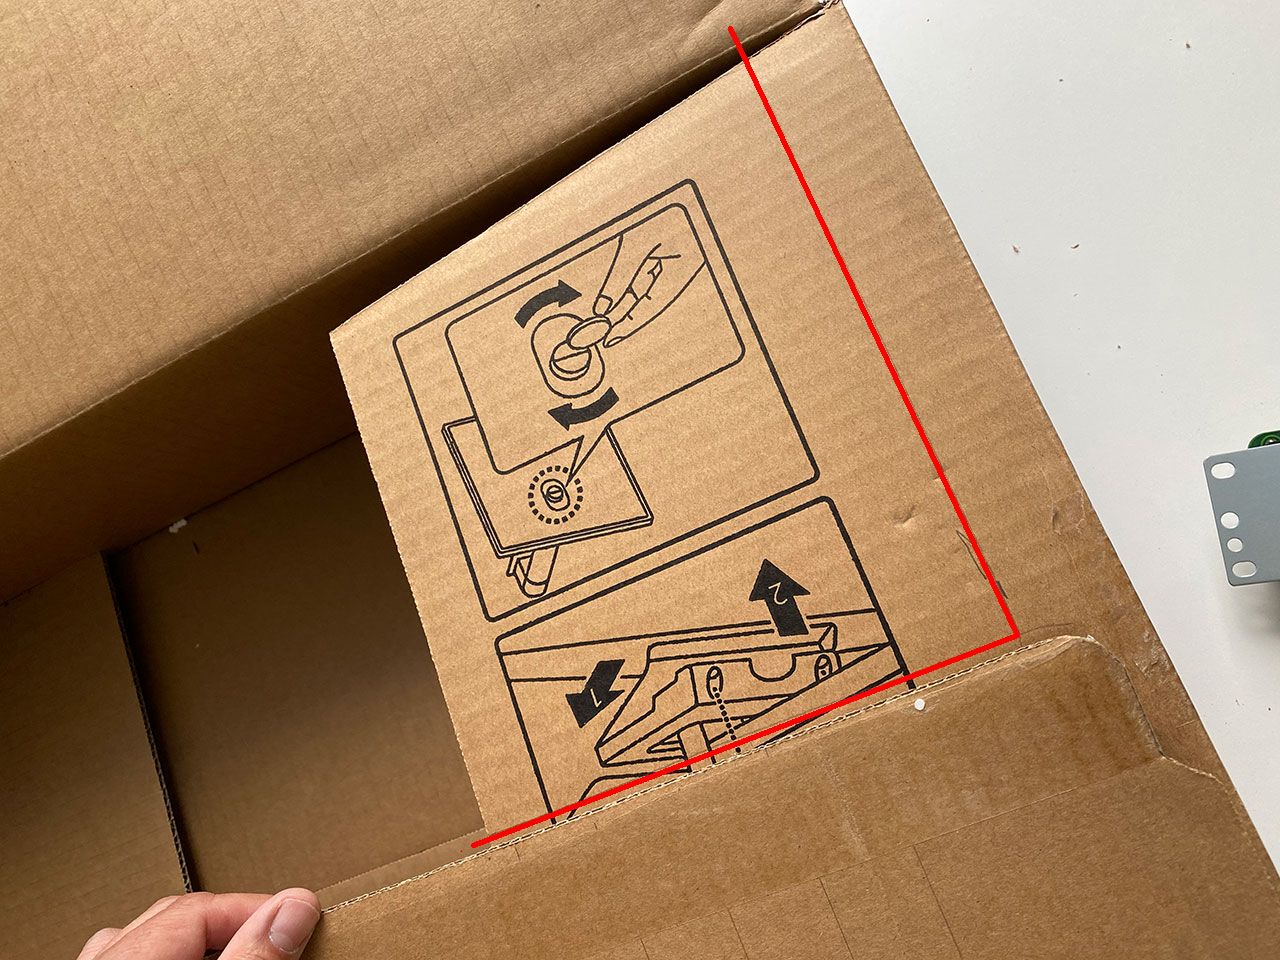
1.12. Cut extra cardboard from under the button/joystick flip sides. Use pencil to put marks through the holes. Cut along red lines on the picture.
1.13. My monitor width is 63cm and the box was 70cm wide, so I’ve decided to leave 3,5cm from each side of the underlying level of the cardboard and cut out the rest. Cut along red lines on the picture.
1.14. Here is how the cabinet should look at this point.
Step 2 – Assembling the buttons
There are different types of buttons available. The ones I am using light up whenever you press them. That’s a nice feature, but it requires a bit more complex wiring. Here is how it’s done.
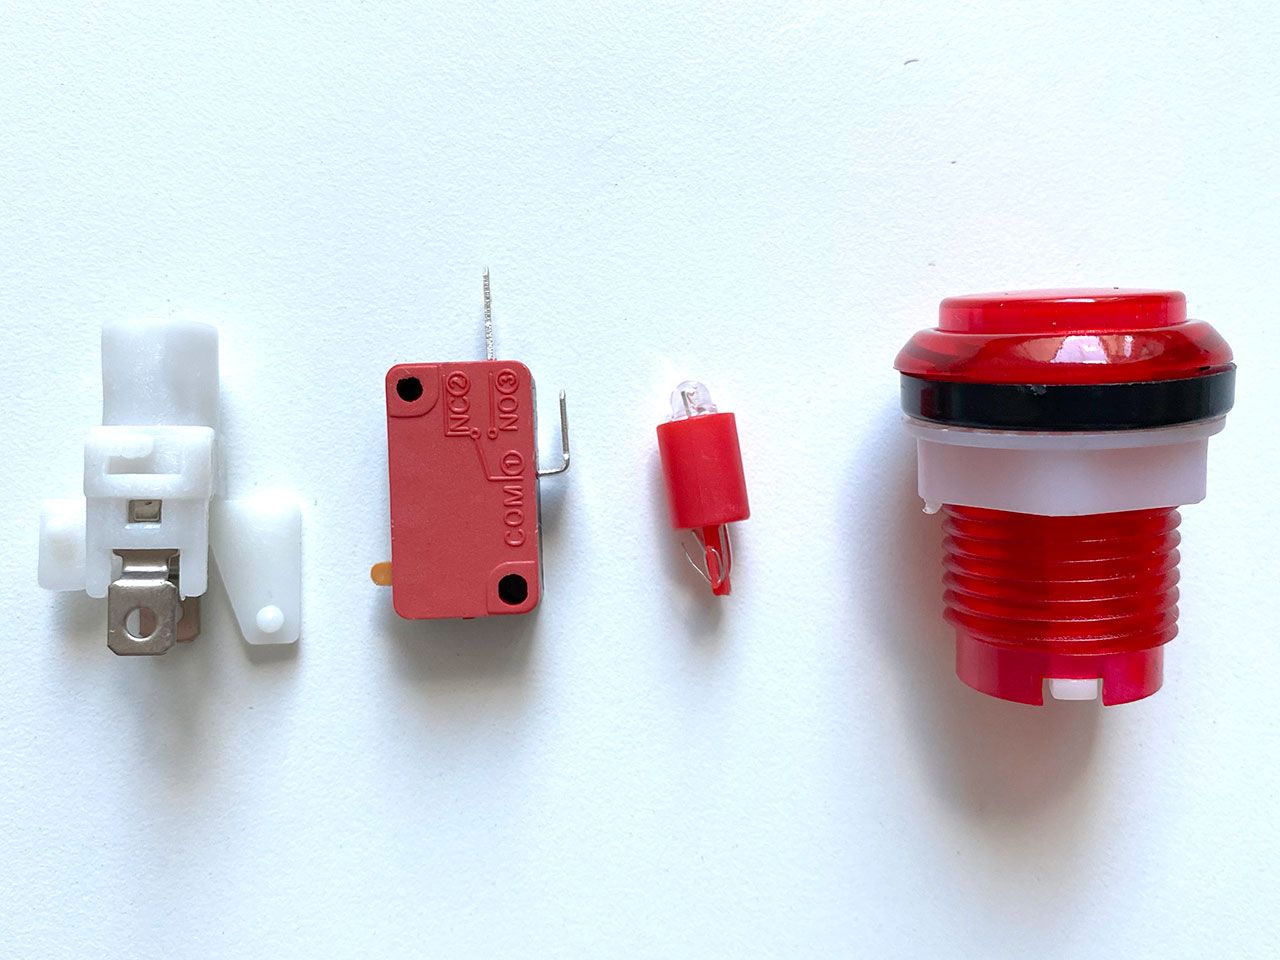
2.1. There are four parts for each button (from right to left) – knob, LED, clicker, and bracket.
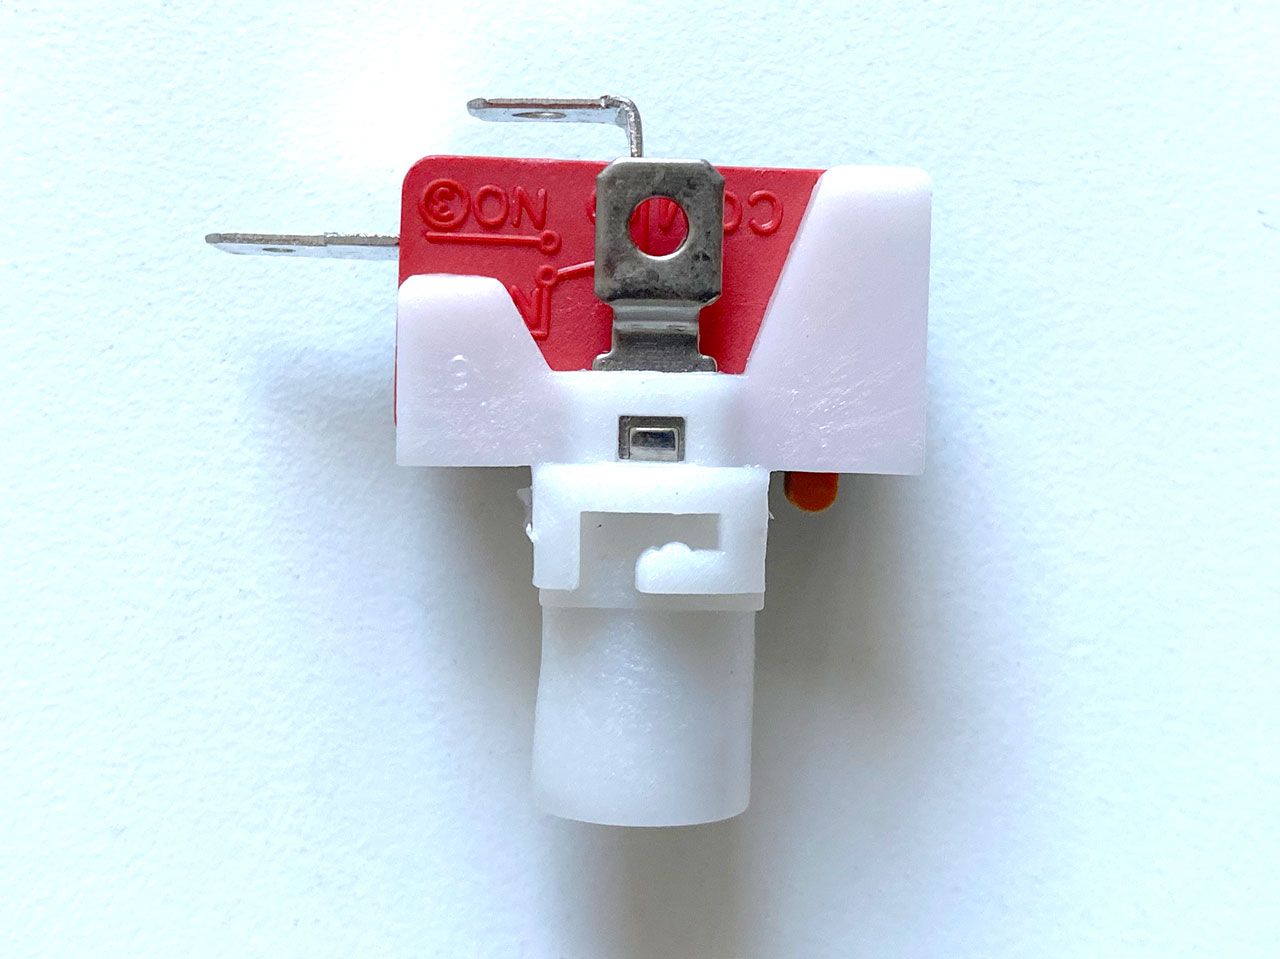
2.2. First, insert clicker into the bracket exactly as shown on the picture.
2.3. Next, insert LED into the bracket. Later, if you notice that some diodes don’t light up when testing the buttons, usually it’s a LED issue. Take it out, flip over, and reinsert.
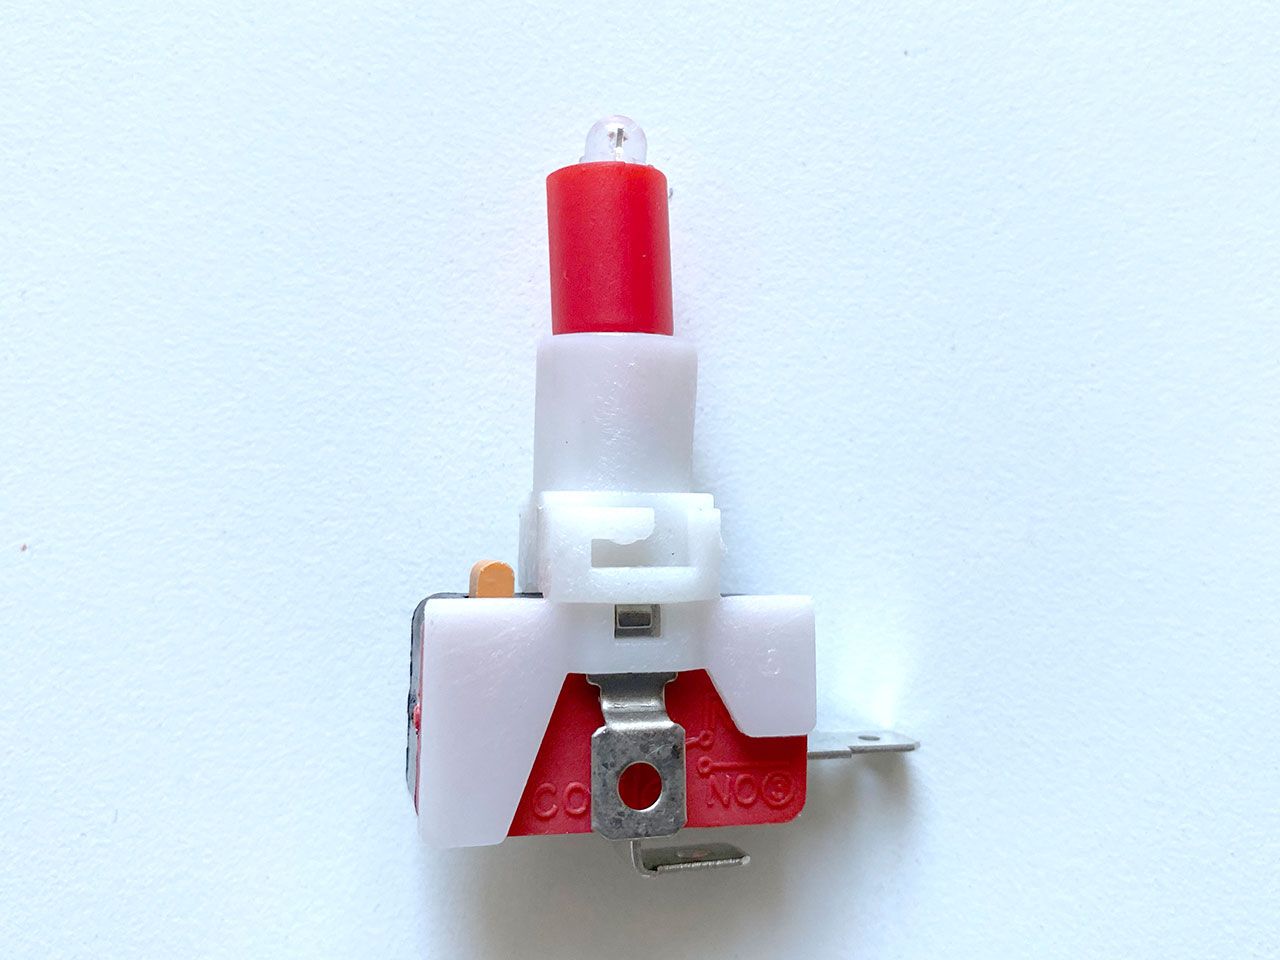
2.4. Finally, insert it all into the knob and twist so it sits properly.
Click the button a few times – you must hear that “click click” sound if everything is properly aligned.
Repeat the above process for all the buttons.
Step 3 – Wiring the controllers
3.1. Remove the bottom part from the buttons first. Insert and secure all buttons using the ring. Put the bottom part back.
3.2. Carefully insert joysticks from the top.
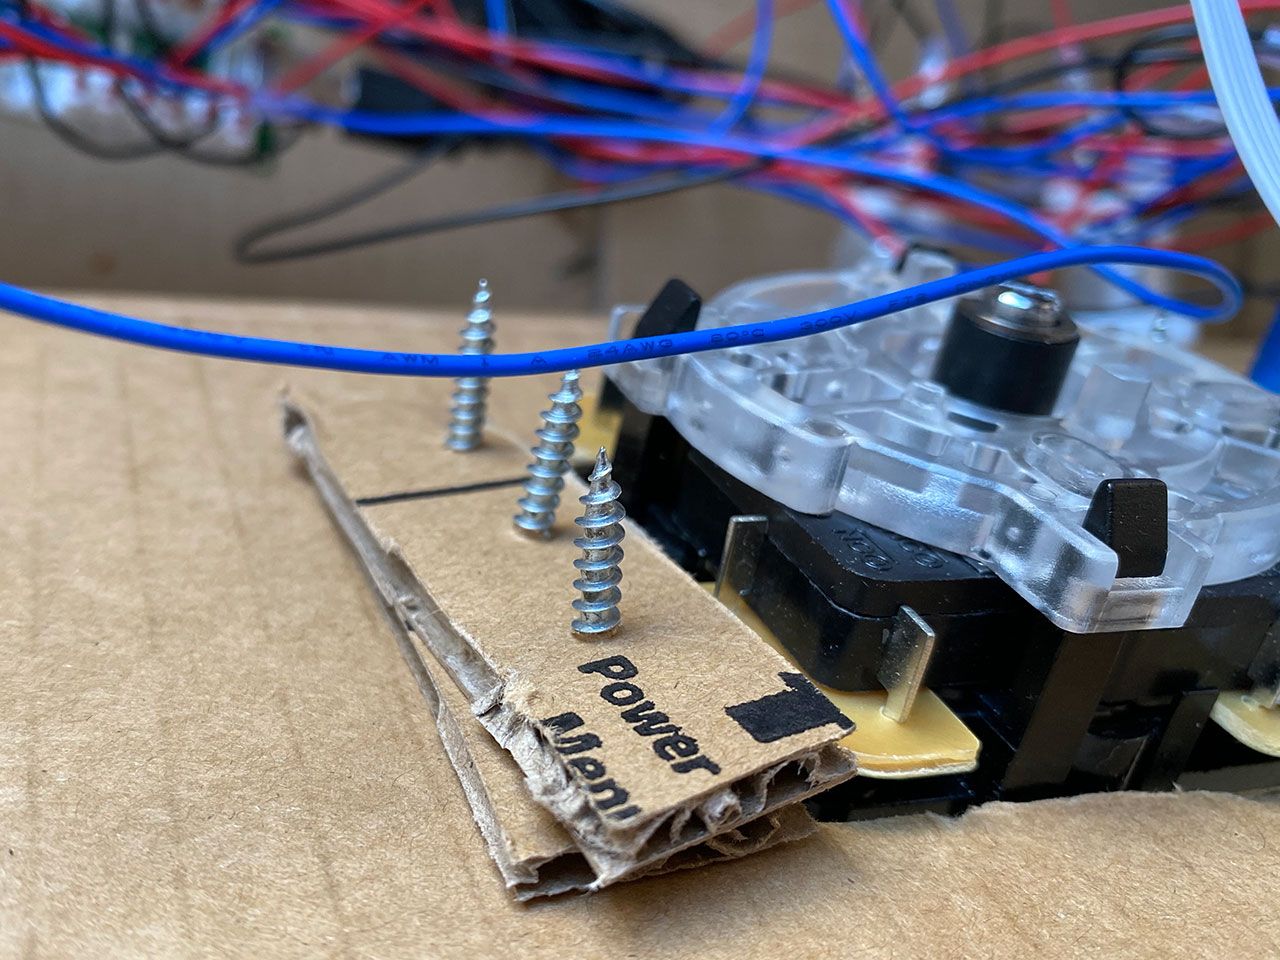
3.3. Use cardboard leftovers to enforce places where the screws are going so joysticks hold very tight.
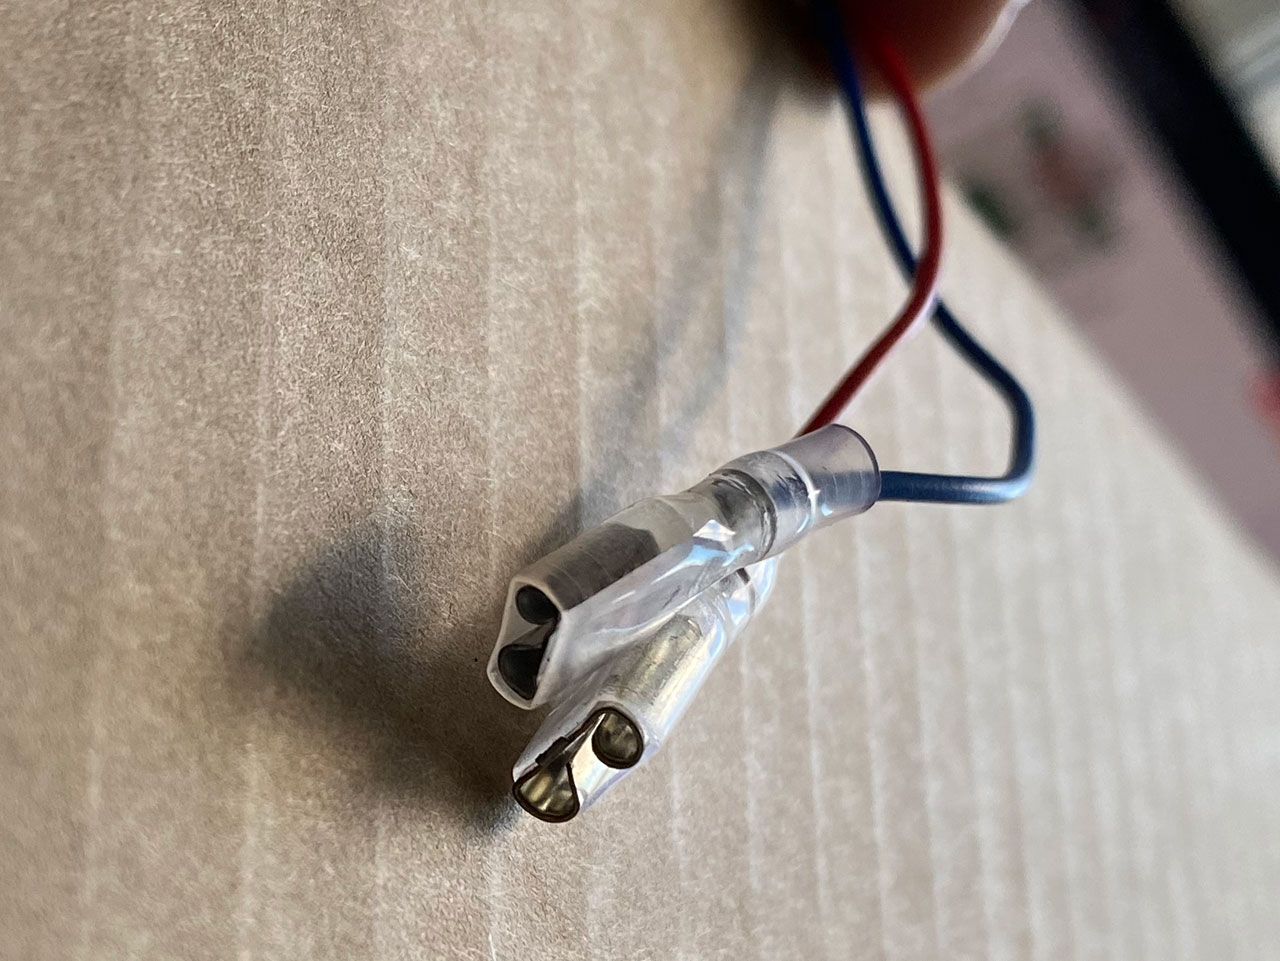
3.4. Button cables come with two types of connectors: wide and narrow ones.
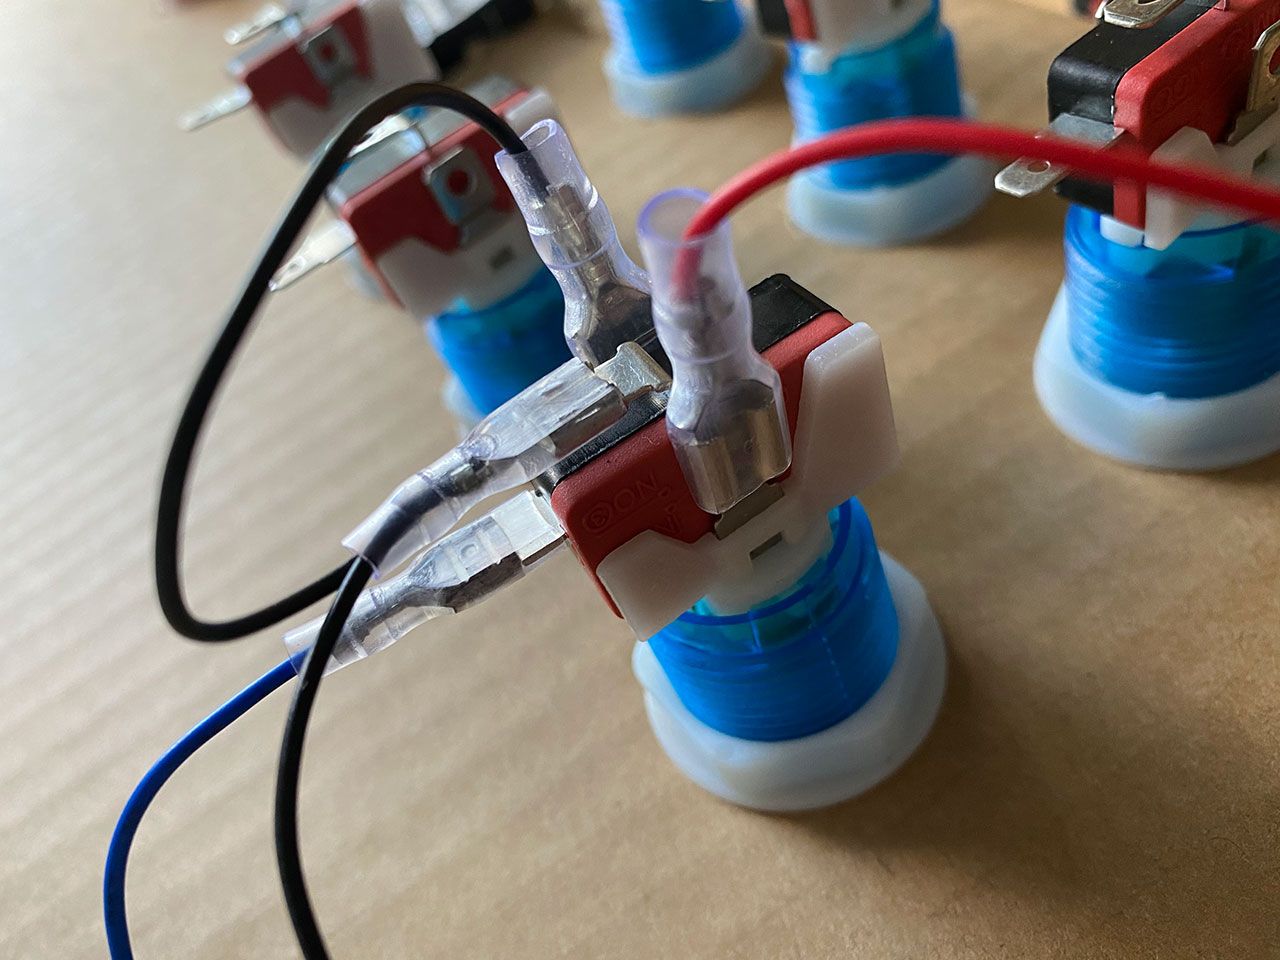
3.5. Wiring is quite straightforward – connect wide red/black to the wide contacts on the red and black sides of the clicker. Narrow black and blue should be connected as shown on the picture.
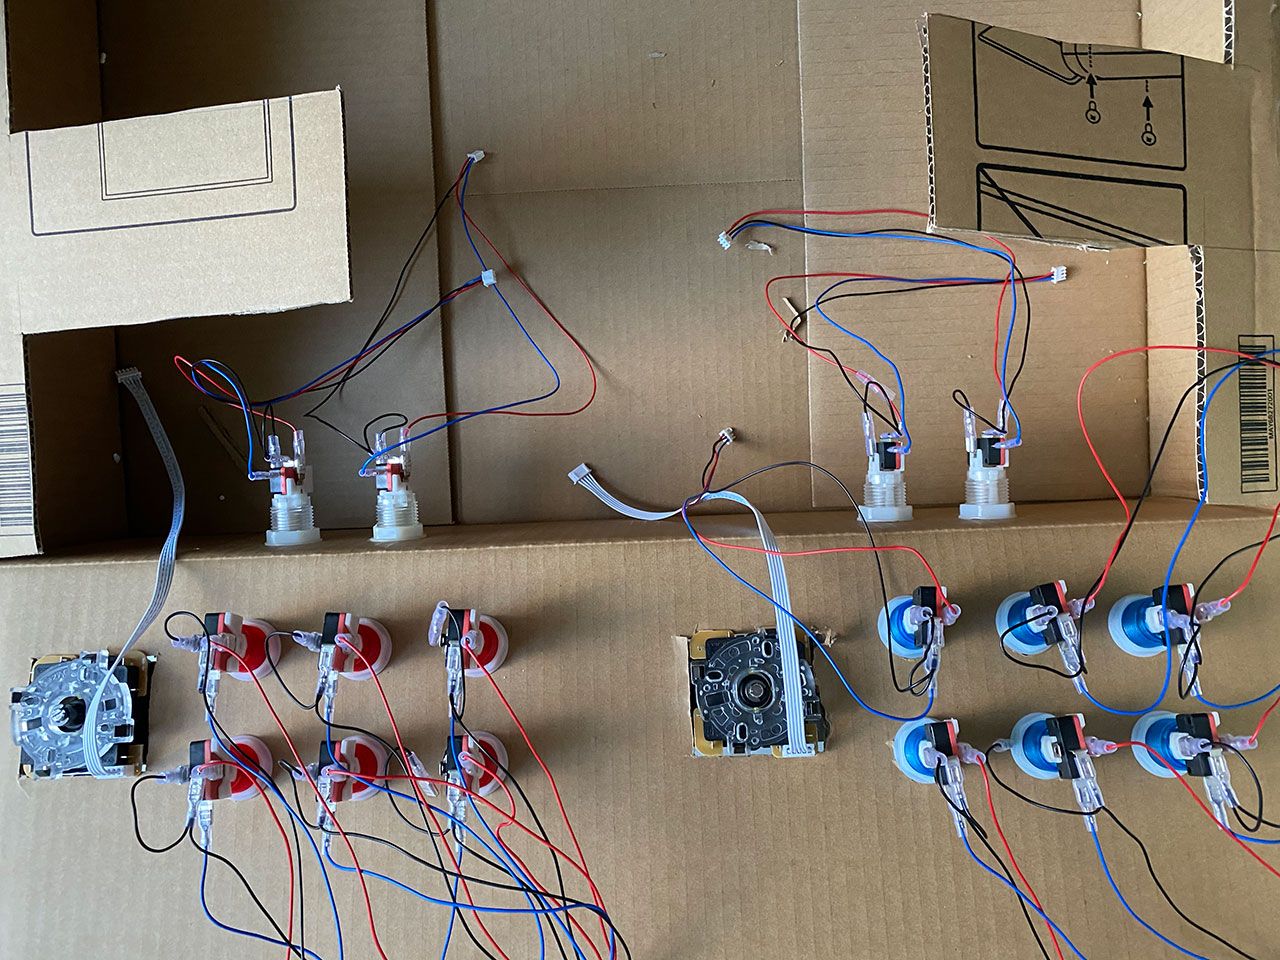
3.6. Repeat for all buttons.
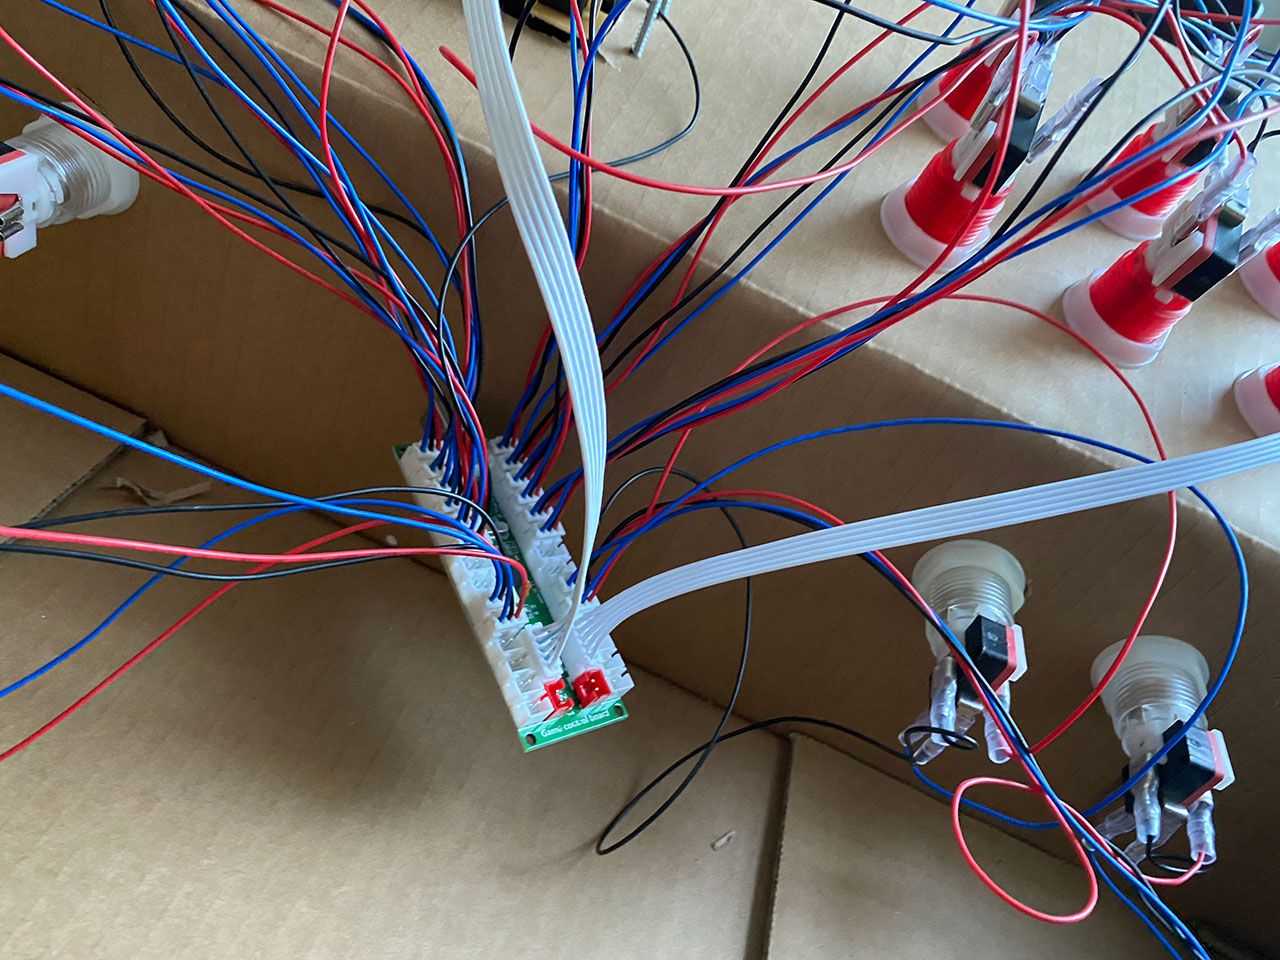
3.7. Finally, connect both joysticks and all the buttons to the controller board. It is important to mirror button connections from both sides of the controller. For example, if you are connecting left button A to the topmost connector on the left side of the controller, connect right button A to the same topmost connector on the right side of the controller board.
3.8. Use the unneeded part of the cardboard as a stiffener in the middle of the box as shown on the picture. Secure it with the stapler to the bottom. Don’t forget to leave some space for the monitor stand here.
3.9. Last step before inserting other parts is to cut the rear side of the cardboard to make space for monitor once we close the cover.
Step 4 – Putting it all together
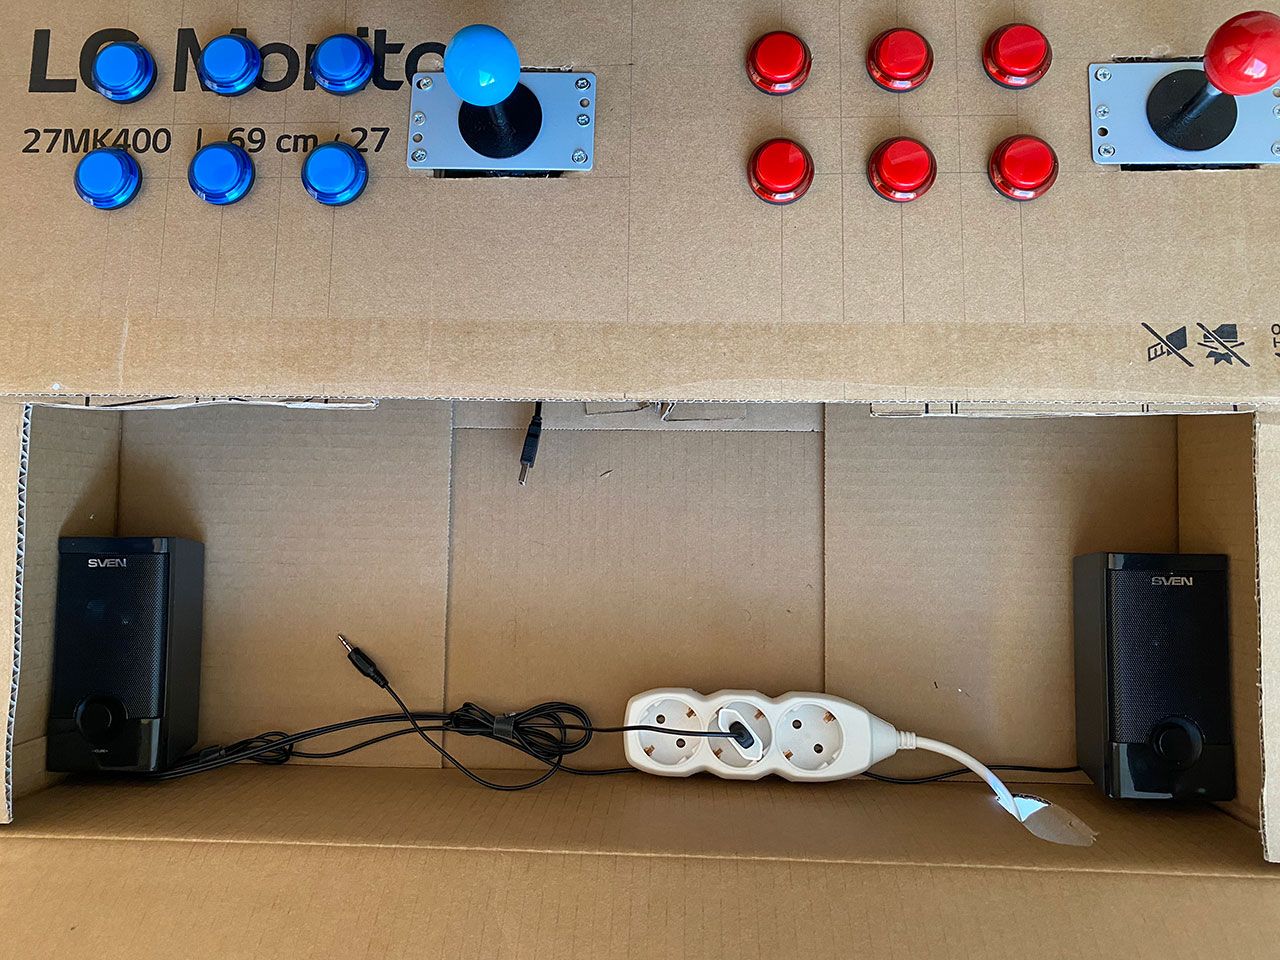
4.1. Insert power strip and place it to the back of the box. Add speakers. Secure with adhesive tape.
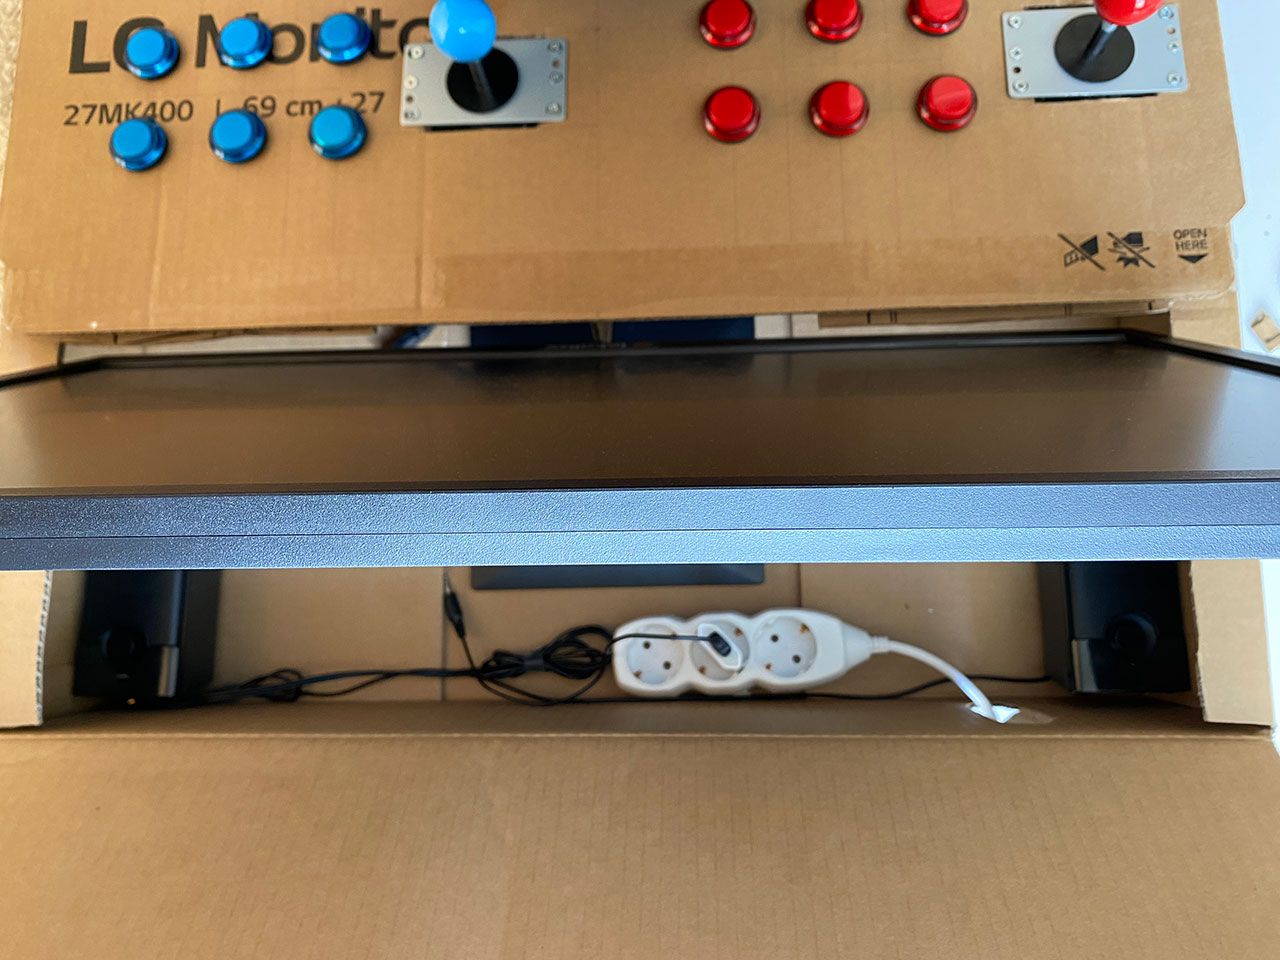
4.2. Place monitor.
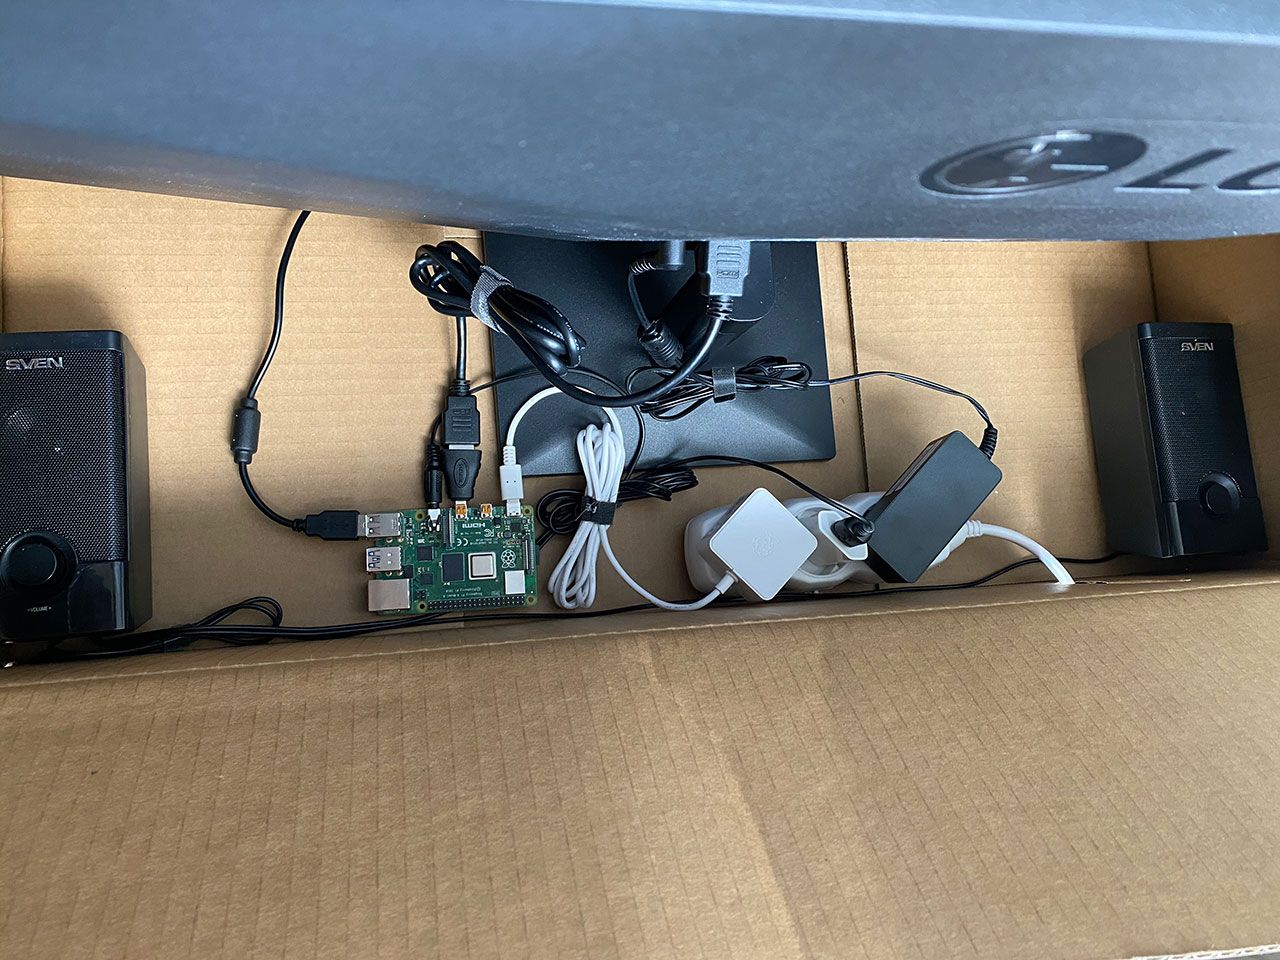
4.3. Place Raspberry Pi and connect all the wires. Secure with adhesive tape.
At this point, it’s a good idea to boot it up, install software and check if everything is working (see next section). Once all done, just use the stapler to secure the cardboard together
Software
Step 5 – Flashing RetroPie
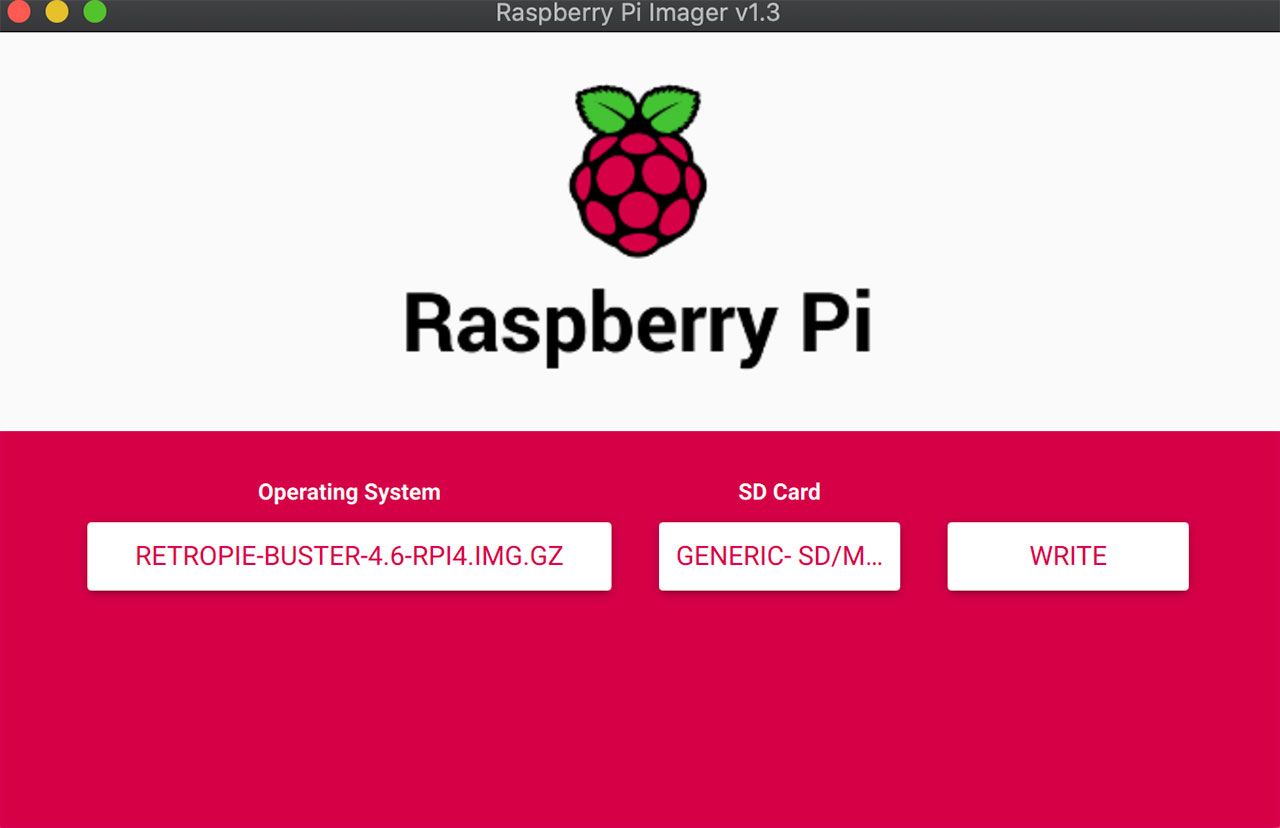
Download the pre-built RetroPie image for the Raspberry Pi model you are using. You will also need a Raspberry Pi Imager tool to flash the image onto the SD card. Please note that not all card readers/writers are the same. Therefore, I advise reading tips and tricks on the Raspberry blog post if you run into issues writing the card. You need to burn a Custom.img from your computer:
Insert the SD card into the slot on Raspberry Pi and power it up! It will reboot itself after the initial preparations.
You will need to connect a USB keyboard at this point to do some initial set up.
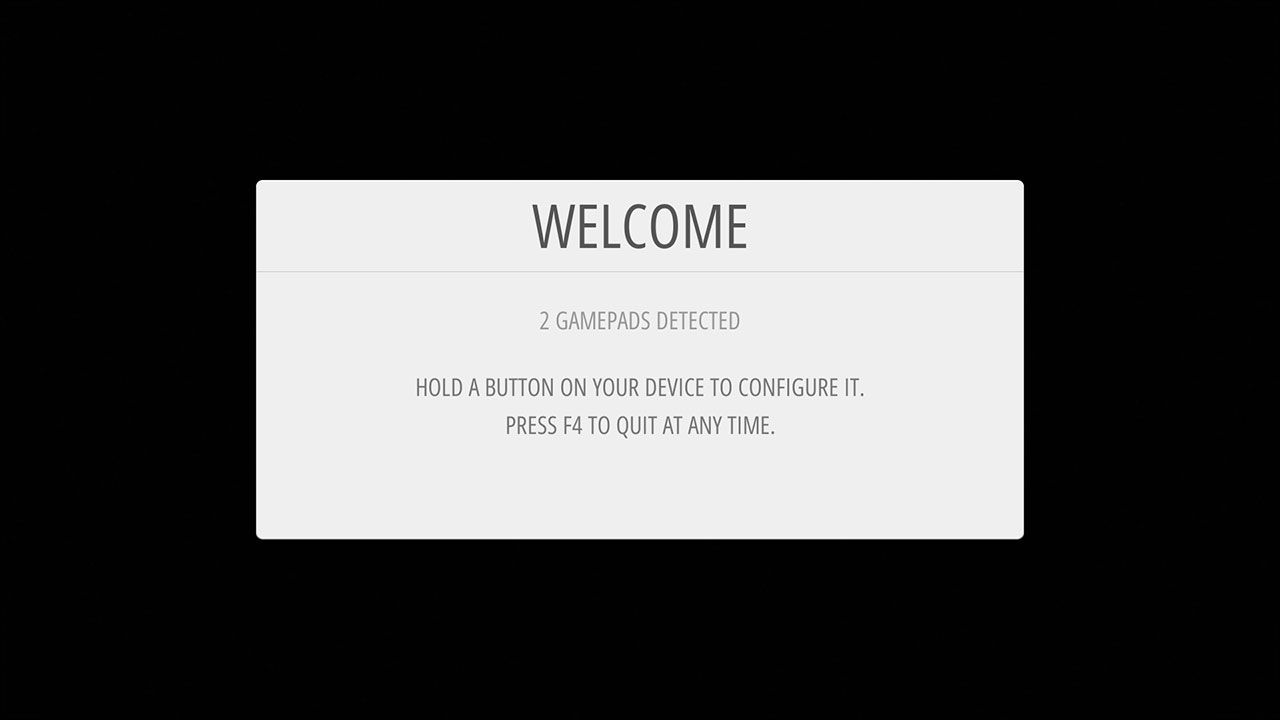
Once booted, you will see the following screen:
Press F4 on the keyboard to exit EmulationStation for now.
Step 6 – System configuration
6.1. Setting the country
In order to connect to WiFi we need to set the country you are in. To launch the configuration (assuming you exited to console by pressing F4), type:
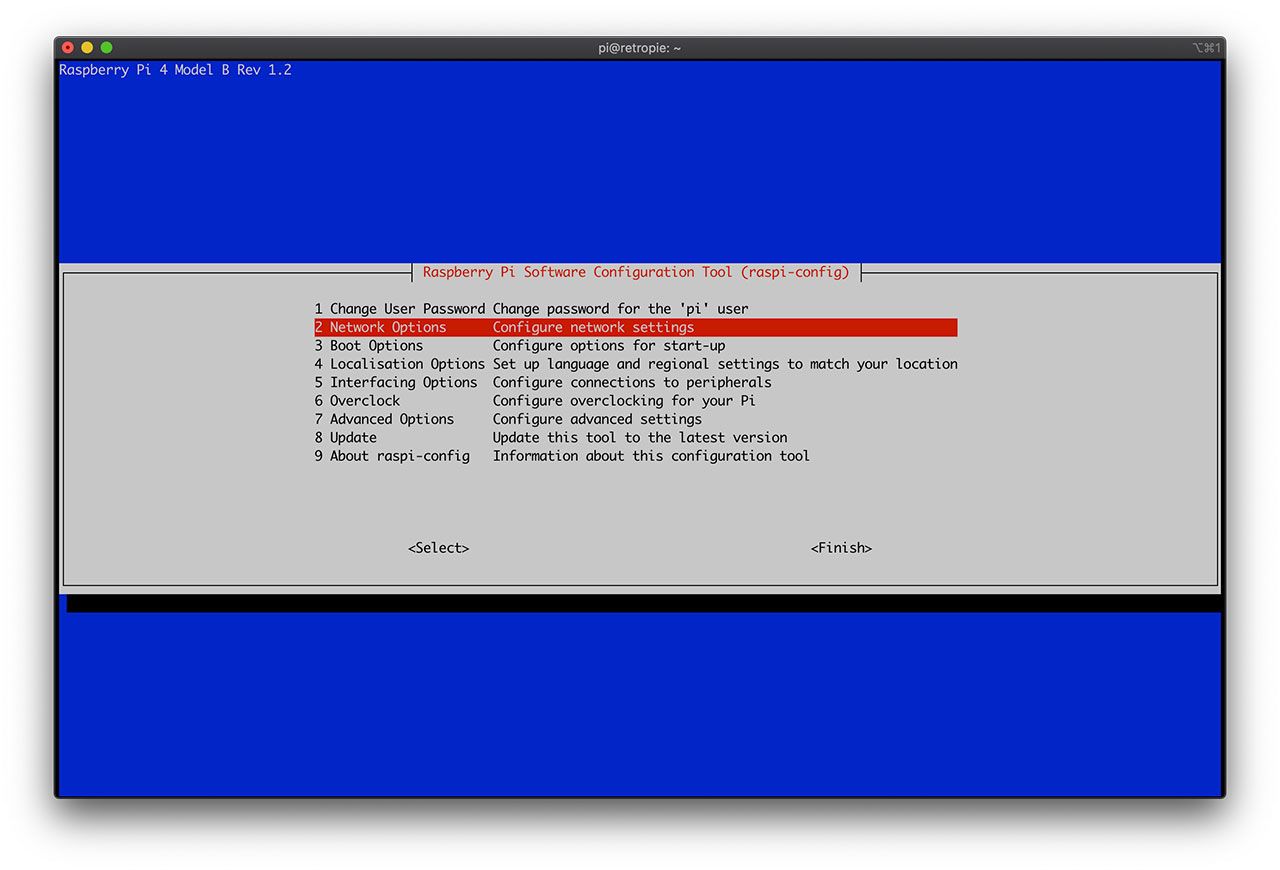
sudo raspi-config
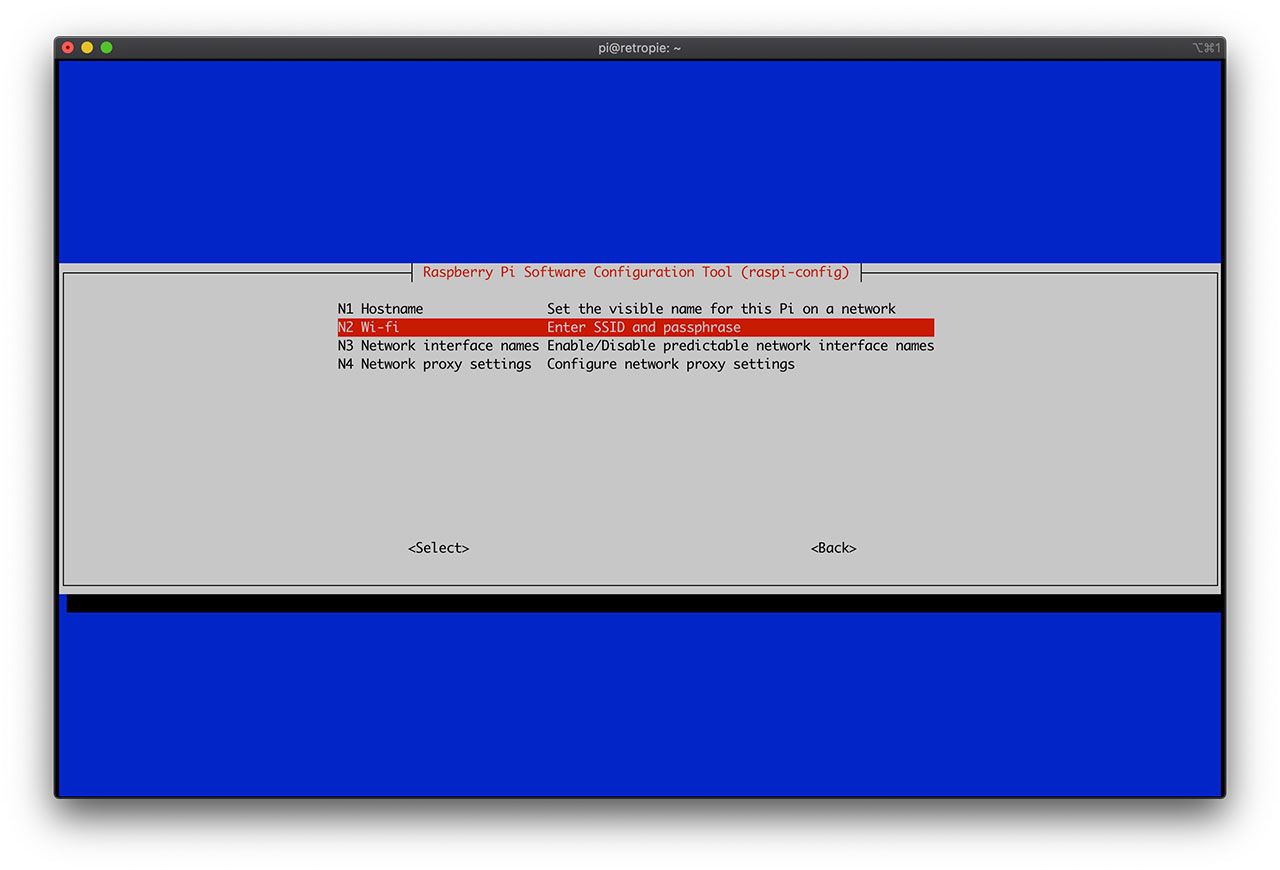
Select Network options, then Wi-fi, and then choose your country (wait for the confirmation that the country has been set). You don’t need to enter SSID at this point, so press Tab and then Cancel.
6.2. Enable SSH daemon
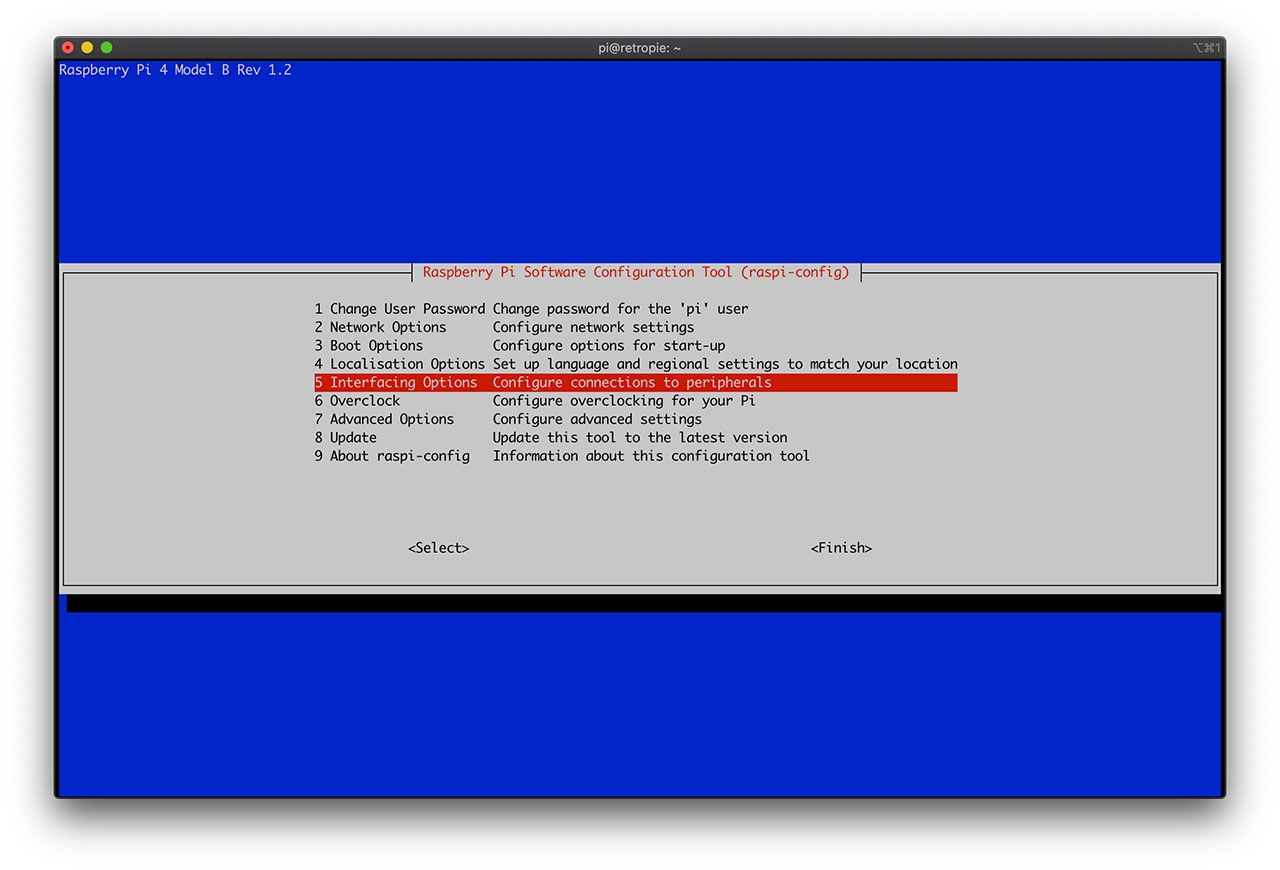
While we are here, let’s enable the SSH daemon so it’s easy to upload ROMs and adjust settings remotely. Select Interfacing options, then select SSH and enable it.
Press Finish to exit back to the terminal.
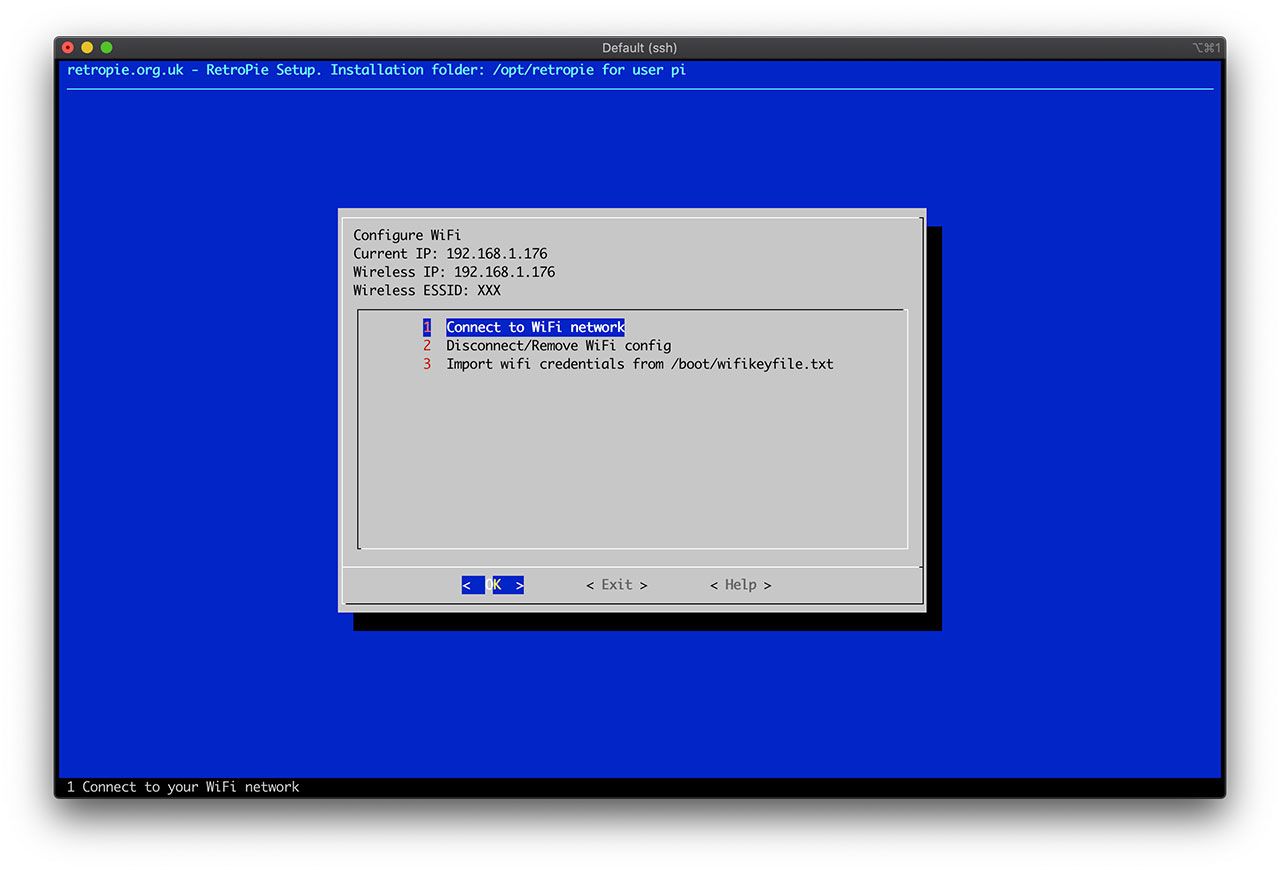
6.3. Connecting to WiFi
Launch RetroPie configuration tool:
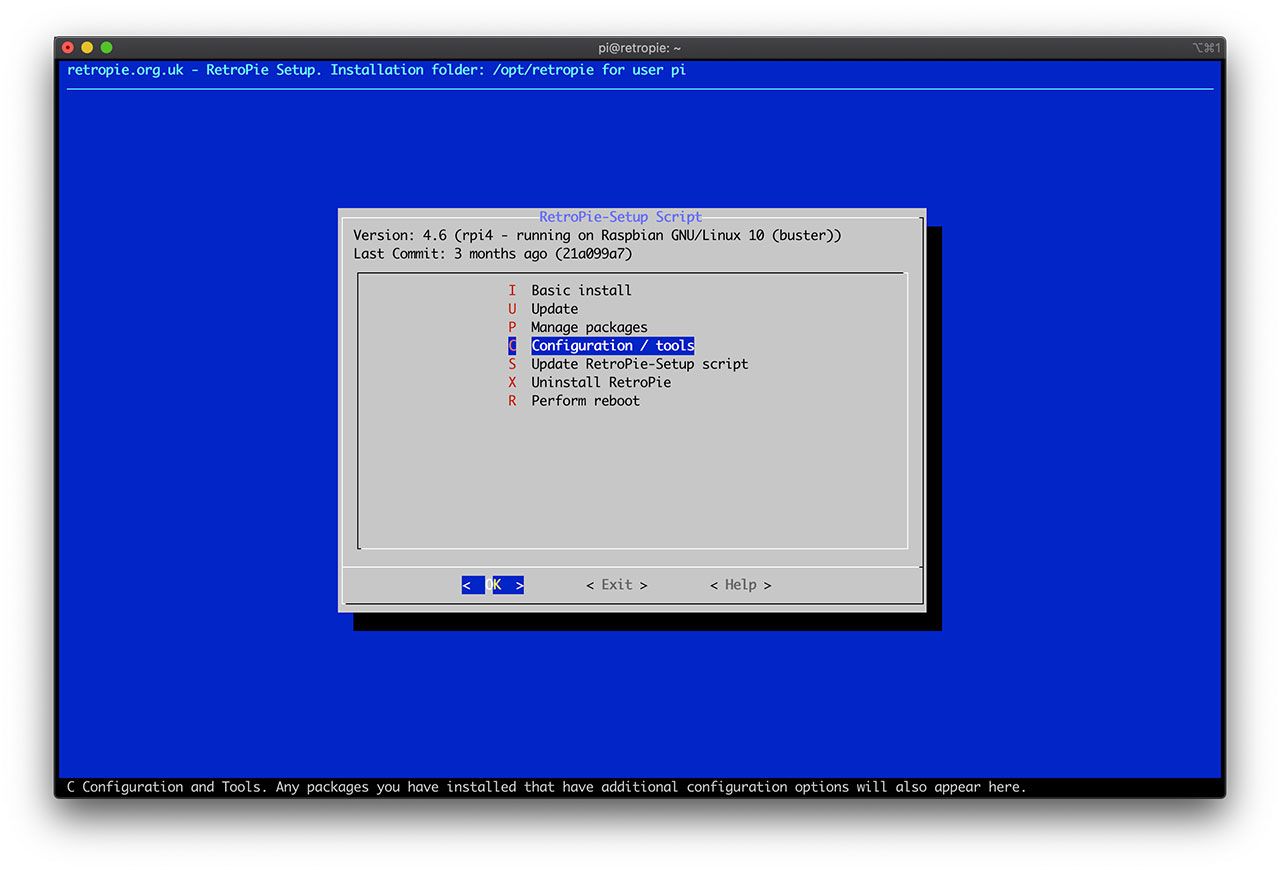
sudo RetroPie-Setup/retropie_setup.sh
It will show you some error messages upon the start. Just click Ok to get to the main menu.
Choose Configuration / tools, go to the bottom, and select wifi. Connect to your Wifi network by following the instructions. Once connected, write down the IP address it has assigned to Raspberry. Mine was 192.168.1.176.
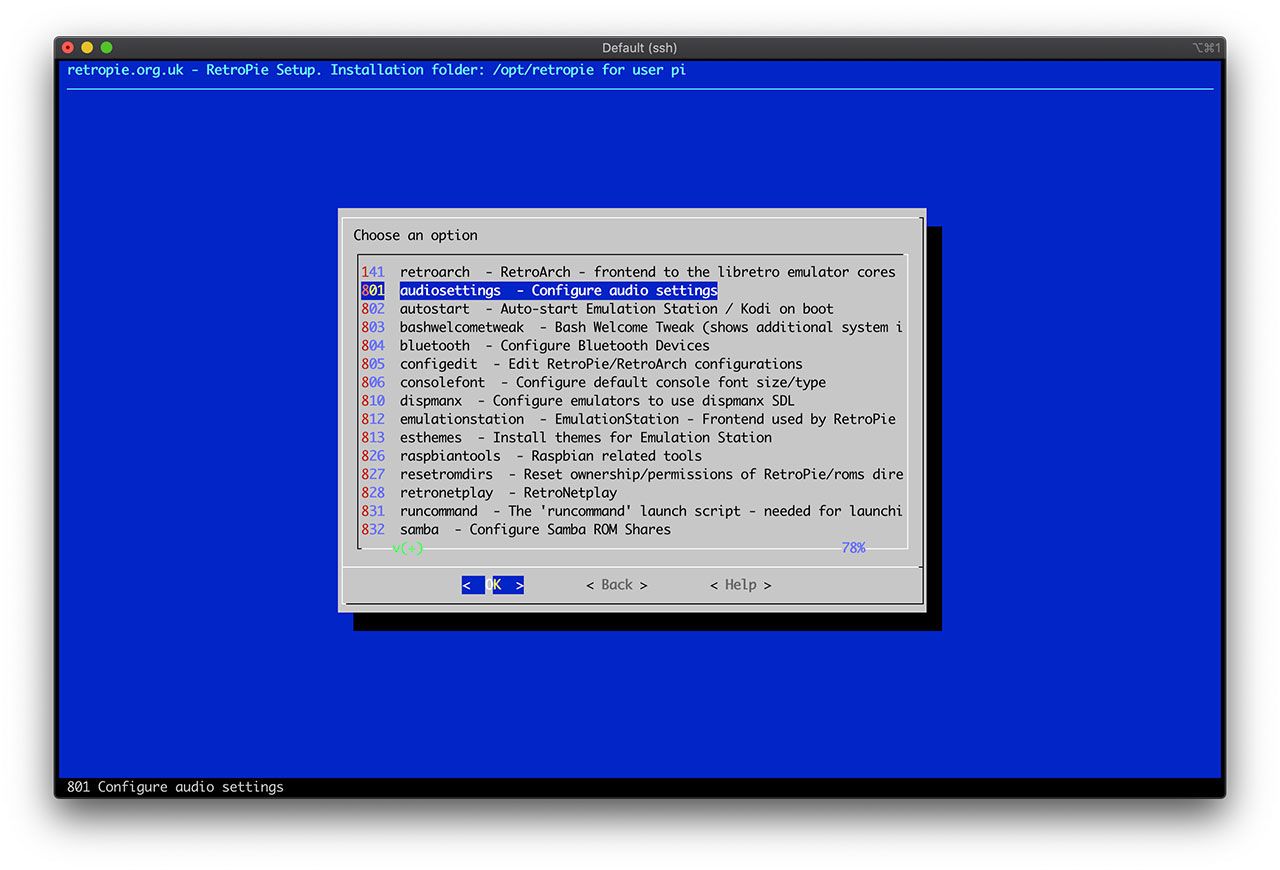
6.4. Configure audio output
To switch audio output to a 3.5mm jack, choose Configuration / tools, then audiosettings, and then Headphones - 3.5.mm jack.
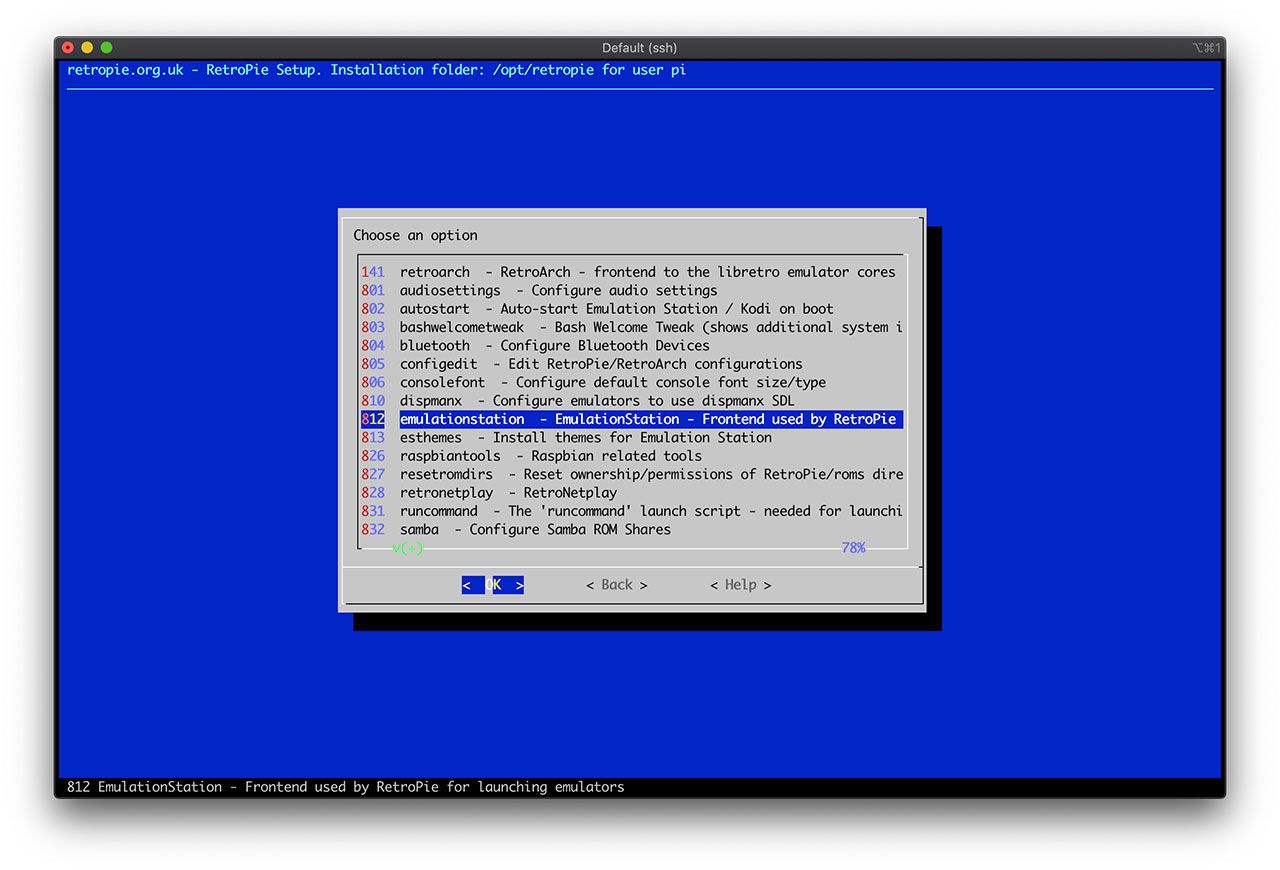
6.5. Swap A/B buttons in EmulationStation
EmulationStation is the software that lets you run different emulators and pick games to play. As we are aiming for that total retro arcade look and feel, we need to swap A/B buttons in the EmulationStation to map them properly for the Final Burn Alpha emulator.
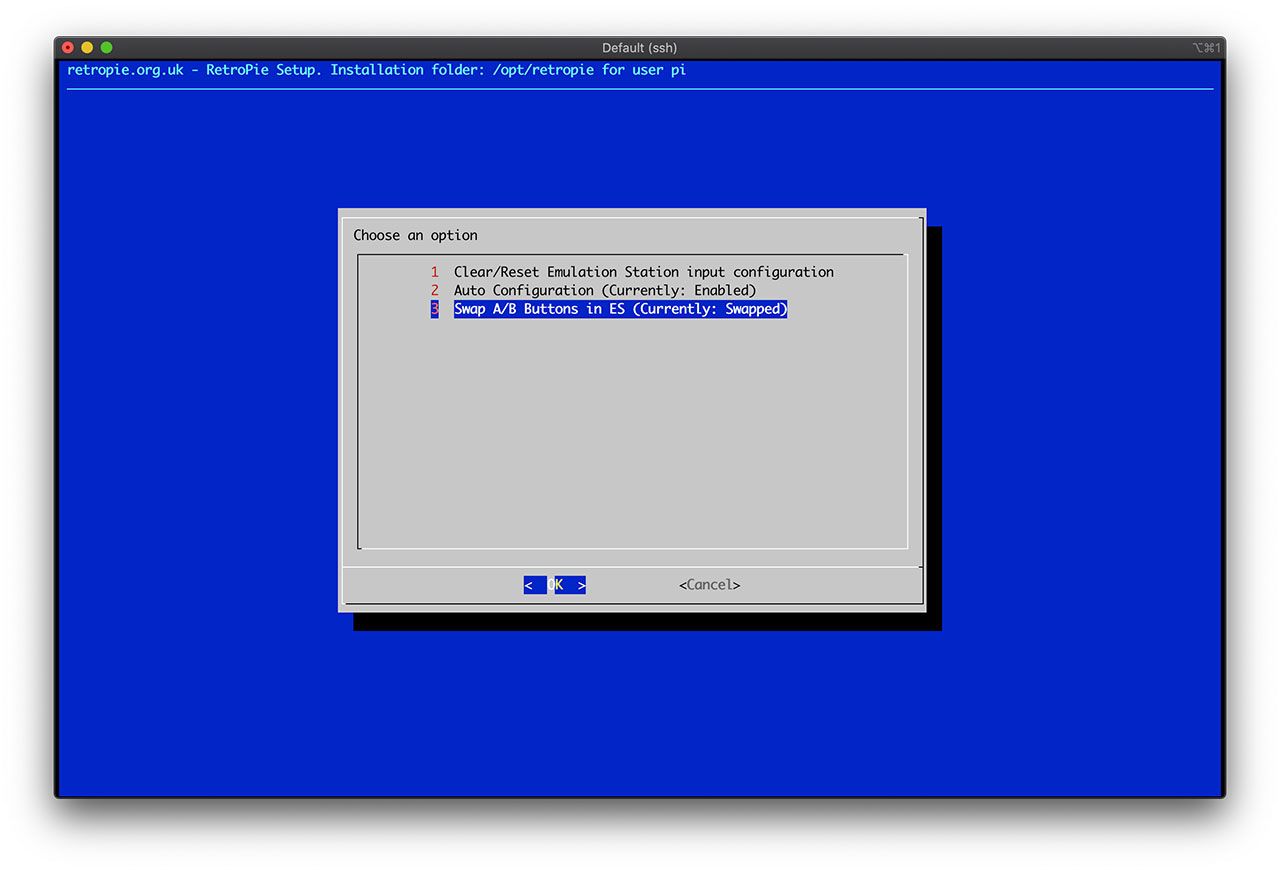
Choose Configuration / tools, then emulationstation, and enable Swap A/B buttons in ES option (make sure it’s Swapped in the end).
Exit back to the terminal.
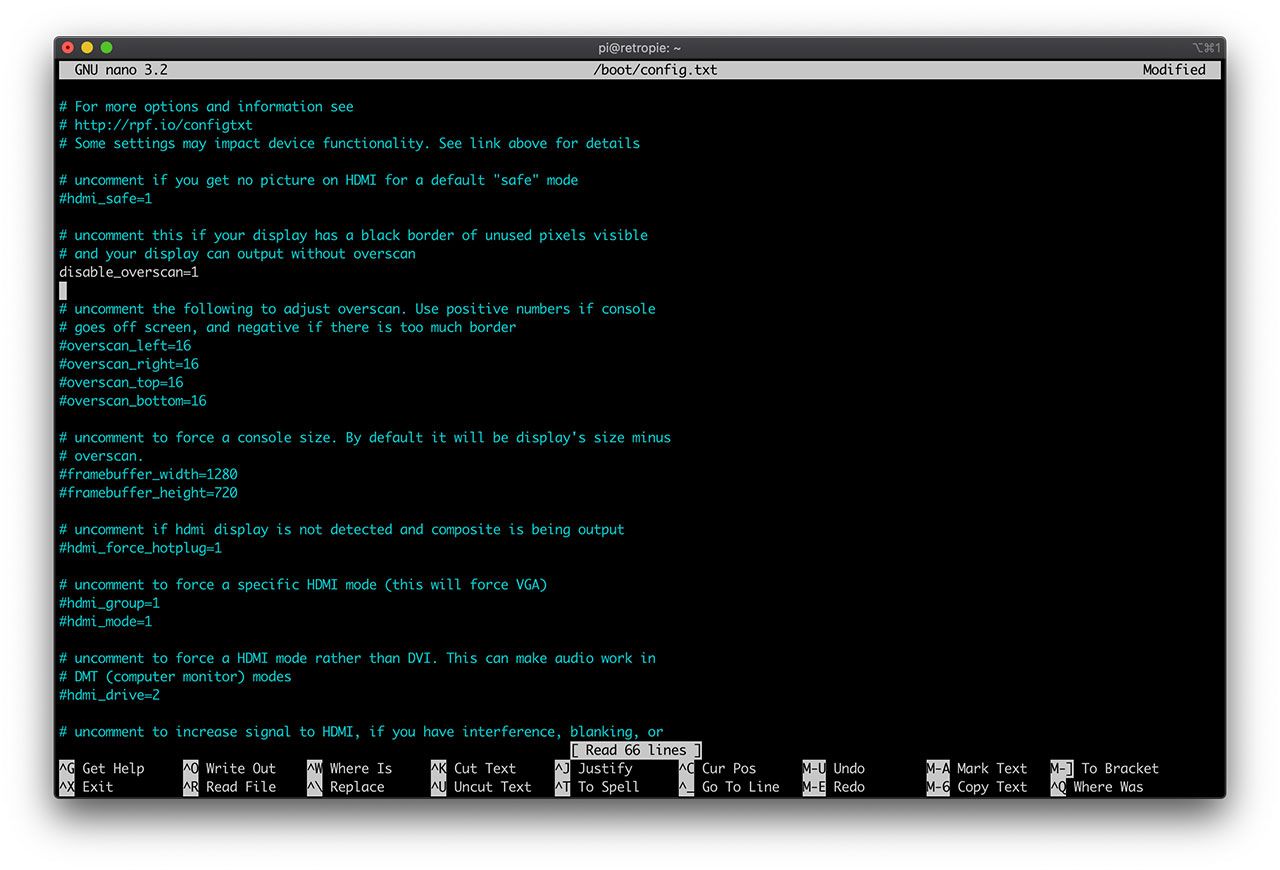
6.6. Disable overscan
To remove a black border around the terminal and game screen, you may need to adjust the overscan setting. To do that, type:
sudo nano /boot/config.txt
Then locate and uncomment the following line:
#disable_overscan=1
So in the end it should look like this:
disable_overscan=1
Press Ctrl-X and then Y and Enter to save and exit.
6.7. Controller issue fix
These particular controllers I ordered from AliExpress required a small hack in order to work properly. The issue was that by default, RetroPie detects just a single controller. In case my setting does not work for you, check this post on how to find out the proper IDs. You need to type the following in the console:
sudo nano /boot/cmdline.txt
Scroll right to the end of the line, press Space bar and paste the following:
usbhid.quirks=0x0810:0xe001:0x040
It is important to have that space before the line above. Press Ctrl-X, then Y and Enter to save and exit.
Lets reboot:
sudo reboot
You can disconnect the keyboard at this point. We will perform the rest of the setup remotely as SSH daemon has been enabled.
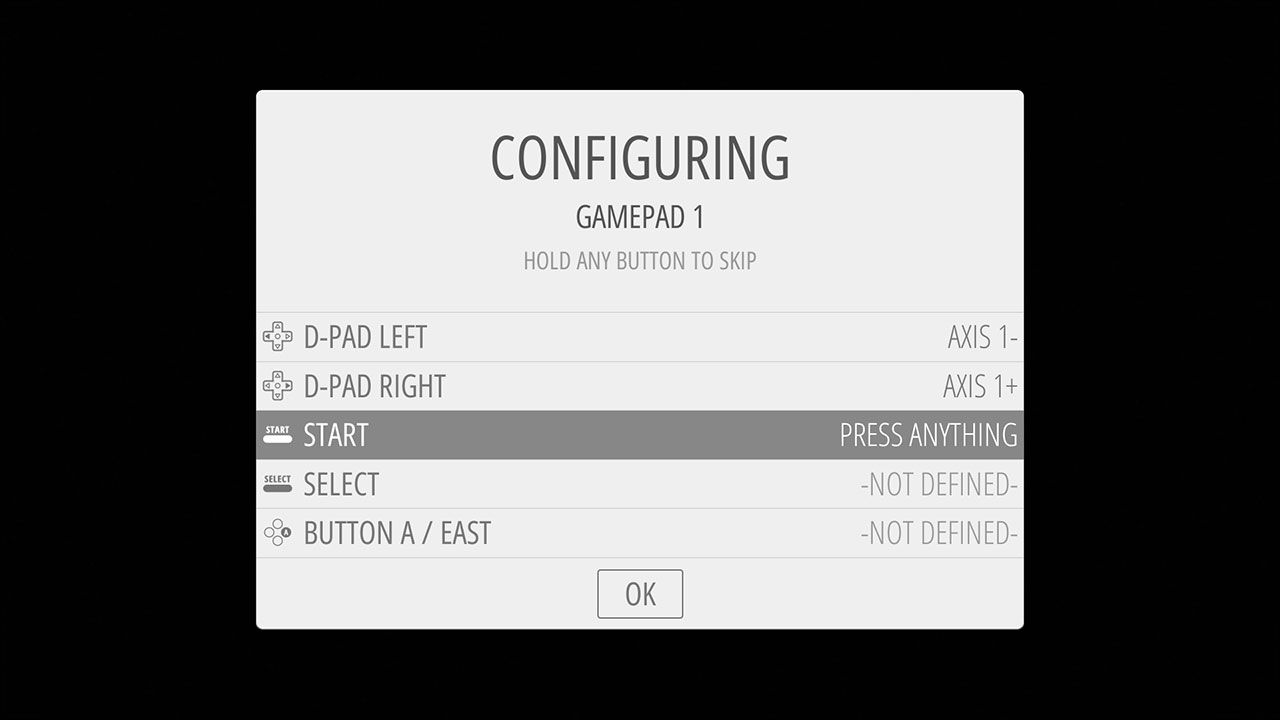
If everything is fine you should again end up in the EmulationStation controller setup screen:
Step 7 – Configuring controllers
Final Burn Alpha emulator has been configured to use the SNES layout in six-button fighting games. That is:
+---------+| Y X L || || B A R |+---------+
Let’s set up our controllers accordingly.
Press and hold any of the buttons.
Map joystick to dial pad (axis may be different from mine depending on how you positioned the joystick) and buttons according to the scheme above. Map Select to Coin button and Start to Player button.
Once you get to the Left Thumb, there is nothing else to configure – just press and hold any button to skip. Repeat until you get to the OK button. Confirm you want to use the default Hotkey. In these confirmation steps you will use the second button for confirmation (A on the scheme above).
While you are in EmulationStation, the A/B buttons are swapped, so your main button to navigate around is B and cancel/back is A.
Step 8 – Copy game ROMs
There are no links to game ROMs in this article – you need to own these in order to play. Google around, there are plenty of places to get them (and yes, you can even buy the licensed version) ;) Also, we do not need to install FBA emulator as it comes pre-installed with RetroPie.
Once you've downloaded the ROMs to your computer, launch your favourite SFTP app. I am using Transmit. Connect to the IP address of your Raspberry Pi with the following credentials:
username: pi
password: raspberry
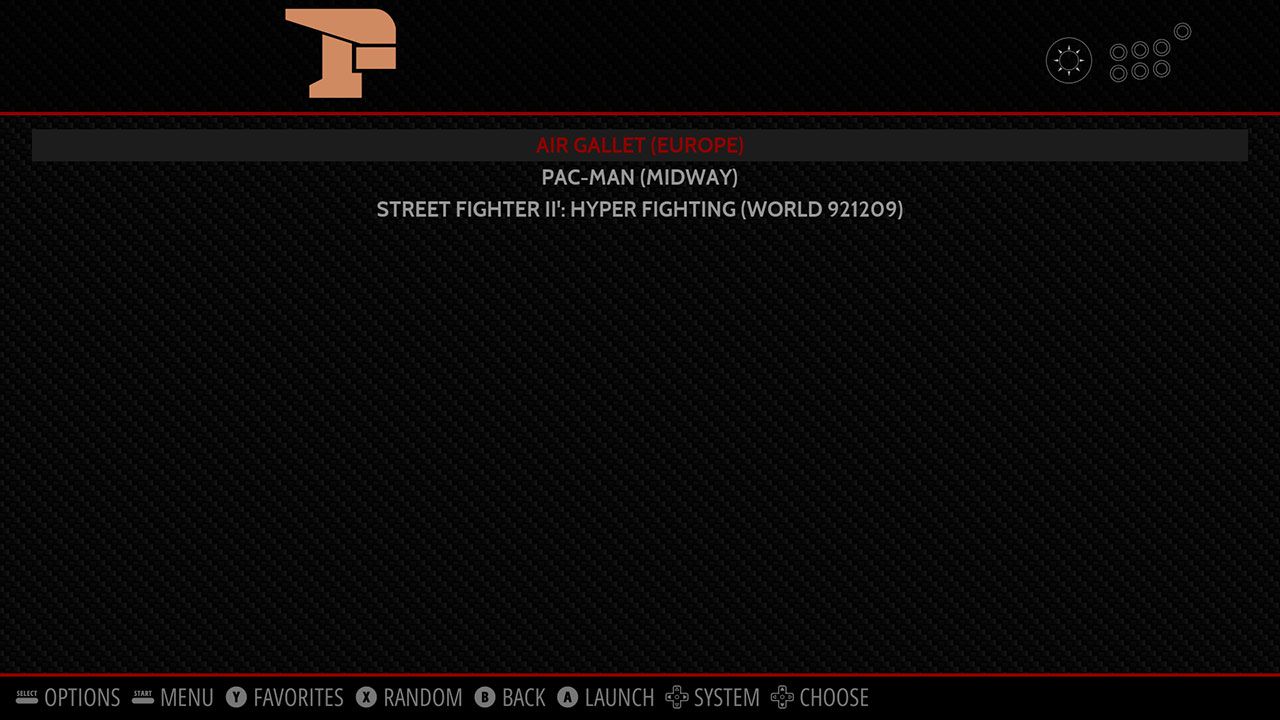
Upload your ROMs to the RetroPie/roms/fba folder.
You will need to restart EmulationStation for the ROMs to appear in the menu. To do that, press Start (Player) button, then choose QUIT and RESTART EMULATIONSTATION. Confirm by pressing OK.
Step 9 - Fine tuning
9.1. Theme
The default theme is quite boring, therefore let’s make it fit our cardboard cabinet. Open the Terminal program on your computer and type the following command:
ssh pi@your.raspberry.ip
The password is raspberry.
Then type:
sudo RetroPie-Setup/retropie_setup.sh
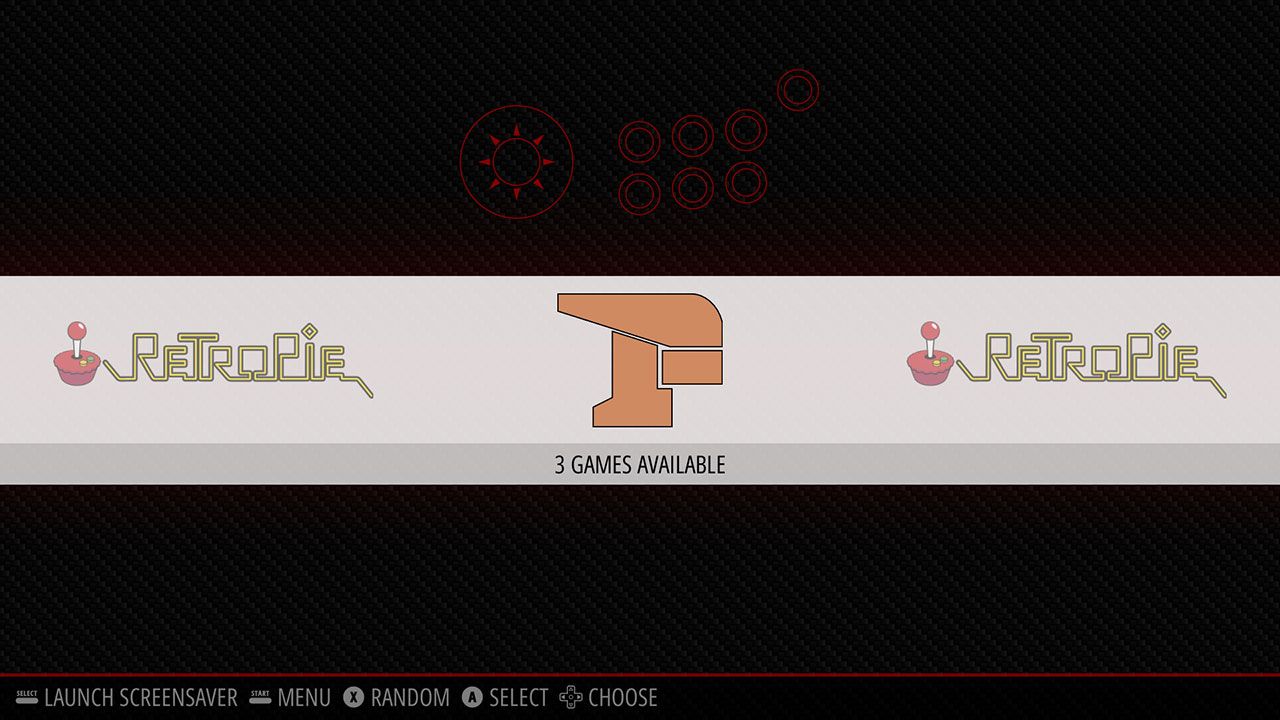
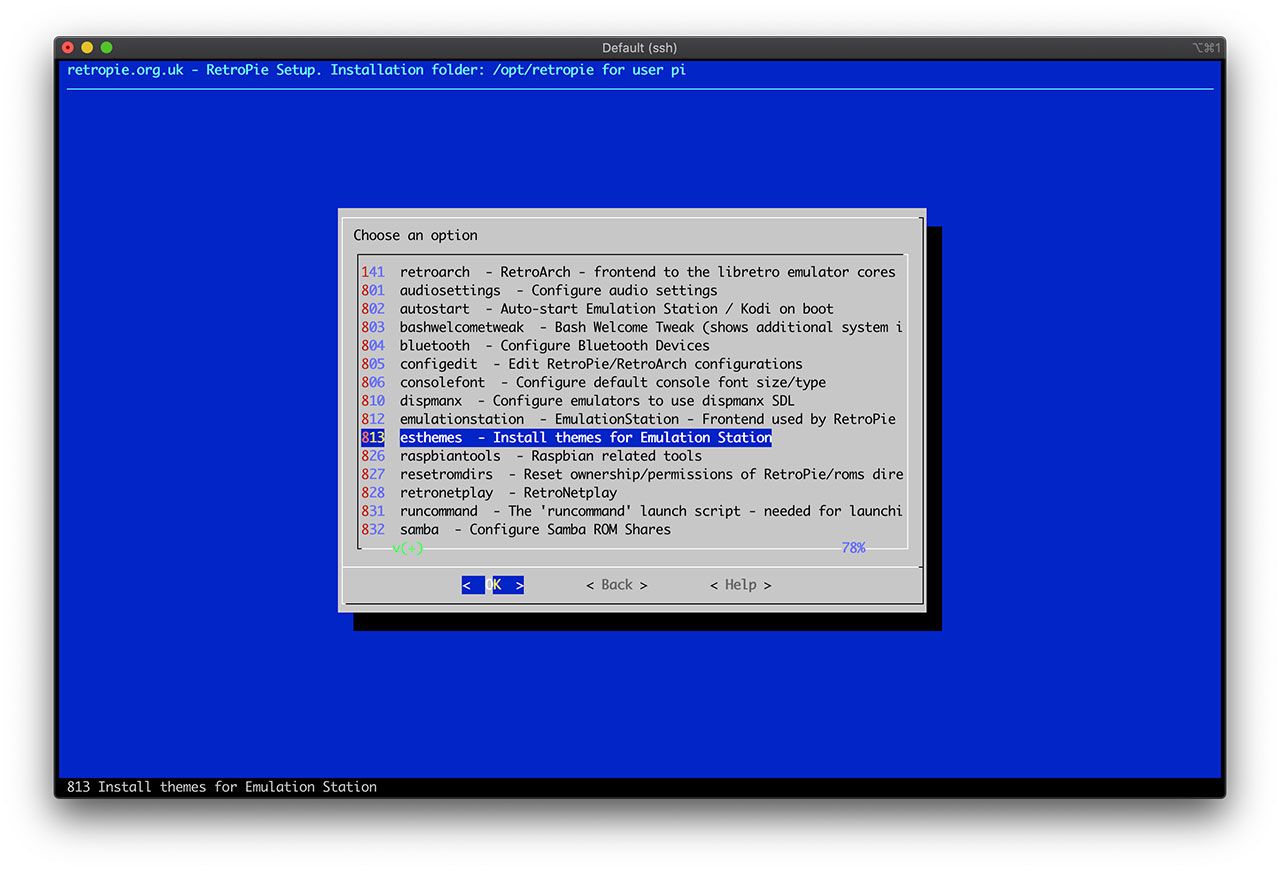
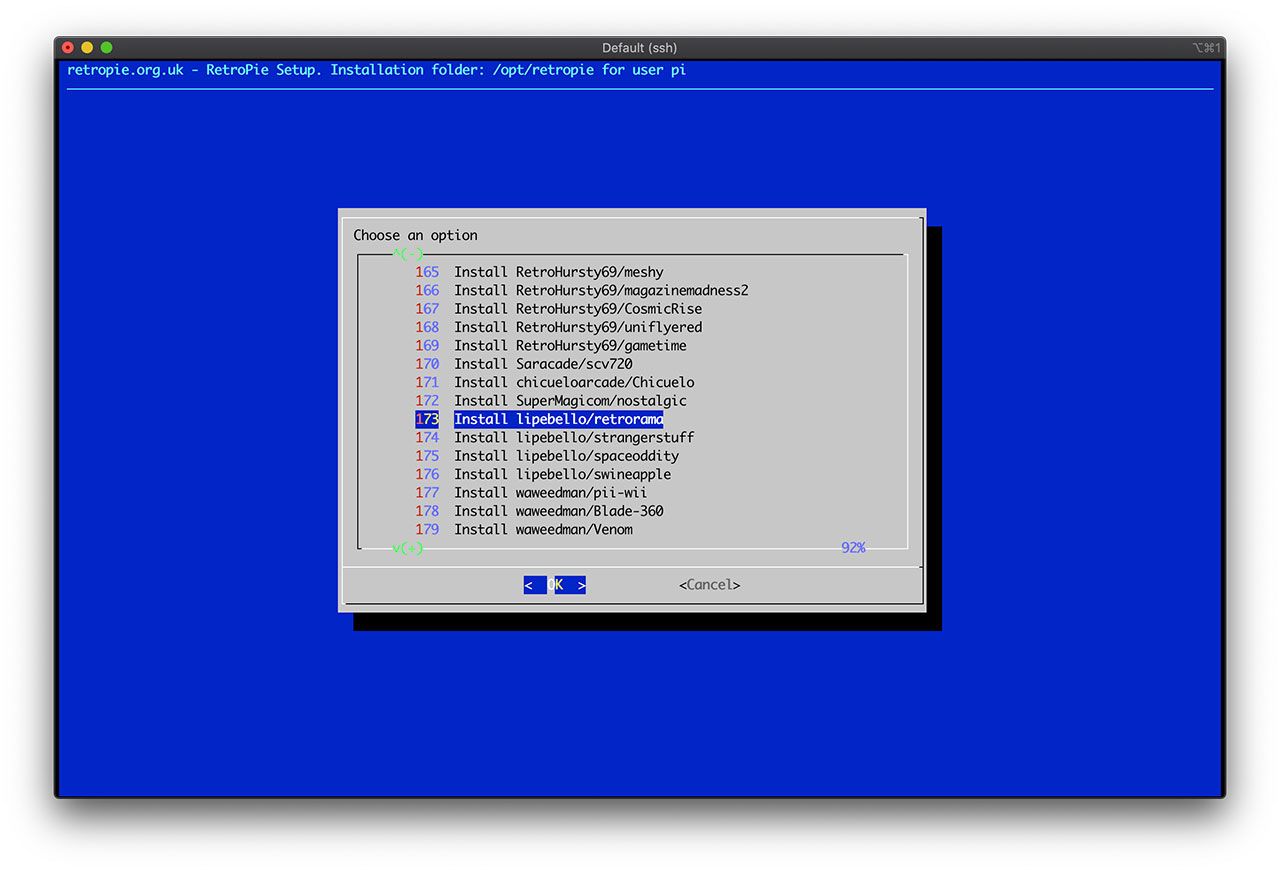
Navigate to Configuration / tools and esthemes. The theme I used is #173, called lipebello/retrorama. Install it.
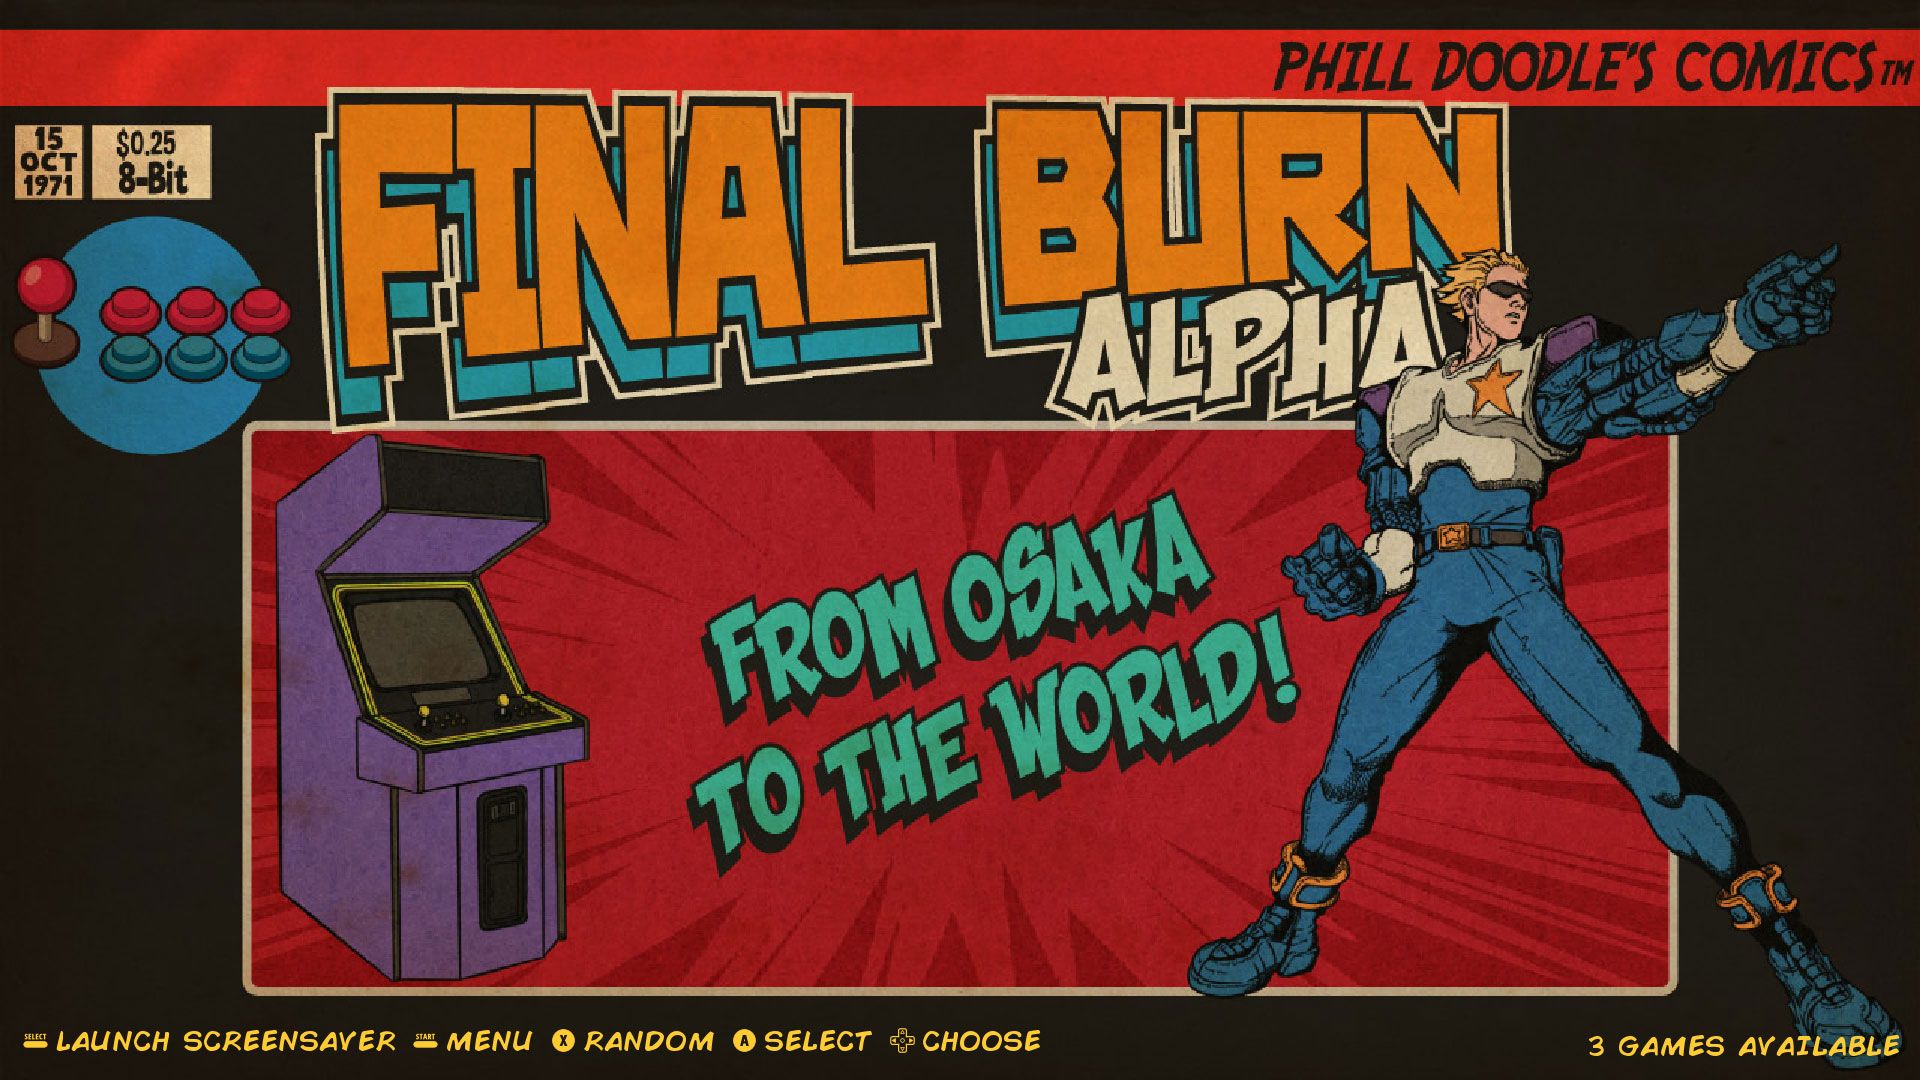
Now on your arcade machine, press Start button (Player) and choose UI SETTINGS. Set THEME SET to RETRORAMA and GAMELIST VIEW STYLE to VIDEO. Exit the settings menu. Now it looks good!
9.2. Scrape video previews
To make it look super cool, lets add game info and video previews.
Return to your computer’s Terminal, go to Manage packages, and then Manage optional packages.
Find scraper on the bottom of the list, click Ok and Install from source, confirm with Yes.
Wait for this process to complete.
Press Back / Back / Back to get to the main menu.
You need to exit EmulationStation on the Raspberry Pi, so press Start button, then QUIT, then QUIT EMULATIONSTATION, and confirm with OK.
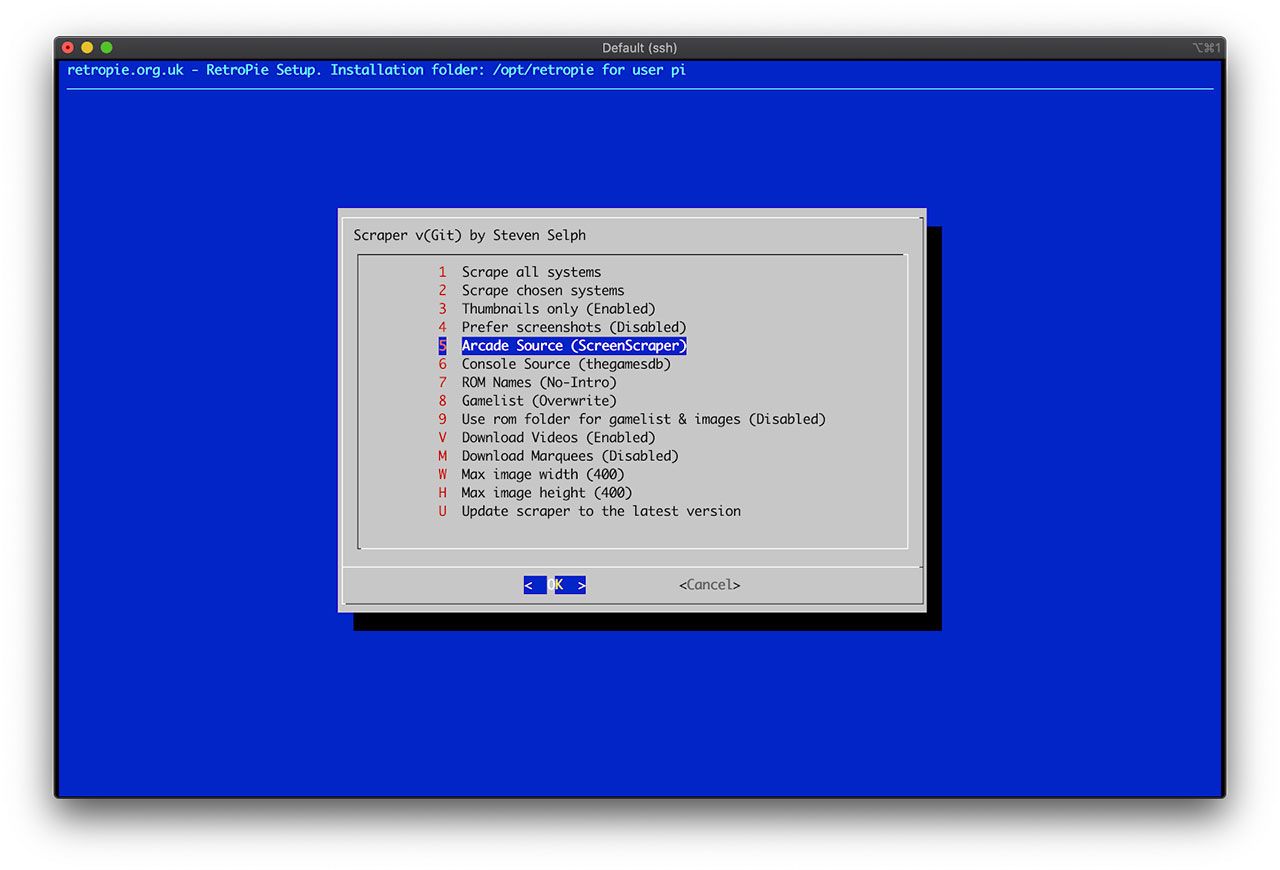
Return to your computer, choose Configuration / tools, then scraper at the bottom.
Set ArcadeSource to ScreenScraper, enable Download Videos, and then choose Scrape all systems.
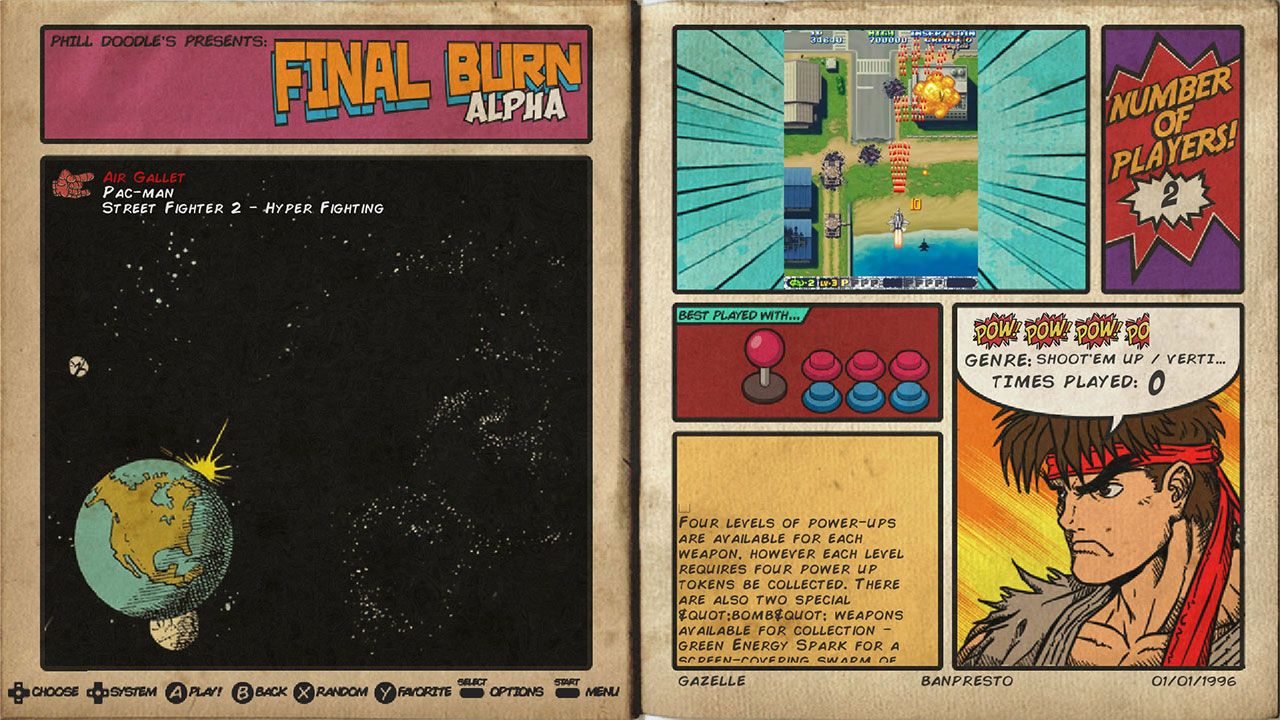
Wait for the web scraper to finish. Restart your Raspberry Pi and bingo, your games have video previews as well as some extra information like genre and history when they were first published and on which game machine.
Satisfied with the game play? Use the stapler to secure the cabinet. All done!
Nick is Chief Innovation Officer and former CEO of Lokalise. He’s a serial entrepreneur and was an early internet technology pioneer in Latvia when he founded and developed the first email service – inbox.lv in the late 1990s (which still exists today). While working on one of his recent ventures - Roamer App, he developed a backend to ease localization to different languages which proved to be a product with market demand on its own and later became Lokalise.
Nick is Chief Innovation Officer and former CEO of Lokalise. He’s a serial entrepreneur and was an early internet technology pioneer in Latvia when he founded and developed the first email service – inbox.lv in the late 1990s (which still exists today). While working on one of his recent ventures - Roamer App, he developed a backend to ease localization to different languages which proved to be a product with market demand on its own and later became Lokalise.
Build a smooth translation pipeline with Lokalise and Vercel
Internationalization can sometimes feel like a massive headache. Juggling multiple JSON files, keeping translations in sync, and redeploying every time you tweak a string… What if you could offload most of that grunt work to a modern toolchain and let your CI/CD do the heavy lifting? In this guide, we’ll wire up a Next.js 15 project hosted on Vercel. It will load translation files on demand f
Hands‑on guide to GitHub Actions for Lokalise translation sync: A deep dive
In this tutorial, we’ll set up GitHub Actions to manage translation files using Lokalise: no manual uploads or downloads, no reinventing a bicycle. Instead of relying on the Lokalise GitHub app, we’ll use open-source GitHub Actions. These let you push and pull translation files directly via the API in an automated way. You’ll learn how to: Push translation files from your repo to LokalisePull translated content back and open pull requests automaticallyWork w