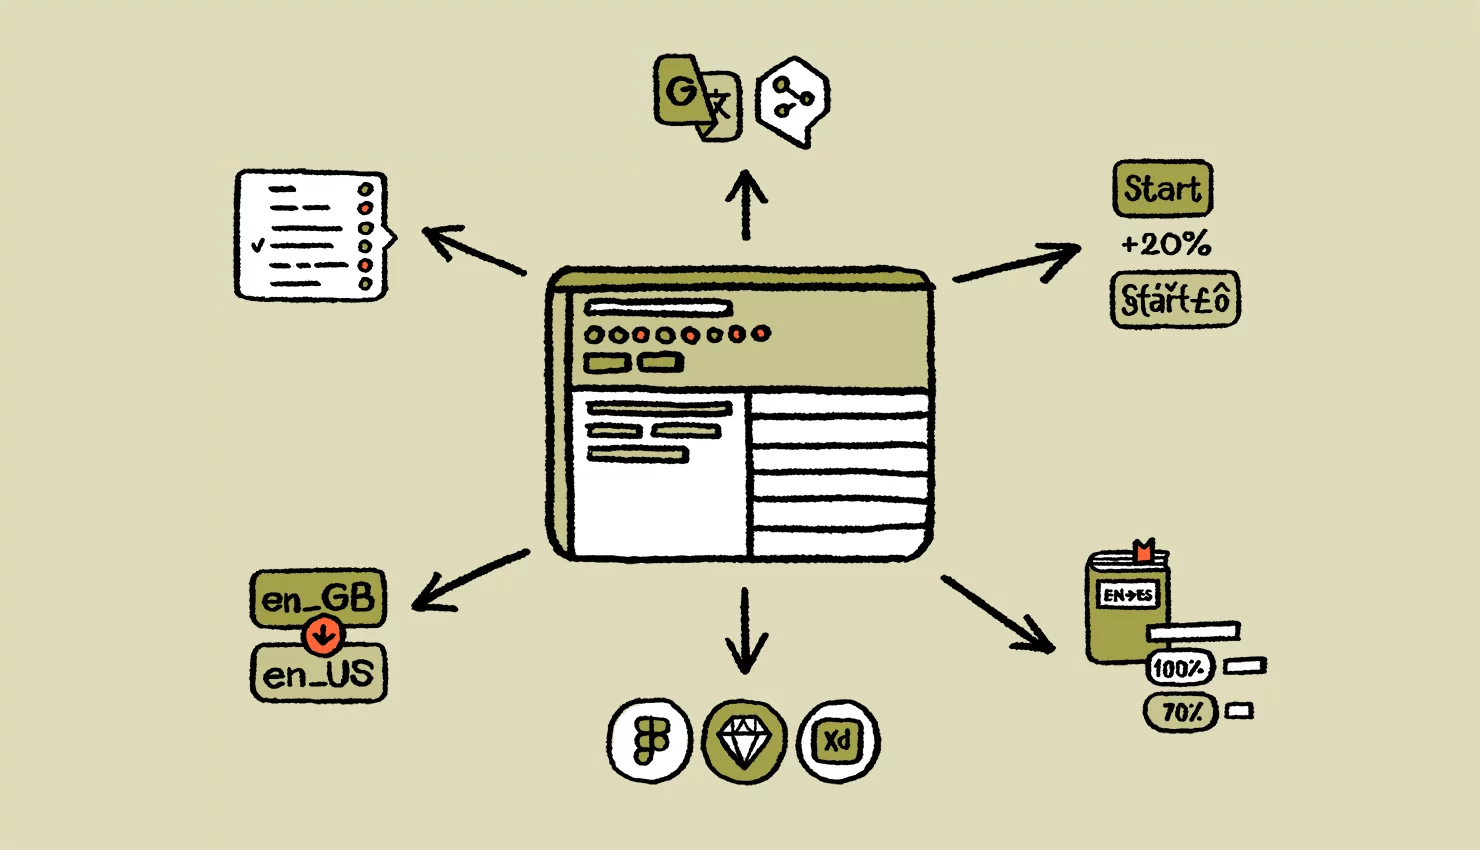
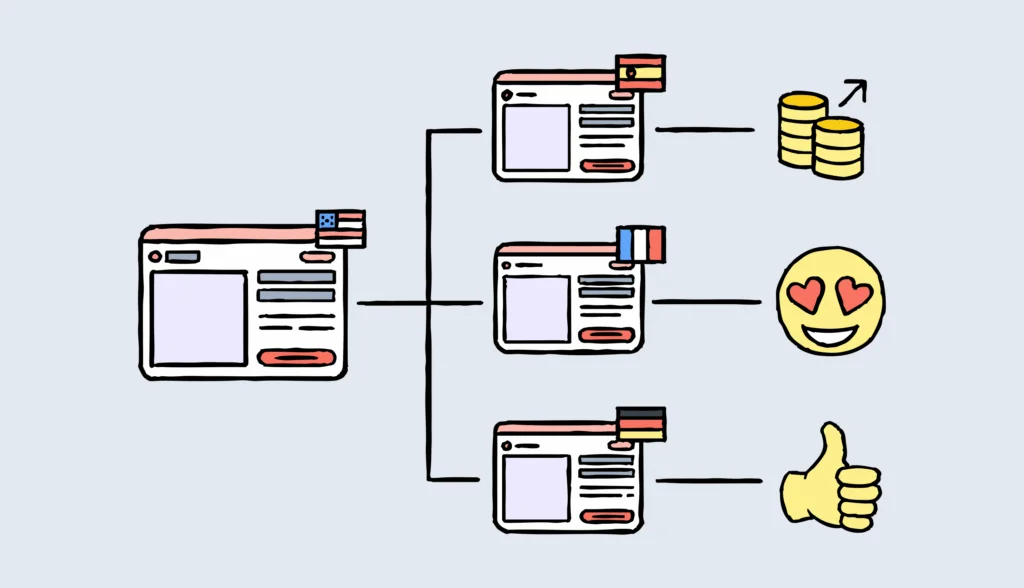
Workflow automation is all about using software to handle repetitive tasks for you, so you can focus on the work that truly matters. In the context of localization management, think of it as your behind-the-scenes assistant that ensures everything runs smoothly and helps your employees make the most of their workday.
For example, your team might be juggling multiple projects, updating content across platforms, and managing translations for several languages. Every time a small change is made, the same manual tasks eat up your time again and again. It’s exhausting and it slows everything down.

That’s where workflow automation steps in. It aims to improve the efficiency of all your processes, and help every department streamline their work.
🧠 Did you know?
Lokalise is a translation and localization software that enables workflow automation. It helps teams automate tedious localization tasks like translating, updating files, and syncing changes. It integrates with tools like GitHub and uses a set of rules to keep everything up-to-date so you can manage multilingual content faster and with less hassle.
Why workflow automation can be a game-changer
If you’ve ever felt frustrated by doing the same thing over and over, you’ll likely see immediate value in software that supports workflow automation. In the context of localization workflow management, this type of technology helps in three key areas: saving time, improving productivity, and optimizing costs.
Save time with workflow automation
Do you sometimes look at the clock, and you don’t really know where your work day went? It could be that small tasks eat up your time without you even noticing. Let’s do a simple calculation, just to prove a point.
If updating translations takes you 10 minutes per change, and you make 20 updates a week, that’s over 3 hours gone every week. Now, multiply that across your team and the months ahead. Suddenly, it’s weeks of lost time.
With workflow automation software, that’s time you get back. For example, instead of manually pushing updates, the system can handle them instantly. It’s like pressing fast-forward on your processes to make them more efficient.

Improve productivity by automating processes
We’ve all been there. How many times have you been forced to deal with boring tasks, or feeling like your expertise is being incredibly underutilized? Pair this with small interruptions that pile up throughout the day, and your productivity levels will be gone through the window.
That constant switching between updates, approvals, and manual checks doesn’t just slow you down. It drains your focus and leaves little room for meaningful work.
Let’s say you’re managing a project where updates to a single translation file need to be reflected across multiple languages. Instead of manually handling every step, software can automate your localization process, ensuring faster updates and reducing the risk of errors.
Automation ensures the entire series of tasks happens instantly, syncing everything without you lifting a finger. Everything gets synced without you having to think about it.
| 💸 The hidden cost of context switching What happens when your focus gets diluted as you take care of small, yet mind-numbing tasks? Research shows that constantly switching between tasks can slash productivity by 40%. To top it all, it can also increase stress levels, lead to higher blood pressure and heart rate variability. |
Optimize costs with workflow automation
Instead of paying for hours of manual work or fixing mistakes caused by human error, automation software ensures tasks are done properly and faster. Again, as a result, your team has more room to focus on business goals instead of tedious jobs like data entry.
Automation tools can handle routine steps across all processes. Think syncing updates, applying translations, or assigning tasks to the right person automatically. This can reduce workload for your entire team and create a healthier work environment (something your human resources will certainly root for).
Let’s see how this works. Time for some quick napkin math.
If a localization manager spends 10 hours a week on repetitive updates, and their hourly rate is $50, that’s $500 a week on tasks that could be automated.
Over a year, that adds up to $26,000 just for one person. Automating even 70% of that could save $18,200 annually, and that’s just one role. Multiply that across your organization, and the savings are significant.
Best practices for workflow automation in localization
To recap, streamlining your continuous localization processes with automation is a smart way to save time and focus on what really matters. It helps your team work faster, without getting bogged down by repetitive tasks.
But how do you actually make it happen? Here’s an overview of five best practices.
1. Identify repetitive tasks
Repetitive tasks, like manually updating files or coordinating translations, eat up valuable time and can slow down your workflow. Automation eliminates these bottlenecks, and gives your team room to breathe.
Start by mapping out your localization processes. Identify the steps you do repeatedly. This could be syncing content from design tools or applying translation memories. Once you’ve pinpointed these, look for tools that can automate those tasks with minimal setup.
How Lokalise helps
Lokalise’s workflow templates let you set up rules that automatically perform routine actions based on specified criteria. For instance, you can automate the use of translation memories or machine translations when changes are detected in a monitored language. No need to code or do anything manually.
Learn more about automated workflow templates in the video below to see how easy they are to set up.
2. Implement continuous localization
Continuous localization ensures that your content is always ready for global markets, even as it evolves. It reduces the lag between product updates and localized versions, keeping your global audience in sync.
In a nutshell, it’s about integrating localization into your development pipeline. You can use APIs or automation tools to ensure that every time new content is created, it’s automatically sent for translation and integrated back once complete.
How Lokalise helps
As a translation management software, Lokalise makes continuous localization easy. It syncs updates in real-time with tools like GitHub and Figma. Whenever you add new content or make changes, everything flows smoothly through the localization workflows you set up and automate. This allows your employees across departments to work without delays.
Check out the video below for a quick tutorial on how to connect Lokalise with your GitHub repository.
| 📚 Further reading Learn more about continuous localization and how is different from agile localization. Discover its benefits such as faster releases and a seamless experience for users worldwide. 🛠️ GitHub actions Get access to free, open-source GitHub actions. It’s a drop-in solution with minimal config (~5 lines of code) and allows you to schedule import/exports, and even pair with other solutions (for example, to automatically merge pull requests with updated translations). See documentation. |
3. Use translation memories and machine translation
Translation memories (TMs) save time by reusing previously translated content, while machine translation (MT) speeds up first drafts for review. Together, they help you automate workflows and collaborate more efficiently while achieving translation consistency.
You can set up a translation memory that stores every translation you create. Pair it with automatic translation to handle new or repetitive content. Then, allow your translators to refine the drafts for the final touch. This is how you’ll minimize the chance of human error while also translating faster.
How Lokalise helps
Lokalise’s built-in translation memory and machine translation support ensure you get the best of both worlds. You are provided with fast, cost-effective translations while maintaining quality and consistency. Trigger them automatically in your workflows, so you don’t need to do it manually each time.
Localization workflow templates make it easy to set up automated workflows from start to finish, so you don’t have to think about every step. They just happen like magic!

4. Use custom statuses for workflow transparency
When your team knows exactly where each task stands, it’s easier to stay on track and avoid miscommunication. Custom statuses are incredibly useful pieces of information that help everyone understand what needs attention and what’s ready to go.
To make things easier, define a clear set of statuses like “In Progress,” “Needs Review,” or “Completed.” Train your team to update statuses as they work. This is how you’ll ensure real-time visibility into the project’s progress.
How Lokalise helps
Lokalise allows you to create custom statuses tailored to your workflow, making it easy to track and manage complex tasks at every stage.
You can create automated rules to update or clear translation statuses automatically. For example, you can set specific statuses (e.g., “verified”, “needs review”) to be applied to target languages whenever changes are detected in the monitored language.
This keeps everyone in the department aligned, whether they’re approving tasks or handling specific requests.

5. Integrate with existing tools
Switching between tools or manually transferring data slows down your workflow. Integrations help everything works together seamlessly.
Start by identifying the tools your team already uses. Think content management systems, design tools, or code repositories. Then, look for localization platforms that integrate with them. This eliminates the need for manual uploads or downloads, and it makes your life a lot easier.
How Lokalise helps
Lokalise integrates with a wide range of tools, including GitHub, Figma, WordPress, and more, so your workflows are connected and efficient from end to end.
For example, if your design team or marketing department is working in Figma, Lokalise can automatically sync text strings from your designs into the localization platform.
Once translations are ready, they’re pushed back into Figma. This allows designers to see the translated content in context without manually copying or pasting text. As a result, your multilingual designs are ready faster.For more information on design-led localization, watch the webinar below.
Lokalise also integrates with low-code tools like Zapier, helping you automate workflows even further by connecting Lokalise to hundreds of other apps. This means you can set up triggers and actions across your favorite tools without writing a single line of code.
Simplify your localization, one workflow at a time
Workflow automation frees up your time and mental energy, and helps your employees focus on more complex tasks that align with your business goals. You can channel your focus into higher-value work, be it brainstorming ideas, solving problems, or making important decisions (something it’s hard to automate).
Lokalise lets you do more work in less time. It takes the hassle out of localization by automating mundane tasks and seamlessly connecting with your existing tools. More specifically, it helps with:
- Task automation: Set up rules to handle things like syncing updates, applying translation memories, or pre-translating new content automatically
- Powerful integrations: Update and manage translations without leaving your preferred platforms
- Custom workflows: Tailor workflows to your needs, from triggering translations to setting review steps
If you want to automate your translation and localization workflow without increasing complexity, try Lokalise for free.
As the final takeaway, make sure you assess your workflows regularly and commit to continuous improvement. This will help you identify new bottlenecks, or additional areas for improvement. Also, don’t forget to gather feedback from your team to refine your processes.


