Modern software development involves the use of source code repositories. Once there is a repository, there are branches to which developers commit different changes in their code. Usually changes happen on multiple branches at the same time. As a result, the language files or localization files used in software localization may differ from branch to branch as well. This is when you start to think about how to employ branching in your localization processes.
If the Project branching feature is not available on your current plan, there are two possible workarounds, depending on the degree of differences among branches. If differences are big, it makes sense to create a separate project for every branch. On the contrary, with hotfix/feature branches, where the differences are minor, the approach which we recommend is to use tags in order to split keys by branches.
In this article we will focus on how to use tags working with different repo branches.
Limitations
In every project, key names or IDs should be unique with two exceptions. Multiple keys with the same name can co-exist in the same project if you assign the keys to different filenames and/or to a different context. In the latter, the context is a special key attribute used in some file formats like Gettext or Xliff. Therefore, it is important to avoid updating the existing keys, and rather create new ones if you require a change.
Tools
Lokalise offers different ways of uploading your files - the web UI, API, various integrations like Azure Repos, GitHub, GitLab, and Bitbucket, as well as the command-line tool (Lokalise CLI). If you can't decide on the method, we recommend using the Lokalise CLI tool to upload different branch files, as this is the easiest way to tag the keys depending on the branch.
Using our Github and Bitbucket integrations may seem more logical since we are talking about the repo branches, but it's not. For the time being, before the introduction of the project branching, our repo integrations allow one branch per project. Using the Lokalise CLI tool until it happens is safe — when the project branching comes to Lokalise, you will be able to use the Lokalise CLI tool along with the Git command line tool. When you will be pushing to Git, you would need to upload the same to Lokalise and vice versa.
Uploading files to Lokalise
Let's assume there are two branches in the repo – master and feature.
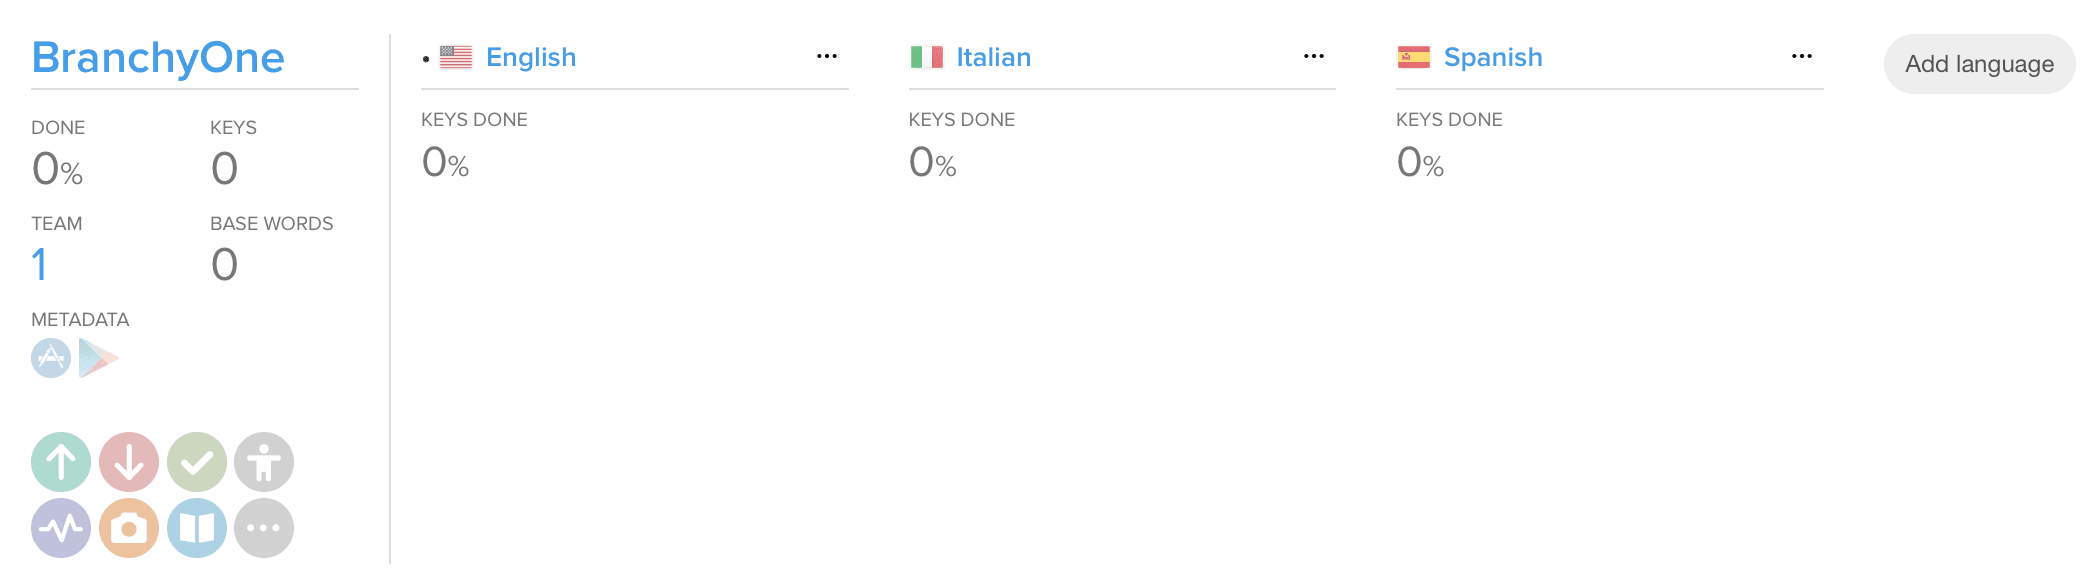
Start with a fresh project in Lokalise and add some languages. You will need the project ID which can be found in the project settings and the token which you can generate under the Personal profile > API tokens page.
Most of the teams are making changes only in the base language files (English in our example). Thus, we will only focus on uploading the base language file changes to Lokalise. In this article we'll use JSON translation files.
Uploading master branch keys
Switch to the master branch in your projects git root:
git checkout master
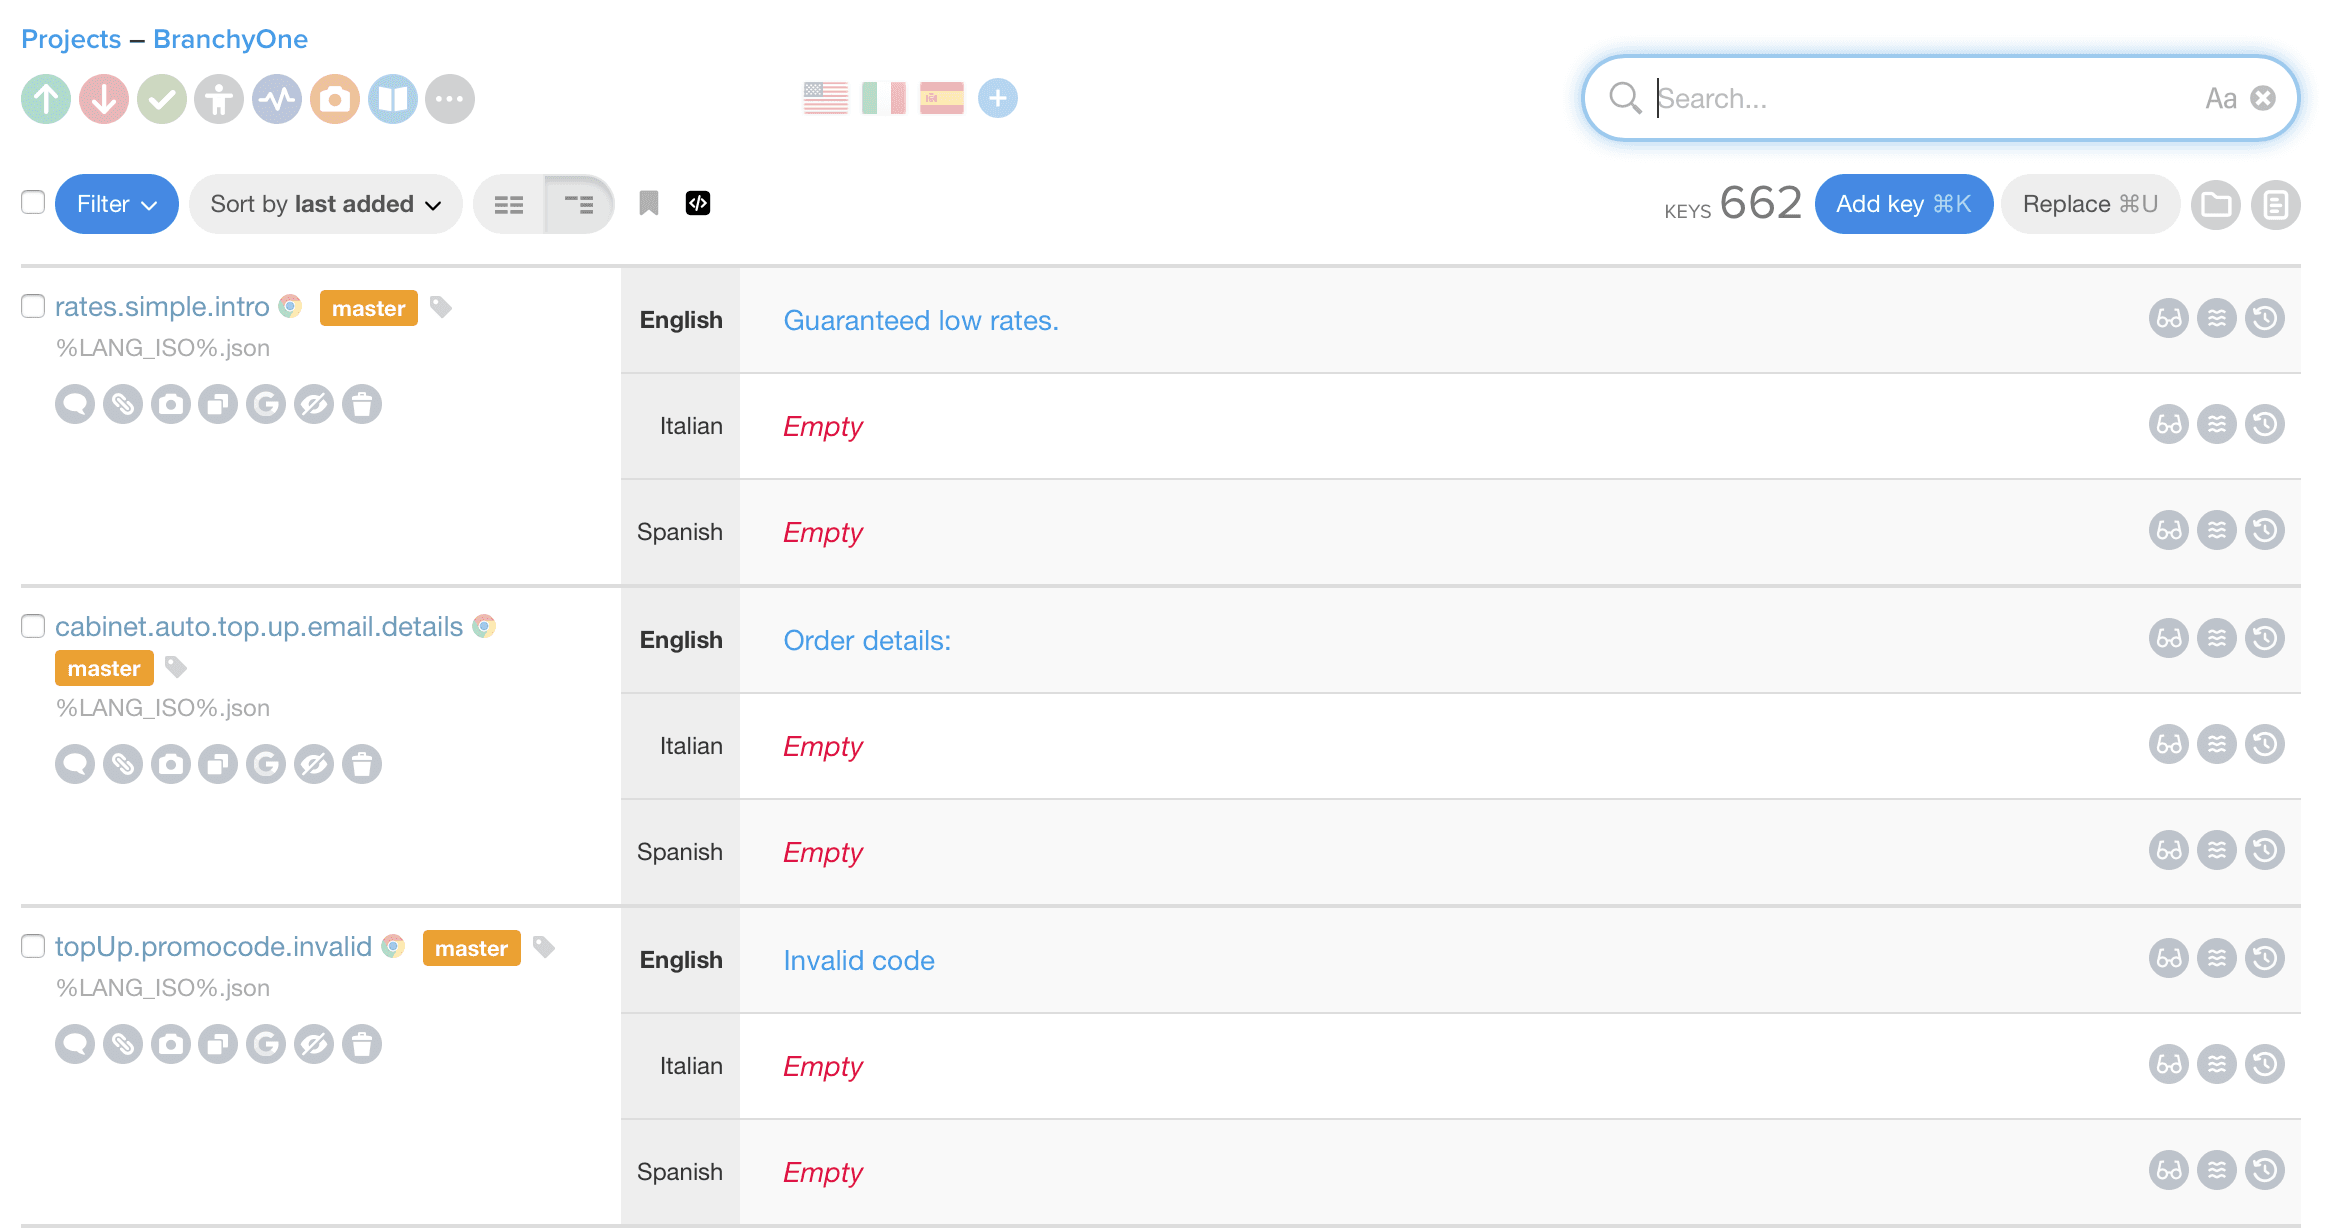
Assuming the file you want to upload to Lokalise is locale/en.json, use the following CLI command to upload the file and tag the keys with the master tag:
We only modified the --tags parameter in the command above.
Updating the modified values
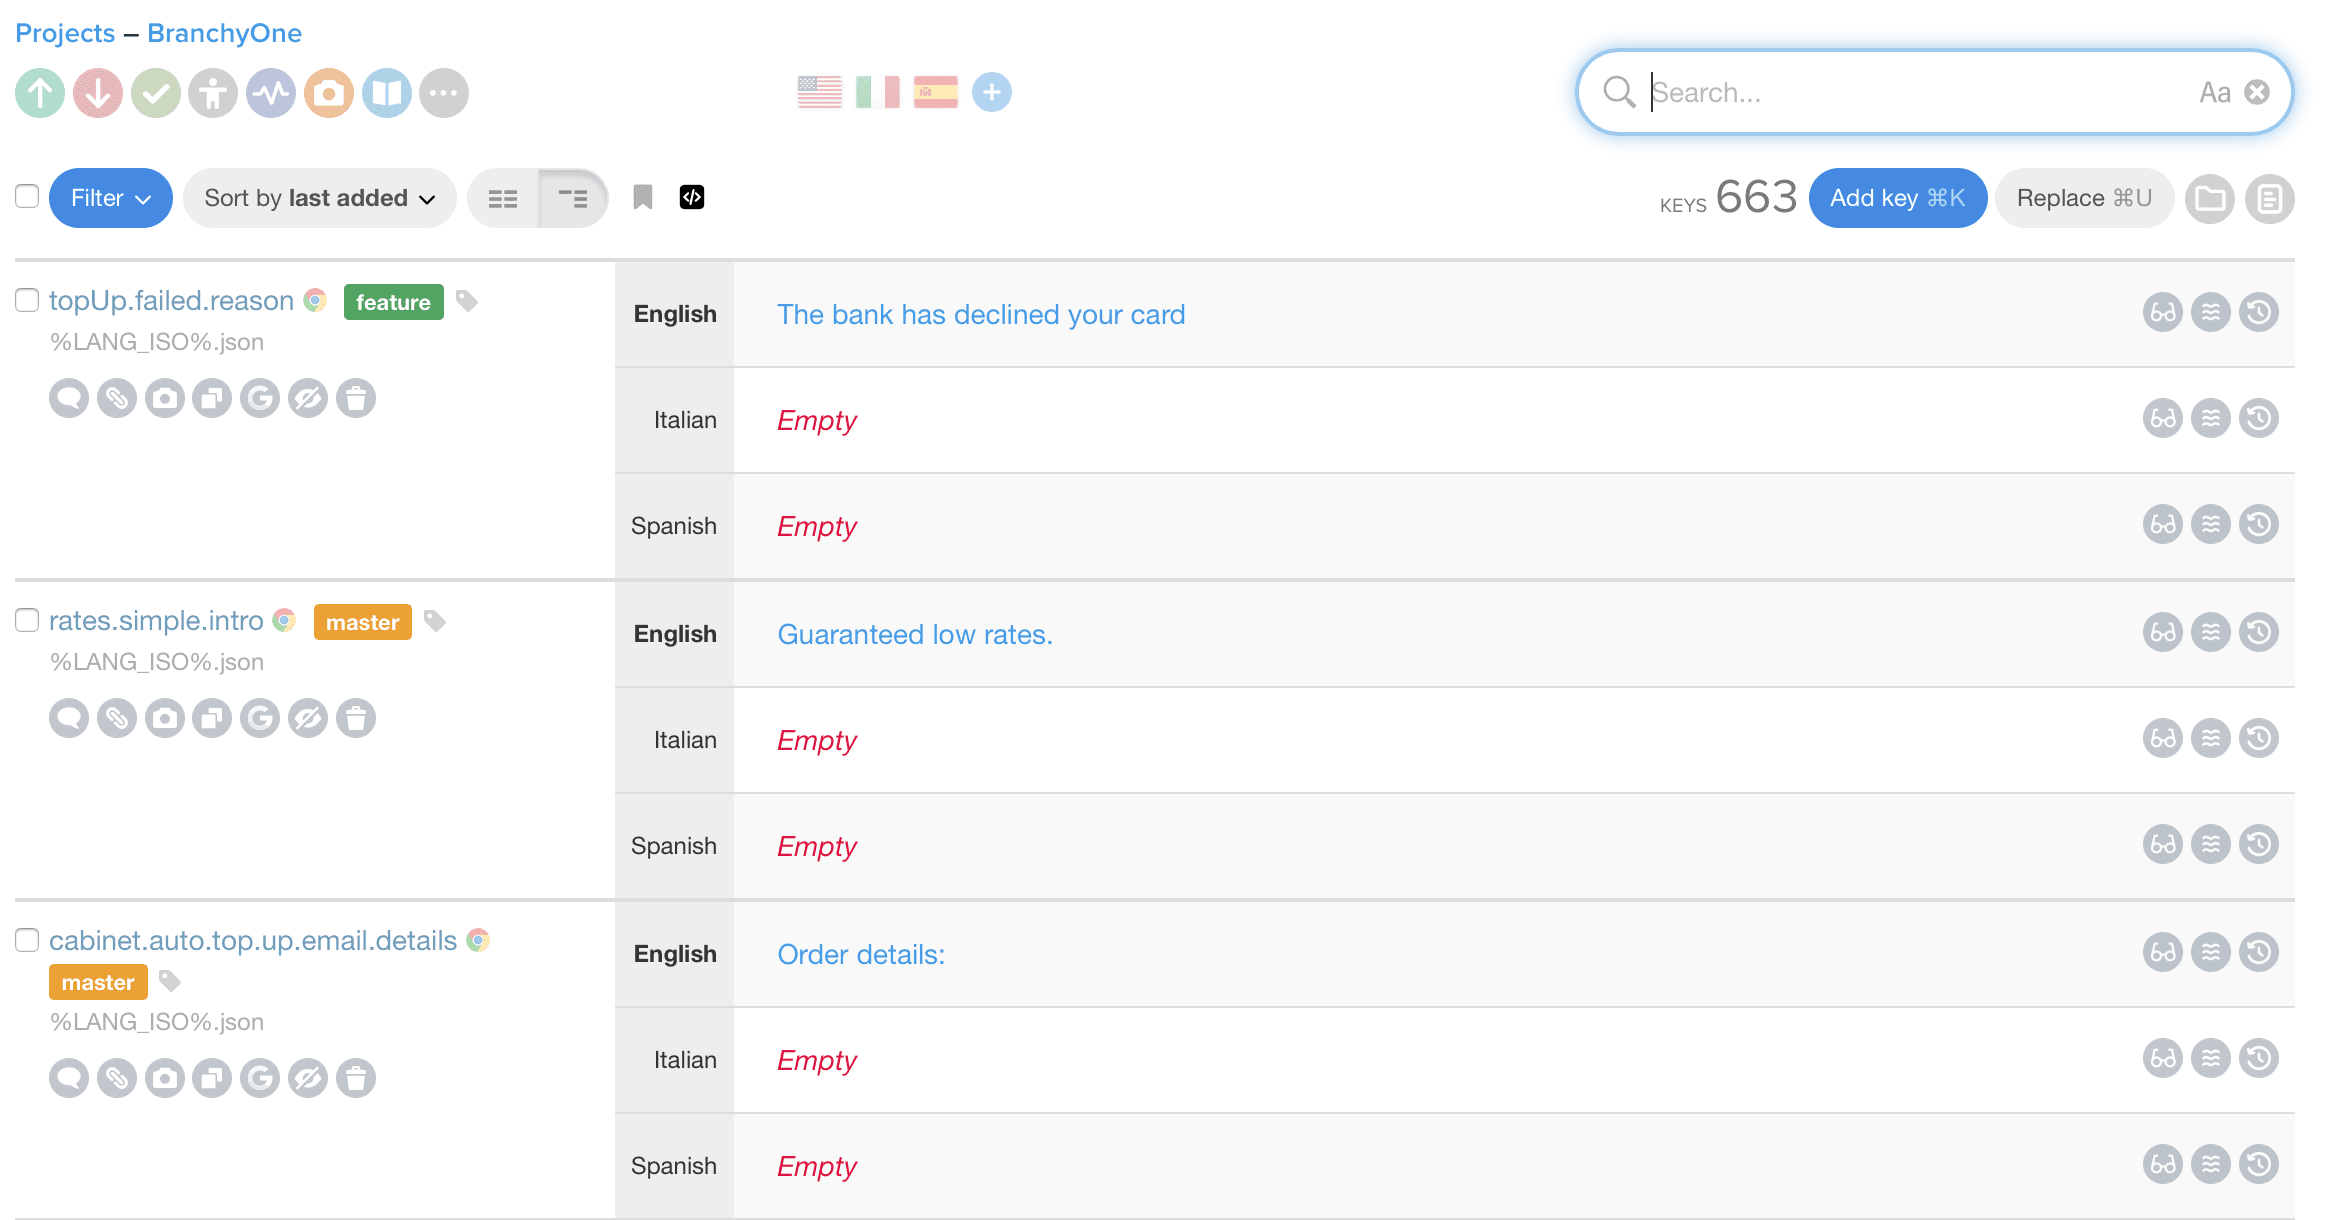
What happens if the value of the rates.simple.intro key is updated in the same locale/en.json file, but in the feature branch? If you had used the CLI command above, the change would get skipped because it is an existing key. Next, since there is no conflict resolution yet which is coming with the project branching functionality, your only option currently is to replace the modified values. This is done by adding --replace 1 as a parameter to the command.
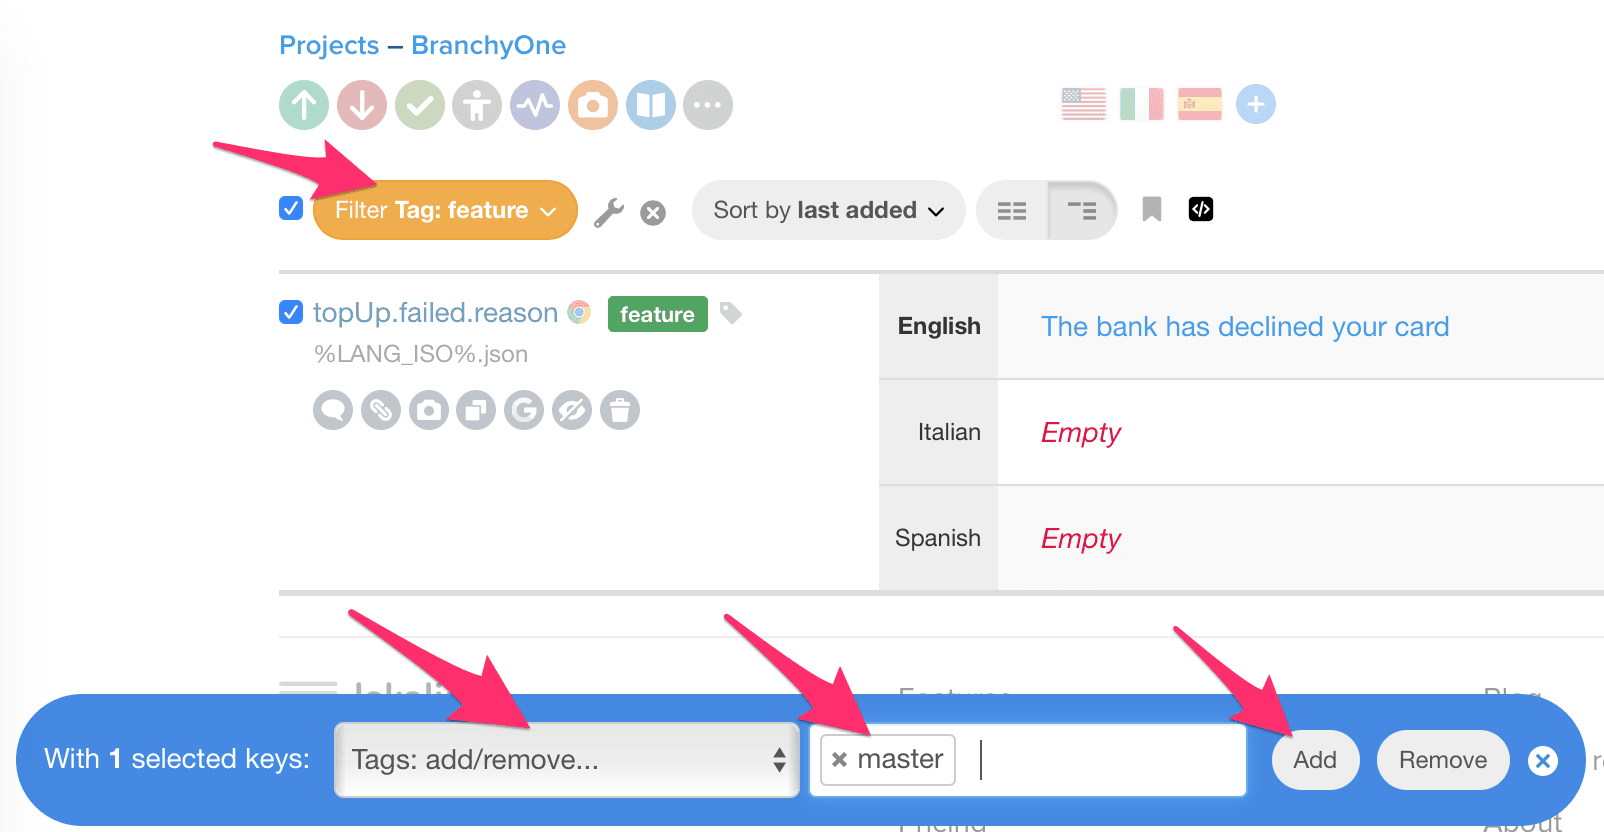
At some point you would need to merge a branch with the master. Assuming there are no conflicting keys, all you need to do in Lokalise editor is to update the tags of the keys from the featurebranch.
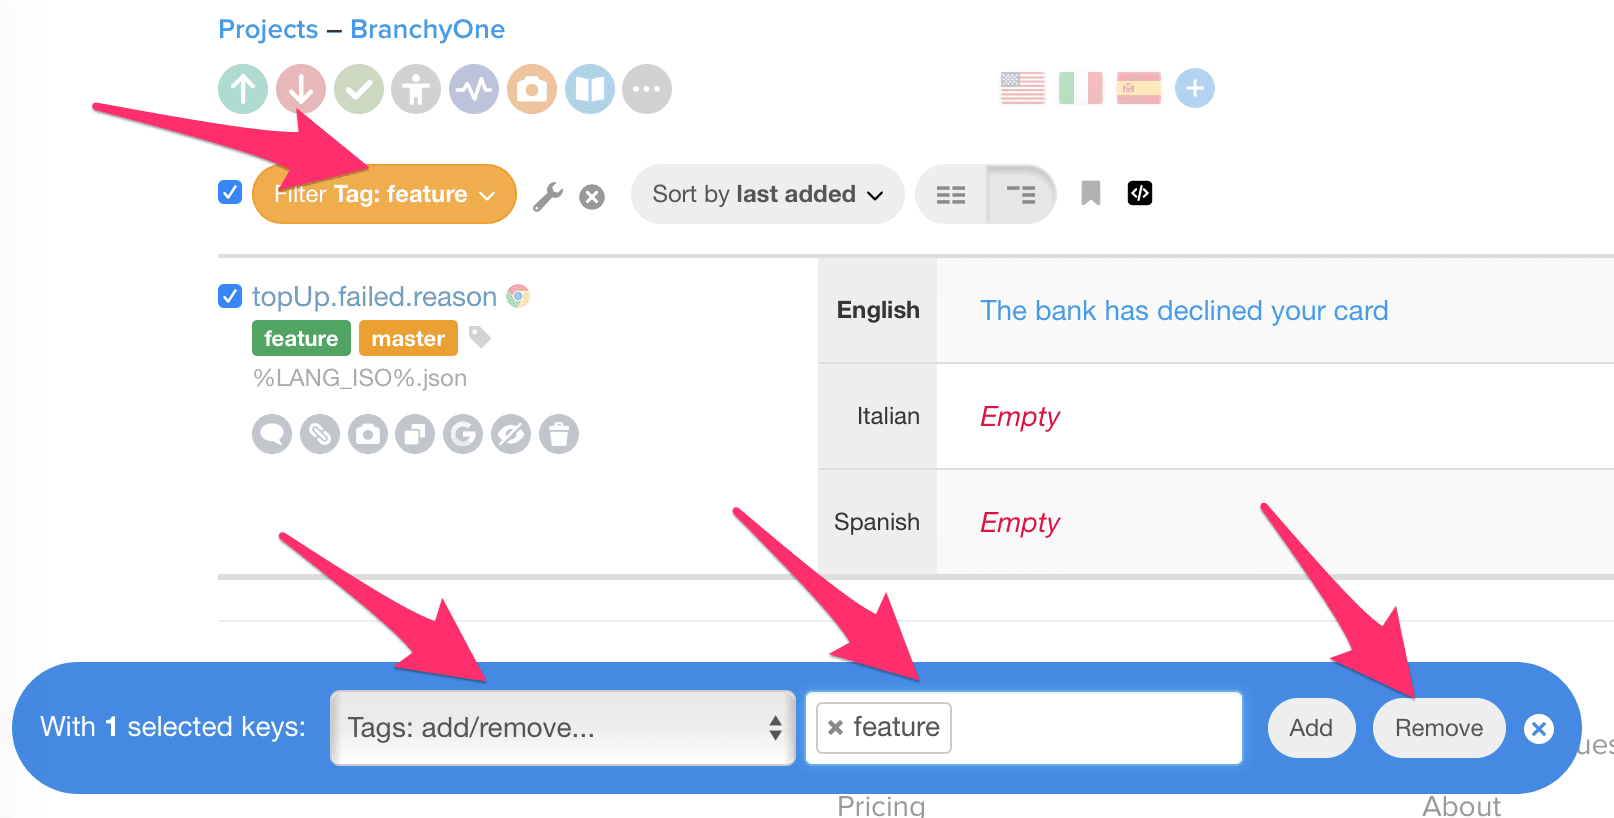
Click Filter > Tag > feature in order to show all keys from the feature branch. Then select all and use the Tags: add/remove bulk-menu item to add the master tag:
Once added, you can remove the feature tag:
Now you are all set!
Just to clarify, the project branching feature is on its way. It will allow seamless switching among repo branches, as well as introduce a merger tool for conflicts among branches.
Nick is Chief Innovation Officer and former CEO of Lokalise. He’s a serial entrepreneur and was an early internet technology pioneer in Latvia when he founded and developed the first email service – inbox.lv in the late 1990s (which still exists today). While working on one of his recent ventures - Roamer App, he developed a backend to ease localization to different languages which proved to be a product with market demand on its own and later became Lokalise.
Nick is Chief Innovation Officer and former CEO of Lokalise. He’s a serial entrepreneur and was an early internet technology pioneer in Latvia when he founded and developed the first email service – inbox.lv in the late 1990s (which still exists today). While working on one of his recent ventures - Roamer App, he developed a backend to ease localization to different languages which proved to be a product with market demand on its own and later became Lokalise.
Libraries and frameworks to translate JavaScript apps
In our previous discussions, we explored localization strategies for backend frameworks like Rails and Phoenix. Today, we shift our focus to the front-end and talk about JavaScript translation and localization. The landscape here is packed with options, which makes many developers a
Syncing Lokalise translations with GitLab pipelines
In this guide, we’ll walk through building a fully automated translation pipeline using GitLab CI/CD and Lokalise. From upload to download, with tagging, version control, and merge requests. Here’s the high-level flow: Upload your source language files (e.g. English JSON files) to Lokalise from GitLab using a CI pipeline.Tag each uploaded key with your Git branch name. This helps keep translations isolated per feature or pull request
Build a smooth translation pipeline with Lokalise and Vercel
Internationalization can sometimes feel like a massive headache. Juggling multiple JSON files, keeping translations in sync, and redeploying every time you tweak a string… What if you could offload most of that grunt work to a modern toolchain and let your CI/CD do the heavy lifting? In this guide, we’ll wire up a Next.js 15 project hosted on Vercel. It will load translation files on demand f