When a popular productivity app launched in Japan, users were left puzzled and frustrated.
The app missed the mark for quality translations, used the wrong date formats, and pushed unfamiliar cultural references. The backlash poured in: uninstalls, poor ratings, and damaged brand reputation.
This is a glimpse of what happens when your software skips localization or gets it wrong.
More than translating languages, software localization makes your app useful for users across different regions. It removes friction and enhances the user experience, making people feel like your app was built just for them.
In this comprehensive guide, we’ll give you all the tips and tools to ace software localization and reach a global user base.
This guide includes the best software localization practices with examples from Google, Airbnb, and Dropbox. These tech giants have set the bar high, which gives software localization experts like yourself an opportunity to learn and be creative as you localize.
What is software localization?
Software localization adapts the internationalized software into other languages and regions. It can include the cultural and country-specific aspects of different languages.
Implementing software localization requires a repeatable, solid process you can use to ensure that no matter how many languages you want to operate in, you’ll be able to do it easily and efficiently.
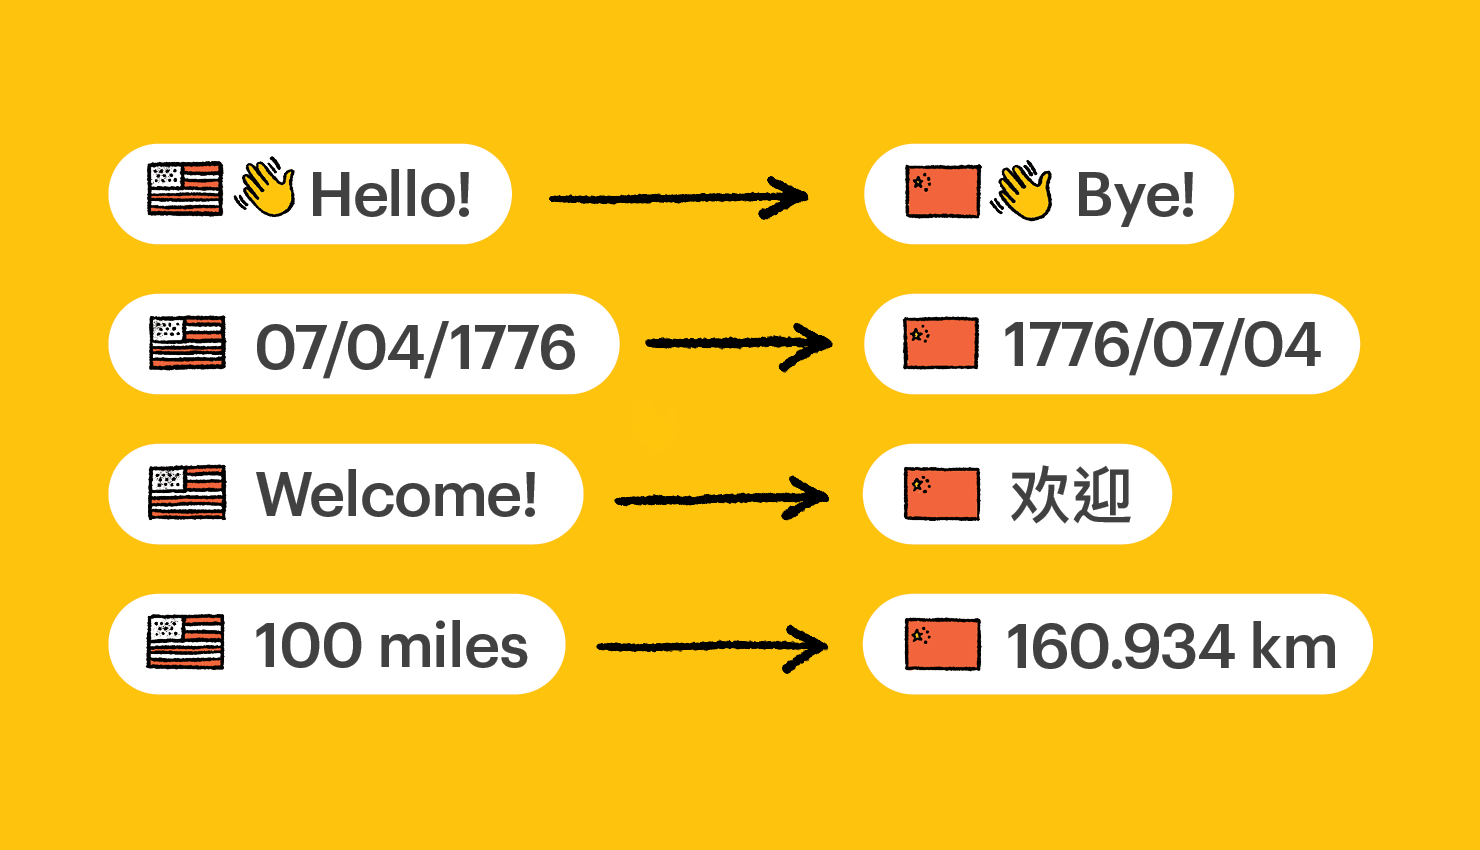
Let’s use dates as an example to see what localization looks like in action.
In the United States, you’ll see something like this:
The United States signed the Declaration of Independence on July 4, 1776, or 07/04/1776.
But in the United Kingdom, the same sentence becomes this:
The United States signed the Declaration of Independence on 04/07/1776.
We’re still talking about July 4 in this example, from a different date formatting perspective. And that’s just one small aspect of localizing software.
Software localization vs translation vs internationalization
When building software for global users, you’ll come across many interrelated concepts like localization, translation, and internationalization. The more you read about these approaches, the more confusing this becomes because you don’t know the best bet for your SaaS business.
Not anymore.
We’ll explain the key differences between software localization, translation, and internationalization with examples to help you make the right call.
Asepect
Translation
Localization
Internationalization
Definition
Converting text from one language to another
Adapting software to fit the culture and preferences of a specific locale
Designing software to support multiple languages in the future
Focus
Language and market context
Language, culture, and user experience
Backend structure and flexibility
Primary contributor
Translators
Translators, designers, and local experts
Developers
Assets involved
Words, phrases, and sentences
Currency, formats, visuals, layout, images, and legal content
Text externalization, format support (date, time, currency), RTL
Example
“File” → “Fichier” in French
Layout, currency, and cultural references tailored for French users
Code supports multiple languages and date formats
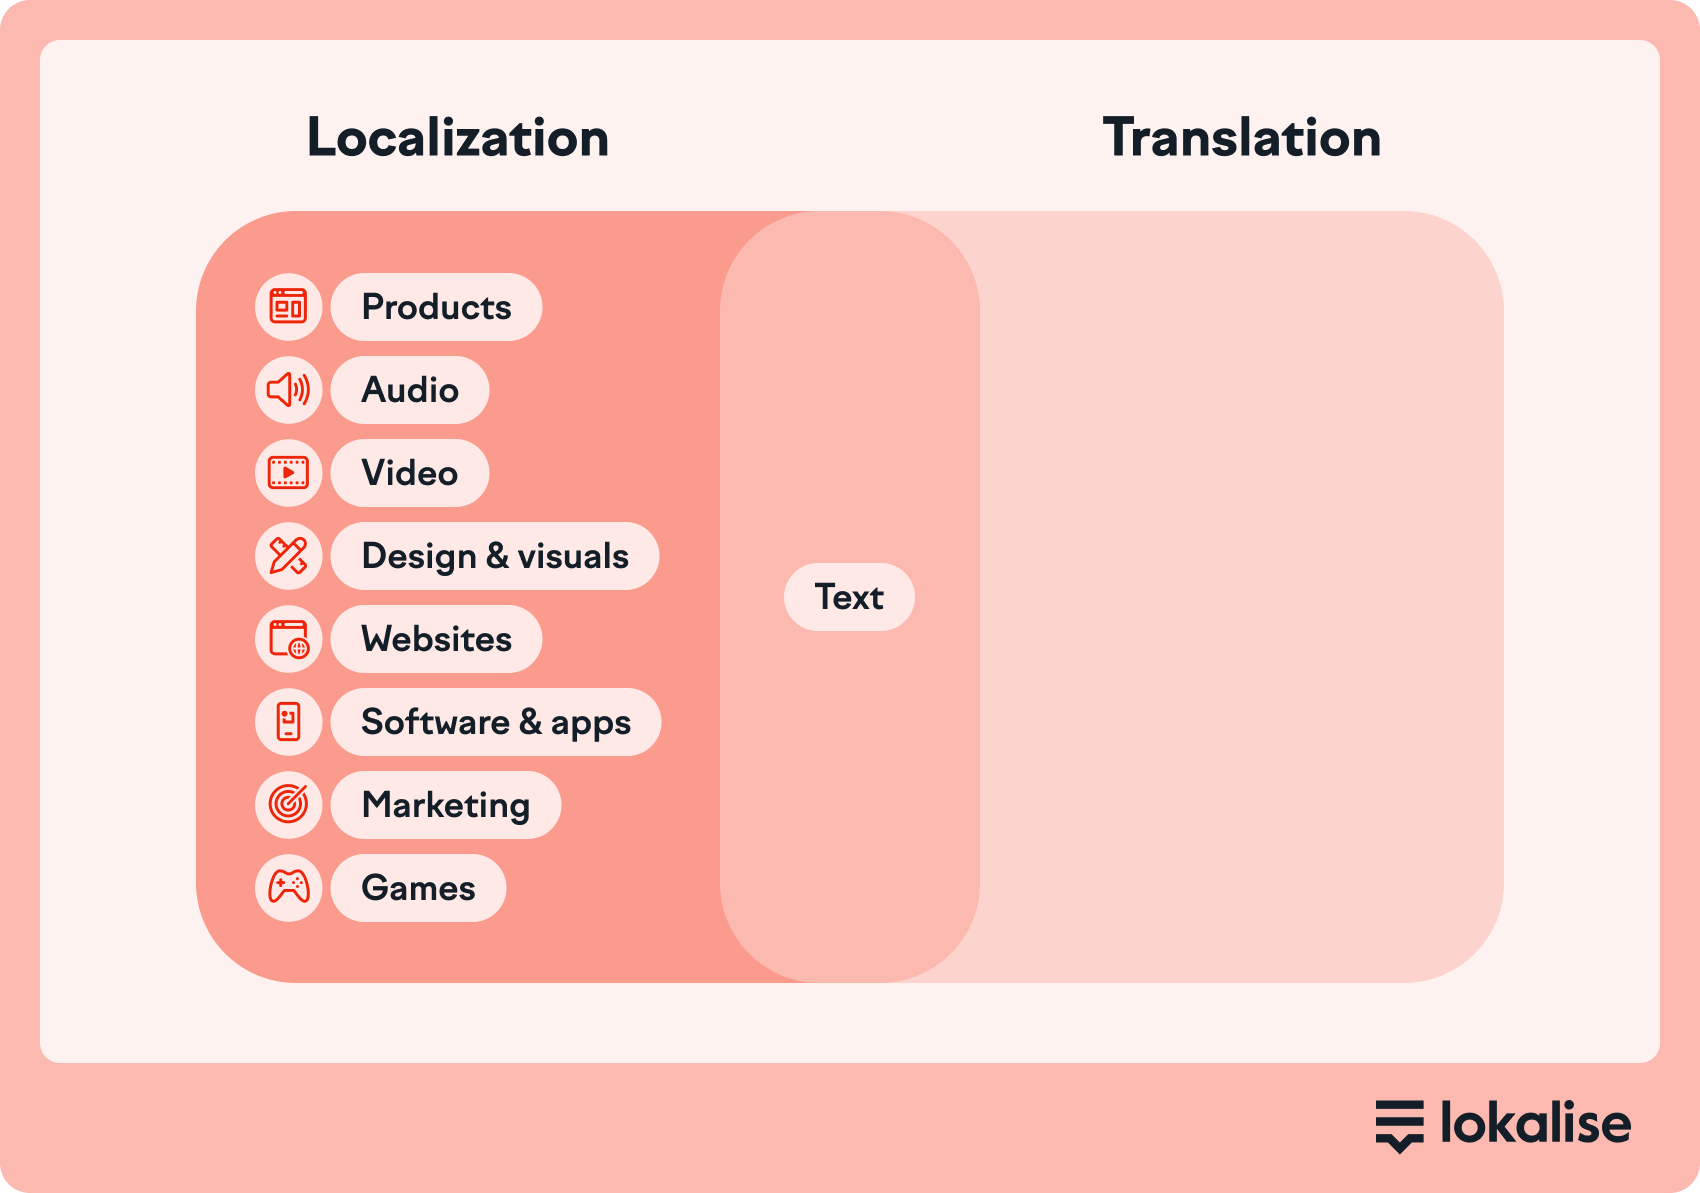
Translation: Convert words into another language
Translation is the process of converting all kinds of textual assets from one language to another. For software apps, this includes:
Menus
Buttons
Feature names
Error messages
Support resources
Other user-facing content
For example, you’ll translate “Settings” to “Paramètres” for your French users.
While translation factors in cultural nuances and market context, it’s specifically a linguistic exercise. Translation focuses more on using the right language and references to make the app feel native.
Localization: Adapt your software for a specific region
Localization (or L10n) goes beyond translation. It’s a more in-depth, multi-stage process for modifying your app’s functionality, design, and content in line with local preferences.
Based on your software’s use cases, you’ll need to change:
Date and time
Currency signs
Keyboard layouts
Functional values
Specific features
Put simply, localization is a broad approach for tailoring your software to different audiences, and translation is a step in this process.
For example, if a financial platform built for New York-based businesses expands to Amsterdam, it has to implement many changes.
The platform would have to integrate with SEPA (Single Euro Payments Area) transfers, support IBAN-format bank details, and comply with EU VAT invoicing standards.
Internationalization: Design groundwork for localization
Internationalization (or i18n) is the process of building software in a way that you can easily adapt it for other languages and regions in the future.
This approach builds the foundation for scaling your product to different regions without worrying about starting from scratch.
As a part of internationalization, your developers have to:
Store text in external resource files
Avoid hardcoded date/time or currency formats
Leave room to support right-to-left (RTL) languages like Arabic
Make ample space for text expansion (some languages are longer)
For example, instead of hardcoding “Monday” in the UI, developers reference a language file. So, the term can change depending on the selected locale.
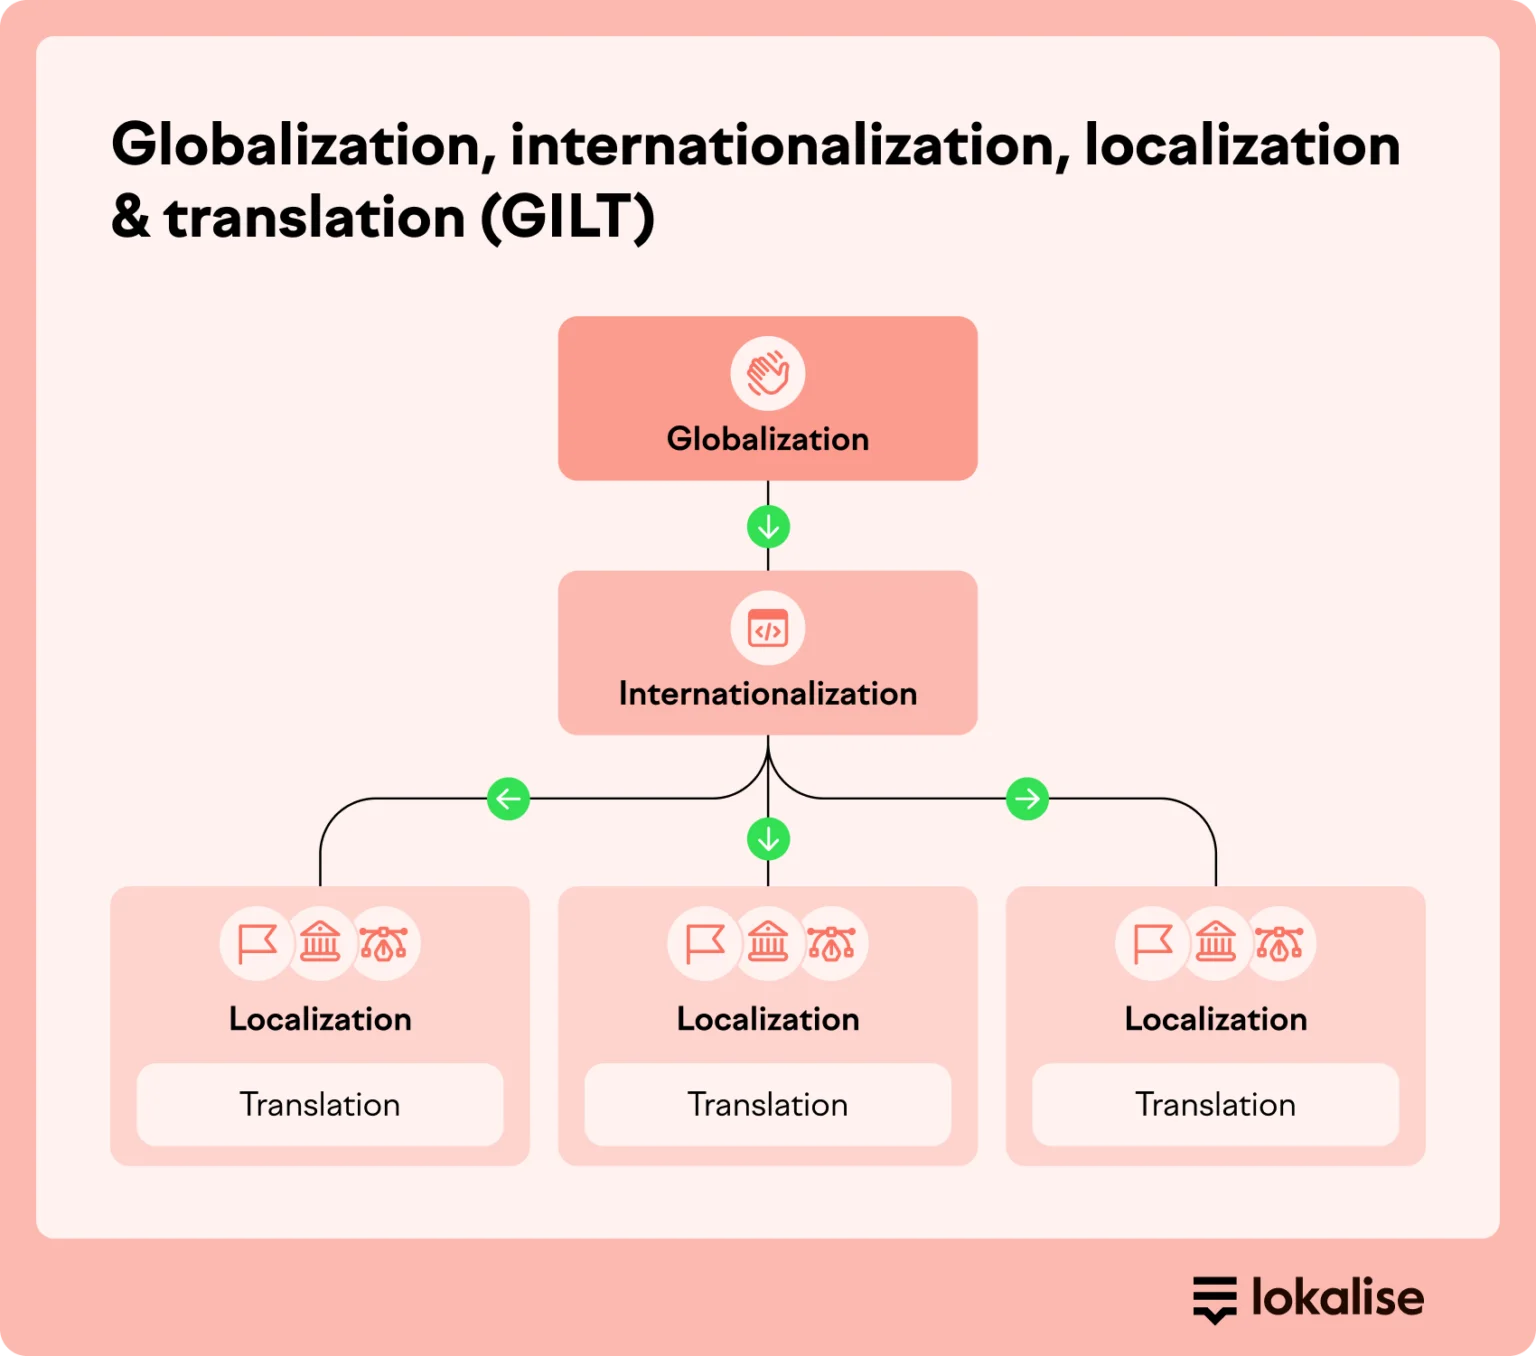
💡Understand the hierarchy
Here’s an easy graphic to put into perspective the differences between all the approaches and how they fit into the puzzle of a global expansion strategy for any business.
3 different ways to localize your software
The process of localizing your software can be approached in three different ways:
The traditional waterfall model
The agile methodology
Continuous localization model
Each approach has its own advantages and challenges. Choosing the right one largely depends on your project’s specific requirements and goals.
1. Waterfall model
Waterfall localization takes place at a specific time in the software development cycle–either at the very end (a post-release method) or during a specific period (the string freeze method).
Once the translated text is completed by the service provider, the software strings are manually uploaded back into the application for merging and publishing.
Benefits
Challenges
Fast time-to-market in your source language, as localization starts after the product is launched
Delays the translation process and slows rollout in multiple languages
High risk of design breaks during translation
High costs to fix localization bugs
Risk of poor UX
2. Agile localization
Agile localization syncs the localization process with the development process so that they are both operating simultaneously. New and modified strings are automatically detected and delivered whenever they are ready for merging and publishing.
More complex and can require dedicated localization engineers
3. Continuous localization
Continuous localization is a step closer to making localization automated and seamless. While similar to agile, it fully integrates with the CI/CD method that companies use to frequently deliver software to customers.
Here’s the main difference, according to Miguel Sepulveda, Global Localization Manager at King:
“In continuous localization, the content is always ready for a release. In agile localization, the content is not always ready to be released–we need to wait until the sprint is completed.”
Benefits
Challenges
Catch design breaks at an early stage of product development
Get feedback from all stakeholders sooner
Lower risk of localization errors
Launch in multiple new markets simultaneously
Potentially longer time to launch as localization is integrated in the product development phase
10 software localization best practices
Localizing your product can be a complex process, but if you keep these ten things in mind, it will become a lot easier.
❗Note
This list is by no means comprehensive—these guidelines cover the basics to help you get set up.
1. Use separate resource files
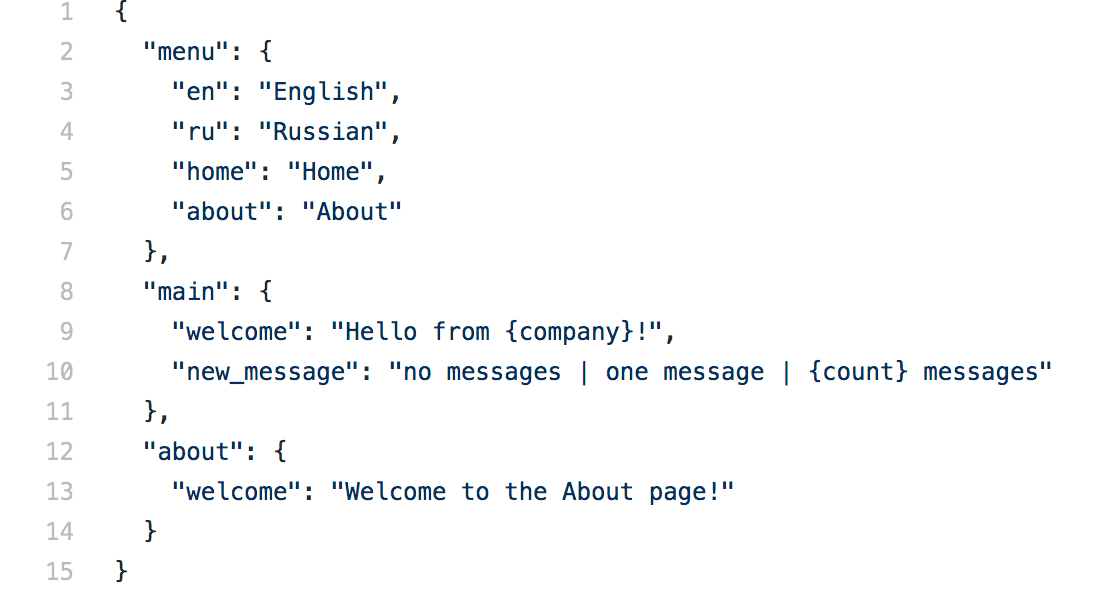
Files with hard-coded localizable elements are a nightmare to handle, so you’ll need to start by identifying all localizable text and creating a separate file for each language you need your software to be available in. This makes localization much easier to manage.
Use file formats like JSON, ARB, YAML, XLIFF, Android Resources, or Apple strings. The choice of format depends on the programming language or framework you use.
Keep your translation content clean by nesting strings to logically group each set of translations. Also, give each string a clear name that describes what it refers to and where it goes. For example, “Primary CTA” is more helpful than “Abc”.
2. Manage your code to handle multiple languages
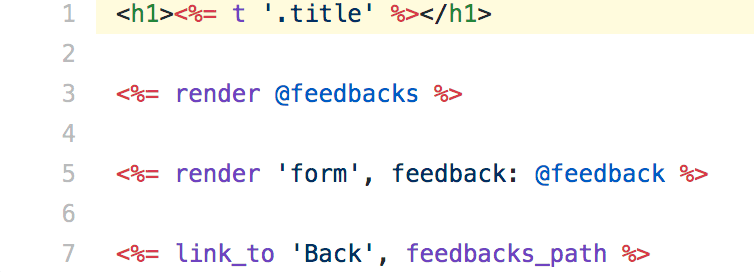
After separating your files, you should start adding placeholders in your source code.
A placeholder allows for the insertion of dynamic content, such as a character, word, or string of characters.
The exact placeholder used varies based on the technology and coding language you’re using. It tells your application that it should show the correct translation for the chosen language rather than a specific word. It looks something like this:
Along with using these placeholders, you’ll also want to avoid concatenated strings because word order and syntax vary by language, and this can make parsing difficult.
Also, make sure that you’re providing comments and context wherever you can so that your translators can understand where in the UI a given string appears and how, since this impacts the final meaning.
💡Pro tip
Use universal placeholders. This allows you to import/export your content in different file formats by converting placeholders into the format you need. Then, use a TMS that allows you to insert placeholders and, where possible, that the linguist can ideally work around.
3. Build in space as language length will change
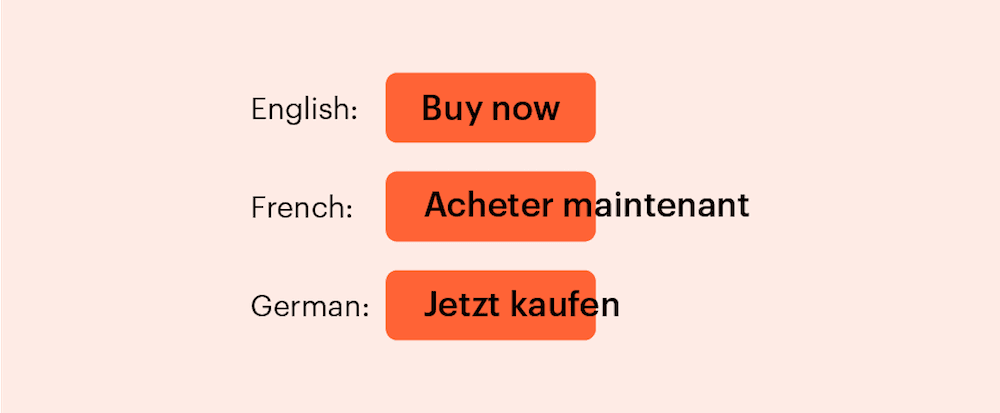
Different languages take up different amounts of space on a page. So, you should always assume that text will grow or shrink.
For example, translating English to German can cause text to expand by up to 35%. English to Swedish, on the other hand, can contract text by up to 35%. If you’re translating into Asian languages like Chinese, Japanese, or Korean, you’ll also see vertical expansion from English.
Before you start to code, think through how different languages impact space during the design phase and save yourself headaches down the road.
Translating text first and then optimizing the UI in all languages will help you see how designs change based on the target language, helping you avoid design breaks and localization errors.
💪 Build with flexibility
Make sure that your app’s localized interface can accommodate different levels of translations and is versatile enough to handle multiple language pairs. Check out how you can do that in Lokalise using the Figma, Sketch, and Adobe XD plugins.
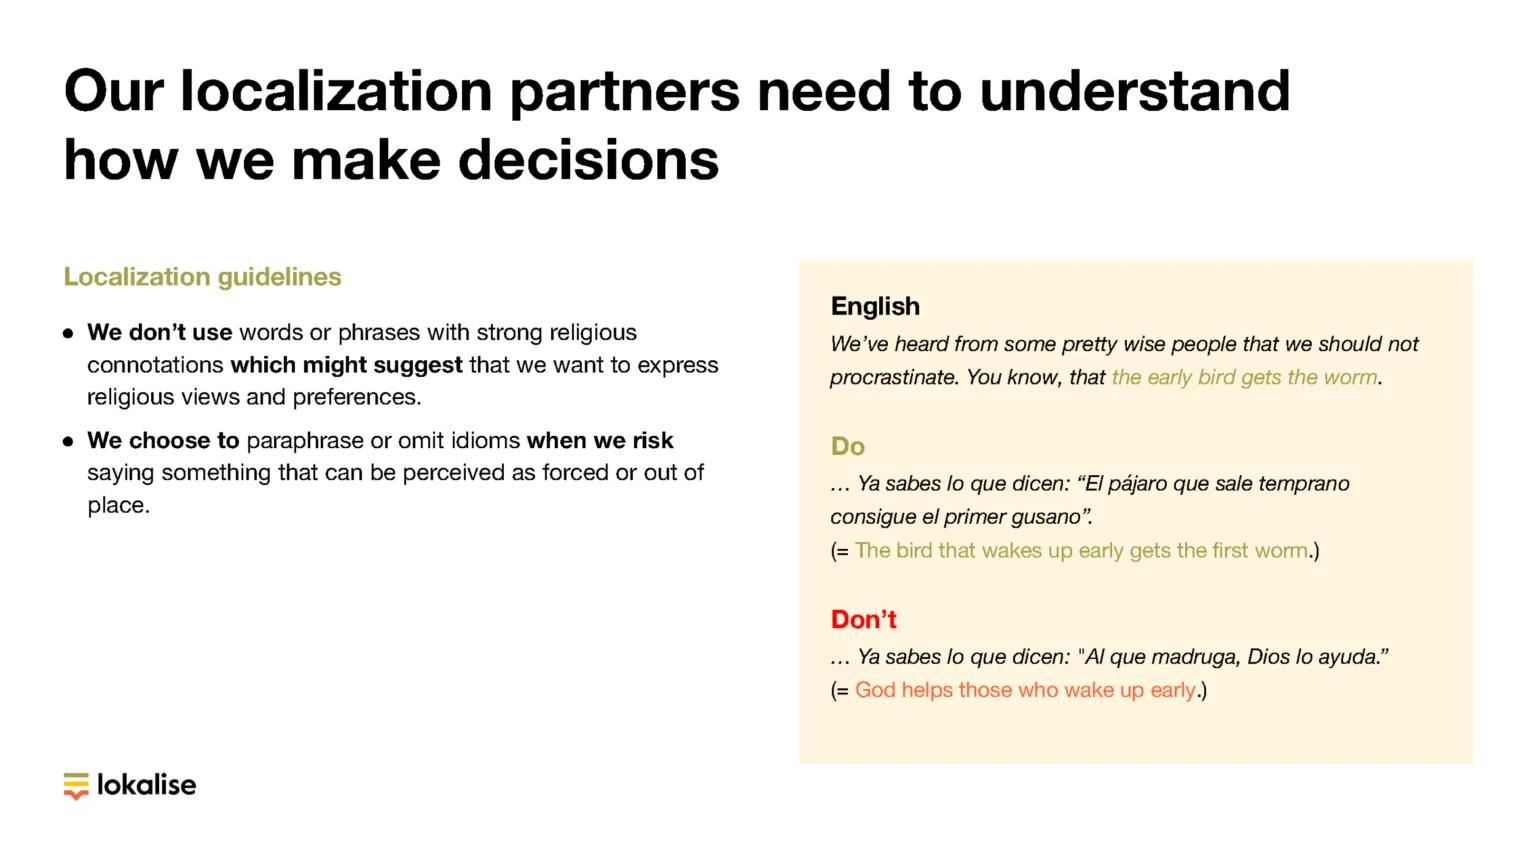
4. Check that images and symbols make sense
Similarly, in the design phase, you’ll want to make sure the images are inclusive and appropriate for various markets.
In the U.S., for example, the waving hand emoji is a common way to say hello or make your text appear friendly. But in Mainland China, that symbol means breaking off a friendship — the opposite of what you probably want to convey.
You’ll want to check all of your images and illustrations, not only for potential offensive trip-ups in other target markets, but also for meaningless or confusing symbols.
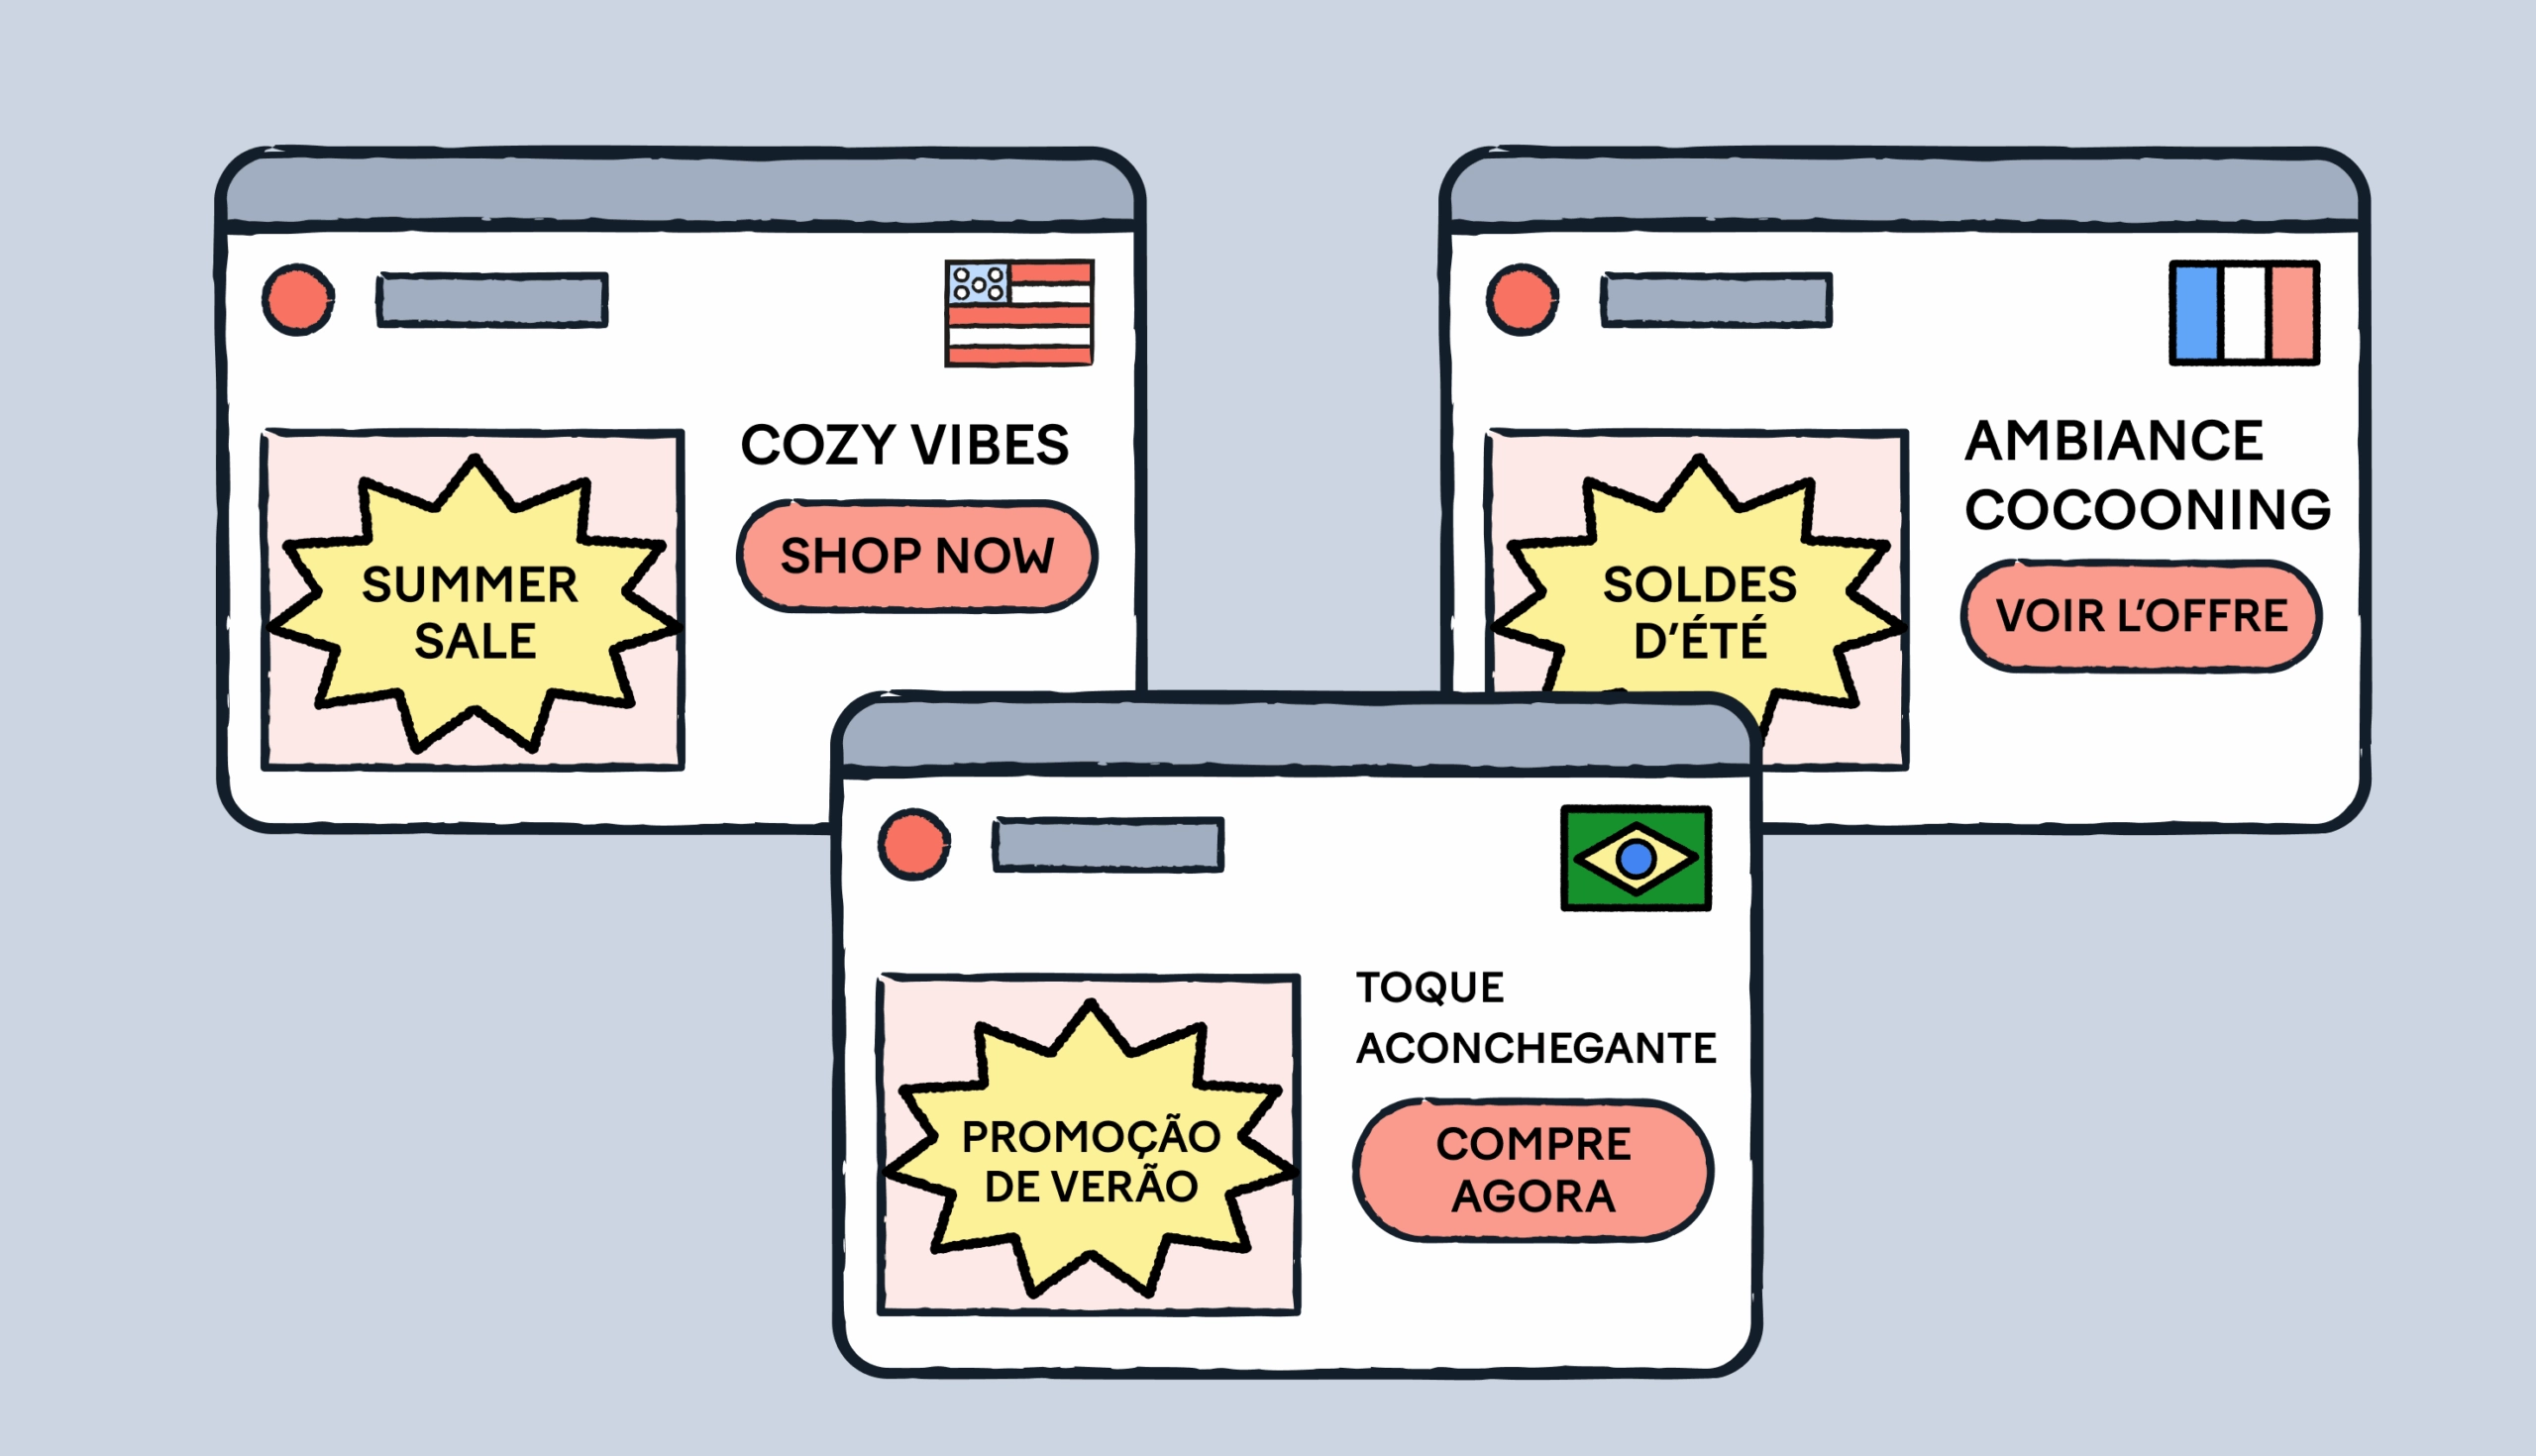
5. Understand and accommodate design preferences
Understanding design preferences allows product teams to tailor their software to specific cultural and regional preferences.
Unsurprisingly, different markets have varying preferences for design styles and aesthetics.
Some markets may prefer minimalist designs that focus on white space and clean lines, while others may prefer more elaborate designs that incorporate more detailed information and visuals.
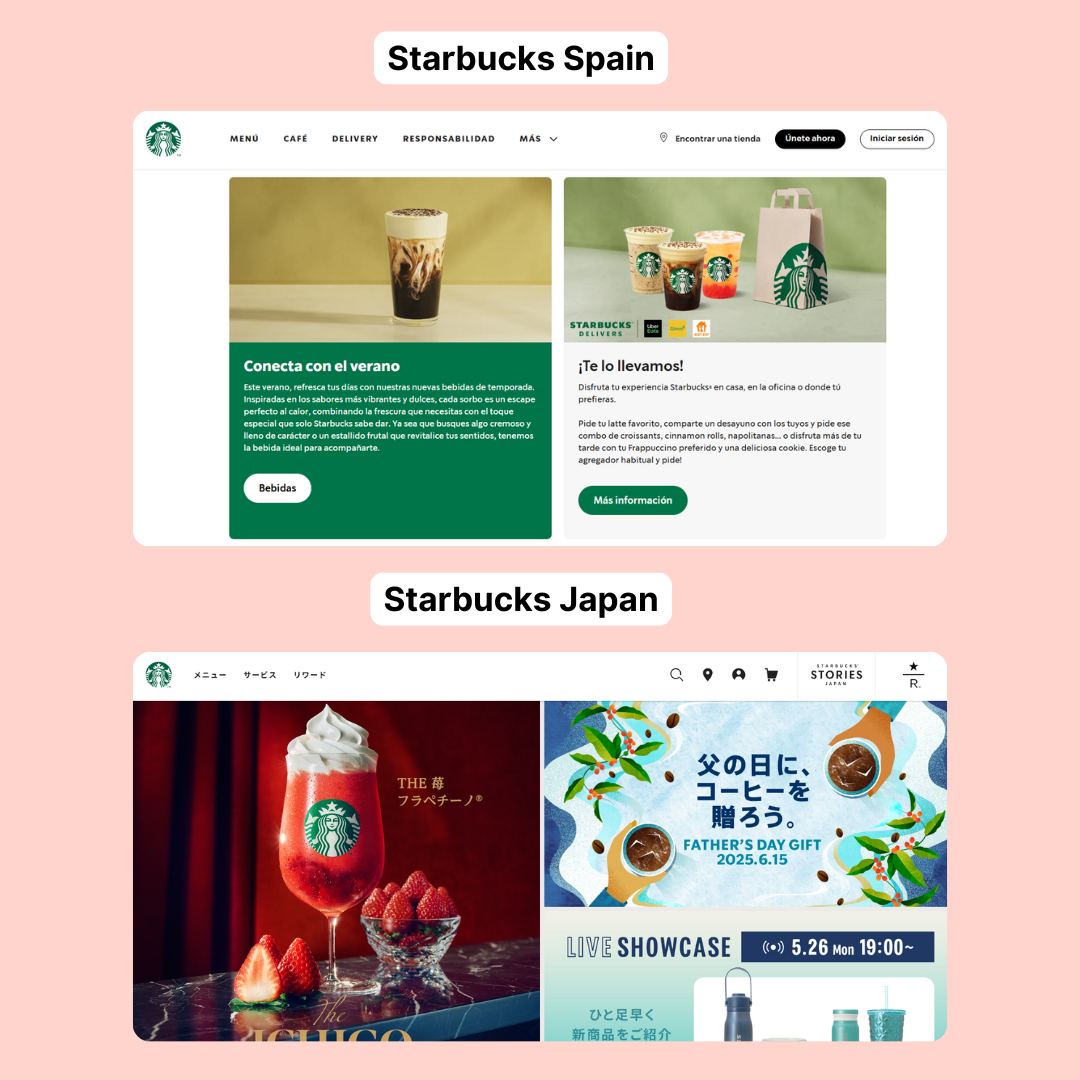
Let’s look at Starbucks as an example.
In European countries, people prefer more minimalist and simplistic designs. Your app should prioritize ease of use and readability.
In Japan, on the other hand, consumers often prefer more detailed and cluttered designs. Your site or software should provide a wealth of information upfront, as it helps them make more informed purchasing decisions.
Knowing how design differs from one new market to another helps software localization teams create designs that are more appealing to local users.
6. Plan with locale mind
Thinking about language is a great first step, but as you expand into more international markets, locale becomes more important.
Some languages may be similar, but that doesn’t mean the culture is the same.
Even in English, words, phrases, and spellings may be different if you’re in the United States, Canada, the U.K., or Australia.
Think about this scenario: you specify “fr” for French as your language code, but don’t take into consideration regional differences between francophone countries. What if you want to display different content to customers in Canada and Belgium?
When creating your language files and determining which languages to translate into, be as specific as possible with locale. Take French, for example:
fr-FR: French as spoken in France
fr-CA: Canadian French
fr-BE: Belgian French
fr-CH: Swiss French
All of these locales will have slightly different ways of speaking, different cultural expressions, and different ways of approaching your product. This is why you need to combine globalization and localization to engage your target audience.
7. Create a style guide
In terms of terminology management, a glossary and style guide are key components of the language assets that you need to build to ensure your messaging and brand stay consistent across every market.
That’s how you build consistent brand awareness. Creating a style guide and maintaining a glossary allows your linguists to work fast while maintaining quality.
Here’s a glimpse of what goes into a localization style guide:
In your guide, make sure to include:
Branding, like product names or terminology
Tone, especially formality and voice instructions
Audience information, such as persona research or your value propositions
Grammar, where applicable
If you’re working with an LSP or language partner, they should collaborate with you to create detailed glossaries and style guides to ensure consistency of terminology, style, and voice and incorporate target audience information.
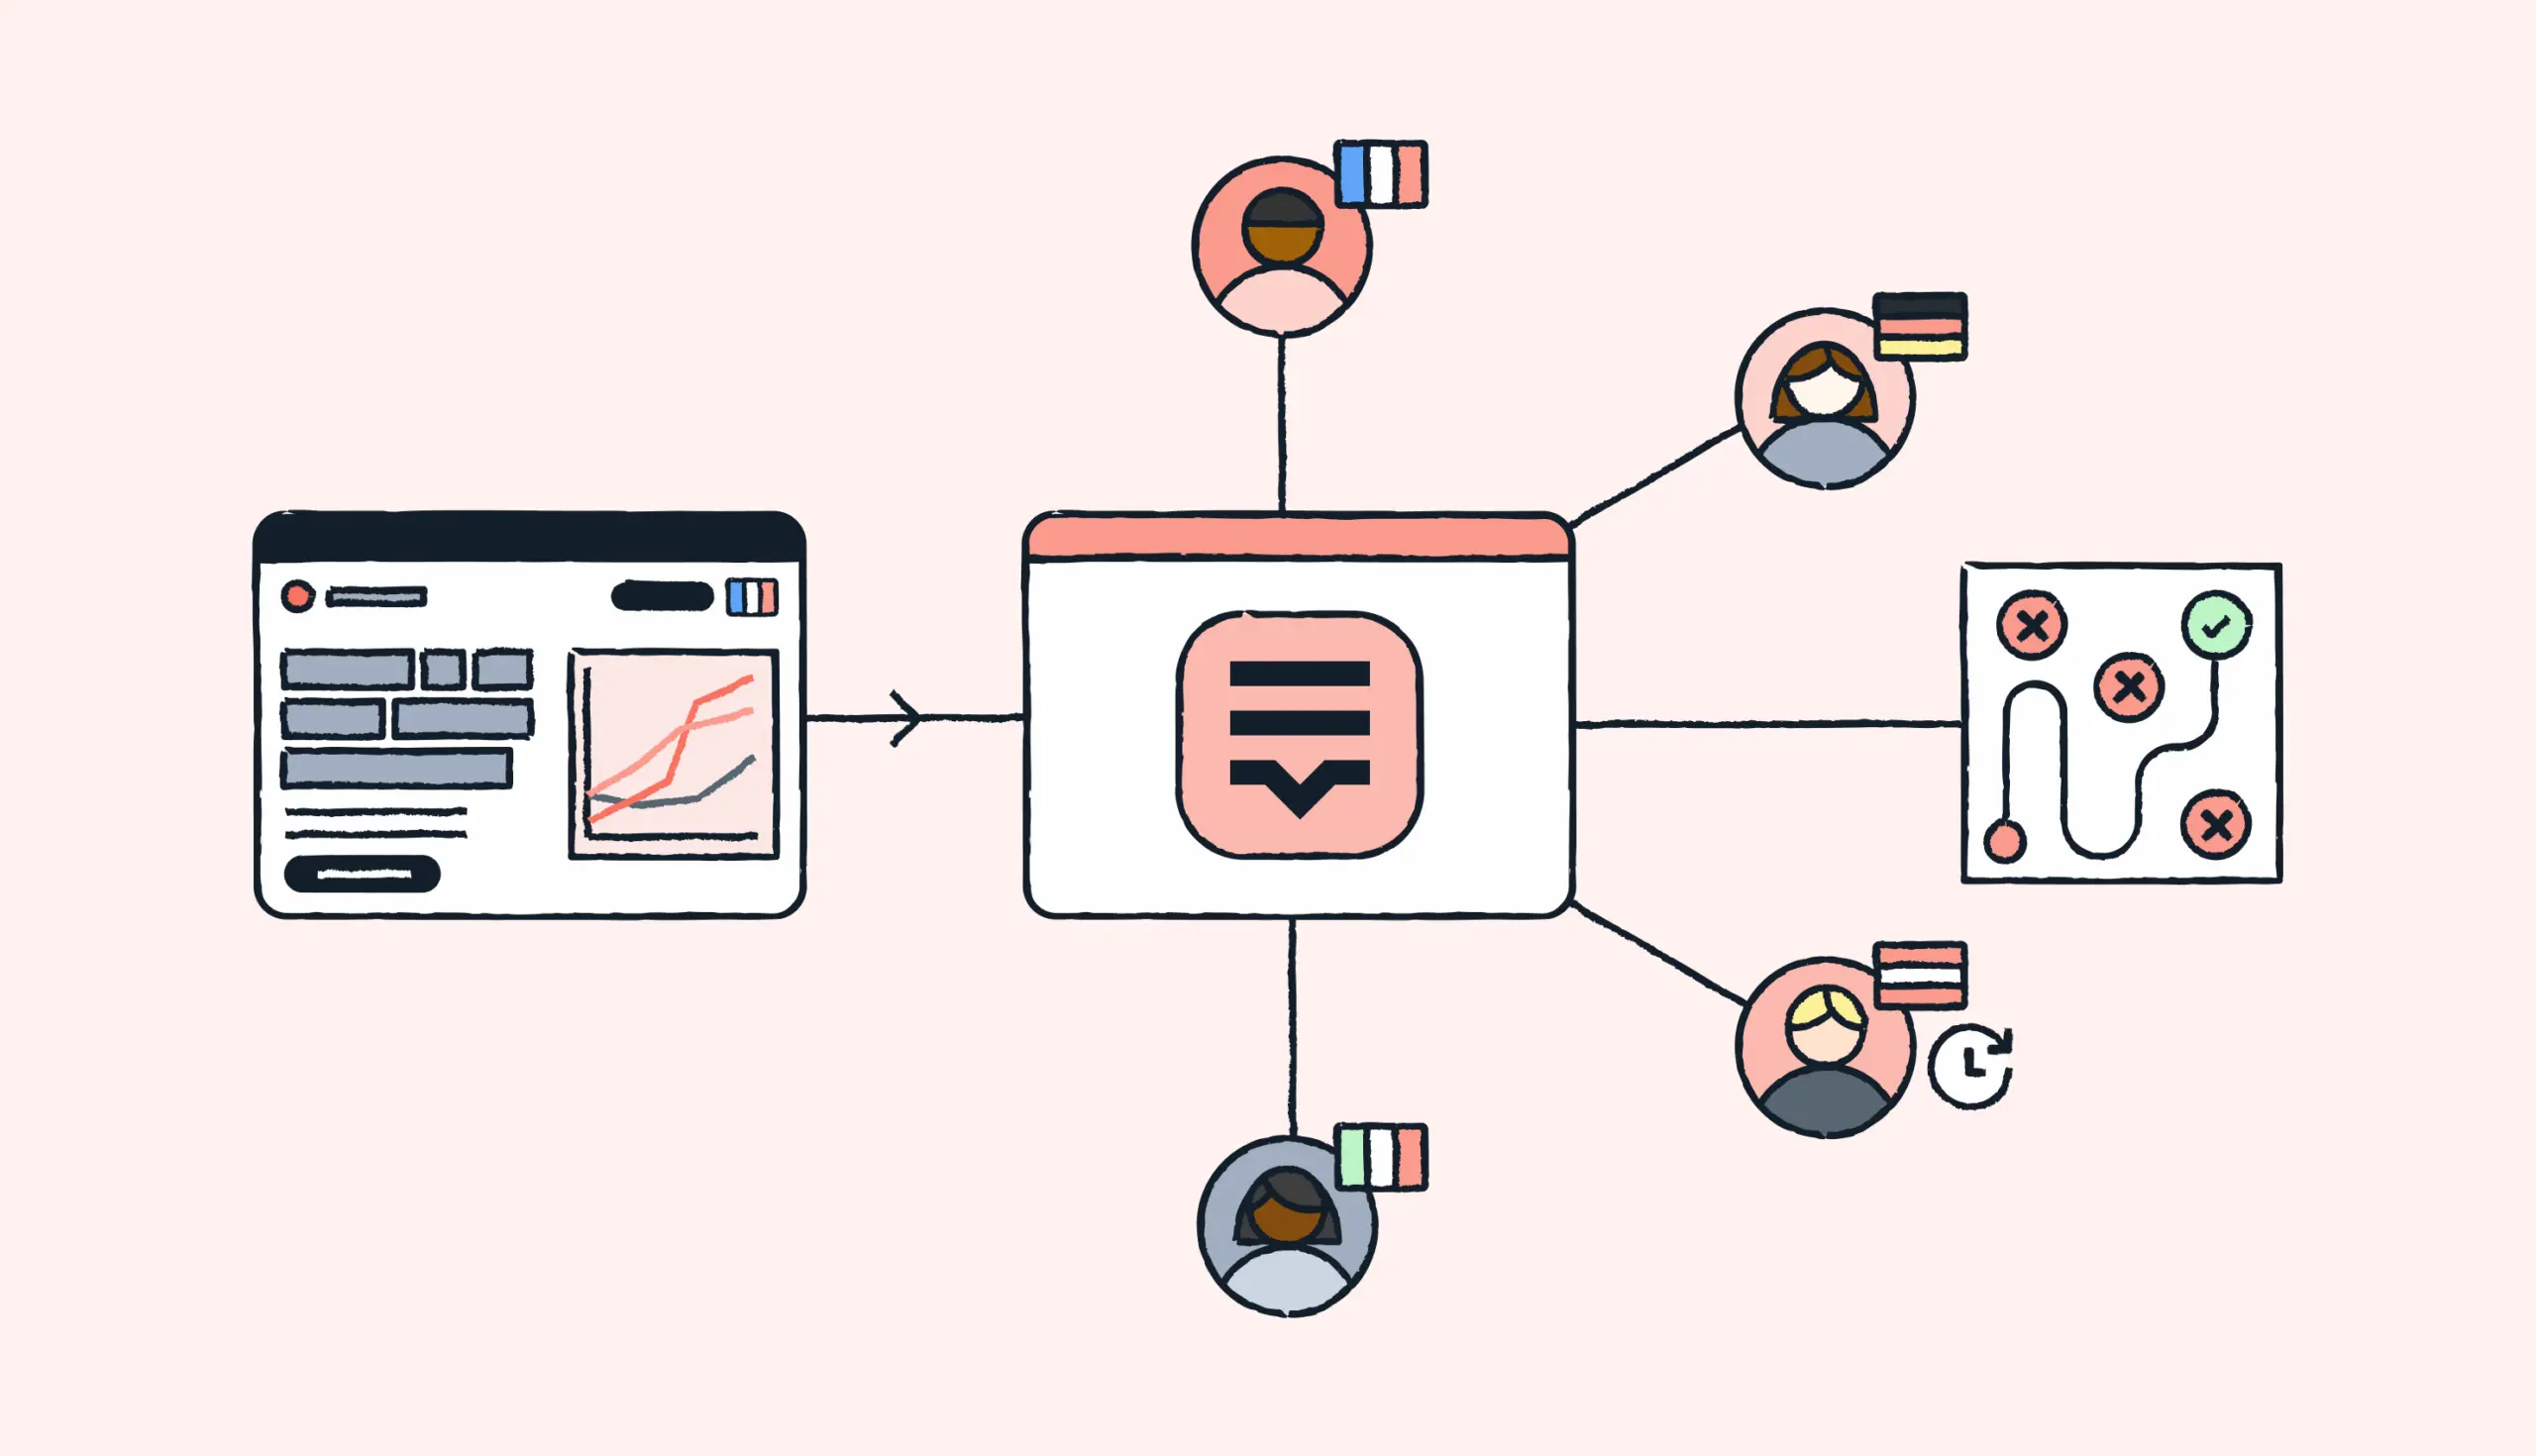
8. Use a software localization tool
You’ve seen how using a software localization tool or a translation management system (TMS) can help you easily move through the above steps.
Broadly speaking, a TMS is designed to support management of the entire workflow.
It helps to organize the localization workflow, track the progress, and reduce manual tasks via automation. While each is best-suited to a specific use case, they generally include three main components:
Developers should make sure that all text is properly defined and labeled in a way that makes sense for those who translate it. This means including information about where and how a string appears in the user interface, as well as what it does.
Providing this contextual information can help translators understand the nuances of each language more quickly and accurately, which leads to better quality of translated content.
For example, if you have a string that reads “cancel,” knowing whether this refers to canceling an order or canceling an appointment will make all the difference in terms of accuracy.
And remember–nuances in language may not be obvious from a single word alone.
10. Leverage translation memory
Translation memory is a database that stores previous translations and can be used to save time and money.
For example, if you have a string that reads “Thank you,” translation memory can detect if the same string has been previously translated and suggest the same translation. This can save time and money by eliminating the need to re-translate the same string.
How to plan for software localization testing & QA
Going through all these stages of localization is just step 1. The real test lies in making sure every version of your software works seamlessly and feels intuitive.
Many teams push QA to the end of their localization lifecycle. When you reach the last phase of your release process, bugs become harder and costlier to fix.
Instead of scrambling to resolve these issues at the 11th hour, you should bake QA into your workflow from the start. Get started by defining what good quality means for each locale. Set benchmarks for accurate translation, functional tests, layouts, and other elements.
Most importantly, get approval about the scope of QA from every stakeholder in your team—product managers, translators, QA teams, and developers. This will prevent back-and-forth during the actual testing phase.
Combine automation with human expertise
Automated testing is good for identifying issues like missing translations, layout glitches, untranslated strings, and more.
That said, automation alone can’t pinpoint when a translated phrase doesn’t make sense or a joke falls flat culturally. That’s why you need human insight alongside automation to tackle the more contextual parts of your QA process. This is especially true for medical software localization where you also need to check what are the real-life workflows of the clinicians.
Build automated flows for functional testing at scale, like verifying that all keys load correctly. Add manual testing on top of this for a more nuanced review where native speakers can flag anything that feels unnatural.
Feedback loops > One-way handoffs
Testing and QA can’t be a one-way process where testers report bugs and move on.
You need a methodical system to communicate these issues to everyone on your team.
Translators, developers, and QA teams should be aware of all the bugs flagged and coordinate with each other to resolve them efficiently.
For starters, make it easy for testers to share feedback with context—screenshots, screen recordings, and even notes on cultural expectations. Besides, maintain a shared backlog to record, prioritize, and track issues with clear ownership.
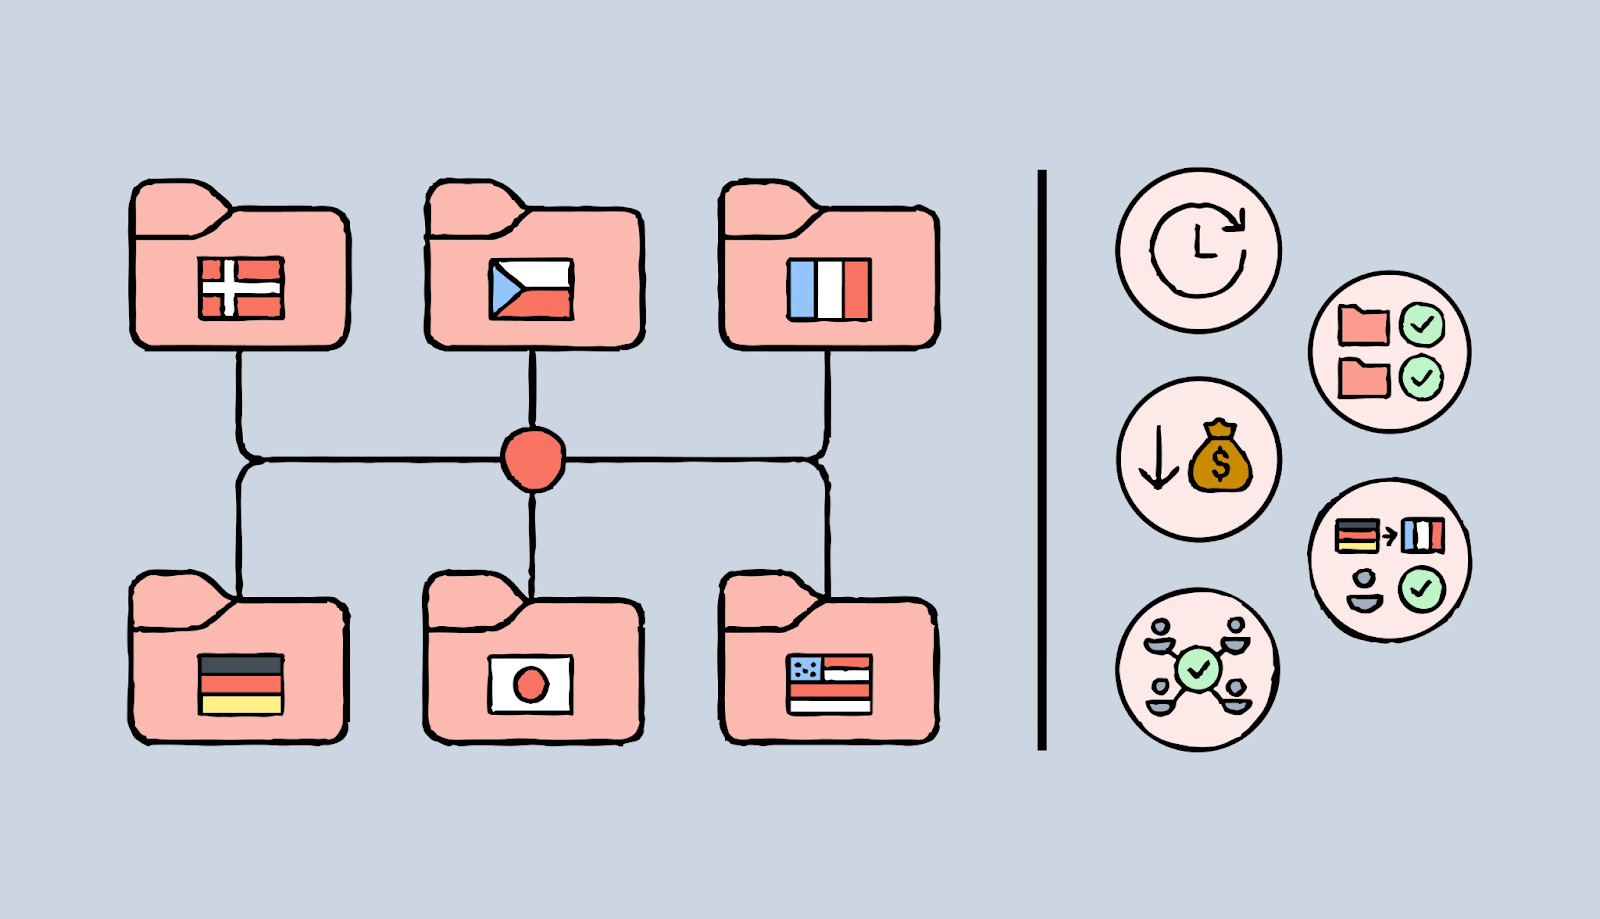
How much does software localization cost?
Short answer: There’s no fixed price tag for software localization.
Long answer: The cost can range from a few hundred dollars to several thousand. It depends on your software’s size, complexity, and target languages.
So, instead of giving your random ballpark figures, we’ll help you understand the factors that will shape your localization budget.
Content volume and complexity: The quantity and quality of content in your app directly determine the cost of localization. A plain UI with standard labels will be cheaper to localize than a feature-rich platform packed with jargon and dynamic text. You also have to estimate varying costs for UI strings, help messages, legal disclaimers, and more.
Number of languages and market: Each new language adds its own cost layer—translation, testing, QA, and possibly cultural adaptation. Your costs will multiply if you want to localize into five languages rather than two. Besides, different language pairs also have varied costs, with common pairs like ENG → ESP being more affordable than less common combinations.
Platforms and integrations: A translation management system (TMS) is essential for managing your software localization project. This platform will have a subscription fee. Add more costs for any integrations and other tools involved in your process, like Figma, Sketch, and more.
Project management: Another key expense in your software localization process is managing tasks and progress between multiple stakeholders, both internal and external. You likely need to hire people and buy tools to manage updates, coordinate feedback, and implement feedback loops. This cost can add up as your project grows.
Testing and QA: Like we discussed above, localization isn’t a one-and-done process. Every time your software changes, your localized versions must be updated too. So, you have to account for the future cost of updates and testing. If you release frequently, you can budget for continuous localization to save more.
When you invest so much time, effort, and money into localizing your software, you’ll likely expect to see strong results. Localization promises to deliver both quick wins and long-term dividends. Let’s see how.
Breaking down the ROI of software localization
Localizing your app can pay off in many ways.
To calculate the ROI of your localization efforts, start with this simple equation:
[(Revenue gain from localization – Cost of localization) / Cost of localization] × 100 = ROI %
The revenue gained from localization can include new user sign-ups, upgrades, or conversions directly coming from a local market. Check your attribute tools to get this data, and compare this growth in your localized vs. non-localized markets.
The cost of localization covers expenses on translation, engineering, design, QA, and tool subscriptions. Remember to consolidate costs of human and software involved.
Now, let’s check out an example to see this formula in action.
Imagine you spent a total of $20,000 to localize your personal finance software for German users. This brought in an added revenue of $80,000 directly from Germany.
[(80,000 – 20,000) / 20,000] × 100 = 300%
So, your localization ROI stands at a whopping 300%.
Still on the fence about pouring your resources into this project? Here are a few high-impact ways localization drives measurable ROI.
Greater customer satisfaction and lower churn
One of the biggest benefits of software localization is designing an intuitive user experience.
A localized interface feels tailor-made for users in every region. As a result, it builds trust and confidence in your product. It keeps them coming back for more, building product stickiness and retention.
When users are happy with the app, they’ll not go looking for alternatives. Gradually, they’ll become power users and champion your software in front of others.
Stronger brand value and perception
In the world of SaaS, your brand is your biggest strength. Localization can create a big differentiator for your brand and improve your market position.
Wondering how? Language is closely tied to identity. When users see that your product respects their language, cultural norms, and regional needs, it builds goodwill and positions your brand as more inclusive and user-first.
This perception translates to stronger word-of-mouth and community growth.
Competitive advantage in crowded markets
You can instantly stand out and gain a first-mover advantage if your competitors aren’t investing in localization. This is particularly helpful for SaaS businesses operating in crowded markets with too many options for users to choose from.
On the other hand, delaying localization could mean the risk of losing mindshare. If competitors make a solid impression on your audience in specific markets, it’ll be difficult to get them to switch.
Long-term cost efficiency
While localization involves an upfront investment, the long-term costs often go down over time.
You can create a repeatable process without the need to redo the same tasks by using automation and translation memory.
Besides, every new market multiplies your growth without requiring you to spend more time reinventing the product.
4 industries that need software localization
Localization benefits almost every type of software. But it’s mission-critical for these industries:
Edtech: Localizing your learning app makes the content more accessible and inclusive. Since education standards differ globally, your edtech platform should adapt to regional requirements, cultural contexts, and language levels instead of a one-size-fits-all system.
Fintech: Financial apps succeed on user trust, and even the slightest errors can break this trust. With localization, you can tailor the user experience to every local market’s behavioral and cultural traits alongside necessary regulations.
Gaming: Create immersive experiences by localizing your gaming apps for different regions. A well-localized game can drive fandom and engagement across cultures.
Healthcare: In health-related apps and platforms, localization ensures safety and accuracy. This content improves accessibility and compliance in tightly regulated markets.
Now that we know which industries rely heavily on software localization, let’s look at a few examples of companies winning this game.
Companies that have set the bar high for software localization
We curated these standout software localization examples to inspire your strategy.
Google
Google has a team of dedicated localization experts, whose mission is to create a diverse user experience that fits every language and every culture.
Spread over more than 30 countries, they make sure that all Google products are fun and easy to use in 70+ languages—and sound natural to people everywhere, including in lesser-known languages such as Welsh and Basque.
Airbnb
At Airbnb, localization is a key ingredient in championing their mission of belonging anywhere. Recently, they expanded their innovative translation technology to include reviews. Now, guests can easily scroll automatically translated reviews in their preferred language without having to click on each individual translation, which saves time and minimizes misinterpretations.
Dropbox’s localization team translates the Dropbox experience for everyone to enjoy—it now supports 20 languages across 180 countries worldwide. According to Localization Project Manager Melissa Wheeler, they do that by “translating everything user-facing at Dropbox into other languages”.
Software localization for beginners in 3 steps
Getting started with software localization is like Pandora’s box. Unintentional oversights typically result in an unflattering flow that either makes or breaks one tool’s launch in a global market.
So, how can you achieve successful software localization in just 3 steps?
Another common development method is CLI v2, which is used by engineers who prefer using the tool. CLI tool is a wrapper for the API and can be used to upload files with a single command line:
Once in the source repository, you’ll be able to automate key extraction and values, while mapping out relevant language translations for each key.
Step 2: Perform translation
Software localization depends on the quality of translations. You’ll need to find the right high-quality solution for your project, which will depend on the complexity of your content, your translation and localization budget, time, and other factors.
Here are some options that Lokalise offers:
Invite in-house translators to contribute
Hire language translators directly within Lokalise
Do automatic checks and easily organize quality assurance
If you have complex projects that require translation certifications for a specific industry or language subject-matter expertise, Lokalise can also introduce you to one of our reputable language service partners.
Step 3: Deliver localized version of your software
Lastly, you’ll need to transform your software project considering different cultural nuances. Cultural adaptation tackles technical obstacles. For example, you’ll have the ability to remove the number 4 (which connotes death in Japan) from text and replace it with a bullet point representation.
To verify localization at a cultural level and streamline your workflow, there are heaps of tools in Lokalise that can help–including those that will help you manage each project with ease or review translated content in context.
Something that is of great importance in software localization is translating with design in mind. This is where integrations with design tools such as Figma, Adobe XD, and Sketch come in handy.
Curious to learn more? Watch this webinar about design-stage localization.
Try Lokalise for software localiztion
Lokalise is an all-in-one localization platform created with software localization in mind. You can check our Developers Hub to learn more about how we can help you launch your product globally.
Software localization is the process of adapting software to meet the language, cultural, and functional needs of specific regions. This includes translating text, customizing interfaces, and adjusting features to ensure the software feels intuitive for local users.
Why is software localization important?
Software localization is crucial for businesses expanding globally. It helps create software that resonates with diverse audiences, improving user satisfaction, driving adoption, and increasing retention.
What are the challenges of software localization?
Challenges of software localization include managing cultural differences, handling technical complexities, working within budget and time constraints, and maintaining consistency across multiple language versions. Strong collaboration is important to overcoming these obstacles.
Paul is a customer success team lead at Lokalise. He is an avid gamer and living the dream of learning about behind the scenes of game development by helping his favourite industry with localization challenges. In his spare time, he likes to binge-watch documentaries on various streaming platforms.
Paul is a customer success team lead at Lokalise. He is an avid gamer and living the dream of learning about behind the scenes of game development by helping his favourite industry with localization challenges. In his spare time, he likes to binge-watch documentaries on various streaming platforms.
All you need to know about vendor management in localization
You decided to open your product for the world to discover. Congratulations! Translation is one of the next steps to open the doors of the global marketplace. One problem: you do not have an in-house translator team, and now is neither the time nor the priority to hire them. One solution: connect with vendors who will assist you in your localization projects. One better solution: discover vendor management in loc
The international SEO checklist: Go global without growth pains
International SEO is just SEO set on difficulty level: hard. Pick the wrong URL structure? Rebuild everything from scratch. Misunderstand local search behavior? Watch your content strategy crumble. Skip proper hreflang implementation? Google shows Hindi content to German users. The brands winning at international SEO don’t simply wing it. They follow a systematic approach to handle market research, technical setup, localization, and more. That’s why we created th
5 best translation management systems to make projects easy
The traditional translation management system (TMS) is dead. It doesn’t support the many moving parts of the multilingual content lifecycle, such as managing linguistic assets and syncing with design systems to integrating with codebases, automating QA, and coordinating stakeholders across functions. Modern TMS solutions go far beyond translation. They bring together translators,