In this article, we’ll explore how to implement Angular localization using Transloco i18n with practical examples, including handling localized time. Transloco is a relatively new library packed with features that simplify internationalization (i18n) for multi-lingual applications.
With translation and internationalization tools becoming essential for software development, many libraries like the built-in Angular i18n module, ngx-translate, and I18next are available. However, Transloco i18n stands out by offering a fresh approach to software localization, making it easier to manage languages and enhance user experience across different regions.
Transloco is a powerful library for building multi-language applications. It offers a rich set of features, an active community, and excellent documentation. Its modular design lets you tailor it to different project needs.
Some key features of Transloco include:
Runtime language change: Switch languages instantly without reloading the app.
Schematics: Automate tasks using Angular CLI for translations and configuration.
Custom loading template: Show a custom template while translations load.
Multiple language support: Assign different languages to specific app sections.
Lazy-loaded translations: Load translation files as needed to boost performance.
Fallback chains: Set up multiple fallback languages if a translation is missing.
Testing support: Tools for testing multi-language functionality.
Translation utilities: Pipes, directives, and more for managing translations.
Plugins for pluralization and locale: Handle plural forms, dates, currencies, and number formatting based on locale.
Structure overview
Transloco's architecture has a few core components:
Core module: The heart of Transloco, integrating all its features.
Translation loaders: Responsible for loading translation files (e.g., via HTTP).
Transpiler: Resolves dynamic content within translation strings.
To get started with Transloco i18n, you only need to do a few things:
Create translation assets: You can do this using schematics with the appropriate command.
Import and configure the module: Set up Transloco with a default loader to enable its directives and pipes.
Inject the Transloco provider: If you need to use translations within your components, inject the Transloco service.
Laying foundations
Prerequisites for Transloco i18n
Before we get started with Transloco i18n and Angular localization, make sure you have the following in place:
Angular CLI (I'll be using v18) installed globally. You can install it by running the following command: npm install -g @angular/cli.
Basic understanding of Angular(components, modules, services).
Creating a new Angular app for Transloco i18n
First, let’s create a new Angular app. You can do this with the following command:
ng new lokalise-transloco-tutorial
The CLI will prompt you to choose options like SSR (server-side rendering) and stylesheet format. For this tutorial, we won’t use SSR, and we’ll stick with CSS for the stylesheet.
Once the app is created, navigate into the project folder:
cd lokalise-transloco-tutorial
Installing Transloco
Now, to start implementing Angular localization with Transloco, run the following command:
ng add @jsverse/transloco
You’ll be asked a few questions, such as which languages you want to use (I’ll select English and Spanish) and whether you need SSR (we’re skipping it).
After that, the CLI will generate several files:
src/assets/i18n/: A folder containing JSON files for the languages you chose.
transloco.config.ts: A global configuration file for Transloco.
src/app/transloco-loader.ts: A file for loading translations.
Finally, the CLI will make updates to your src/app/app.config.ts to integrate Transloco with the app.
Browsing Transloco config files
Transloco global configuration
The transloco.config.ts file contains the Transloco global configuration, which is mainly used by advanced tools and plugins such as the scoped library extractor or the keys-manager. This file isn’t critical for most projects unless you're using these specific tools, but it's good to know what’s happening here.
rootTranslationsPath: This option defines where your translation files are located. In this case, they’re inside src/assets/i18n/. Transloco will look for the JSON files in this folder when fetching translations.
langs: This array lists the languages supported by your application. In this example, we have English (en) and Spanish (es).
keysManager: This object is used by Transloco’s keys-manager plugin, which helps manage translation keys in large projects. It’s currently empty, but it can be configured with options if you’re using the plugin.
Transloco HTTP loader
The src/app/transloco-loader.ts file is responsible for loading your translation files. By default, Transloco uses an HTTP loader to fetch translations from JSON files located in your assets/i18n/ folder. This loader fetches the right translation file based on the language currently in use.
Here’s the code inside the file:
import { inject, Injectable } from "@angular/core";import { Translation, TranslocoLoader } from "@jsverse/transloco";import { HttpClient } from "@angular/common/http";@Injectable({ providedIn: 'root' })export class TranslocoHttpLoader implements TranslocoLoader { private http = inject(HttpClient); getTranslation(lang: string) { return this.http.get<Translation>(`/assets/i18n/${lang}.json`); }}
TranslocoHttpLoader: This is the service that Transloco uses to fetch the translation files.
inject(HttpClient): The HttpClient from Angular’s HttpClientModule is injected to make HTTP requests. It's responsible for fetching the language-specific JSON files.
getTranslation(lang: string): This method is called whenever Transloco needs to load a translation for a particular language. It uses the injected HttpClient to send an HTTP GET request to /assets/i18n/${lang}.json. The lang parameter corresponds to the current language (e.g., en for English or es for Spanish).
How it works
Each time your app needs a translation, Transloco will call the getTranslation() method and pass the language code (e.g., 'en' or 'es'). This method will fetch the respective translation file, such as /assets/i18n/en.json or /assets/i18n/es.json. The fetched JSON file contains all the key-value pairs for that language, and Transloco will use them to display the correct translations in the app.
Application configuration
The src/app/app.config.ts file is where Angular’s core application setup lives, and Transloco has updated this file to include its configuration. Let’s take a look at the important parts:
import { ApplicationConfig, provideZoneChangeDetection, isDevMode } from '@angular/core';import { provideRouter } from '@angular/router';import { routes } from './app.routes';import { provideHttpClient } from '@angular/common/http';import { TranslocoHttpLoader } from './transloco-loader';import { provideTransloco } from '@jsverse/transloco';export const appConfig: ApplicationConfig = { providers: [ provideZoneChangeDetection({ eventCoalescing: true }), provideRouter(routes), provideHttpClient(), provideTransloco({ config: { availableLangs: ['en', 'es'], defaultLang: 'en', // Remove this option if your app doesn't support changing languages at runtime. reRenderOnLangChange: true, prodMode: !isDevMode(), }, loader: TranslocoHttpLoader }) ]};
provideTransloco(): This is where Transloco is configured for your app. It includes two main sections:
config: This defines the available languages (en for English, es for Spanish), sets the default language (en), and specifies whether the app should re-render when the language changes (reRenderOnLangChange: true). The prodMode option makes sure that in production mode, unnecessary logging and checks are disabled.
loader: It specifies the TranslocoHttpLoader, which is responsible for fetching the translation files.
provideHttpClient(): This ensures that Angular’s HttpClientModule is available to make HTTP requests, which Transloco uses to load translation files.
Other providers: Transloco also adds things like provideZoneChangeDetection and provideRouter(routes), which are more general Angular settings unrelated to localization.
Configuring assets
To ensure our Angular app can load translations, we need to configure the paths to our assets in angular.json. Open the file and point it to the src/assets folder where your translation files are stored. If you have additional static assets in the public folder, make sure to include them as well.
Here’s the configuration, which should be placed under the build key:
Another important step is to import Transloco into your component so you can use its translation directives.
Open the src/app/app.component.ts file and adjust it like this:
// other imports...import { TranslocoDirective } from '@jsverse/transloco';@Component({ selector: 'app-root', standalone: true, imports: [RouterOutlet, TranslocoDirective], // <--- modify this line templateUrl: './app.component.html', styleUrl: './app.component.css'})export class AppComponent { title = 'lokalise-transloco-tutorial';}
Now, Transloco is ready to be used within your components!
Setting up Lokalise
Managing translations for multiple languages can be challenging, especially in complex applications. This task becomes even harder if you're not fluent in all the languages your app supports. So, what’s the solution? A proper translation management system!
Let me introduce Lokalise—a cutting-edge translation management platform. It makes managing translation files simple, allows collaboration with translators, offers professional translation services, and integrates seamlessly with various tools. Here’s a quick guide to get started with Lokalise:
In your terminal, navigate to the unpacked directory.
Create a new Lokalise project by running the following command: lokalise2 project create --name TransLoco --token YOUR_TOKEN_HERE --languages "[{\"lang_iso\":\"es\"},{\"lang_iso\":\"en\"}]" --base-lang-iso "en".
The command will return an object with your project details. Make sure to copy the project_id—we’ll need it later.
With this basic setup done, you’re all set to move on to the next step!
Performing simple translations with Transloco
Now that Transloco is set up, let’s use it to perform some simple translations in the app’s main page (the existing AppComponent). We’ll display a header and a paragraph, with one string interpolating a value.
Step 1: Using structural directive in the template
First, open the app.component.html file and update it as follows:
<main *transloco="let t">: This structural directive subscribes to the translation service and makes the t function available within the template. The t function is memoized, meaning it will return cached translations for the same keys.
t('welcome'): This fetches the translation for the key 'welcome', which we’ll define next.
t('description', { name: 'Lokalise' }): Here, we pass a params object to interpolate a value (Lokalise) into the translation string.
Step 2: Populating translation files
Next, define these translations in the src/assets/i18n/en.json file:
{ "welcome": "Welcome to Transloco!", "description": "This is a Transloco tutorial by {{name}}."}
And for the Spanish version, add the translations in src/assets/i18n/es.json:
{ "welcome": "¡Bienvenido a Transloco!", "description": "Este es un tutorial de Transloco por {{name}}."}
The header will display “Welcome to Transloco!” in English or “¡Bienvenido a Transloco!” in Spanish, depending on the selected language.
The paragraph will display “This is a Transloco tutorial by Lokalise” or “Este es un tutorial de Transloco por Lokalise”, with Lokalise interpolated dynamically.
Step 3: Uploading translation files to Lokalise
Once you’ve created the translate JSON files and started translating your app, you can upload these language resource files to the Lokalise project we set up earlier. To upload your translation files, run the following commands
PROJECT_ID: This is the project ID you received when creating the Lokalise project earlier.
YOUR_TOKEN: This is your read-write API token, which you generated in the Lokalise setup.
This will upload the translation files for each language to Lokalise, where you can manage them easily.
Adding language switcher in Angular with Transloco i18n
One of the most common requirements for internationalization (i18n) is allowing users to switch languages on the fly. In this section, we’ll walk through creating a language switcher in an Angular application using the Transloco library.
Step 1: Create the language switcher component
We’ll start by creating a new standalone component specifically for switching languages.
Run the following Angular CLI command to generate it:
ng g c language-switcher
This will create a new component called LanguageSwitcherComponent where we will handle all the logic for language switching.
Step 2: Load language information
Next, we need to load the available languages and set the currently active language. Transloco provides two useful functions for this:
getDefaultLang(): Returns the currently active language.
getAvailableLangs(): Returns the available languages, either as an array of strings (language codes) or an array of objects (e.g., { id: 'en', label: 'English' }).
In our example, we’ll assume languages are defined as simple language codes, but you could extend this with labels if desired. Instead of hardcoding language names into our config, we’ll use the Transloco directive to dynamically translate the language names.
Here’s how to load and store this information in the LanguageSwitcherComponent (found in the src/app/language-switcher/language-switcher.component.ts):
import { Component } from '@angular/core';import { TranslocoService, TranslocoDirective } from '@jsverse/transloco';import { NgFor } from '@angular/common';@Component({ selector: 'language-switcher', standalone: true, imports: [NgFor, TranslocoDirective], templateUrl: './language-switcher.component.html'})export class LanguageSwitcherComponent { currentLang: string; // Stores the current language languages: string[]; // Stores available languages constructor(private translocoService: TranslocoService) { // Get the current language and available languages this.currentLang = this.translocoService.getDefaultLang(); const availableLangs = this.translocoService.getAvailableLangs(); // Check if languages are provided as strings or objects, and extract accordingly if (Array.isArray(availableLangs) && typeof availableLangs[0] === 'string') { this.languages = availableLangs as string[]; } else { this.languages = (availableLangs as { id: string; label: string }[]).map(lang => lang.id); } }}
This code initializes the current language and fetches the available languages. We handle both cases of getAvailableLangs() returning either a string array or an object array.
Step 3: Add the onChange event handler
We’ll create a dropdown for selecting the language. To change the language when the user selects a different option, we need an event handler.
Here’s how you can define the onChange method in the src/app/language-switcher/language-switcher.component.ts file that will update the active language:
// imports and constructor...onChange(event: Event): void { const target = event.target as HTMLSelectElement; const langCode = target.value; // Update the current language and set it as active in Transloco this.translocoService.setActiveLang(langCode); this.currentLang = langCode;}
This method listens for changes in the dropdown and updates both Transloco’s active language and the currentLang variable.
Step 4: Add the template for the switcher
Now, let’s add the necessary HTML markup to the src/app/language-switcher/language-switcher.component.html file. This template will include the dropdown for selecting languages, and we’ll use the Transloco directive to dynamically translate the language names and labels.
We use the *transloco directive to expose the translation function t(), which translates both the "Choose a language" label and the language codes (en, es, etc.) into their respective language names.
Make sure to add the choose_language key in your translation files:
en.json
{ "choose_language": "Choose a language", "en": "English", "es": "Spanish"}
es.json
{ "choose_language": "Elige un idioma", "en": "Inglés", "es": "Español"}
Step 5: Use the switcher in your app component
Now that the LanguageSwitcherComponent is ready, we’ll integrate it into the main AppComponent.
Here’s how you can update the AppComponent to include the language switcher:
import { Component } from '@angular/core';import { RouterOutlet } from '@angular/router';import { TranslocoDirective } from '@jsverse/transloco';import { LanguageSwitcherComponent } from './language-switcher/language-switcher.component';@Component({ selector: 'app-root', standalone: true, imports: [RouterOutlet, TranslocoDirective, LanguageSwitcherComponent], templateUrl: './app.component.html', styleUrl: './app.component.css'})export class AppComponent {}
Now that everything is set up, it’s time to run your app and see the language switcher in action:
ng serve
Go to localhost:4200 and test switching between the available locales (e.g., English and Spanish). You should see your app content dynamically update to the selected language!
Transloco i18n and Angular routing: Adding lazy-loaded pages
In this section, we'll introduce two new routes to our Angular app—a home page and an about page—and take advantage of Transloco's lazy-loading capabilities for translations.
Step 1: Adding the home page
First, let's create a new component to serve as the homepage. This component will be displayed when the user visits the root route (/).
Run the following command to generate the HomeComponent:
ng g c home
After generating the component, update src/app/home/home.component.ts to include the TranslocoDirective for handling translations:
import { Component } from '@angular/core';import { TranslocoDirective } from '@jsverse/transloco';@Component({ selector: 'app-home', standalone: true, imports: [TranslocoDirective], templateUrl: './home.component.html', styleUrl: './home.component.css'})export class HomeComponent {}
Next, update the home.component.html template to display a translated welcome message and description:
To support translations for the navigation links, we need to update the translation files.
In assets/i18n/en.json, add the following entries:
{ "welcome": "Welcome to Transloco!", "description": "This is a Transloco tutorial by {{name}}.", "en": "English", "es": "Spanish", "choose_language": "Choose a language", "nav": { "home": "Home", "about": "About Us" }}
In assets/i18n/es.json, provide the Spanish translations:
{ "welcome": "¡Bienvenido a Transloco!", "description": "Este es un tutorial de Transloco por {{name}}.", "en": "Inglés", "es": "Español", "choose_language": "Elige un idioma", "nav": { "home": "Inicio", "about": "Sobre Nosotros" }}
Step 5: Lazy loading translation files for the about page
Now, let’s set up lazy loading for the about page’s translation files. This will ensure that translations for the about page are loaded only when the user navigates to /about.
Create a folder for about page translations
Create a new folder under assets/i18n/ called about, and add en.json and es.json files for the about page-specific translations.
assets/i18n/about/en.json
{ "heading": "About Our Company", "description": "We are a leading provider of solutions that make the world better."}
Also modify the assets/i18n/about/es.json file:
{ "heading": "Acerca de Nuestra Compañía", "description": "Somos un proveedor líder de soluciones que mejoran el mundo."}
Modify the routes for Transloco i18n
Finally, update the routes in app.routes.ts to lazy load the about page and its translations using the provideTranslocoScope function:
By setting the provideTranslocoScope('about'), we ensure that the translation files located in assets/i18n/about/ are only loaded when the user navigates to the about page.
Angular localization with Transloco
Localization (l10n) in Transloco helps adapt your app to different locales by formatting things like dates, numbers, and currencies to match a specific region's preferences. With the Transloco Locale plugin, you can easily achieve this in your Angular project.
Step 1: Install the Locale plugin for Transloco
To start using localization, you first need to install the Transloco Locale plugin. This plugin is what will handle things like date, time, and currency formatting based on the user’s locale:
npm i @jsverse/transloco-locale
Step 2: Set up the Locale plugin
Once the plugin is installed, you need to configure your app to start using it. This setup involves adding localization providers to your app's configuration. These providers ensure that your app can switch between locales and format content accordingly.
In your app.config.ts, import the provideTranslocoLocale function and configure it like this:
// other imports...import { provideTranslocoLocale } from '@jsverse/transloco-locale';export const appConfig: ApplicationConfig = { providers: [ // ... other providers, including Transloco ... provideTranslocoLocale({ langToLocaleMapping: { en: 'en-US', es: 'es-ES' } }), ]};
Here, we’re mapping language codes (en, es) to their respective locales (en-US, es-ES).
Step 3: Configure home component
With the plugin set up, it’s time to integrate it into your components. In the home.component.ts, we’ll use the date and currency pipes provided by the @jsverse/transloco-locale package.
Update your home.component.ts like this:
import { Component } from '@angular/core';import { TranslocoDirective } from '@jsverse/transloco';import { TranslocoDatePipe, TranslocoCurrencyPipe } from '@jsverse/transloco-locale';@Component({ selector: 'app-home', standalone: true, imports: [TranslocoDirective, TranslocoDatePipe, TranslocoCurrencyPipe], templateUrl: './home.component.html', styleUrl: './home.component.css'})export class HomeComponent { today = new Date(); price = 1499.99;}
Here’s what’s happening:
We import TranslocoDatePipe and TranslocoCurrencyPipe to format dates and currencies, respectively.
Inside the component class, we define two properties: today, which holds the current date, and price, which is a number representing a product price.
Step 4: Localize date and currency
Now, let’s move to the home.component.html file. Here, we’ll use the translocoDate pipe to display the current date in the right format, and the translocoCurrency pipe to show the price based on the active locale.
The translocoDate pipe formats the current date (today) according to the active locale. The { dateStyle: 'long' } argument ensures that the date is displayed in a long format (e.g., "October 22, 2024").
The translocoCurrency pipe takes the price and formats it based on the active locale’s currency settings. This means that if the user’s locale is set to the US, the price will show in USD by default, while a Spanish locale might show it in Euros.
Handling message format and pluralization in Transloco i18n
When localizing an app, handling pluralization and gender-based text is often necessary. Transloco supports this through the MessageFormat plugin, which lets you format messages using ICU syntax. This is particularly helpful when you need to handle plural forms for different languages, as they can vary significantly.
Step 1: Install the MessageFormat plugin
First, you need to install the MessageFormat plugin for Transloco:
npm i @jsverse/transloco-messageformat
This plugin allows you to define pluralization and other dynamic text rules in your translation files.
Step 2: Set up the MessageFormat plugin
To enable this feature in your app, you need to add the provideTranslocoMessageformat provider in your configuration. In your app.config.ts, it should look like this:
import { provideTranslocoMessageformat } from '@jsverse/transloco-messageformat';export const appConfig: ApplicationConfig = { providers: [ // ... other providers, including Transloco ... provideTranslocoMessageformat({ locales: ['en-US', 'es-ES'] }), ]};
This setup enables support for pluralization and other complex ICU message formatting in your translation files.
Step 3: Define pluralization in translation files
Now let’s add a pluralization rule in your translation file. In your en.json, define the message like this:
{ "itemCount": "{count, plural, =0 {no items} one {1 item} other {# items}}"}
Here, count will dynamically update the message based on its value:
If count is 0, it will display "no items".
If count is 1, it will display "1 item".
For any other number, it will display "# items", where # is replaced with the actual number.
Also let's provide translation for Spanish:
{ "itemCount": "{count, plural, =0 {no hay artículos} one {1 artículo} other {# artículos}}"}
Step 4: Update the home component
Now, we’ll add this logic to your home.component.ts and allow users to increment the count by clicking a button. Start by importing TranslocoDirective and updating your component to manage the count:
import { Component } from '@angular/core';import { TranslocoDirective } from '@jsverse/transloco';import { TranslocoDatePipe, TranslocoCurrencyPipe } from '@jsverse/transloco-locale';@Component({ selector: 'app-home', standalone: true, imports: [TranslocoDirective, TranslocoDatePipe, TranslocoCurrencyPipe], templateUrl: './home.component.html', styleUrl: './home.component.css'})export class HomeComponent { today = new Date(); price = 1499.99; count = 0; increment() { this.count++; }}
Here’s what’s happening:
We add a count property initialized to 0.
The increment() method increases the count each time the user clicks the button.
Step 5: Display the pluralized message in the template
Next, let’s update the home.component.html to show the pluralized message and a button to increment the count:
The t('itemCount', { count }) expression dynamically updates the message based on the count value.
The button with (click)="increment()" calls the increment() method whenever it’s clicked, which increases the count and triggers Angular to update the view.
Adding support for right-to-left languages in Angular
In this section, we'll walk through the steps to add support for right-to-left (RTL) languages, such as Arabic, in an Angular application using Transloco. Handling RTL is essential when you want to adapt your app to languages that are read and displayed from right to left, like Arabic, Hebrew, or Persian.
Step 1: Add support for a new language
To start, we need to add Arabic as a supported language in the application configuration. This involves modifying the app.config.ts file to include the new language:
Next, you'll need to create the Arabic translation file in the assets/i18n folder. This file will contain the Arabic translations for the different text in your app.
Create a file called ar.json and add the following content:
{ "welcome": "مرحبًا بكم في Transloco!", "description": "هذا هو شرح Transloco بواسطة {{name}}.", "en": "الإنجليزية", "es": "الإسبانية", "ar": "العربية", "choose_language": "اختر اللغة", "itemCount": "{count, plural, =0 {لا توجد عناصر} one {عنصر واحد} other {# عناصر}}", "nav": { "home": "الصفحة الرئيسية", "about": "معلومات عنا" }}
Finally, we'll need to subscribe to the language changed event in Transloco. If the new language is right-to-left, we'll adjust the dir param accordingly. Change the language-switcher.component.ts in the following way:
import { Component, Renderer2 } from '@angular/core'; // <--- change this// other imports ...// component here ...export class LanguageSwitcherComponent { currentLang: string; languages: string[]; constructor(private translocoService: TranslocoService, private renderer: Renderer2) { // <--- add renderer // process languages are before ... this.translocoService.langChanges$.subscribe(lang => { this.updateDirection(lang); }); } updateDirection(lang: string) { const isRtl = ['ar', 'he', 'fa'].includes(lang); // <--- add other rtl languages as needed const direction = isRtl ? 'rtl' : 'ltr'; this.renderer.setAttribute(document.documentElement, 'dir', direction); } // other code ...}
Transloco Service: We subscribe to Transloco’s langChanges$ observable to detect when the language changes.
Renderer2: We use Angular's Renderer2 service to dynamically set the dir attribute on the body element. This ensures the layout adjusts to RTL (right-to-left) when an RTL language like Arabic is selected, and switches back to LTR (left-to-right) for other languages.
RTL Languages: The isRtl condition checks if the selected language is Arabic, Hebrew, Persian, or any other RTL language. You can add more RTL languages to this array if needed.
And this is it. Our Angular application is now ready for right-to-left languages thanks to Transloco i18n!
Persisting the chosen language in the cookies
In this section, we’ll learn how to persist the user’s selected language using cookies in an Angular app with Transloco. By storing the language preference in cookies, you ensure that when users revisit the app, it will automatically load in their preferred language.
Step 1: Install the Persist-lang plugin for Transloco i18n
The first step is to install the Transloco Persist-lang plugin, which makes it easy to store the chosen language in cookies or other storage solutions like local storage.
Run the following command to install the plugin:
npm install @jsverse/transloco-persist-lang
Step 2: Hook up the persist-lang provider
Next, we need to configure Transloco to use the persist-lang plugin by modifying the app.config.ts file.
Start by adding the necessary imports for the persist-lang provider and the cookiesStorage option:
// other imports ...import { provideTranslocoPersistLang, cookiesStorage } from '@jsverse/transloco-persist-lang';export const appConfig: ApplicationConfig = { providers: [ // other providers ... provideTranslocoPersistLang({ storage: { useValue: cookiesStorage(), }, }), ]};
provideTranslocoPersistLang: This provider enables language persistence. It ensures that whenever a user switches the language, the language choice is saved in the specified storage (in this case, cookies).
cookiesStorage(): This function tells Transloco to store the language preference in cookies. This way, when the user revisits the app, their language choice will be remembered.
Once this setup is complete, whenever the user switches to a different language, that preference will be stored in cookies. The next time they visit your app, Transloco will automatically load the saved language from the cookies, ensuring a consistent user experience.
Step 3: Fetch the active locale in the language switcher
There's another extra step that we should do. Thing is, with our new approach the locale initially set in the app might not equal to the default locale. That's why we need to adjust the way of reading the current locale in the language-switcher.component.ts.
Specifically, replace the this.currentLang = this.translocoService.getDefaultLang(); line in the constructor with the following:
In this article, we walked through setting up Transloco i18n in an Angular app to handle essential internationalization features. We covered basic translations, lazy loading translation files, right-to-left language support, pluralization, and localization for date and currency formats. Additionally, we added the ability to persist the user's chosen language using cookies and deployed the app to Firebase.
With these steps, your app is now ready to support multiple languages, handle RTL layouts, and remember the user’s language preference. This makes it not only more accessible but also ready for a global audience.
Thank you for staying with me, and until next time!
Ilya is the lead for content, documentation, and onboarding at Lokalise, where he focuses on helping engineering teams build reliable internationalization workflows. With a background at Microsoft and Cisco, he combines practical development experience with a deep understanding of global product delivery, localization systems, and developer education.
He specializes in i18n architectures across modern frameworks — including Vue, Angular, Rails, and custom localization pipelines — and has hands-on experience with Ruby, JavaScript, Python, Elixir, Go, Rust, and Solidity. His work often centers on improving translation workflows, automation, and cross-team collaboration between engineering, product, and localization teams.
Beyond his role at Lokalise, Ilya is an IT educator and author who publishes technical guides, best-practice breakdowns, and hands-on tutorials. He regularly contributes to open-source projects and maintains a long-standing passion for teaching, making complex internationalization topics accessible to developers of all backgrounds.
Outside of work, he keeps learning new technologies, writes educational content, stays active through sports, and plays music. His goal is simple: help developers ship globally-ready software without unnecessary complexity.
Build a smooth translation pipeline with Lokalise and Vercel
Internationalization can sometimes feel like a massive headache. Juggling multiple JSON files, keeping translations in sync, and redeploying every time you tweak a string… What if you could offload most of that grunt work to a modern toolchain and let your CI/CD do the heavy lifting? In this guide, we’ll wire up a Next.js 15 project hosted on Vercel. It will load translation files on demand f
Hands‑on guide to GitHub Actions for Lokalise translation sync: A deep dive
In this tutorial, we’ll set up GitHub Actions to manage translation files using Lokalise: no manual uploads or downloads, no reinventing a bicycle. Instead of relying on the Lokalise GitHub app, we’ll use open-source GitHub Actions. These let you push and pull translation files directly via the API in an automated way. You’ll learn how to: Push translation files from your repo to LokalisePull translated content back and open pull requests automaticallyWork w
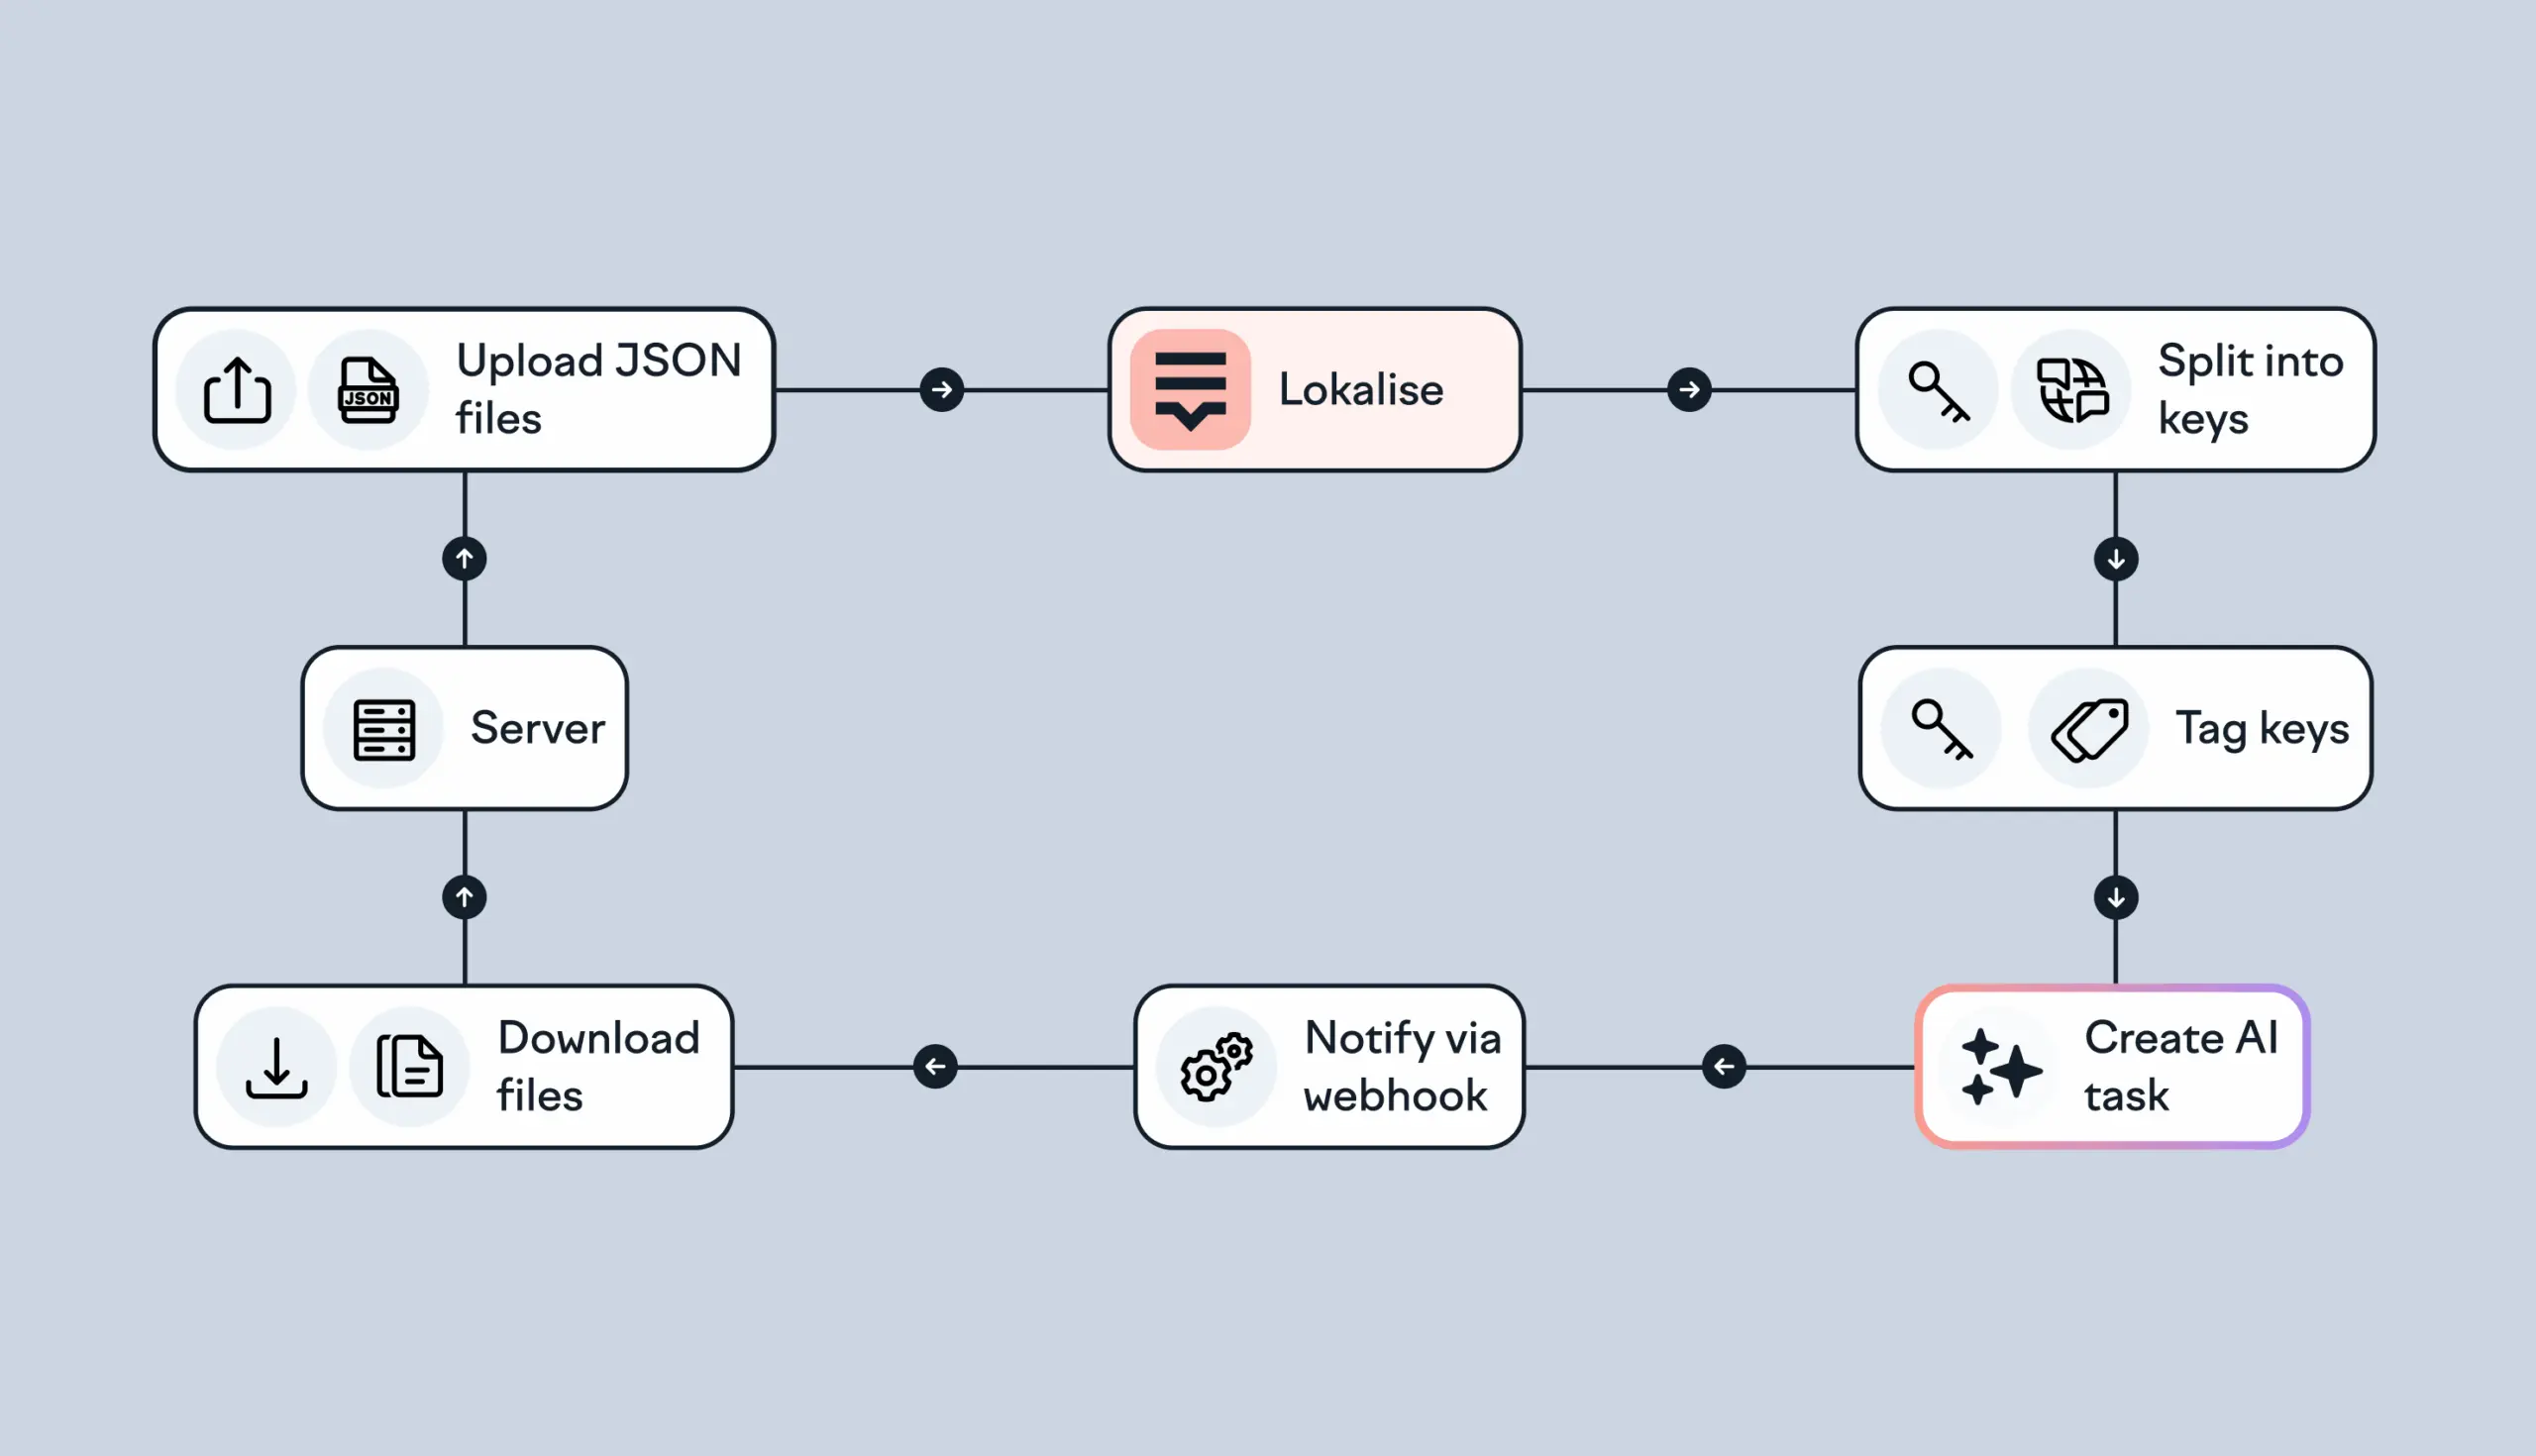
Building an AI-powered translation flow using Lokalise API and webhooks
Managing translations in a growing product can quickly become repetitive and error-prone, especially when dealing with frequent content updates or multiple languages. Lokalise helps automate this process, and with the right setup you can build a full AI-powered translation pipeline that runs with minimal manual input. In this guide, you’ll learn how to: Upload translation files to Lokalise automaticallyCreate AI-based translation tasksUse webhooks to downloa