Ten minutes into WordPress localization, and you’re dealing with clunky translations, weird formatting issues, and SEO that just doesn’t work across languages. And let’s not even talk about keeping everything updated without breaking something, including managing localized time accurately across regions.
Taking your website global sounds exciting… Until you actually start.
The good news is, it doesn’t have to be this complicated. With the right approach, you can make your WP website feel native to every audience without endless fixes and frustration.
At Lokalise, we’re all about making technical topics easy to grasp, and this WordPress localization guide is no different. We’ve stripped away the jargon and complexity to give you a clear, practical, and easy-to-follow approach.
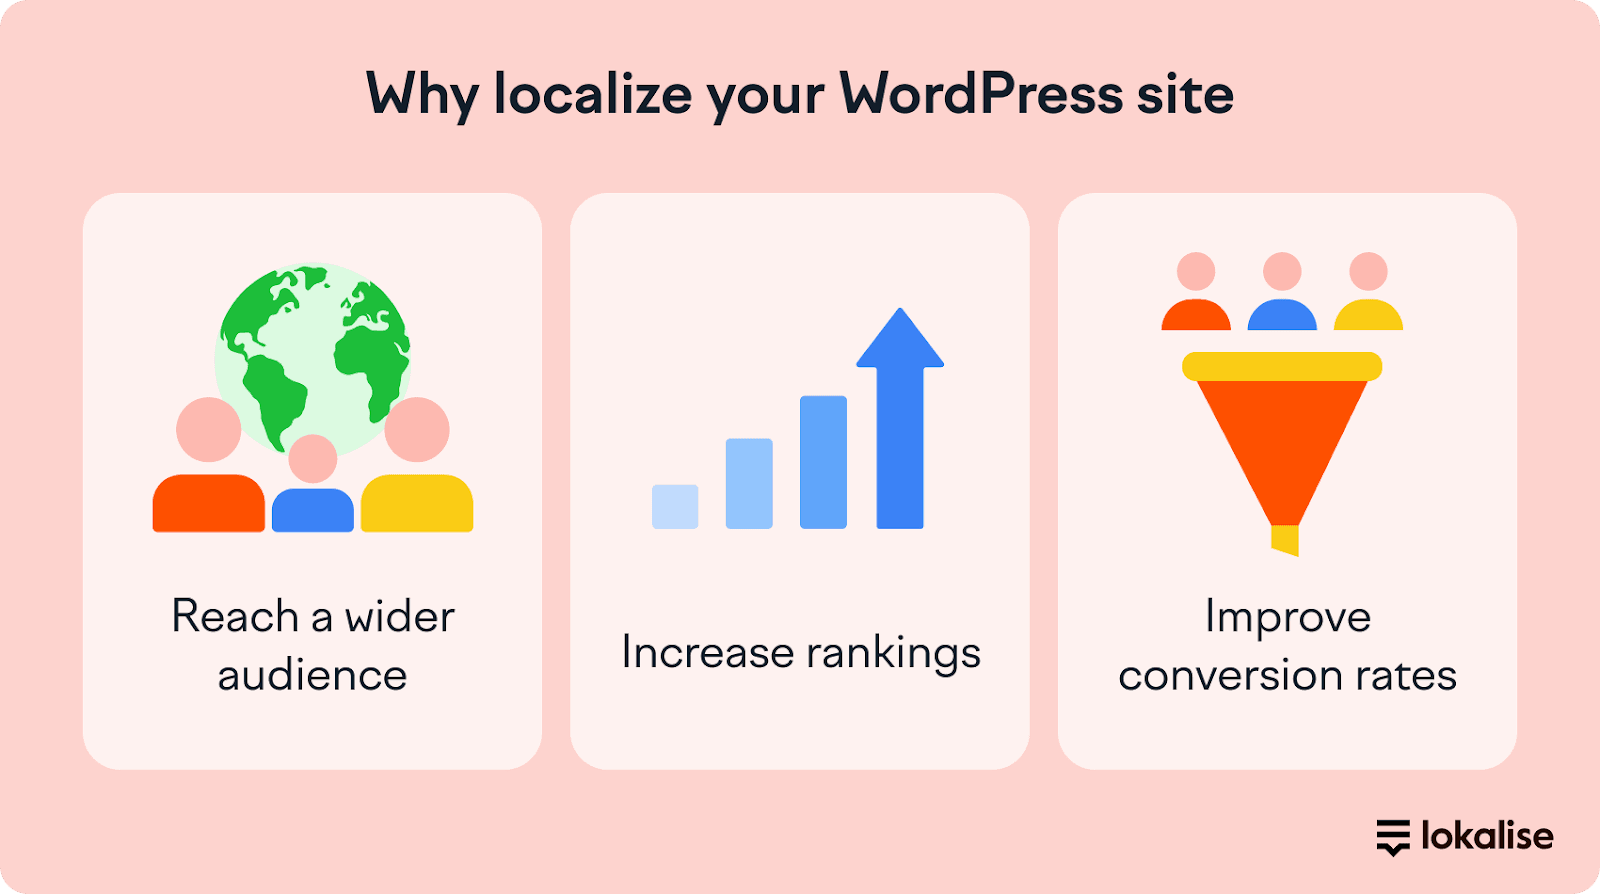
3 reasons to localize your WordPress site ASAP
If you're still unsure whether WordPress localization is worth it, let’s break it down. Properly localized web pages open the door to new markets, improve user experience, and support your international SEO efforts.
Reach a wider audience
Do you think your site is accessible to non-English speakers? Probably not as much as you’d hope. Even if visitors understand English, it’s not the same as experiencing a brand in their native language. You want to give the best experience possible to all of your users, no matter where they are.
Increase SEO rankings
You don’t need a global customer base yet to benefit from localizing your WP site. A multilingual site helps you rank higher in different search engines (e.g., Yandex, Baidu, Google, Bing), and across different countries.
It’s good to know that there’s often less content competition in non-English-speaking markets, making it easier to earn higher rankings in different languages and attract new customers.
📚 Further reading
Thinking about launching a multilingual website, but not sure what are the languages worth translating into? Check out our guide on how to choose your localization languages instead of tossing a coin.
Improve conversion rates
A single-language website in a global market can hold you back. People are far less likely to engage or buy when information feels unfamiliar or difficult to understand.
When users can navigate and interact in their own language, they’re more likely to trust your brand and complete actions (whether that’s signing up, making a purchase, or getting in touch).
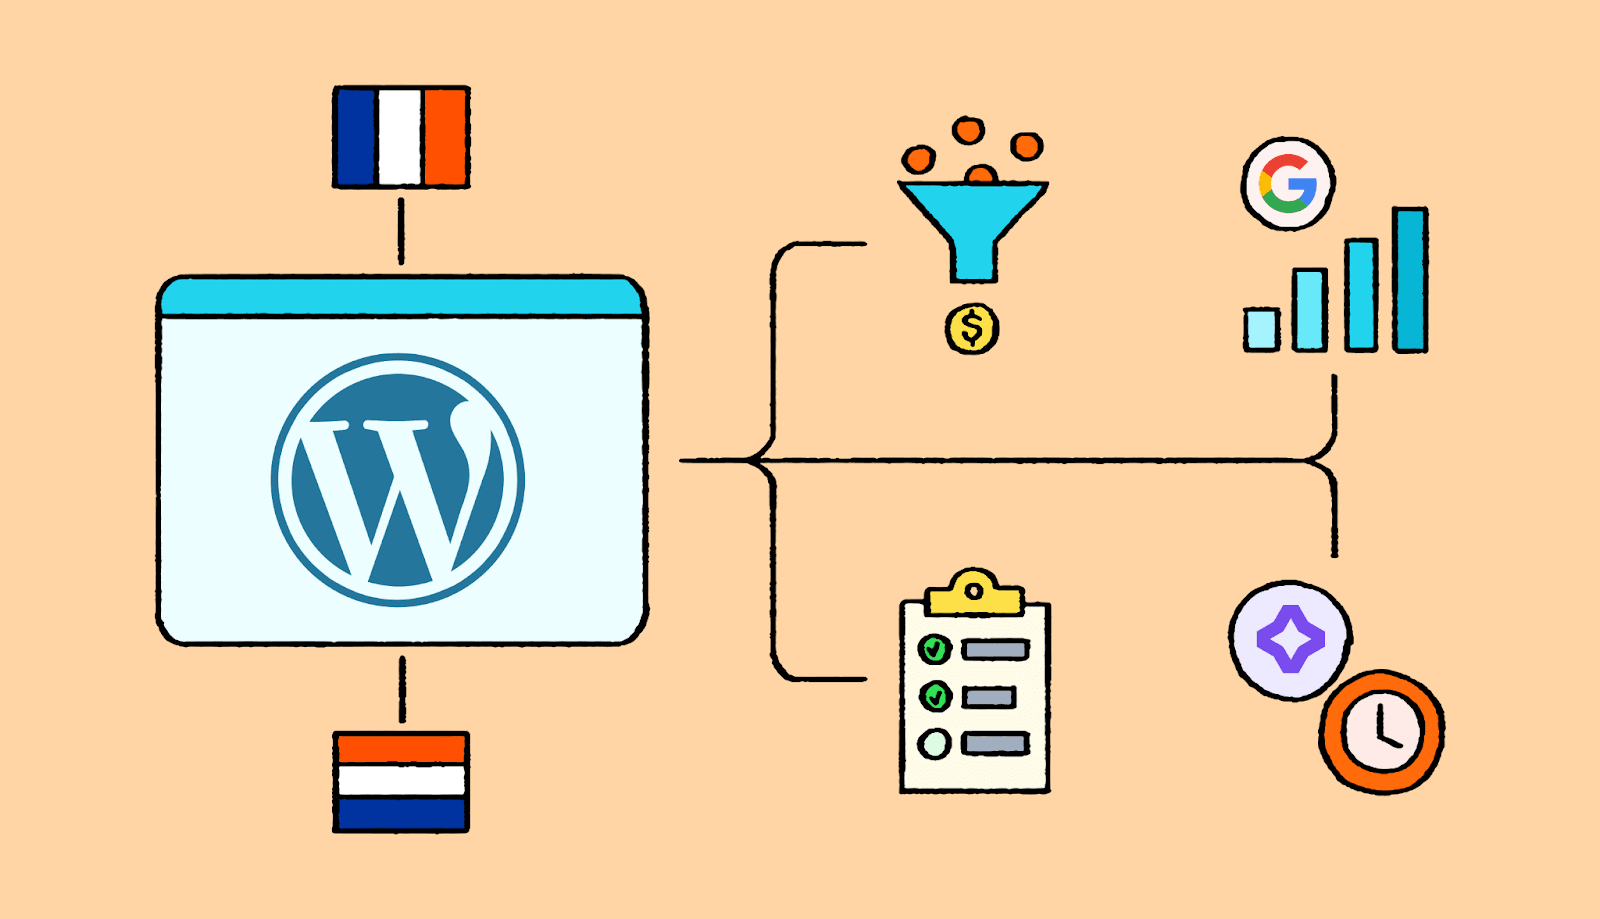
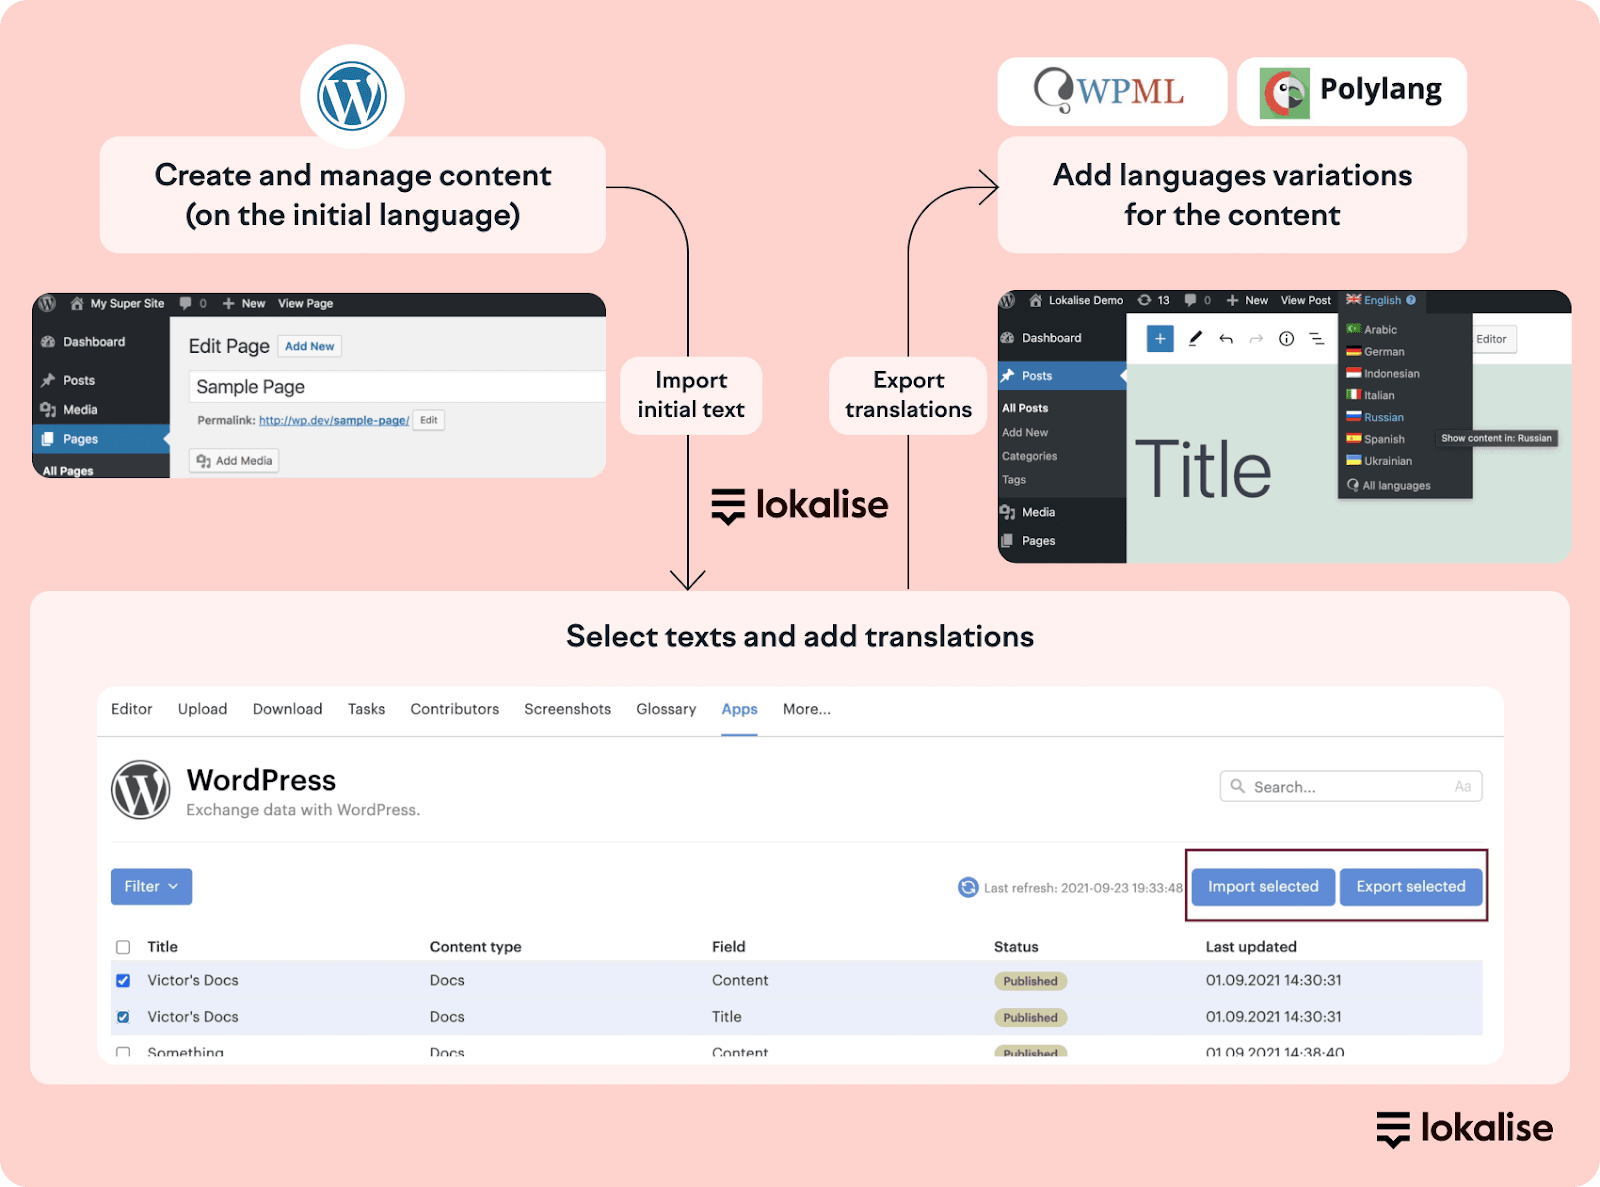
Step-by-step WordPress localization with Lokalise
Before we take a deeper dive into localization, there are two key pieces of information we need to share:
Unlike Shopify, WordPress doesn’t have out-of-the-box multilingual content support
You’ll need to install the WPML or Polylang plugin to enable multilingual content support within your website
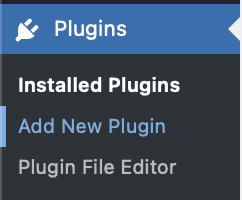
You can find both by navigating to “Plugins” in the WP admin panel and clicking “Add New Plugin”.
Both WPML and Polylang work fine, and the steps you need to take are largely the same.
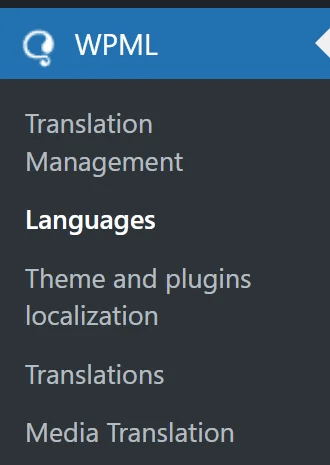
You’ll need to configure WPML before you can use it. Navigate to the WPML section in the WP sidebar and click languages.
Choose the languages your website will support by adding or removing as many as you need. You can change your site’s default language if you wish.
You can also choose how visitors access each language:
A directory (yoursite.com/de)
A different domain (yoursite.de)
Or as a GET parameter (yoursite.com/page?lange=de)
Next, you’ll need to set up the Lokalise Companion Plugin.
Head to the plugin’s settings by clicking on “Settings” in the WP admin sidebar and then “Lokalise”.
Then copy the Authorization secret.
Step 2: Create a new project in Lokalise
👀 Not using Lokalise yet?
That’s ok! You can sign up for a free 14-day trial to test it out. We won’t ask you for your credit card details and there are no strings attached. Try Lokalise for free to give it a go for your website localization.
To continue with WordPress localisation, log into Lokalise and create a new project in your Lokalise dashboard.
Choose the source language (the default language on your WP site) and your target languages (the ones you want added in WPML’s settings). Once you’ve done that, click “Apps”, then “WordPress”, and then “Install”.
Enter your hostname (e.g. https://lokalise.com) and paste the authorization secret key. Click “Accept” to authorize Lokalise to work with your WordPress site.
Step 3: Import posts and pages to Lokalise
Once you’ve authorized Lokalise to connect with WordPress, you should see all your existing pages and posts in your Lokalise dashboard.
However, before you can translate them, you’ll need to import the content from WordPress.
Select all the pages you wish to translate (you can find specific pages using the search bar) and then click “Import selected”.
Your content will now transfer from your website to your Lokalise dashboard.
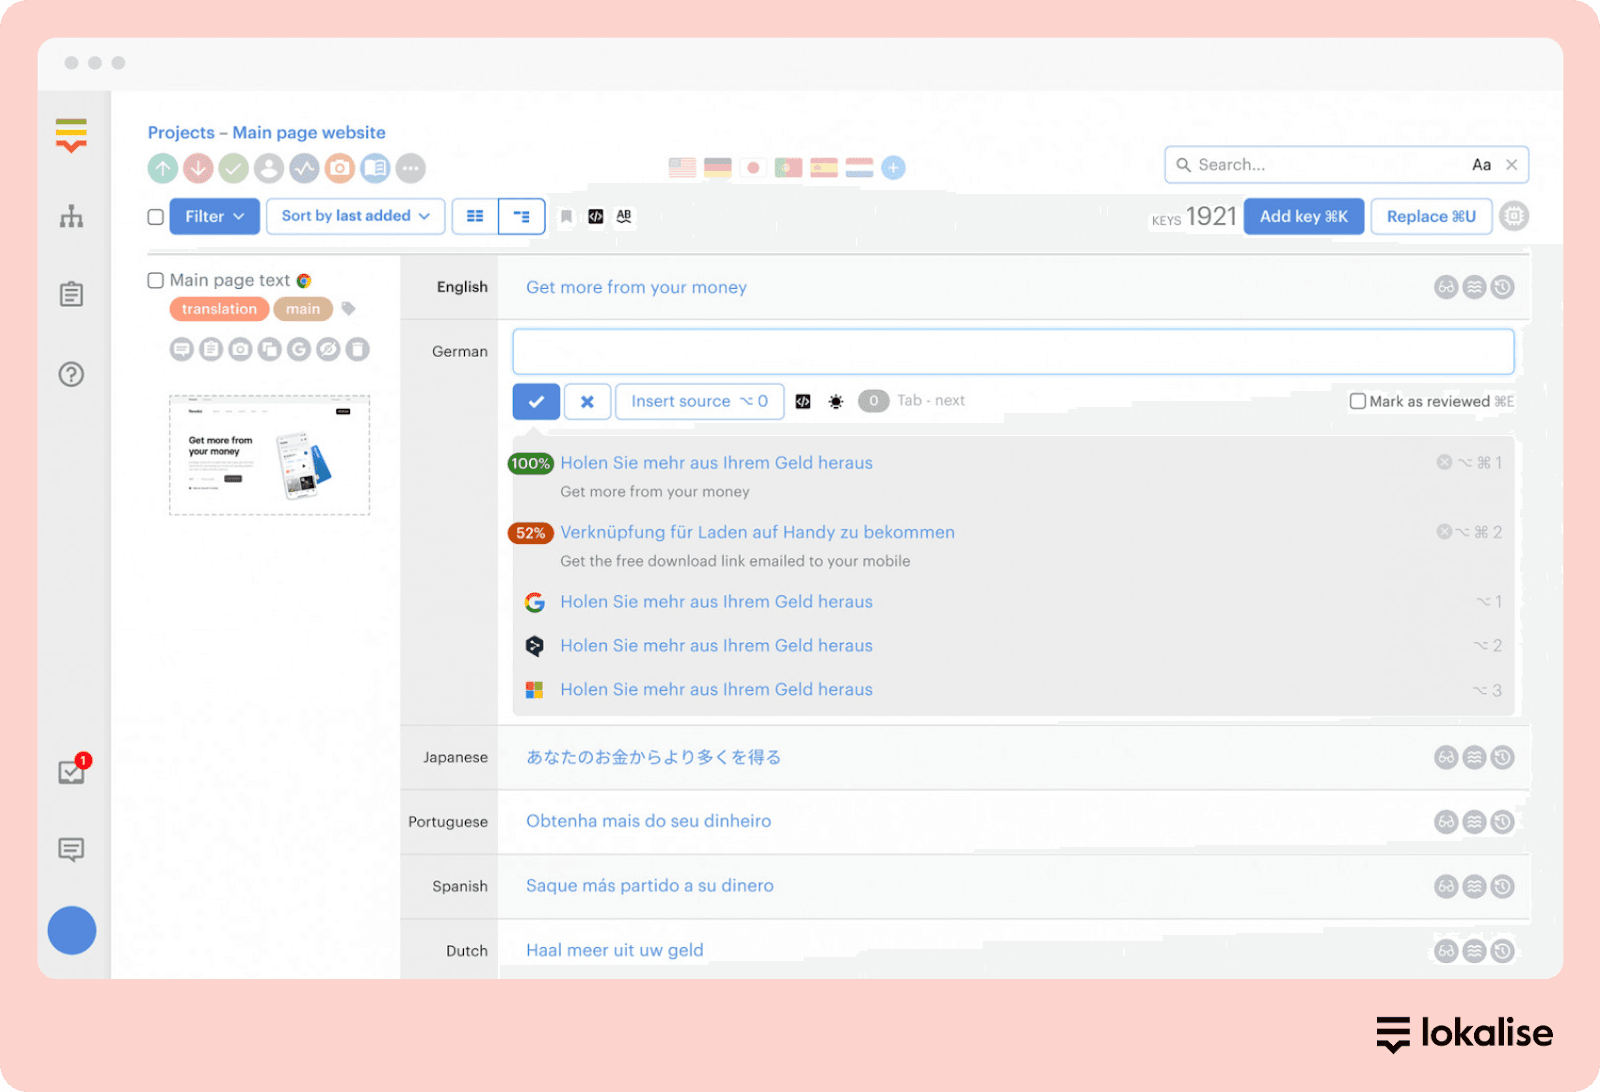
Step 4: Translate WordPress content in Lokalise
Once the content is imported, you can head to the project editor in Lokalise to start the translation process.
You can translate your site content in Lokalise in two main ways:
By submitting translation orders (working with human translators)
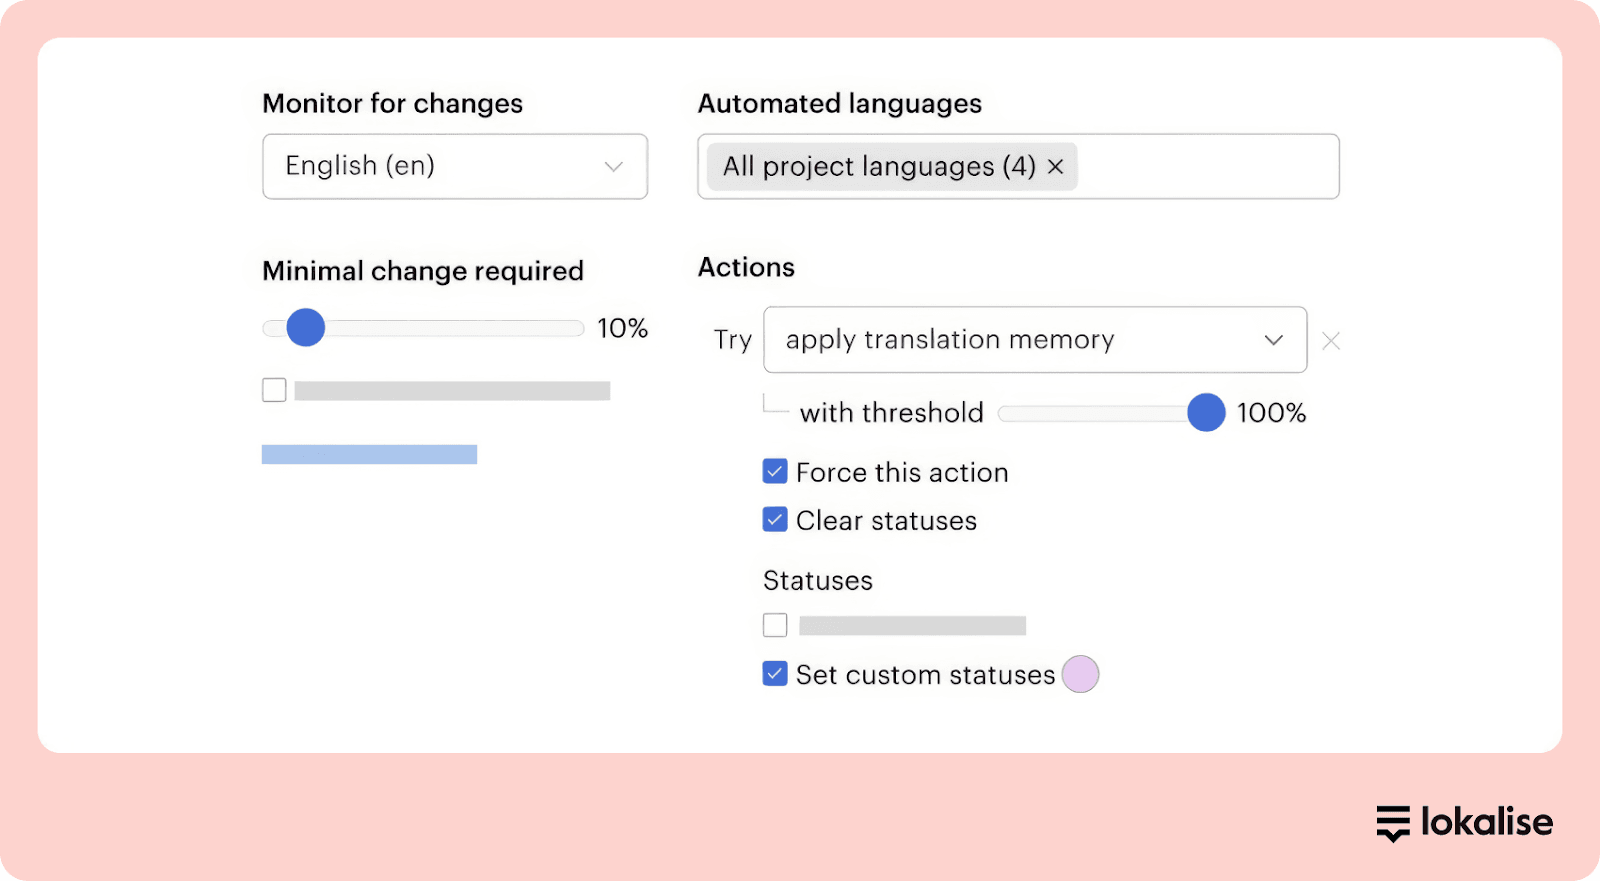
Option #1: Set up automations to translate with MT or AI
Lokalise makes it possible to integrate translations into your continuous delivery workflow so that your pages get translated as soon as you create them on WordPress. You can create automations during the import process. Click on “More” and “Automations”, and then “Create”.
You’ll be presented with a box like the above, which lets you set exactly how you want your automation to work.
Select Google or DeepL from the “Actions” dropdown to ensure Lokalise performs the translations automatically.
You can also use Lokalise AI to translate your website with context, giving you higher-quality translations at speed.
Make sure you add a style guide and glossary to guide Lokalise AI on tone, style, industry, audience, and more.
Option #2: Submit new translation orders
Hiring a human to translate your content is easy with Lokalise. You can place a new order by clicking on the “Orders” button in the left-hand menu bar. Then click “New order” and select the following options:
Choose Lokalise or Gengo if you want the help of a human linguist
Choose “WordPress” as the project in the dropdown menu
Select the source language
Choose the target language(s). You can select more than one for a higher cost.
Choose the service you want. These vary by provider.
Brief your project in as much detail as possible.
Review the price and deadline. If you’re happy with how everything looks, click “Go to checkout” and complete your order.
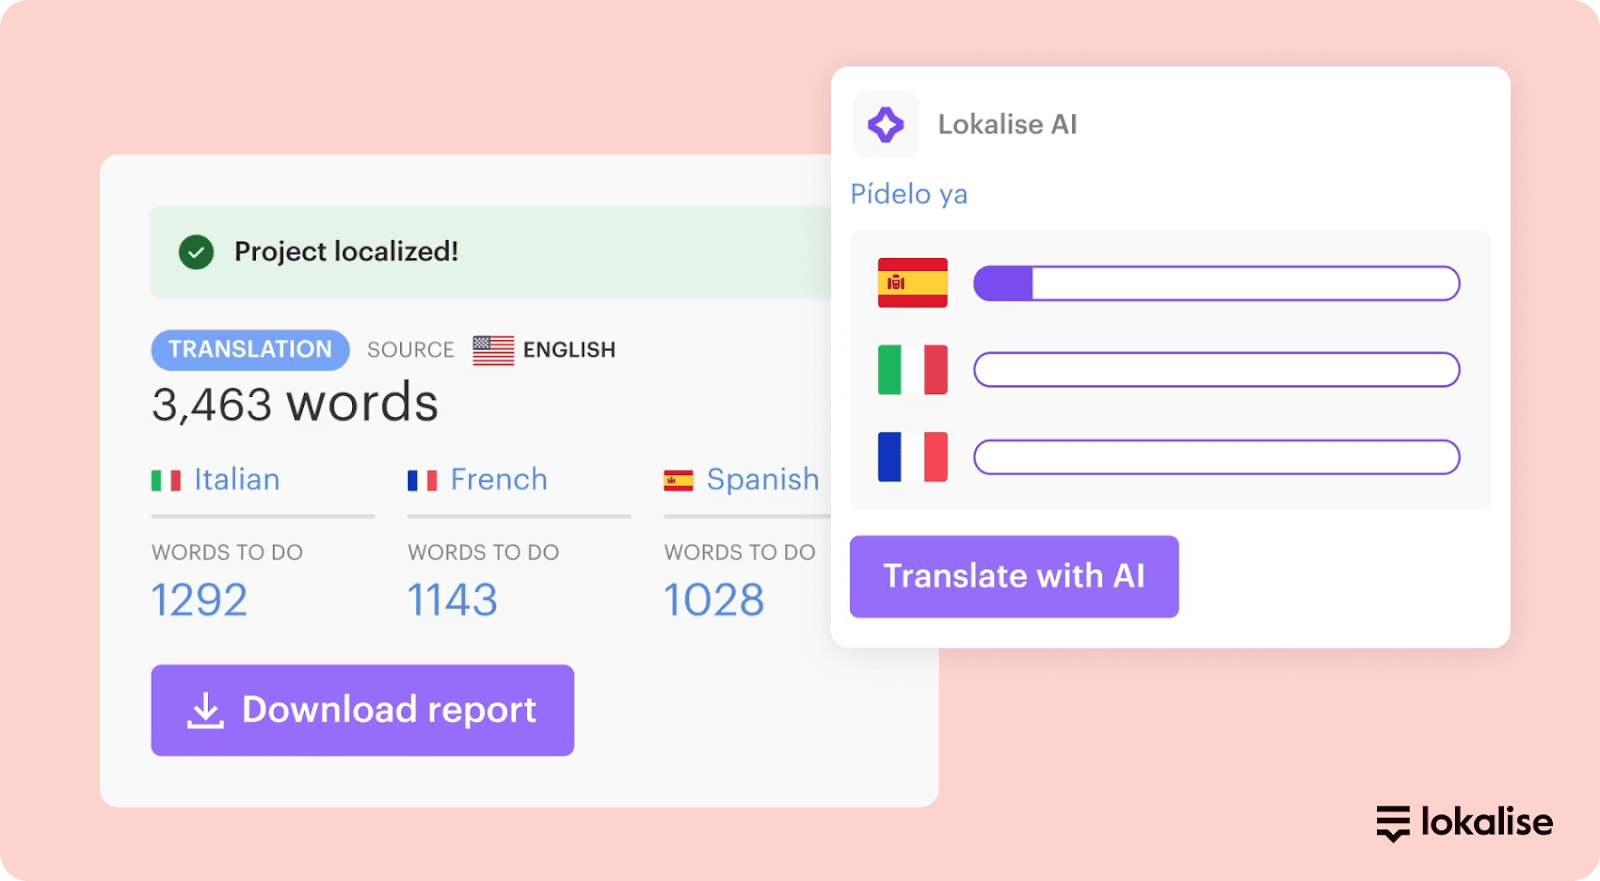
Step 5: Check the quality of your localized content
Whether you use human translators or AI, you still need to check the quality of your translated and localized content to ensure it matches the expectations of local markets.
Fortunately, you can do that within the Lokalise platform, too. Our localization quality assurance features include automated spelling and grammar checks for 22 languages and automatic suggestions, all of which can be enhanced through the Lokalise API.
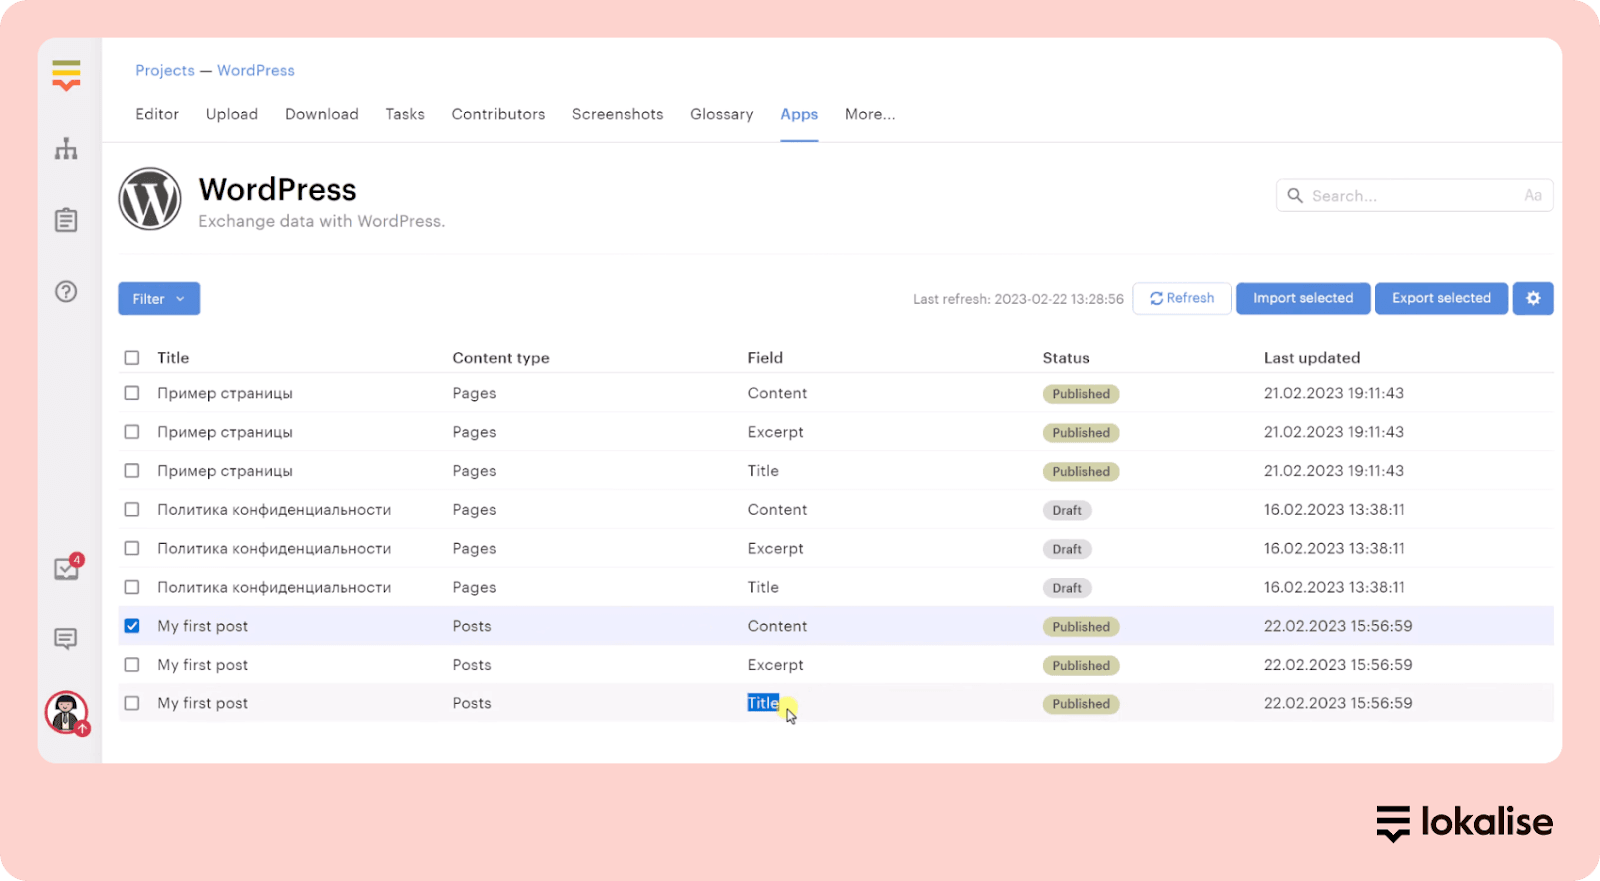
Step 6: Export translated items back to WP
Once human linguists or AI tools have translated your content, you’re going to want to import it back into WP. Lokalise makes this simple.
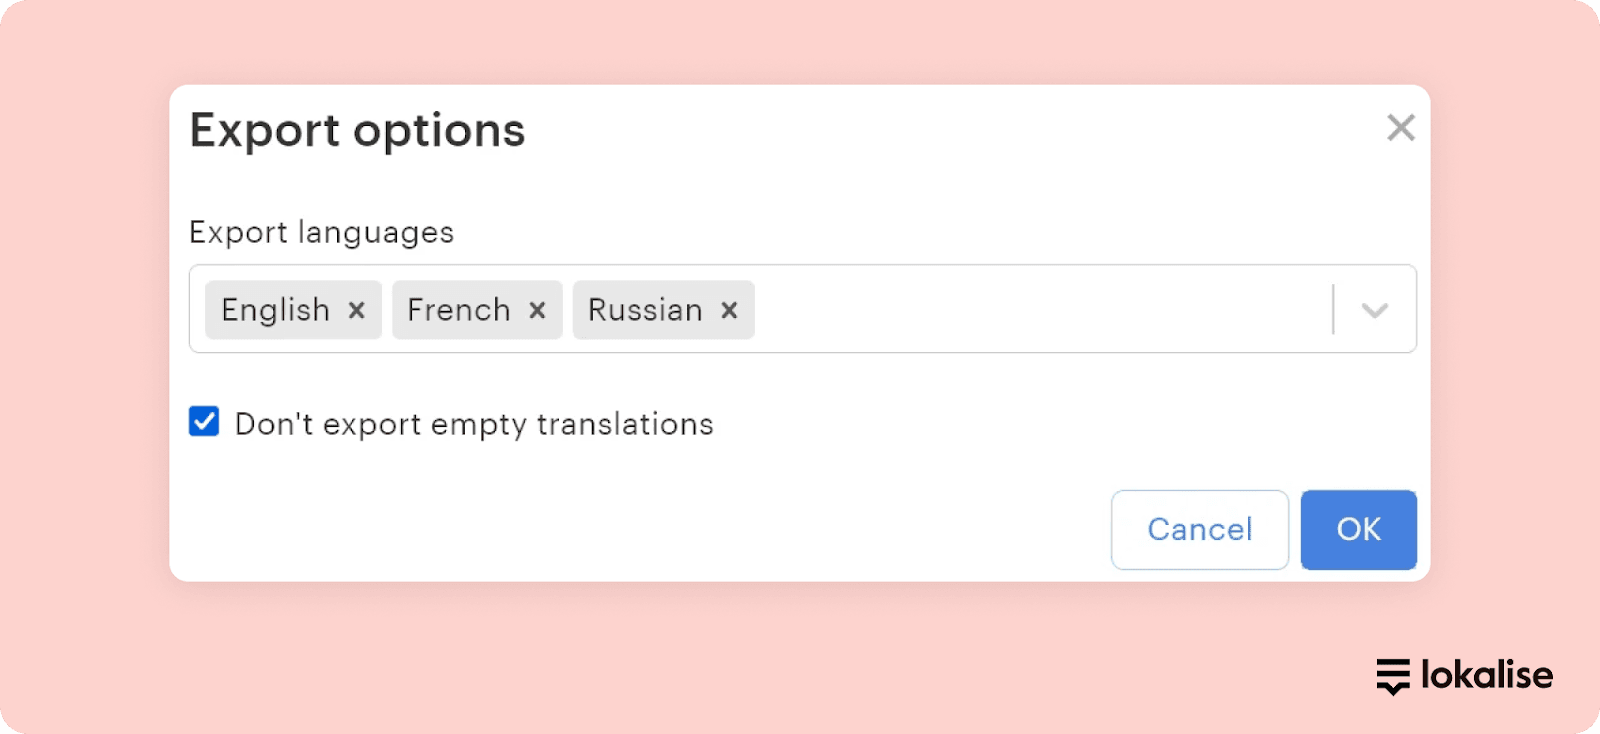
Head back to the WordPress app in Lokalise.Choose the items you want to export and click “Export selected”.
Choose the languages to export (we’re exporting English, French, and Russian in the example above) and click “OK”.
That’s it. Job done.
You can verify your translations have been imported successfully by heading to your WP admin dashboard and checking the posts or pages you exported. You should see pencil icons next to each post or page, which let you edit the localized versions.
📚 Further reading
It’s very important to review your translations if you used machine translation or AI translation tools. Read our guide to machine translation post-editing (MTPE) to learn more.
WordPress localization mistakes you want to avoid
It’s easy to get carried away once you’ve set up your plugins and sent off your first translation. After all, the combination of multilingual plugins and Lokalise makes website localization pretty straightforward.
We’ve seen a fair share of localization mistakes. Here’s what you need to be conscious of and a few best practices to follow.
Translating content, but not localizing it
Translating content directly from one language to another without any thought of context or cultural norms is not smart. It can result in poorly worded copy, cultural faux pas, or literal translations that make no sense.
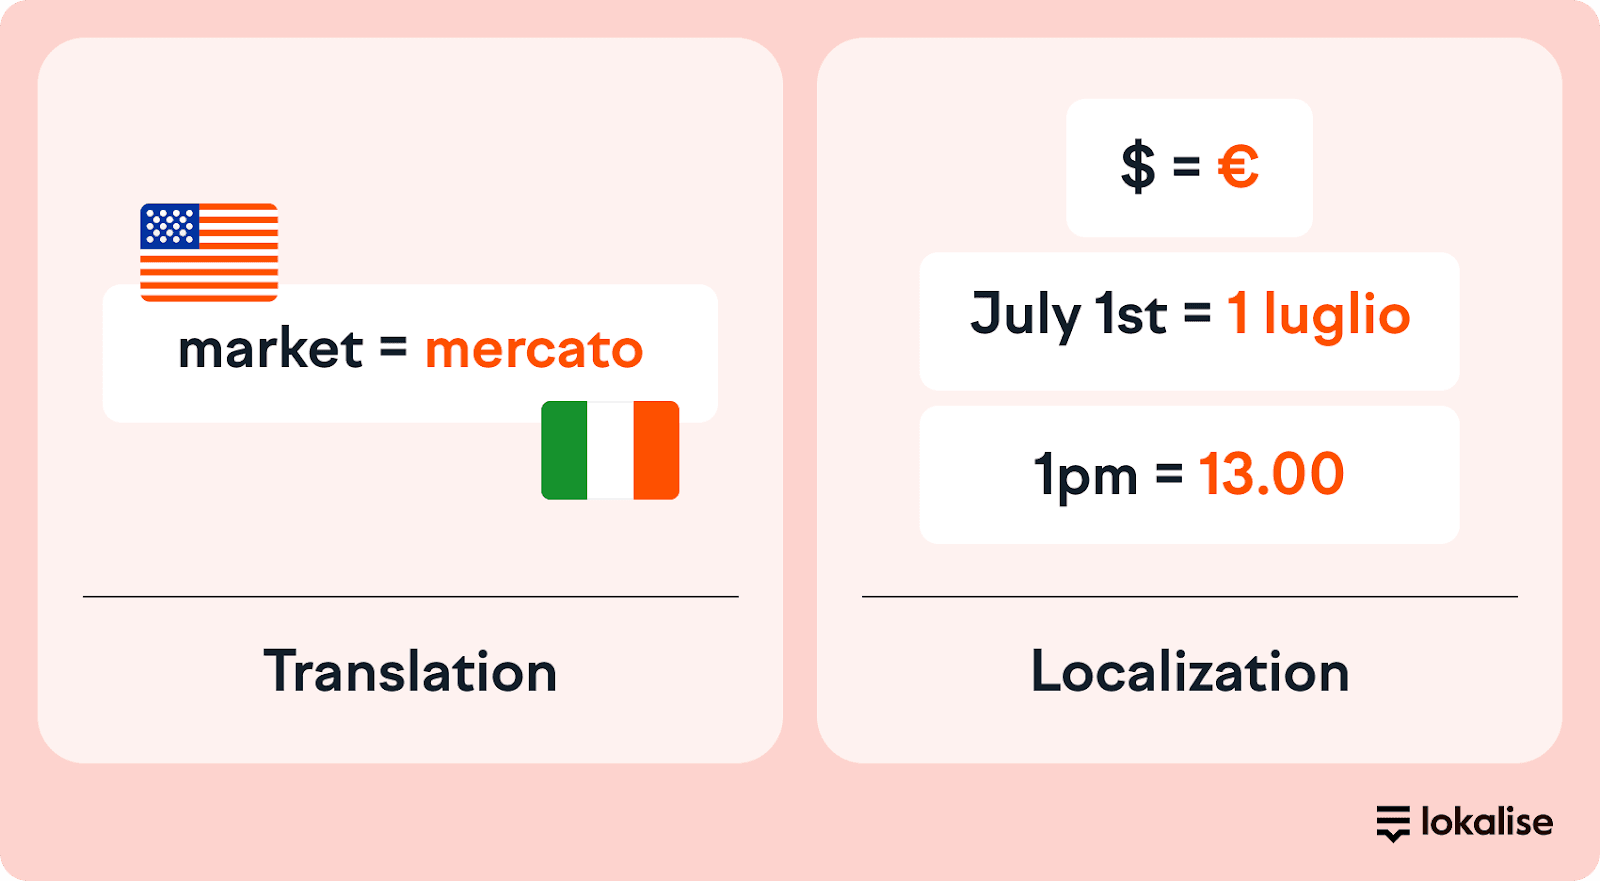
Translation is not quite the same as localization, and to be fair–you might not need to localize every single piece of content. But you don’t want to miss localizing things like dates, times, idioms, and units of measure. Take the image below, for example.
These things may not be obvious to us, but they stick out like a sore thumb to native speakers.
Best practice: Make sure things like dates, times, currencies, and idioms are adapted so they make sense to local audiences.
How Lokalise helps: To help you out here, Lokalise offers multiple solutions to simplify WordPress localization, including automated quality assurance checks, market-leading AI translations that account for these features, and the ability to work with professional linguists from inside the platform.
Poor communication and collaboration
As much as the plugins we’ve discussed in this article help with WordPress localization with very little additional input, you still need to communicate and collaborate successfully with linguists, designers, and marketers.
Best practice: Make it easy for translators, designers, and marketers to collaborate by using a shared dashboard where every user can track progress and updates.
How Lokalise helps: Lokalise has strong collaborative translation features to ensure all tasks are being carried out as they should, according to your vision. This includes a unified dashboard that lets you keep track of everything at once with chained tasks, custom statuses, and real-time reports.
Neglecting localizing images with context
If you’re localizing content, you need to think beyond text. Sometimes, translated content within images can take more space, and this can cause text to break.
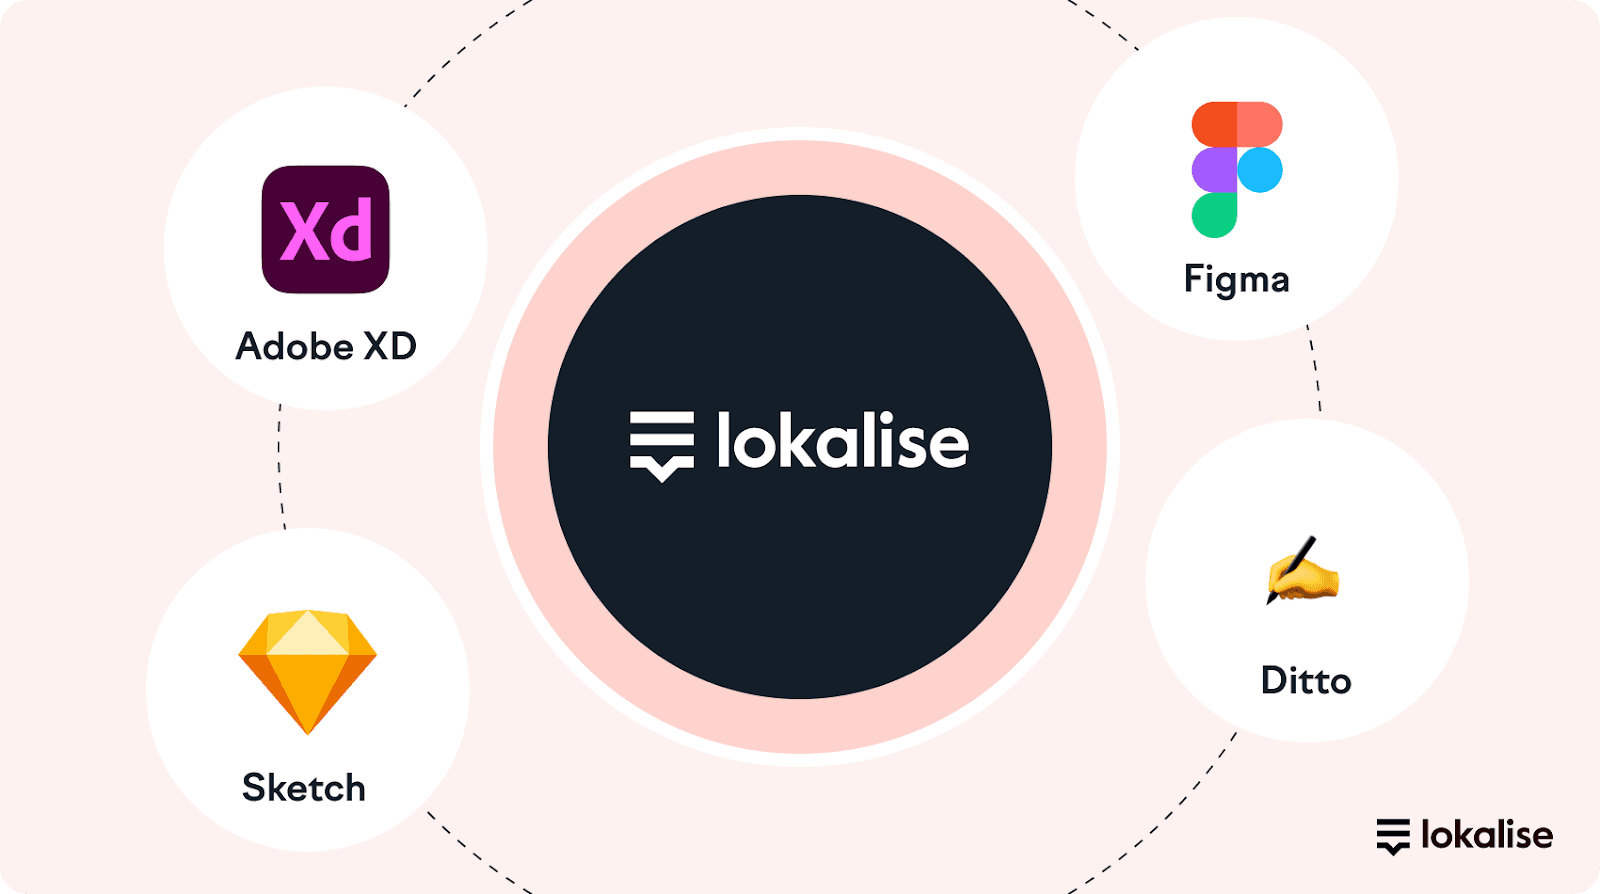
Solve this by providing translators with additional context using design files from platforms like Figma, Sketch, and Adobe XD.
Best practice: Sharing design files from Figma, Sketch, or Adobe XD helps translators see the bigger picture and flag issues before they become problems.
How Lokalise helps: Lokalise integrates with all these platforms, making it easy to upload visual material to the platform and share it with translators. This allows translators to take account of the design when carrying out their work and notify you or a project manager immediately when the design needs to change.
Not automating the process
Don’t become a bottleneck in your website localization process. While content managers will want to keep an eye on everything, you’ll quickly slow down the process if you have to manually assign translations, approve them, and upload them.
Get out of your own way by using automations to speed up the process.
Best practice: Automate quality checks, task assignments, and workflow steps to keep the projects moving without delays.
How Lokalise helps: With Lokalise’s Automations feature enabled, the system will automatically perform certain actions based on identified changes. That can include translations, but you can also automate tasks like:
Quality assurance
Project assignment
Status management
You can even eliminate the needless waiting that happens in some project management systems by changing tasks with predefined next steps. In this way, the next task in the chain automatically starts when the former is completed.
WordPress localization has never been simpler
A plugin like WPML or Polylang can make your WordPress site multilingual, but turning a site into multiple languages isn’t the same as fully localizing it.
By pairing Lokalise with your existing WordPress plugin, you can automate large parts of the process. We’re not just talking translations, but also content extraction, collaboration with translators, and publishing updates. Here’s why many WordPress website owners love it:
Everything happens in a low- or no-code environment, so you don’t need a developer to manage content updates
Translations are automatically pushed back to WordPress as new posts
It’s easy and intuitive, you get full support, and it saves you time, effort, and unnecessary back-and-forth
If you want a truly efficient, scalable localization setup, combining your WordPress plugin with Lokalise makes the process faster, smoother, and easier to manage.Get a 14-day free trial to try it for yourself.
FAQs
What’s the best way to localize a WordPress site?
The best way to localize your WP is by combining a multilingual plugin (like WPML or Polylang) with a localization platform like Lokalise. This allows you to manage translations efficiently, automate content updates, and ensure consistency across all languages.
Does WordPress support automatic translations?
Yes, it does support automatic translations through plugins like TranslatePress, WPML, and Weglot, which integrate with AI-powered engines like Google Translate and DeepL. However, for higher accuracy and better user experience, it’s best to combine machine translation with human review.
How do I make my multilingual WordPress site SEO-friendly?
To make your web pages SEO-friendly, use a multilingual plugin that supports hreflang tags, unique URLs per language, and localized metadata. Tools like WPML and Polylang help, but pairing them with Lokalise ensures translations stay accurate and consistent across updates.
How do I choose the right WP translation plugin?
The best translation plugin depends on your needs. WPML and Polylang are great for manual control, TranslatePress allows front-end editing, and Weglot automates translations. For a fully streamlined workflow, pairing your plugin with Lokalise helps manage content updates, automate processes, and ensure high-quality translations.
Can I translate my WordPress site without affecting performance?
Yes, but it depends on your setup. Some translation plugins can slow down your site if they store translations in the database inefficiently. To maintain speed, use lightweight plugins and a localization platform like Lokalise that handles translations externally. This will keep your website fast and optimized.
Can I translate my WordPress theme into multiple languages?
Yes! Many WP themes are translation-ready, meaning they support .PO and .MO language files for easy localization. However, for a smoother process, you can use a translation plugin like WPML or Polylang alongside Lokalise to extract theme text, translate it efficiently, and sync updates automatically.
Meet Rachel, our Content Manager and Lead Copywriter, who pivoted from advertising to SaaS and has never looked back.
Born and raised in the UK, Rachel has lived in London, Paris, Buenos Aires, and now Brussels. Through city-hopping, traveling, and her studies in French and Journalism, she’s picked up French and Spanish, and is now inventing her own language with help from her three-year-old daughter: Franglospanish!
Outside work, Rachel enjoys making (and eating) fresh pasta, drawing, and spending as much time as possible outside, cycling, hiking, or running.
Using the same iOS and Android keys in multiplatform localization projects
That's a common situation when you are developing your app for two and more platforms - say, iOS and Android, and some key names and values are the same and some are different. Lokalise can help you to avoid double translation work and stay clean in general by automatically merging these keys. One of the unique features of Lokalise is the ability to have key names exported differently depending on the platform. Coding for different platforms usual