Prerequisites
To follow along, you'll need a WordPress website and the WMPL plugin already installed. Please note that this is a paid solution, but believe me, it's worth the money: you would not want to code all these features from scratch!
To purchase the plugin, simply register on the WPML website, choose the subscription plan, enter your payment details, download the WPML archive, upload it to your website using the admin panel, and then follow the wizard instructions to finalize registration.
Configuring WPML
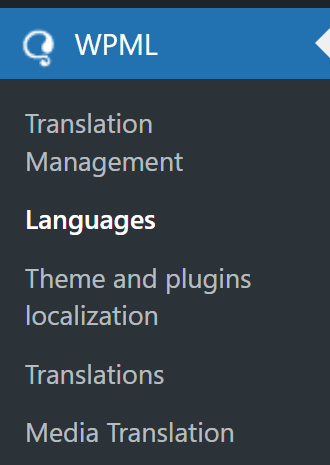
So, first things first: open your WordPress admin page, find the WPML section in the left menu, and proceed to Languages.
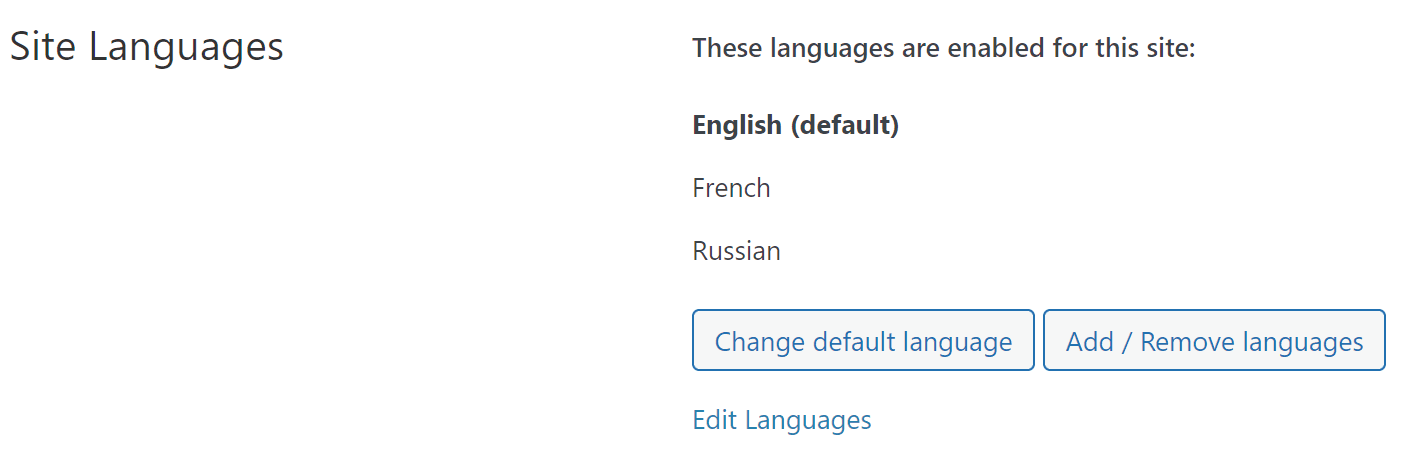
On this page, you'll need to choose the languages your website supports. The default language is the one that you initially chose when configuring the website, but it can be easily changed by clicking Change default language. Click Add / Remove languages to add support for more locales. Of course, you can return to this page later and add more languages as needed to enhance your website localization efforts.
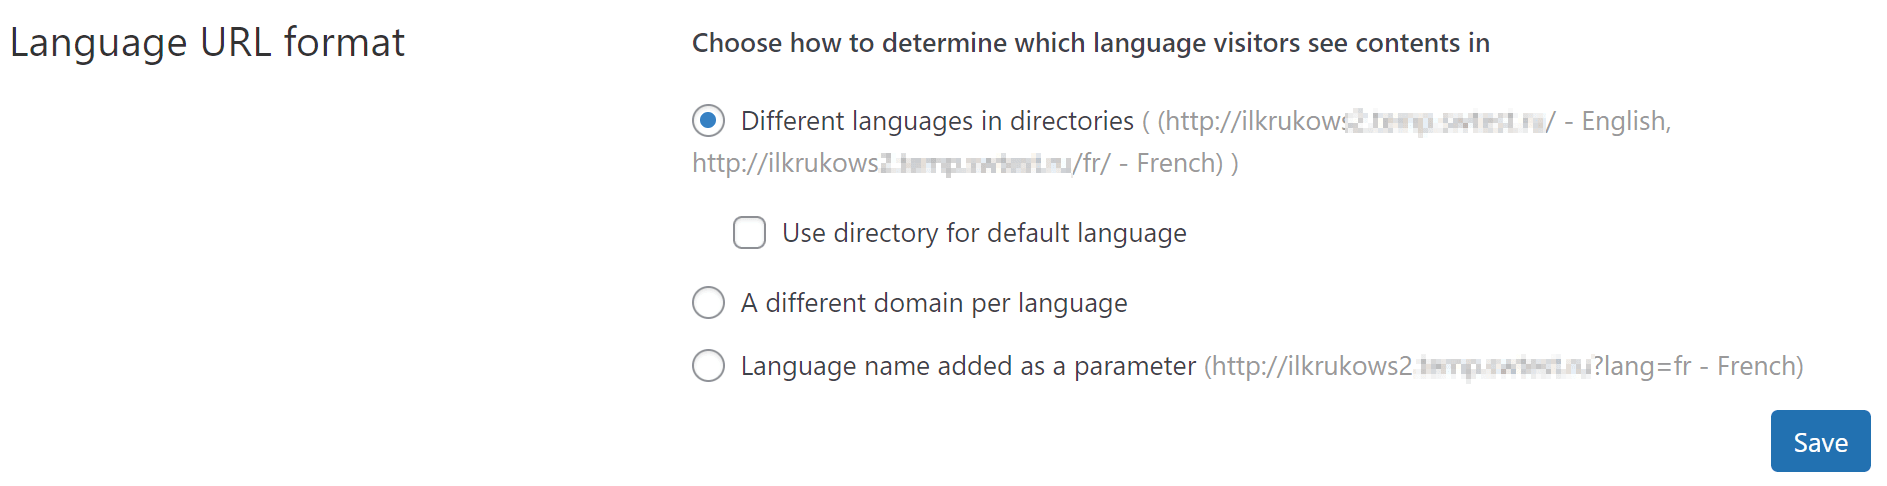
On the same page, you can choose how the language code should be provided in the URL. Basically, you have three options:
- Different languages are passed in directories:
http://example.com/fr/my_page and http://example.com/de/my_page. This is actually the preferred option. - A different domain is used on a per-language basis:
http://example.fr and http://example.de. This is the most expensive and involved option as you'll have to purchase and set up multiple domains. - The language name is added as a GET parameter:
http://example.com/my_page?lang=fr and http://example.com/my_page?lang=de. This is probably the least preferred option as the resulting URL will look quite ugly.
Pick the option that works for you, and click Save.
On the Languages page, you can also adjust options related to the language switcher component displayed on the website. Specifically, you can select where it appears, how it should look, and what CSS classes it should be assigned with. These settings help ensure a smooth experience for visitors navigating your multilingual website. Adjust these options as needed, then proceed to the next section.
Translating posts
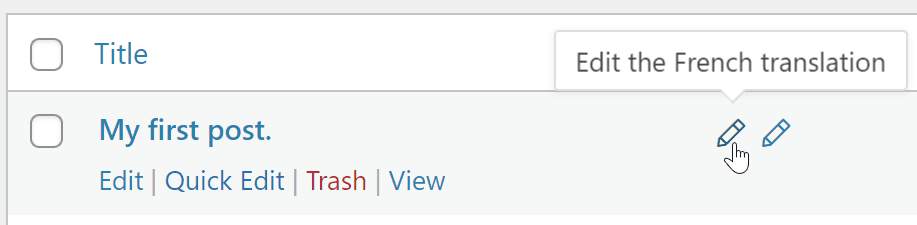
Next, let's proceed to the Posts admin page on WordPress. You'll notice that your posts now have language flags next to them, which means that you can provide translations for these languages. This feature is essential for the localization process, allowing you to cater to a diverse audience with tailored content.
From the top menu you can choose which post variant to display:
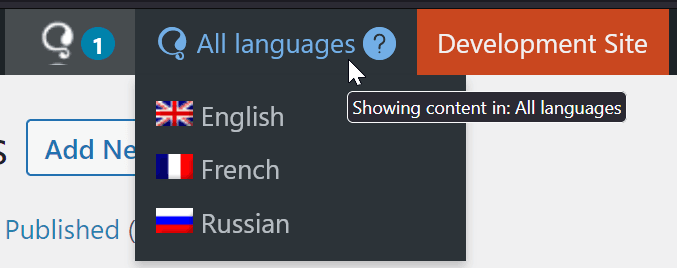
Your entries will look like this:
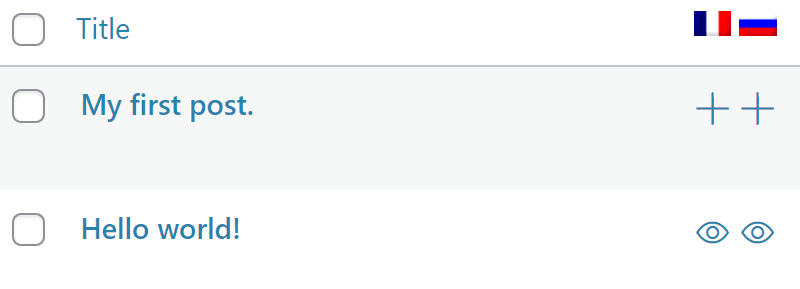
Click on the relevant "plus" icon to add a translation for the given language. Click on the "eye" icon to review translations that were already added. Yes, it's that simple!
Exactly the same approach can be used to translate pages; you just click on the "plus" icon and provide the translated content.
Translating themes and plugins
In many cases, you'll also need to provide translations used within your theme and the installed plugins. To achieve this, proceed to the Theme and plugins localization page under the WPML section.
Choose a theme that you'd like to work with and then press Scan selected themes for strings:
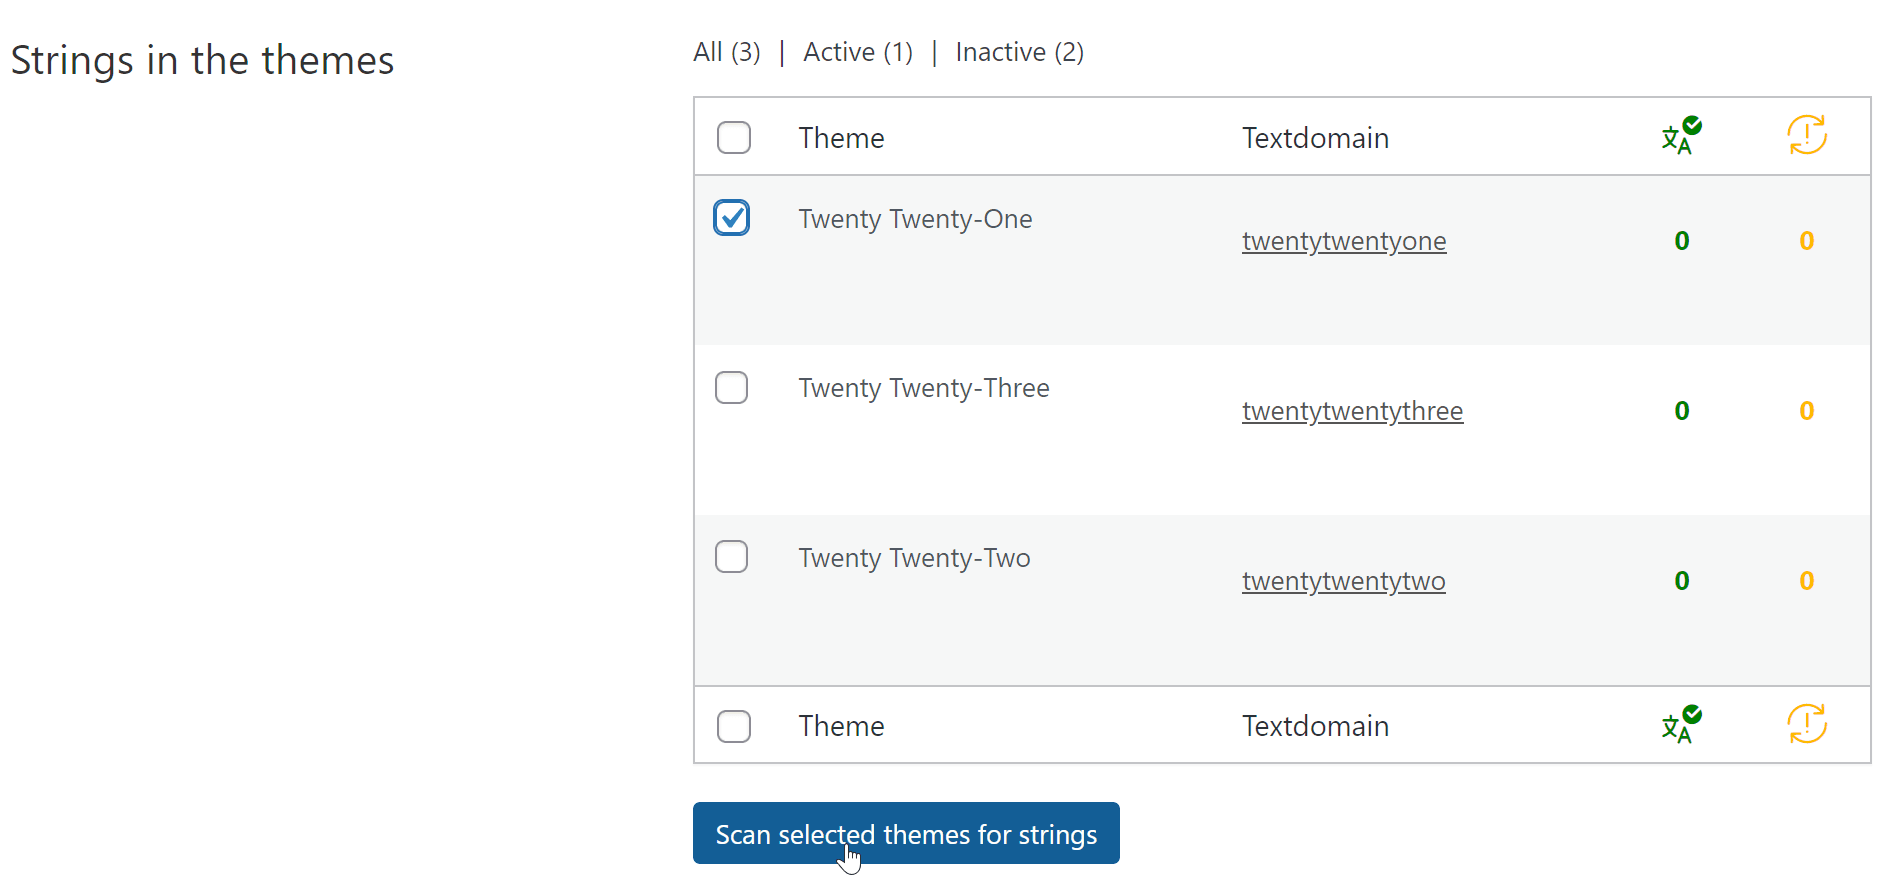
After a few moments, WPML will display a number next to the theme name. This number represents how many available translations the theme contains. Click on this number to edit the translations:

Plugins can be translated in the same way. Just find the Strings in the plugins section on the same page, pick one or more plugins, and start the scan operation:

Additionally, you can use WPML to provide media translations. To do this, proceed to WPML > Media Translation and find the desired image (of course, the image should already be uploaded to WordPress):

Click on the "pen" icon under the relevant language flag. You'll be presented with the following dialog:
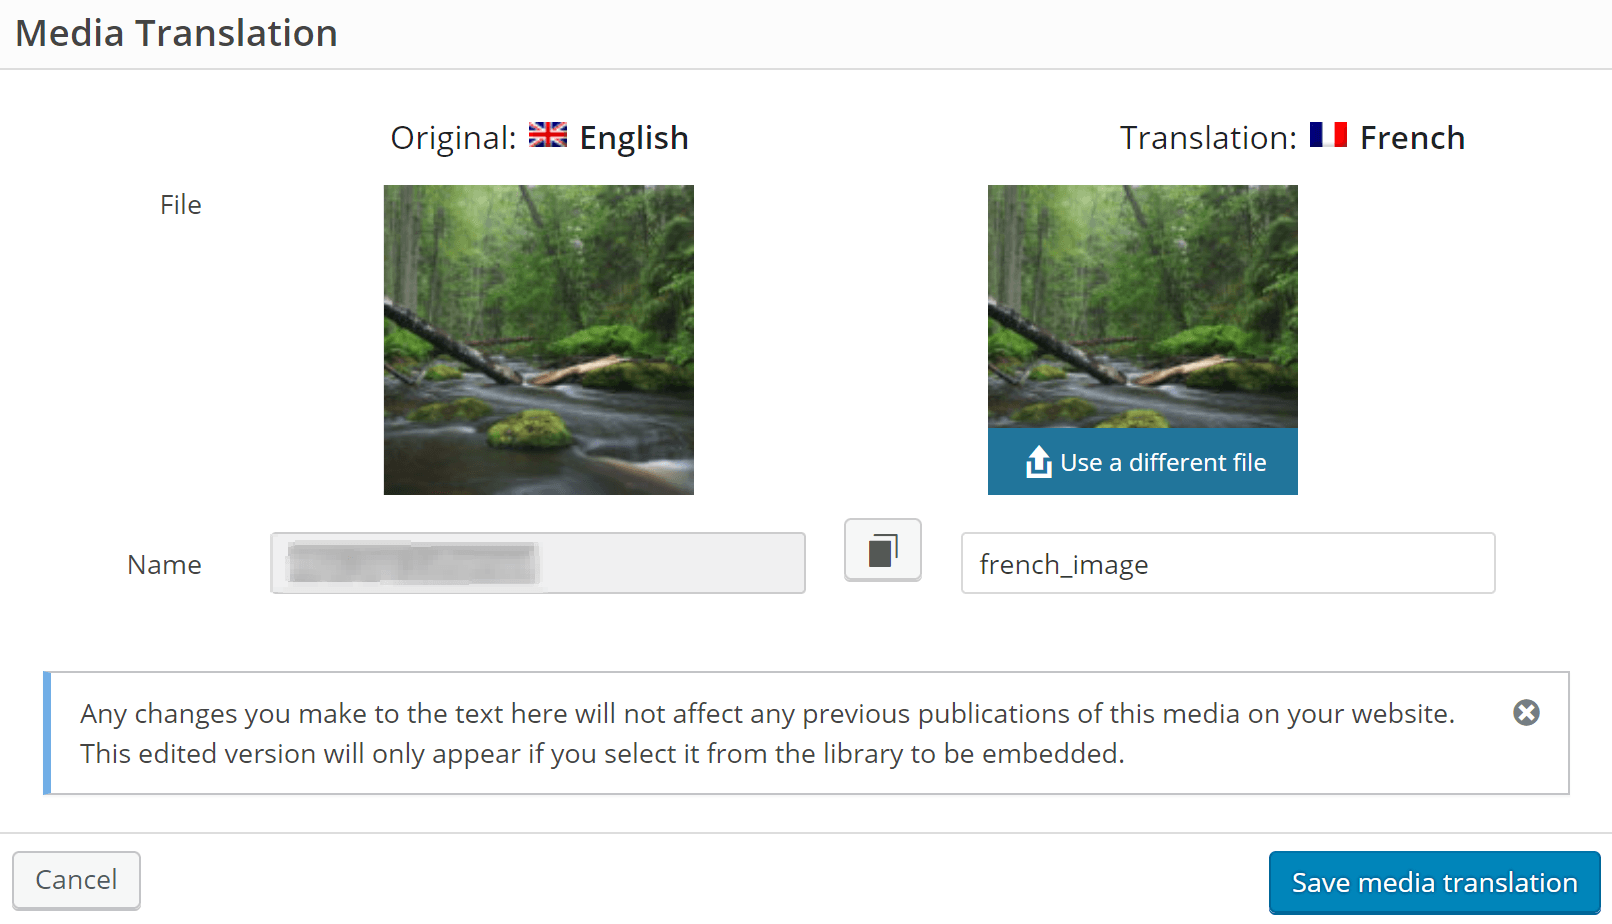
Here you can adjust the image name and even use a different file for the given language. This can be very useful in cases where your image contains text that should be localized.
Translating taxonomies
On top of the above, we can also translate taxonomies with ease—specifically, categories and tags. Proceed to WPML > Taxonomy Translation and choose a taxonomy type from the dropdown:
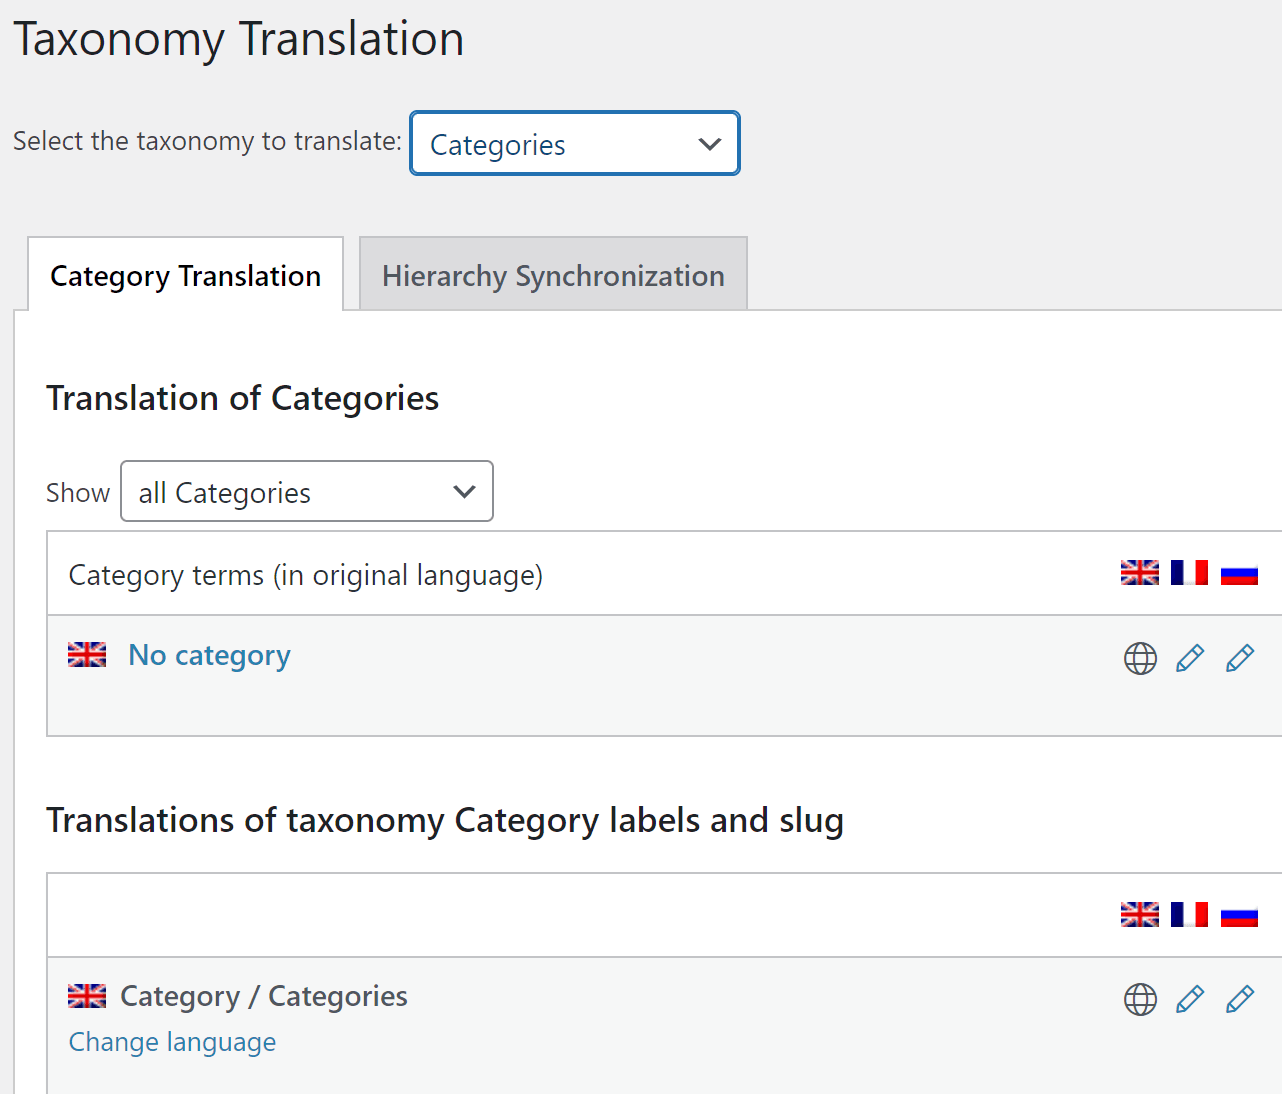
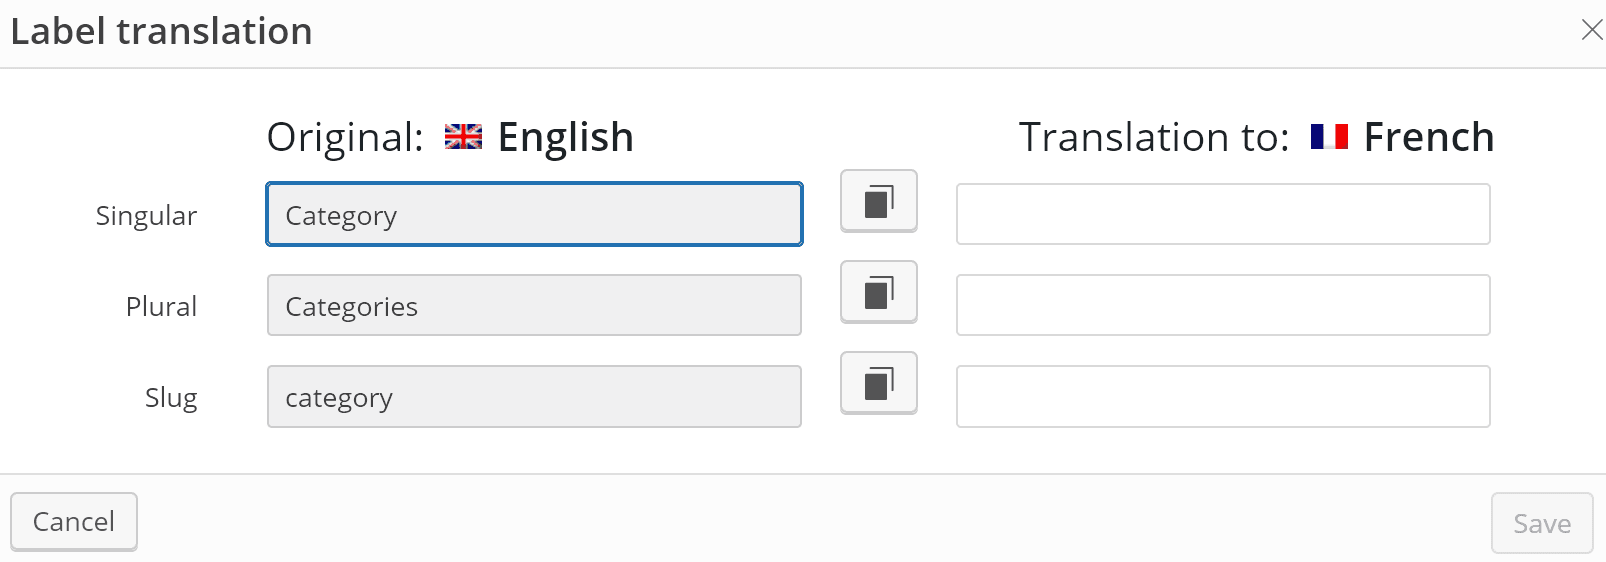
Find the desired item, click on the "pen" icon under the language flag, and adjust the translation as required:
Using Lokalise to enhance the WordPress i18n and l10n processes
So, as you can see, WPML is a very powerful solution that can greatly simplify the WordPress i18n and l10n translation process. However, we can do one better and integrate it with the Lokalise translation management system, thus enhancing the workflow even further. With Lokalise, you can easily manage all your texts, hire professional linguists to translate and review, apply neural network translations, assign tasks to members of your team, and integrate with third-party services.
In this section, you'll learn how to get started with Lokalise. Before proceeding, grab your free trial at app.lokalise.com/signup and click Create project after logging in to the system. You'll be presented with the following dialog:
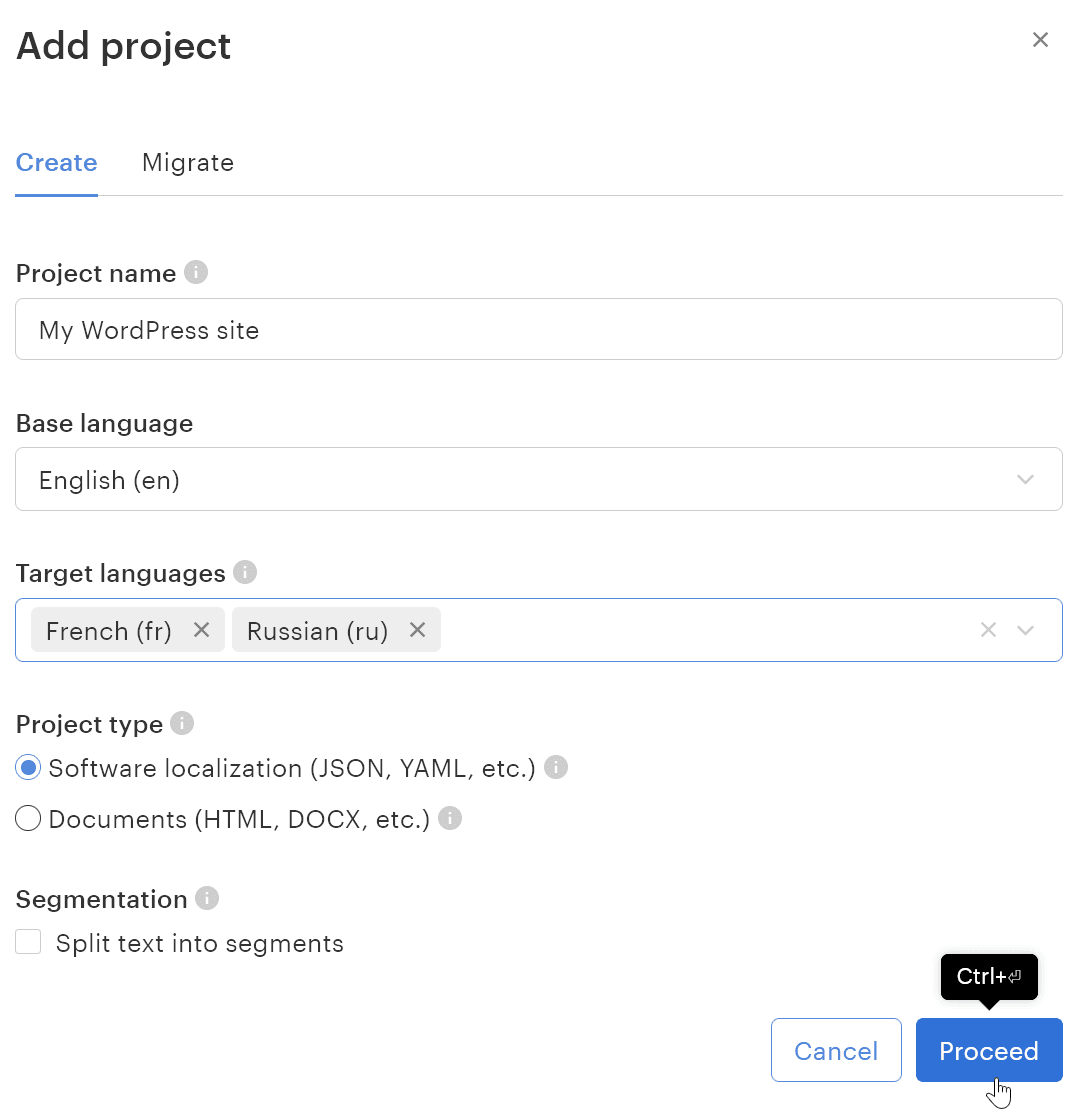
Give your project a name, and choose the source language (the default language of your WordPress website) and one or more target languages (all other locales that your website supports). Be sure to use the Software localization project type, then click Proceed. Your project is now created!
Installing Lokalise Companion plugin
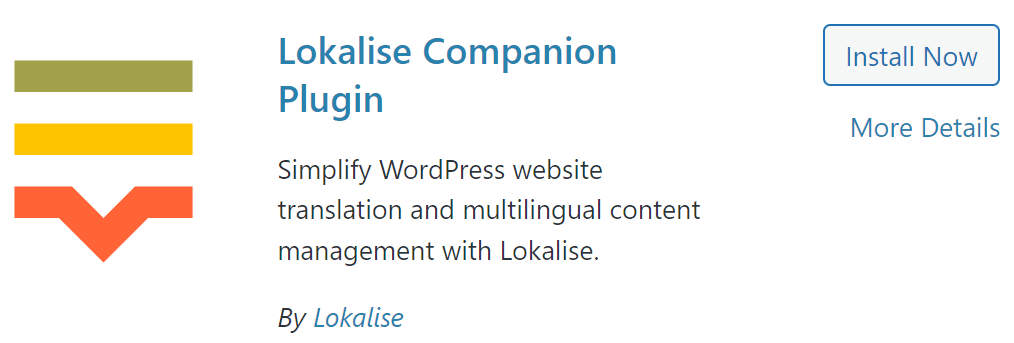
Next, return to the WordPress admin page and click Plugins > Add new. Search for the "Lokalise companion" plugin, and click Install Now:
Once the plugin is installed and activated, proceed to Settings > Lokalise, and copy the Authorization secret key:

Do not publicly share this key! You can create a new key by clicking Generate secret.
Adding the WordPress app
Now that the plugin is installed, return to your Lokalise project, and click Apps in the top menu. Find the WordPress app in the list, click on it, and then press Install.
You'll need to enter your WordPress site hostname (for instance, https://example.com/wp-json) and provide the Lokalise secret obtained in the previous step:
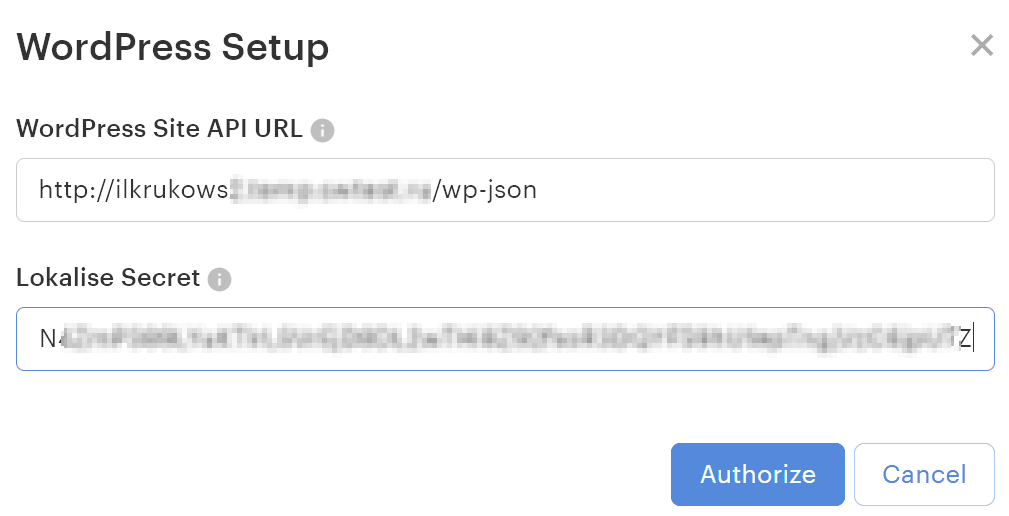
Click Authorize and allow Lokalise to access your website.
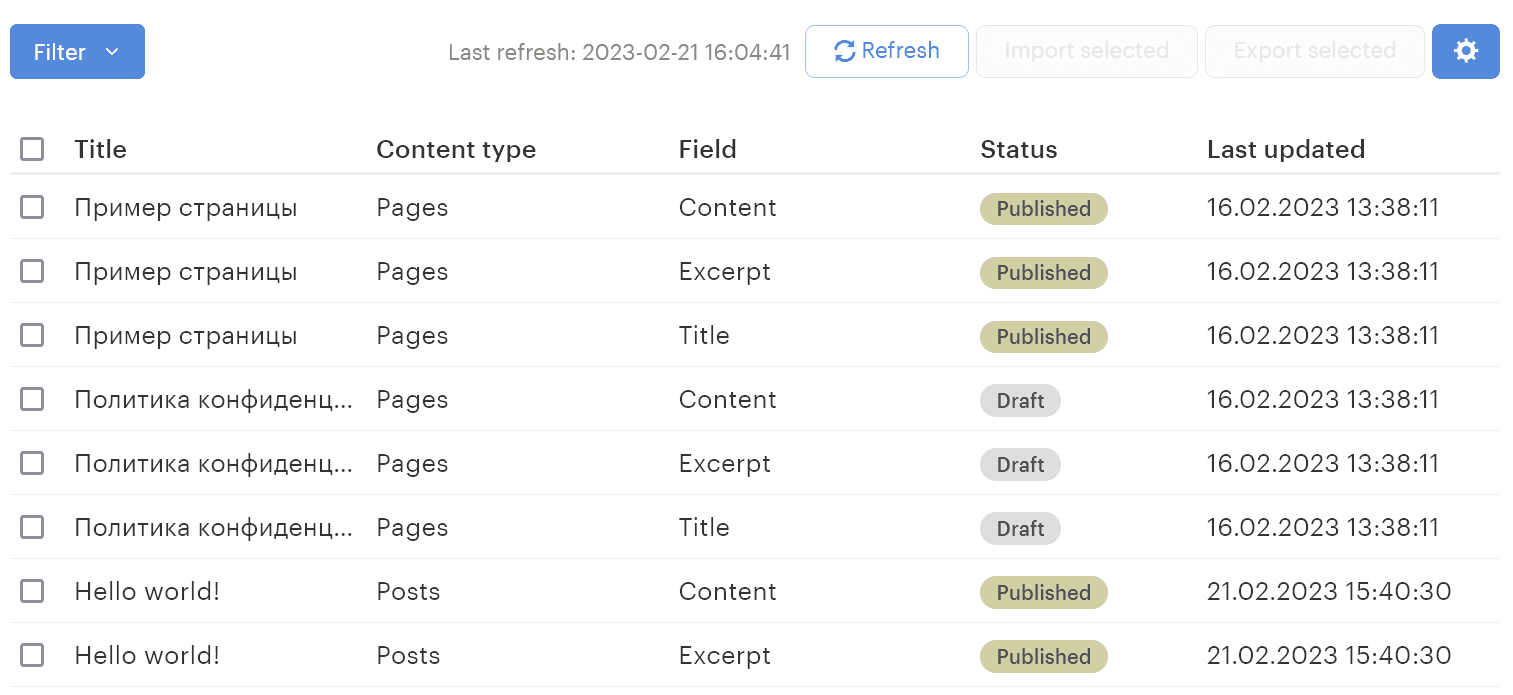
After a few moments, you'll be presented with the list of posts and pages that you can import to Lokalise and translate:
However, before importing these items, let's create a special automation to apply machine translation to the added created texts.
Creating an automation rule to use Google translate
An automation is basically a trigger that fires when a specific action takes place. For example, you can say that whenever a new text is added to a Lokalise project, it should be automatically translated into multiple languages using Google Translate.
To create a new automation rule, click More > Automations from the top menu and then click Create:
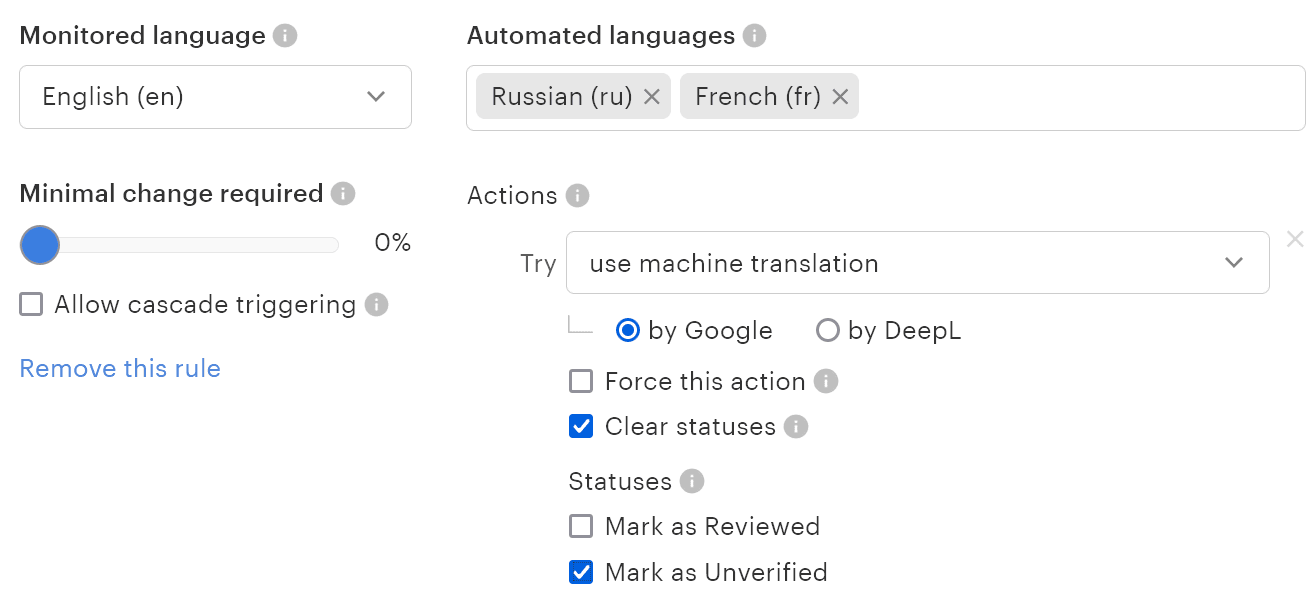
Adjust the following options:
- Monitored language — English (or any other language that was set as the default for the website).
- Automated languages — pick one or more target languages from the dropdown.
- Actions — use machine translation. Choose either the Google or DeepL neural network.
- You can ignore other options and click Save. To learn more about automations, please refer to our documentation.
Now whenever an English text is added to the project, it will be automatically translated into the other languages for you! You can also monitor the localization rate to keep track of how much content has been successfully translated across your project.
Importing items
Seeing as the automation is created, let's return to the WordPress app page.
Choose one or more elements that you want to import to Lokalise and press Import selected. Choose the languages to import, and make sure to check the Automations option:
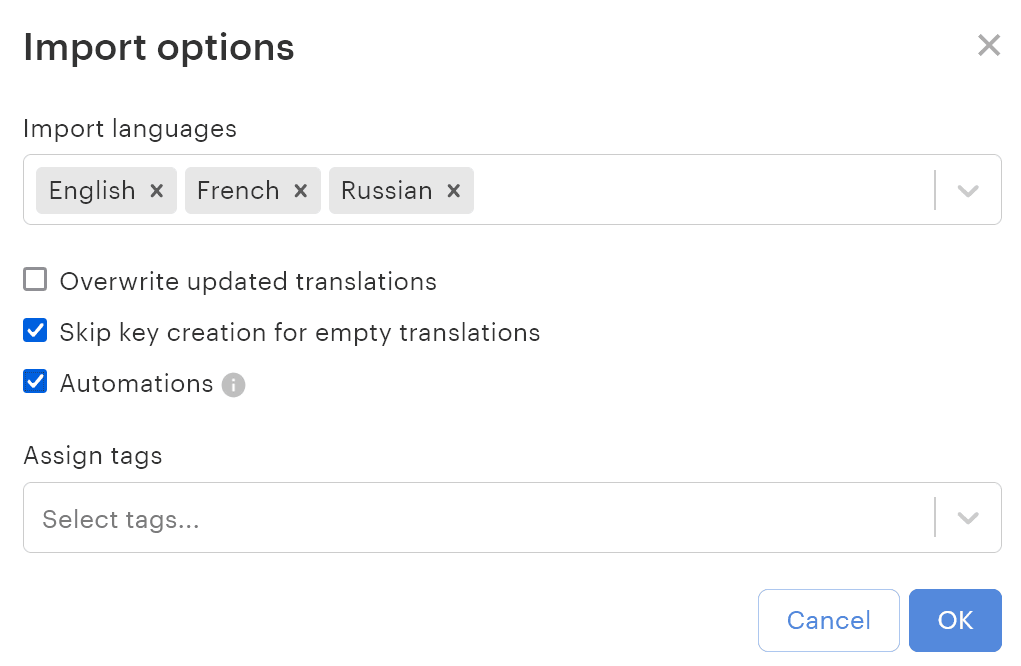
Click OK. To learn more about other available options, please refer to our documentation.
Translating with Lokalise
Once the import operation is completed, you can proceed to the project editor by clicking Editor in the top menu.
Here you can easily manage your translations:
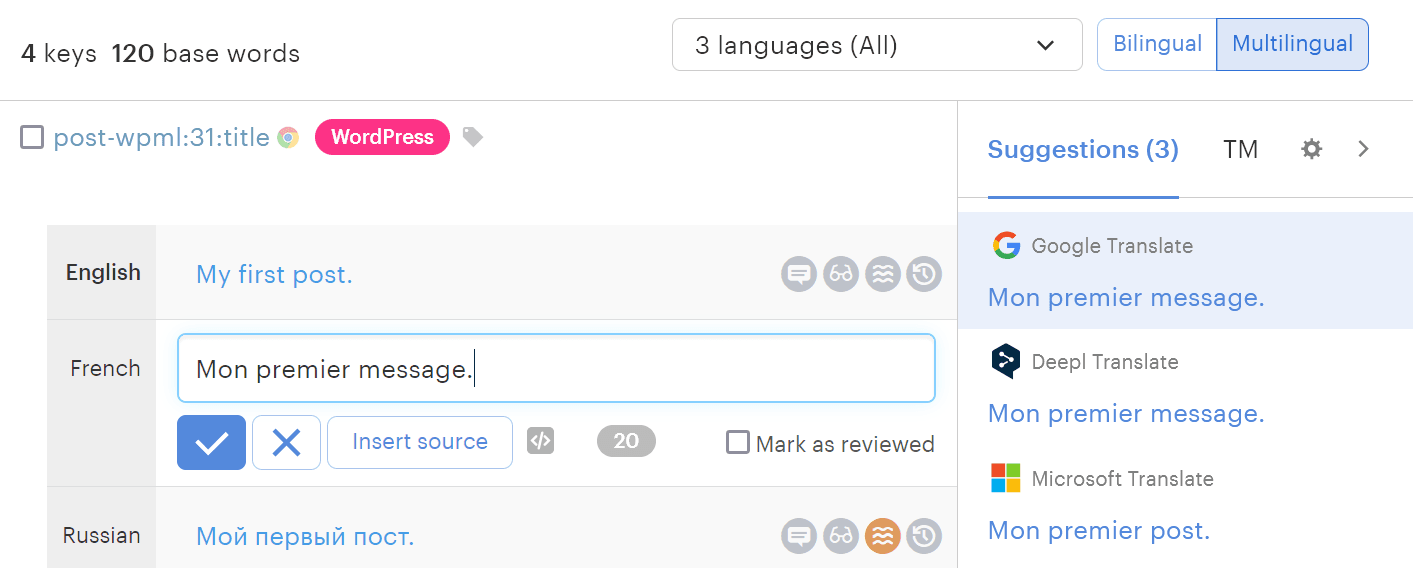
Note that the French and Russian translations have already been provided for us thanks to the automation rule that we set up previously.
The Lokalise project editor is a very powerful tool and you can learn more about it in our docs.
Creating a new translation order
Instead of relying on a machine translation, you can hire a human specialist. After all, machine translation quality might not always be good and in general it's not suitable for high-visibility texts. Therefore, you'll probably need a linguist's help.
To place a new translation order, click Orders in the left menu:
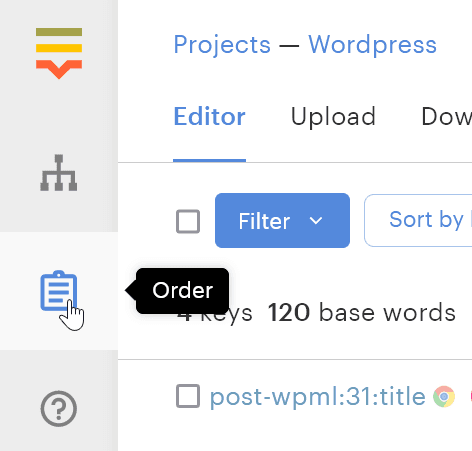
Next, press New order. You'll be presented with the following page:
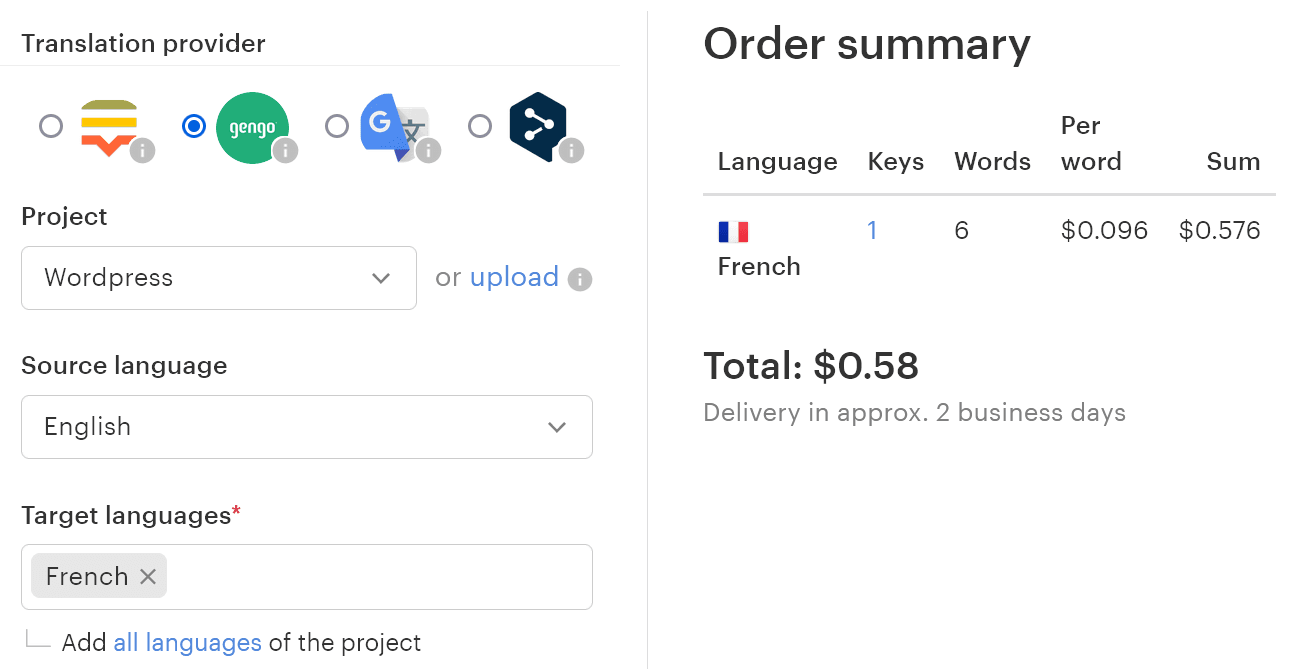
Adjust the following options:
- Translation provider — choose either Lokalise or Gengo if you'd like to hire a human specialist. To learn about provider differences, please refer to our documentation.
- Project — choose your translation project from the dropdown.
- Source language — this is the language you'd like to translate from. Usually it's the base (default) language of the website.
- Target languages — choose the languages to translate into. Of course, the more languages you select, the higher the price will be.
- Include in order — choose "only untranslated target strings".
- Service — choose the service that you'd like to order. The available services will vary depending on the chosen provider, so please refer to our documentation for more information.
- Project briefing — describe your project in as much detail as possible. Include what it’s about, who your target audience is, links to the website or app, and other info. The more details you provide, the better the translation quality you will get.
Once you are ready, review the total price and delivery deadline, and then press Go to checkout. After that, you can relax and wait for the order to be completed!
Exporting translated items back to WordPress
When your translations are ready, you'll need to export them back to the WordPress site, right? Therefore, return to the WordPress app page on Lokalise and pick the items you wish to export. Then click Export selected:

Choose the languages to export and click OK.
After the export operation is completed, return to the WordPress admin panel and make sure your translated content has been synchronized properly:
Great job!
Conclusion
So, in this article we have seen how to get started with WordPress localization using WPML, neural networks, and Lokalise. As you can see the process is not overly complex, and adding more languages to the site can attract more customers, thus increasing your sales.
That's all for today, folks! I thank you for staying with me and until next time.