When companies take their product global, something almost always breaks. Text doesn’t fit. Interfaces glitch. The UI layout looks off. Sometimes, features even stop working entirely.
This isn’t just bad luck or sloppy translation. It’s a technical issue that happens when localization is treated as an afterthought instead of something to build for from day one.
And that’s the part that trips most teams up. There’s no single “owner” of technical localization. It’s shared across engineering, product, and localization teams.
In this article, we’ll break down what technical localization really means, why so many teams struggle with it, and how to do it right. To make things easier, we also included a free checklist you can save.
🌍 Lokalise was built by developers, for developers
Lokalise is an all-in-one localization platform that was built by developers, for developers. Although it was originally built to support the process of technical localization, it has evolved into an intuitive solution that’s used by tech and non-tech teams alike. Read more about Lokalise here.
What is technical localization?
Technical localization is the process of adapting the backend and frontend of your product so it works seamlessly in different languages and regions.
It means adjusting things like how dates and numbers are shown, making sure the text displays correctly in different languages, supporting right-to-left writing like Arabic, handling pluralization properly, and seeing that longer text doesn’t break the layout.
Technical localization requires pulling out all user-facing text from your code, using the right fonts, and designing layouts that won’t break when the content changes. Think of it as building the scaffolding that allows localization to happen without breaking your product.
Why most products break during localization
Most products break during localization because they weren’t built with localization in mind. It’s as simple as that.
Text is often hardcoded directly into the codebase. Layouts are designed for one language (usually English), without thinking about how much longer or shorter translated text might be.
There’s no support for different writing directions, and no system in place for switching between locales. So when the time comes to expand to new markets, the product starts falling apart in unexpected ways.
Even the smallest things can cause real issues. Think forgetting to make room for longer words in German, or using fonts that don’t support Chinese characters. And if your app pulls content from APIs or third-party tools that weren’t localized either, you end up dealing with even more complexity.
🔁 Learn more about continuous localization
The problem is that localization gets treated as a last step, rather than something to design for from the start. Want to learn more? Discover why forward-thinking teams commit to continuous localization.
Building for localization from day 1
The best time to think about localization is before you write your first line of code (read more about internationalization). It sounds early, but it saves you from painful rework later.
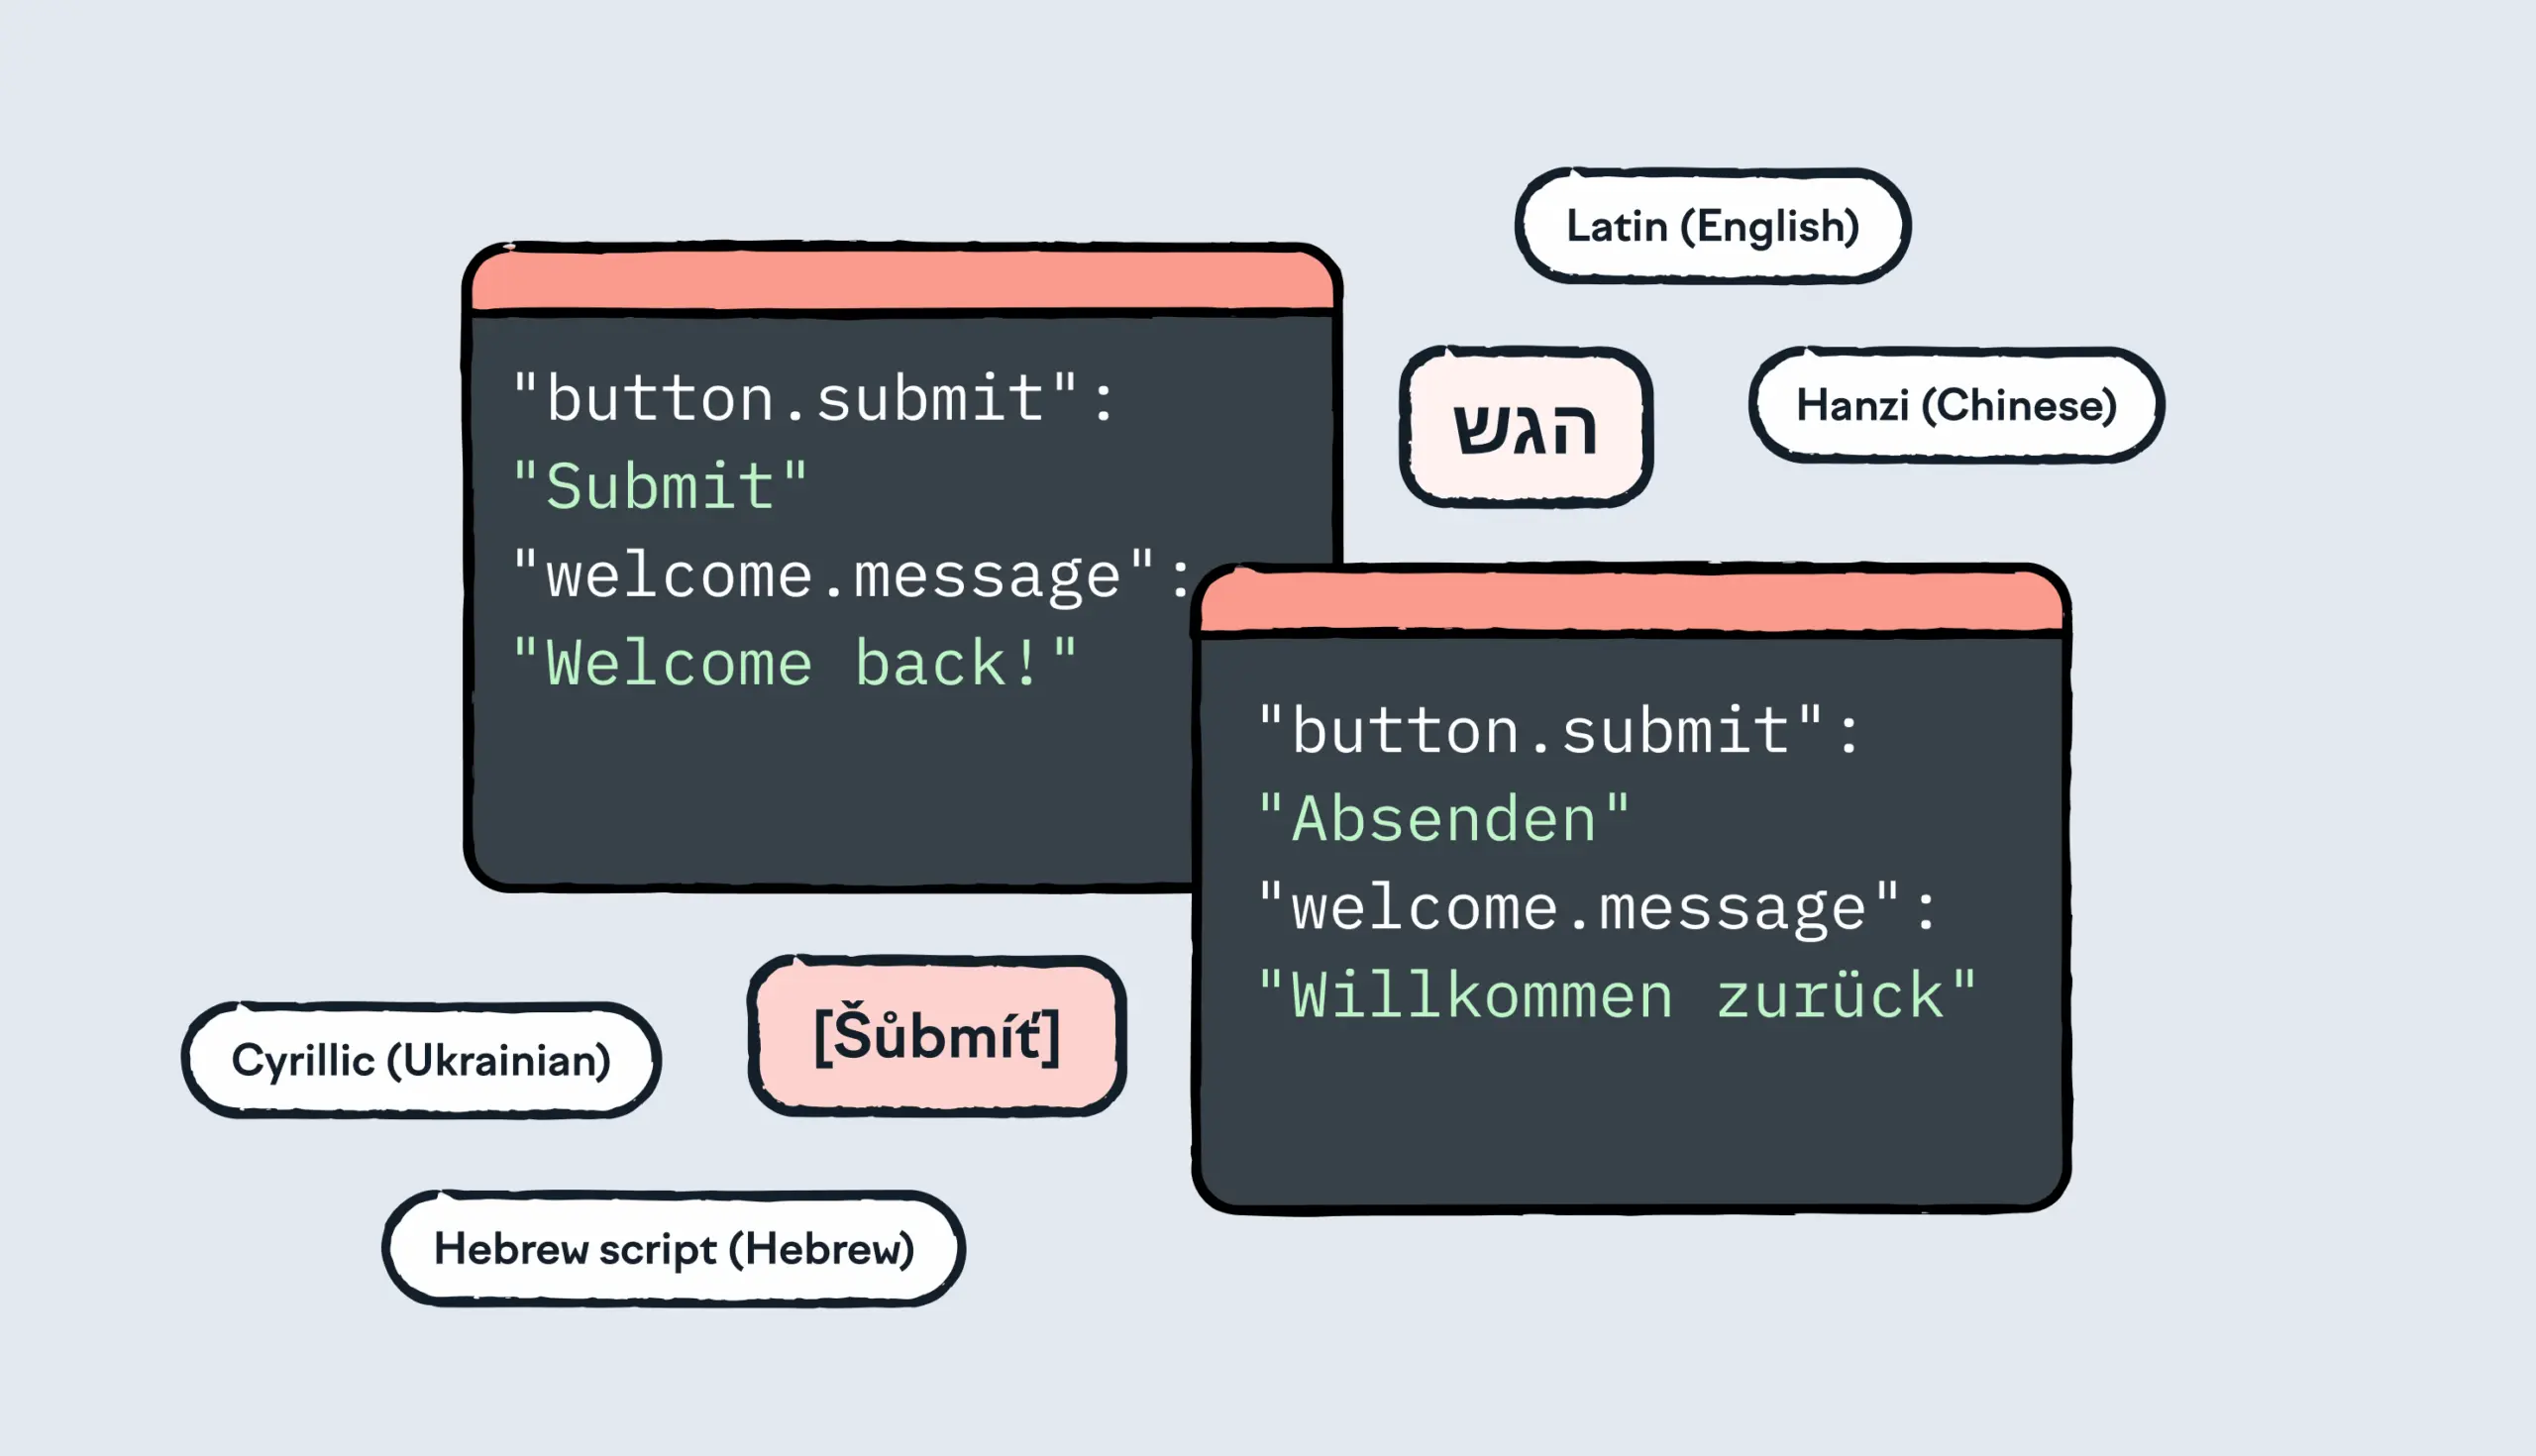
Start by separating all user-facing text from the code. Store it in external files using keys. So, instead of writing “Submit” directly into your code, you use a key, something like button.submit. That way, your code stays clean, and your translators don’t have to dig through it.
Next, design your UI to be flexible. Assume that text will grow or shrink depending on the language. Don’t hard-limit the width of buttons or text containers. Avoid centering elements based on text length.
Also, support the basics. You’ll deal with different character sets, plural rules, and date/number formats depending on the language and market. Add right-to-left (RTL) support early, even if you don’t need it right away. It’s much harder to retrofit later.
Finally, talk about localization in product planning. Treat it as part of the launch strategy. If localization is part of your design and development culture from the beginning, you’ll move faster and have smoother launches.
Let’s take a closer look at the workflow.
The end-to-end localization workflow (+ free checklist)
If you want localization to run smoothly, you need a workflow that’s built to scale. Here are the typical steps of technical localization.
🗒️ Free technical localization checklist
To make things easier, you can also save and follow this checklist.
1. Prepare your codebase for localization (internationalization/i18n)
This is where it all begins. Developers need to extract all user-facing text from the code and store it in external resource files (like .json, .yaml, or .properties files). Each string should be assigned a key, so instead of hardcoding “Welcome back!”, you use something like welcome.message.
You also need to set up support for different locales, fallback languages, and flexible formatting for things like dates, numbers, currencies, and plural rules. If you skip this step, everything else becomes much harder down the line.
2. Integrate with a translation management system (TMS)
Once your code is ready, you need a way to manage the actual translation work. A translation management system (TMS) acts as the central hub. It connects with your code repository, design tools, or CMS, and pulls in all the text that needs to be translated.
It also gives translators context (e.g., where the string appears, screenshots, or character limits) so they can do their part of the work.
🧠 Did you know?
Many TMS platforms also handle versioning, so you know which strings have changed and which languages need updates. Lokalise is one of them. See how we help developers handle localization challenges with project branching, translation key management, integrations, and more.
3. Automate content sync between your product and the TMS
Don’t waste time manually copying and pasting strings into spreadsheets. Automate as much as you can. Set up a system that automatically pushes new or updated text to your TMS and pulls translations back into your app once they’re complete.
Automating your workflow helps you reduce human error in technical localization, save tons of time, and ship updates without having to “babysit” the process. Learn more in the video below.
4. Run in-context testing
This step is often overlooked, but it’s so important. Once translations are imported, QA teams (and ideally native speakers) should test the product in its localized versions.
Look for broken layouts, overlapping buttons, untranslated strings, cut-off text, and issues with right-to-left languages. Tools like pseudo-localization can also help catch problems early by mimicking translated text during development.
5. Maintain and scale your localization setup
Localization doesn’t end after the first launch. New features get released, strings change, and new markets get added. Make localization part of your development lifecycle, just like testing or documentation.
Build technical localization into your CI/CD pipeline. Keep your string keys consistent, clean up unused ones, and make sure translators get notified when something changes. A healthy localization setup is one that evolves along with your product.
⚙️ Learn everything about software localization
Looking for a more detailed guide? Check out our resource on software localization enriched with videos, code snippets, visuals, and step-by-step instructions.
Best practices for technical localization
By now, you’ve probably noticed a pattern. Localization works best when it’s built into your product’s DNA. It’s not something you should handle last minute.
The idea is to invest an effort upfront so that, once you decide to expand internationally, you have all the groundwork taken care of already. Here are some best practices to keep your process smooth, scalable, and future-proof.
Think globally from the start
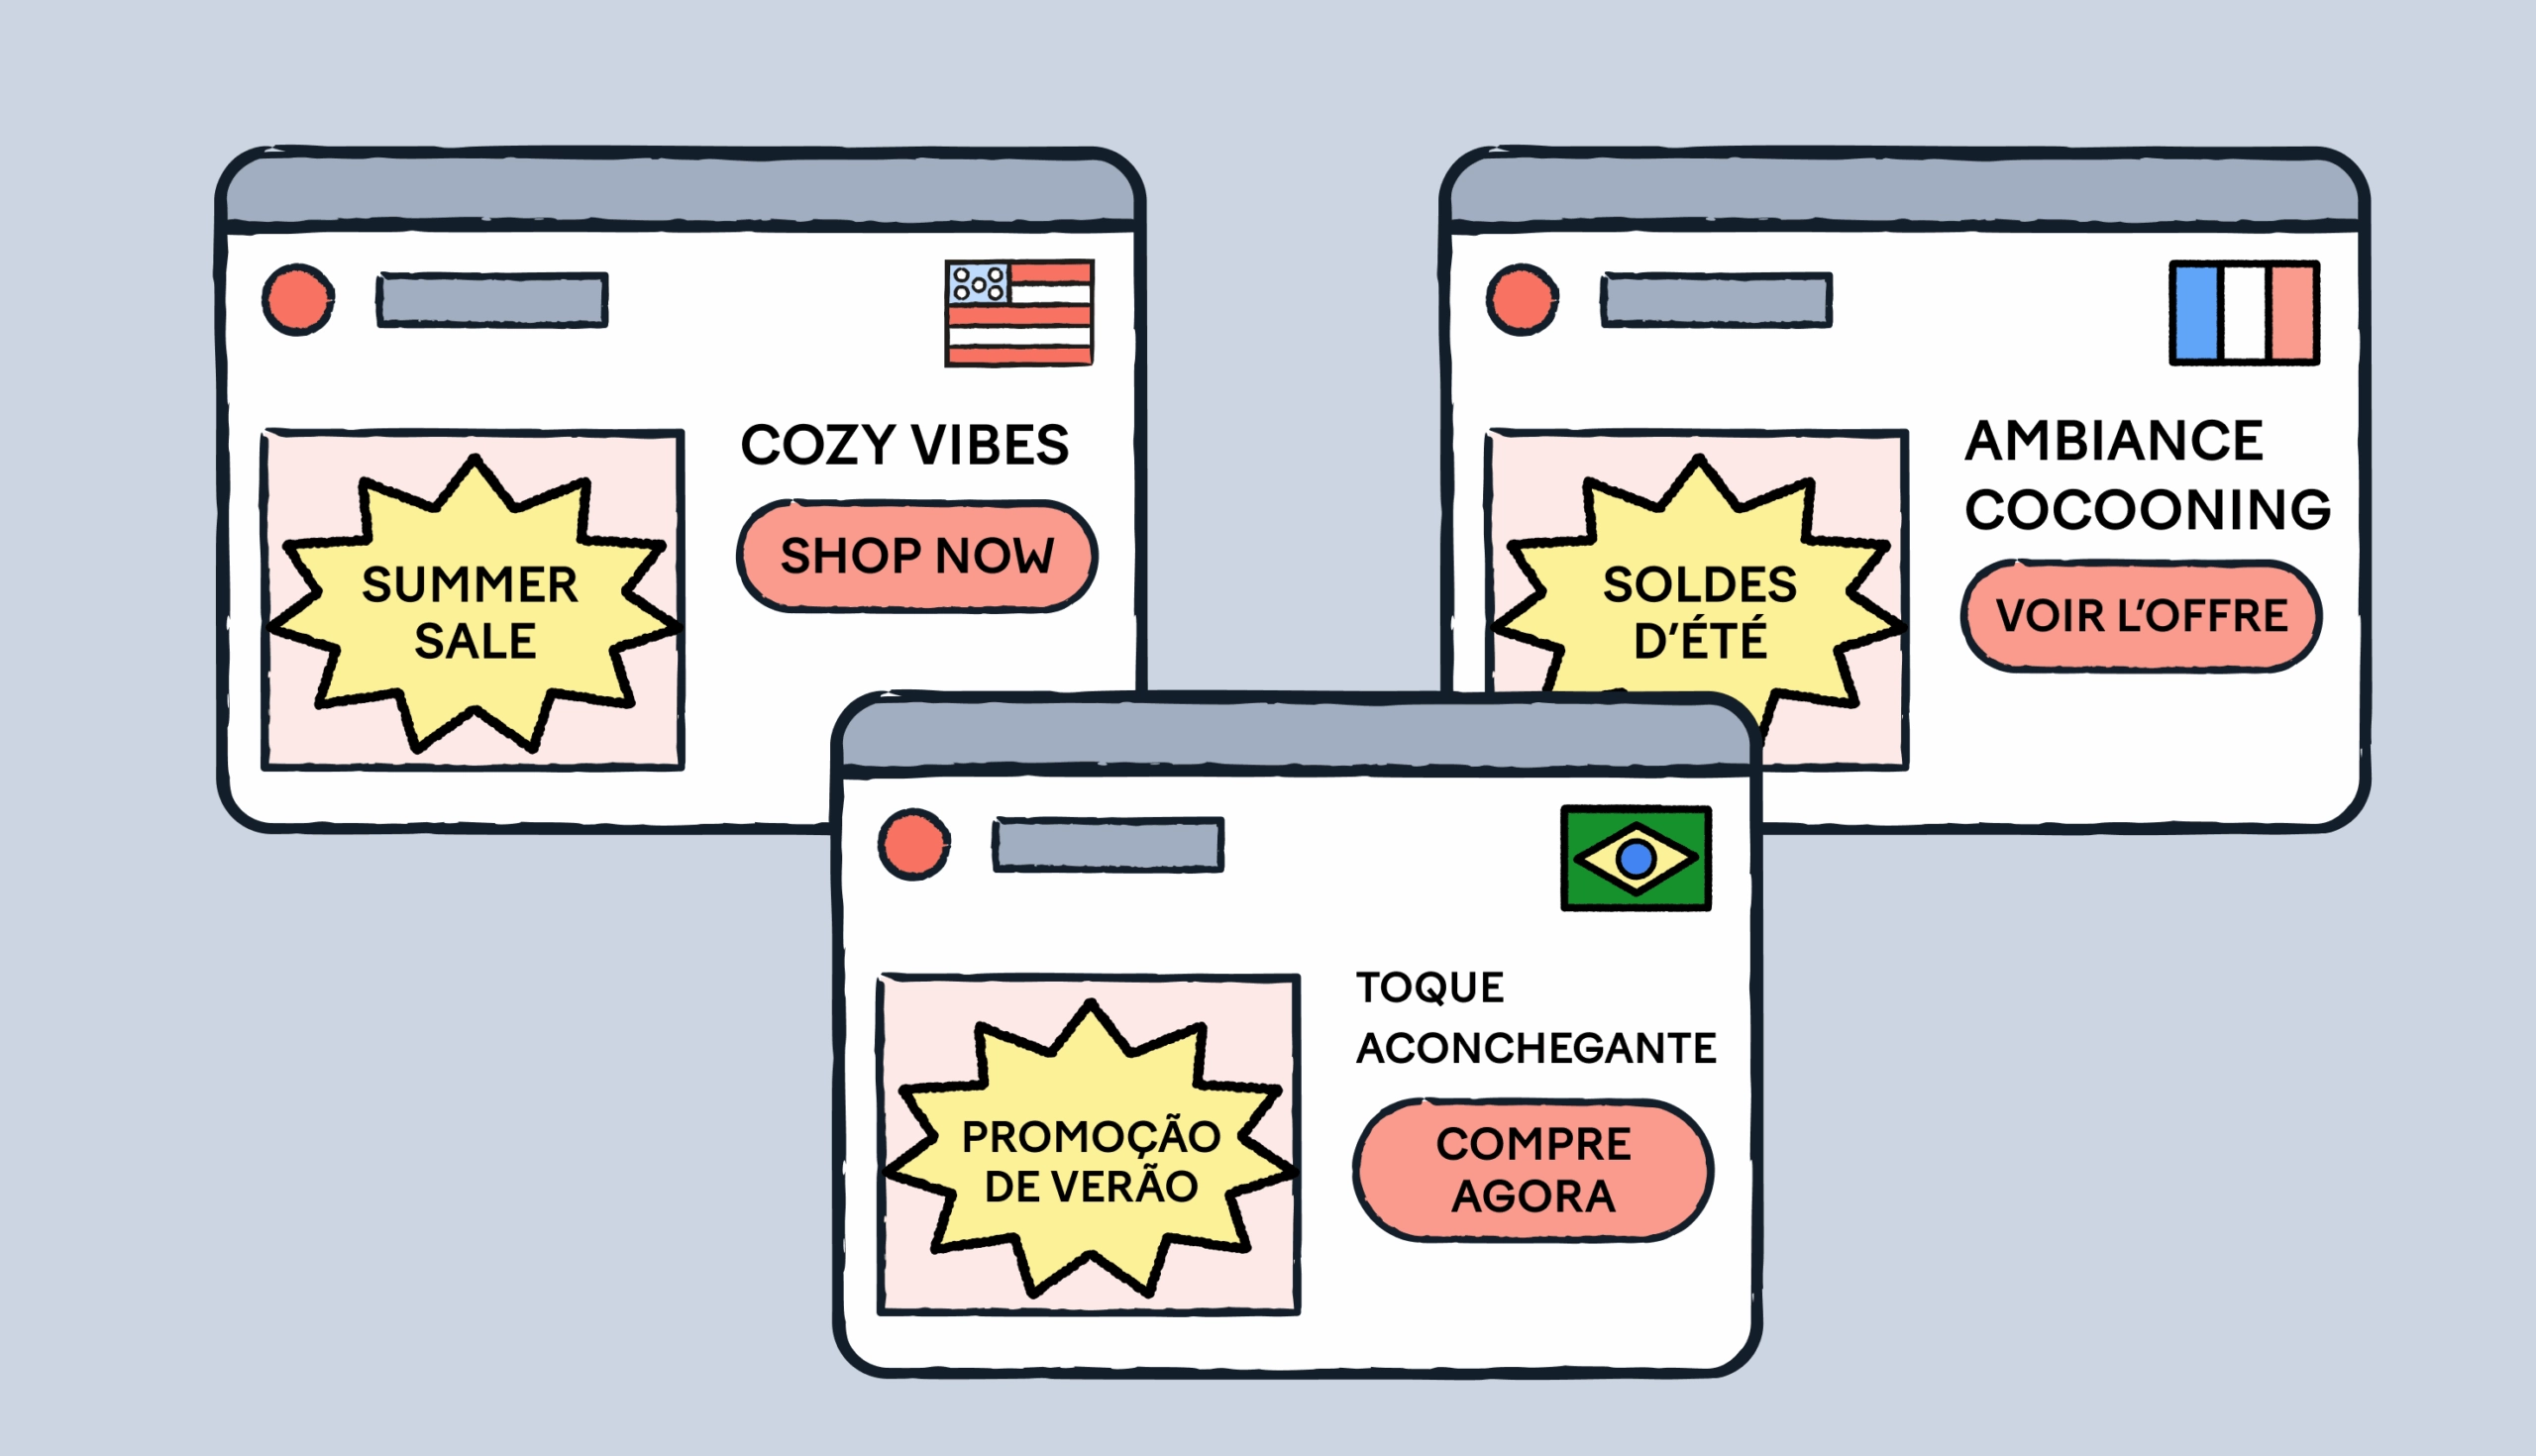
Even if you’re only launching in one market, build your product as if it will eventually be used everywhere. That means avoiding assumptions about language length, text direction, or formatting.
Pull out all user-facing content into separate files, and design layouts that can stretch, shrink, or flip when needed. Planning for localization early helps you avoid rewrites later, and it keeps your product flexible as you grow.
Use clear and consistent string keys
Every string in your product should have a key that’s easy to read and easy to manage. A name like form.email.error tells you what the string is for. Compare it to something like text_001, and you’ll see it means nothing. Nomenclature matters.
Clean, structured keys make life easier for developers and translators alike. They also help avoid duplication, missed updates, or confusing last-minute guesswork.
Make sure translators have context
Translation without context is a guessing game. When translators don’t know where a word appears (e.g., a button, in-app message, pop-up), they might end up delivering inaccurate translations.
A good translation management system lets you attach screenshots, usage notes, and character limits to each string. This can massively improve translation quality and reduce back-and-forth.
This is also the basis for design-led localization. If you’re curious to learn more about it, check out the webinar recording below.
✨ Get inspired
Learn how Withings achieved 90% faster feature rollout thanks to a well-thought-out design-led approach. Get inspired by their technical localization workflow and find the way to create and optimize your own.
Test early and often
A product might look perfect in English, but completely fall apart when localized. That’s why it’s crucial to test localized versions during development, not just before launch.
Use pseudo-localization to simulate what longer or foreign-language text will look like. Then test the real thing in staging environments. Catching broken layouts, unreadable fonts, or untranslated strings early saves you from hotfixes (and bad first impressions).
📚 Further reading
Learn more about localization testing from a real-life example of a project our localization experts worked on.
Treat localization as a living part of your product development
Your product evolves, and so should your localization setup. As new features roll out, make localization part of the sprint. We really can’t stress this enough. Localization should not be a follow-up task. Here are some tips worth reiterating:
Keep your string files clean and versioned
Automate updates between your codebase and your translation system
Make sure someone owns the process and that there’s a plan for maintaining quality over time
If you don’t plan for technical localization for from the start, it will come back to bite during rollout, QA, or after you launch.
Build once, localize whenever you need to
Technical localization needs to be an intentional product decision, a UX choice, and a long-term investment, a commitment in reaching people where they are.
The teams that do this well don’t just react to localization needs as they come up.
They plan for it and they build with flexibility. They treat localization as part of their core workflow.
As the final takeaway, make sure to automate where possible, leverage AI in localization, and give translators the tools they need to do great work. It’s not always glamorous, but it’s the kind of engineering that pays off in scale, reach, and growing customer trust in new markets.
At Lokalise, we know that localization done right disappears into the background. What’s left is a product that just works, anywhere.
See how we support developers in achieving 37% faster development cycles and up to 3x less localization work. It’s all about working smarter, not harder.
Mia has 13+ years of experience in content & growth marketing in B2B SaaS. During her career, she has carried out brand awareness campaigns, led product launches and industry-specific campaigns, and conducted and documented demand generation experiments. She spent years working in the localization and translation industry.
In 2021 & 2024, Mia was selected as one of the judges for the INMA Global Media Awards thanks to her experience in native advertising. She also works as a mentor on GrowthMentor, a learning platform that gathers the world's top 3% of startup and marketing mentors.
Earning a Master's Degree in Comparative Literature helped Mia understand stories and humans better, think unconventionally, and become a really good, one-of-a-kind marketer. In her free time, she loves studying art, reading, travelling, and writing. She is currently finding her way in the EdTech industry.
Mia’s work has been published on Adweek, Forbes, The Next Web, What's New in Publishing, Publishing Executive, State of Digital Publishing, Instrumentl, Netokracija, Lokalise, Pleo.io, and other websites.
The International SEO Checklist: Go Global Without Growth Pains
International SEO is just SEO set on difficulty level: hard. Pick the wrong URL structure? Rebuild everything from scratch. Misunderstand local search behavior? Watch your content strategy crumble. Skip proper hreflang implementation? Google shows Hindi content to German users. The brands winning at international SEO don’t simply wing it. They follow a systematic approach to handle market research, technical setup, localization, and more. That’s why we created th